Fallen S.A.B.E.R is the second of two Strikes that Bungie has brought back from Destiny 1 in Destiny 2’s Season of the Chosen. The other one is Devil’s Lair. In this guide, we’ll walk you through the Strike step-by-step and provide some pointers about what to look out for along the way.
Step 1: Find the Warsat
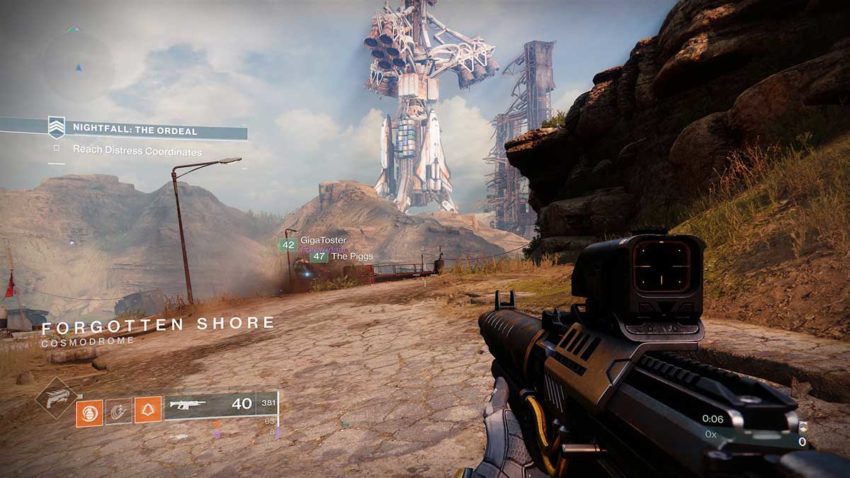
You’ll drop into the Strike in the Cosmodrome with a beautiful view of one of the stationary rockets. From here, you need to jump onto your Sparrow as quickly as possible and speed down the first left-hand path ahead of you.
The path to the Warsat will be shown on-screen. It takes you between the beached ships here and across to the opposite side of the Forgotten Shore. Once there, you’ll be turning left and hugging the cliff edge on your right as you climb up.
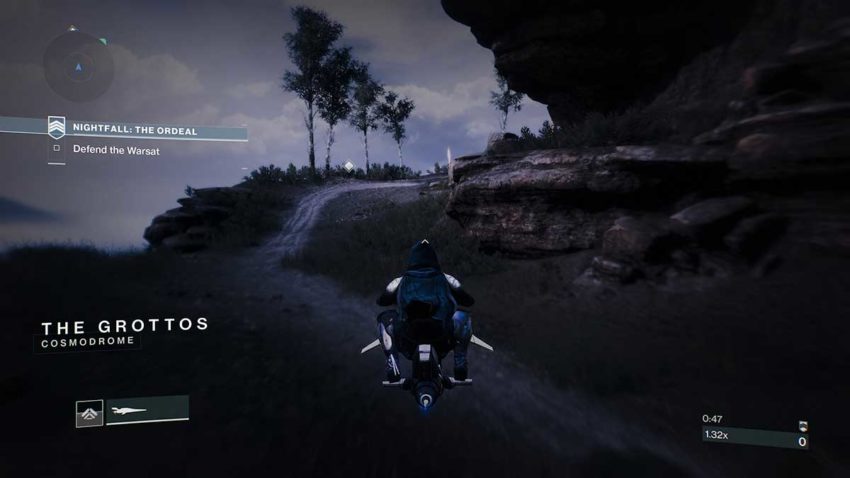
As you get close to the top, you’ll see the screen darken. The telltale sign that a satellite is falling out of orbit. Be careful here. The Warsat will drop just up the path to the right. If you’re too close, it’ll crush you. Stick to the left to avoid being inconvenienced by an accidental death.
Step 2: Defend the Warsat
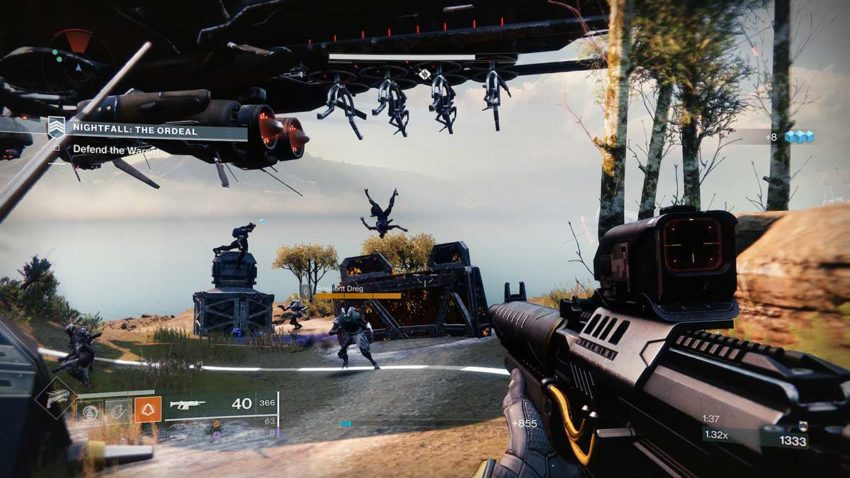
This next step resembles a typical Public Event. You need to first scan and then defend the Warsat. A perimeter will appear around the device. If you leave it, the process of transmatting the Warsat will be slowed. It’s best if all three players in the Strike stay within the perimeter at all times.
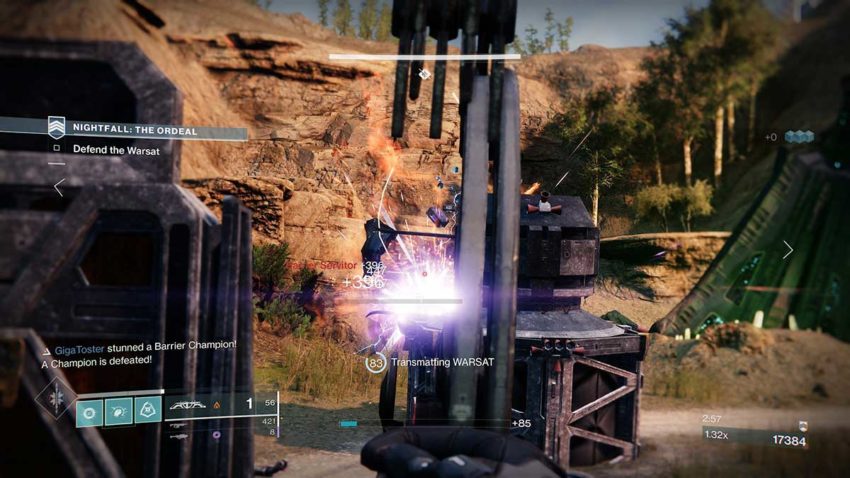
At first, a few weaker enemies will be dropped off. These should cause you no trouble. However, toward the completion of the transmatting, a few Overload Champions will be added into the mix. How many you face depends on the difficulty. On Hero, we faced off against three, two Fallen Captains and one Servitor.
Step 3: Enter the bunker
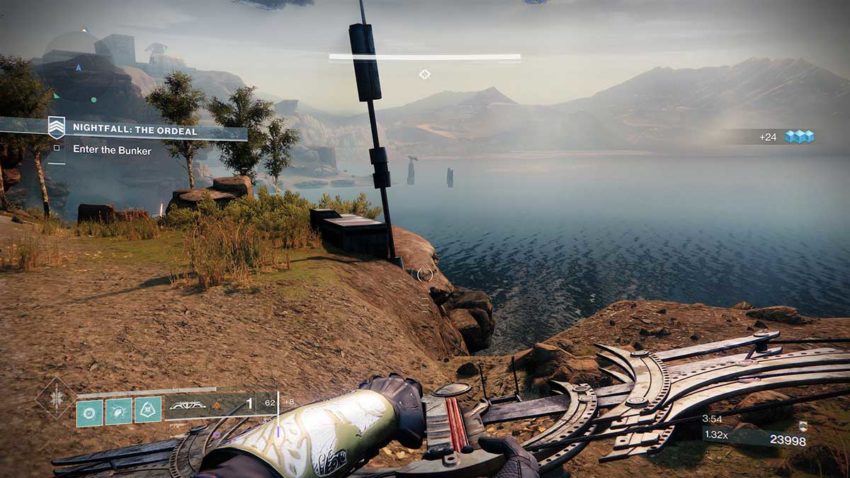
Once the Warsat has been transmatted, it’s time to enter the bunker. To find the entrance, you need to drop off the cliff to your left on the way up to this area. There’s a ledge down below that you can walk along.
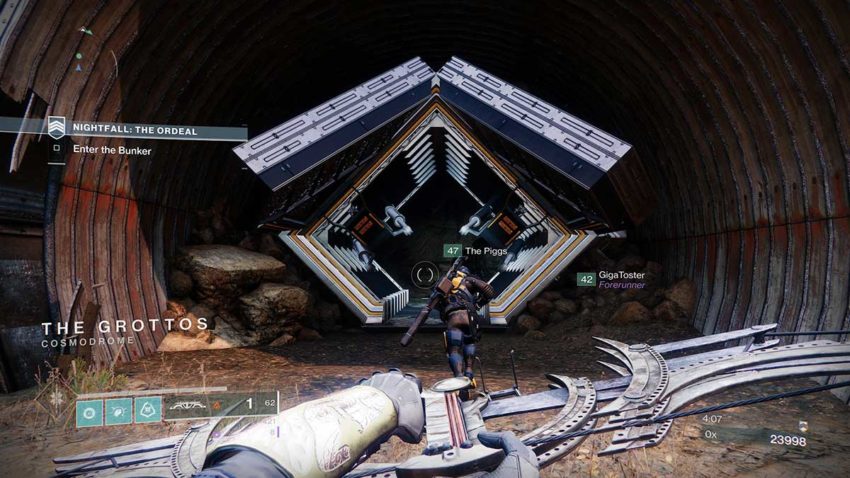
Drop down from the position shown in the image above. Then turn right and follow the path. The door you want to go in is the giant Warmind-themed one.
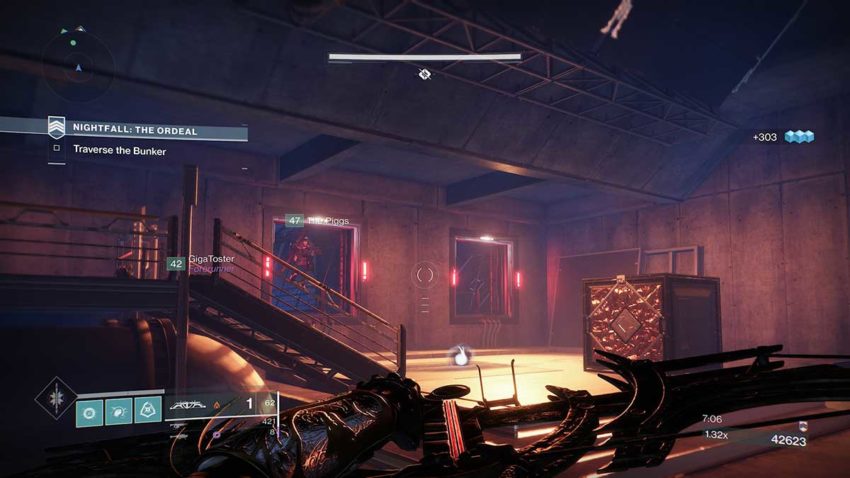
Step 4: Fight through the bunker
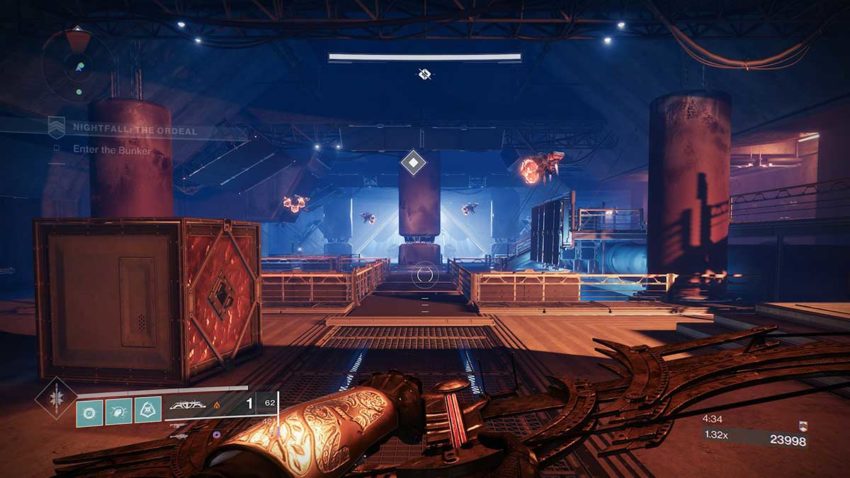
Now that you’re inside, it’s time to battle your way through the Fallen enemies that have taken up residence inside this bunker. There will be a good mix of Shanks, Dregs, and Vandals in the first main area. You need to kill them all before you can progress.
Watch out for the two Overload Champions that will appear towards the end of the fight. Use the boxes and pillars as cover when you need to. The gaps in the walkway are lethal. If you fall, you’ll be electrocuted to death, so keep an eye on your footing throughout this fight too.
Once all enemies are dead, head to the opposite end of the room and open the vent shown in the image below.
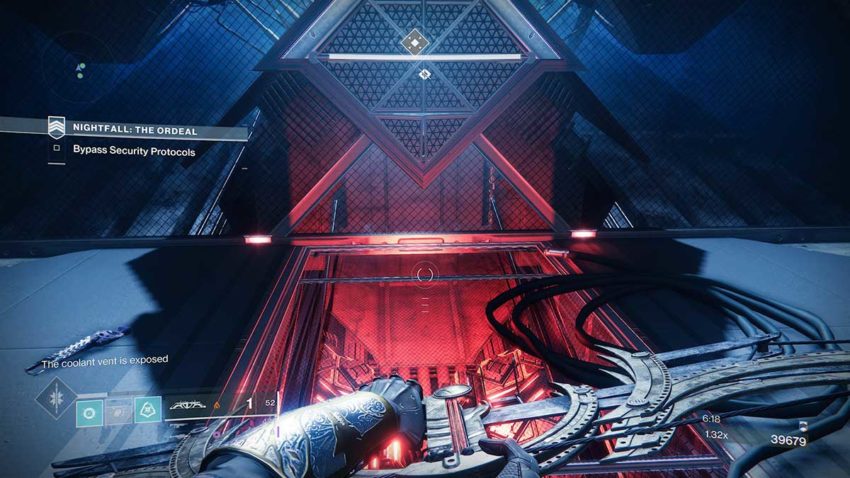
The vent will reveal a fuse that needs to be shot. Once it’s been destroyed, more Shanks will spawn in the room. Kill them all and head to the back left-hand corner from your current position. The way out of this area is through the left-hand vent back here.
Head forward along the walkway, but keep an eye on your feet. After a short walk, there will be a gap where you can drop down. This time, you need to fall down the hole.
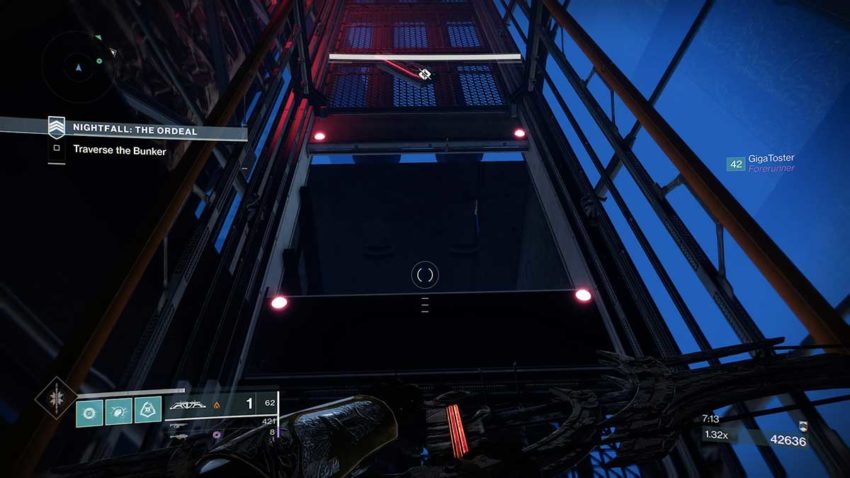
Follow the path ahead. You’ll know you’re going the right way because all the wrong doors are locked. Eventually, you’ll come to some stairs that lead into what we can only describe as the room of mad electric death.

The corridor here is split into three. The two paths on either side can be walked along, but electrical current lines are regularly pulsing along them. If you’re caught by one, you’ll die. The middle path is mostly blocked, but it is pocketed with gaps for you to hide from the errant charges in.
Between you and your fireteam, you need to make it to the opposite end of this room and pick up a device. That device must then be brought all the way to the other end of the room and used to open the way forward. As soon as the device is picked up, more Shanks will spawn.
The best method here is for one player to focus on grabbing the device while the other two kill every enemy in sight. If you’re diligent, you shouldn’t run into any problems.
Once the next path is open, head up the stairs and clear the room of enemies. This is where you encounter a couple of Barrier Champions on the higher difficulty levels.

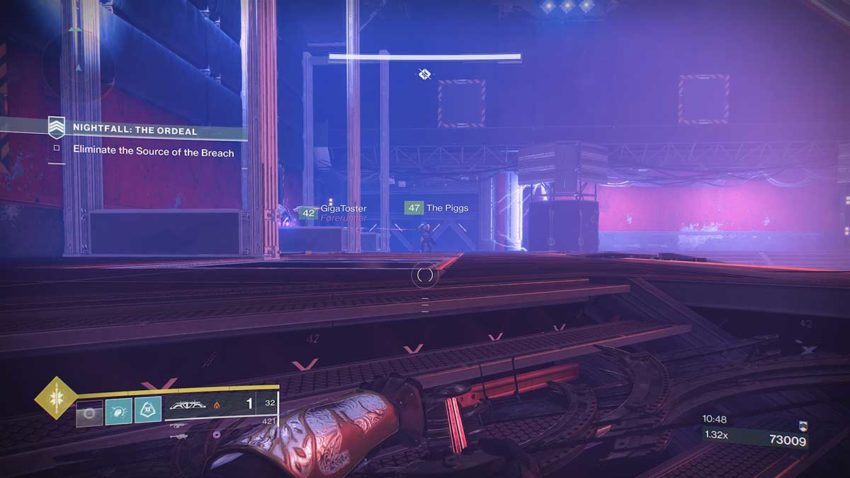
Your job now is to locate the breach site. Keep following the open doors and taking down the few enemies you’ll come across. There is a large room, Bunker War-4, filled with Fallen enemies just before the final area. There are also a few Barrier and Overload Champions to contend with.

The best strategy for this room is to take down the weaker enemies first. The Champions will take longer to kill, particularly the Barrier Champions. If you find yourself getting overwhelmed, jump out of the fray and run to the opposite end of the room to get some space.
We found that mid-range weapons, grenades, and the occasional super were the best way to deal with this room’s enemies.
When all the enemies are dead, head out of the room and up the stairs at the opposite end to the one you entered from. Follow the walkway to another gap in the floor to drop through. Now it’s time to kill the boss.
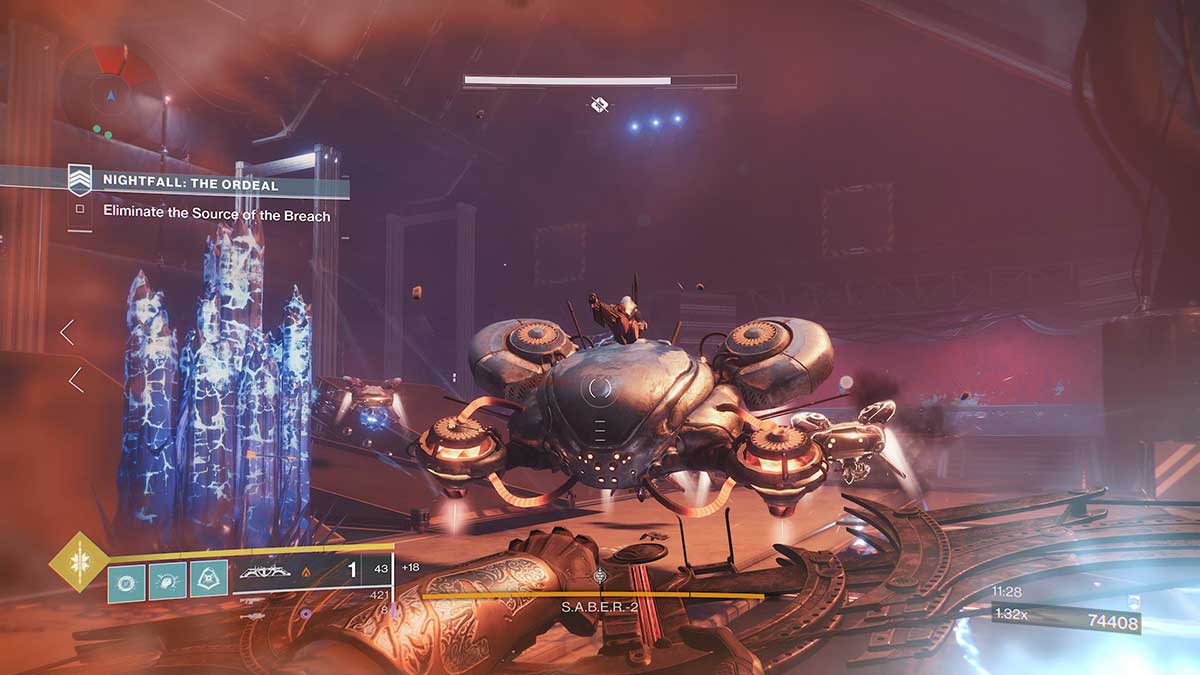
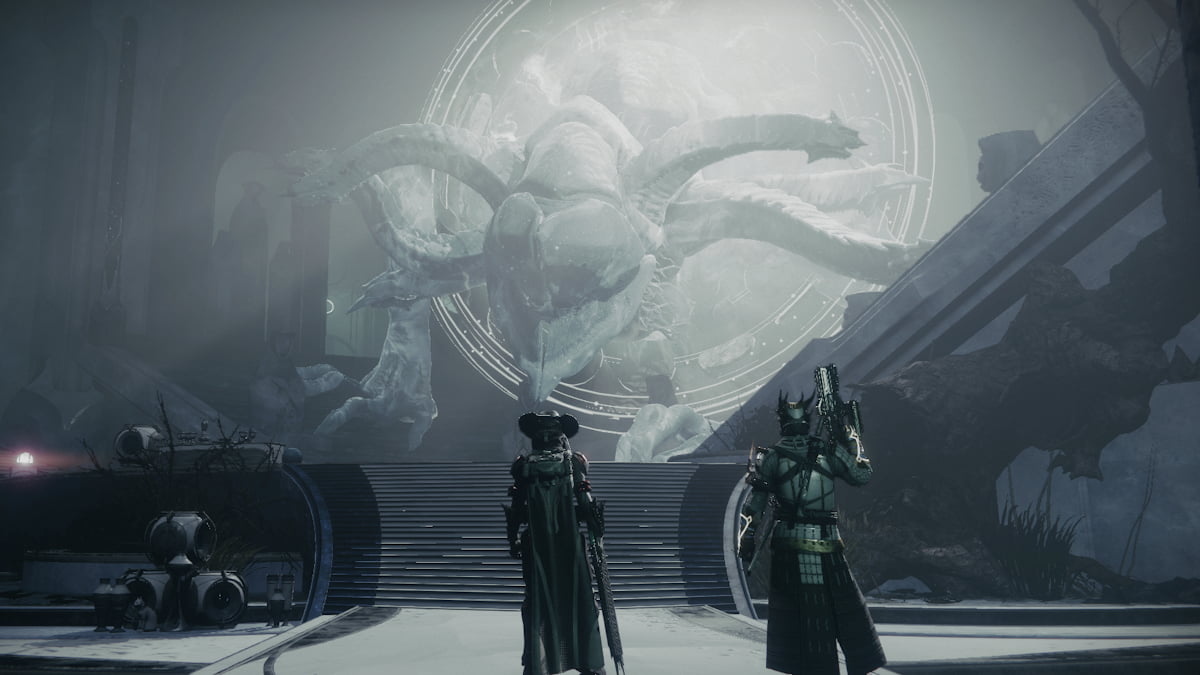
Step 5: Kill S.A.B.E.R.-2
The arena where you face S.A.B.E.R.-2 is deceptively open when you enter. To the left of the room is a flat open platform with more electrical arcs buzzing in various sections. This is where the first few enemies will begin pouring in. Kill them to start the final fight.
On the right-hand side of the room, giant fuses will begin to move up into the area. These will spark electricity at random points during the fight. Use them as cover, but don’t get too close to them. If you do, they’ll fry you in seconds, and that’s no good for your team.
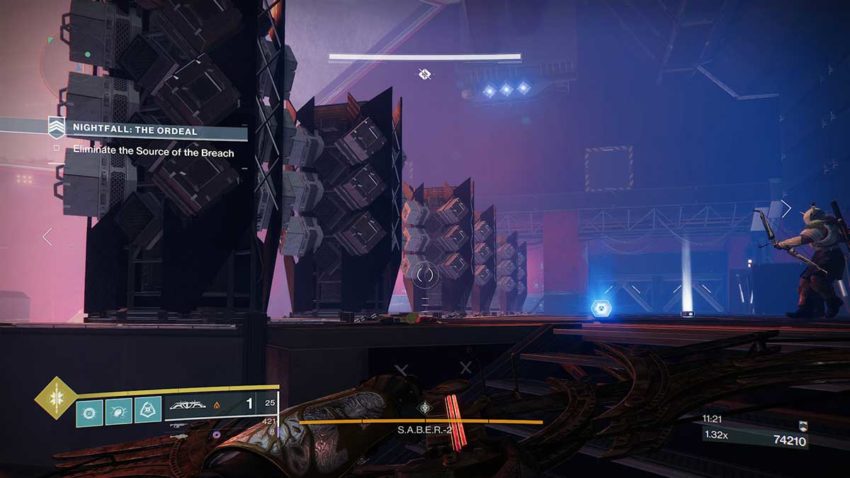
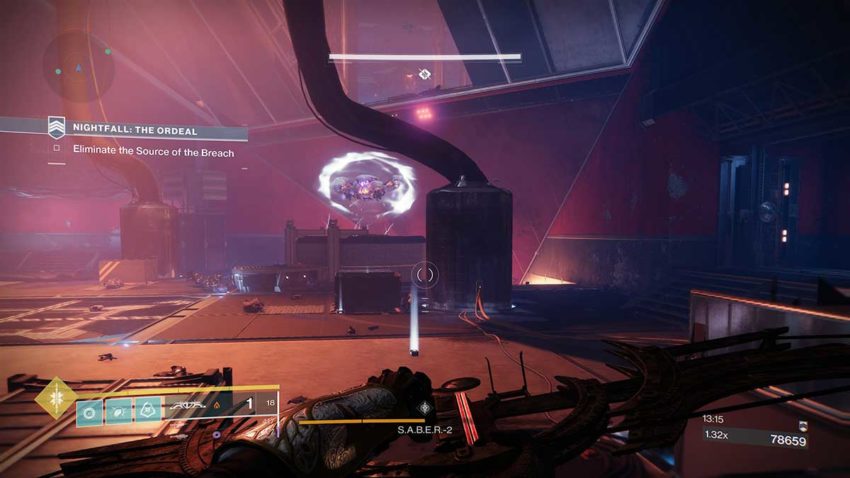
As soon as these fuses start appearing, S.A.B.E.R.-2 will rise from a chamber in the middle of the room.
Phase 1

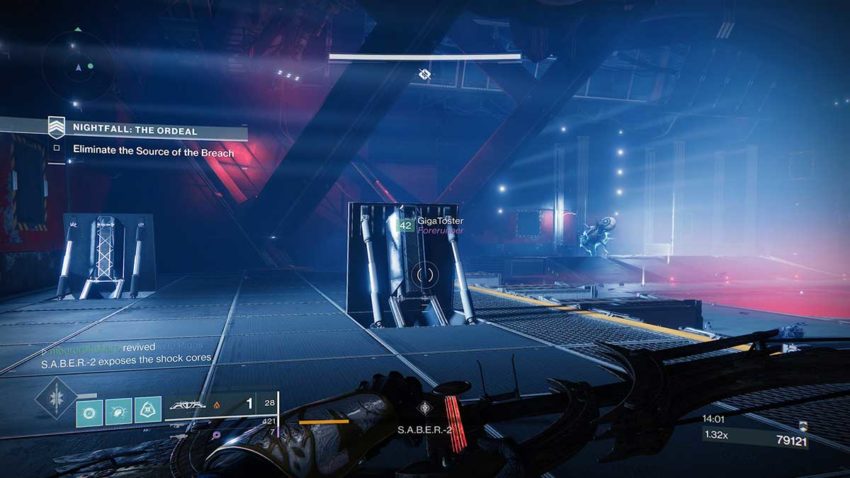
This boss fight has two phases. The first is what you might be used to from other Strikes. There’s a small window of time in which you can deal damage to S.A.B.E.R.-2. After enough damage has been dealt, the two cylinders in the image below will have their covers removed. The boss will then be granted a shield and move to the position you see it in below.
At this point, the room will flood with enemies. You need to kill all of them, particularly the two Servitors, before you can deal damage to the boss again. The enemies to watch out for and kill as fast as possible are the Exploder Shanks. These things will sneak up on you and stop you in your tracks if you’re not paying attention.
Phase 1 lasts for three-quarters of the fight. The best place to be is up on the platform behind the fuses. As we mentioned earlier, they’re great covers when you pay attention to them. As soon as you’re into the final chunk of health, the boss turns nasty.
Phase 2
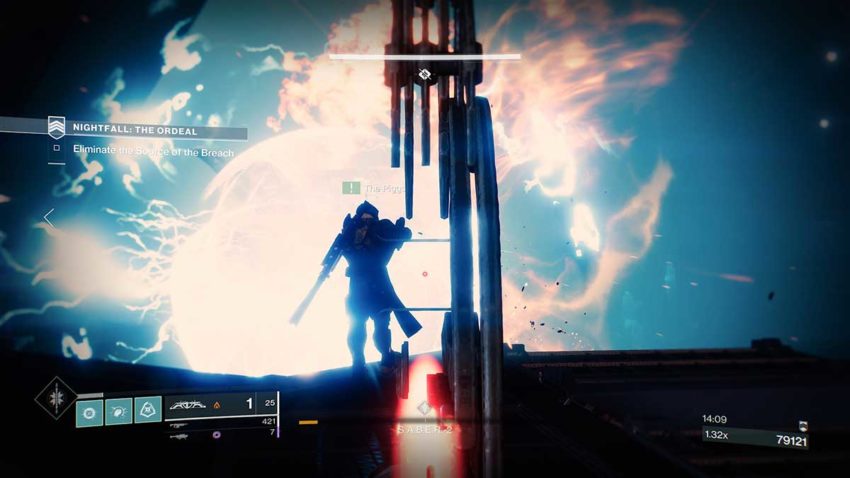
For the final part of this fight, S.A.B.E.R.-2 goes mad. Its shell has been bucked and broken, and it’s sparking all over the place. At this point, it will now move up onto the platforms you’ve been battling it from and force you to rethink your strategy.
The sections of flooring that have moved in the image above are meant to act as cover. In reality, S.A.B.E.R.-2 will move so fast that you’ll barely be able to use them. As with the first phase of the fight, keep killing all the enemies that spawn, but deal as much damage as you can to the boss as well.
If you’re consistent and concentrate fire, you can kill the boss before it has a chance to cause you too much trouble.
Once the boss is down, the Strike will finish. A Chest will appear off to the side of the shaft through which the boss entered the room.


Published: Feb 9, 2021 01:50 pm