Floor 11 of the Spiral Abyss has reset, giving players a brand new challenge. This is one of the most difficult Floor 11’s yet, and arguably is like a Floor 12. Players without well-built characters will struggle to clear some of the floors in time, but there are still ways to increase your chances of victory.
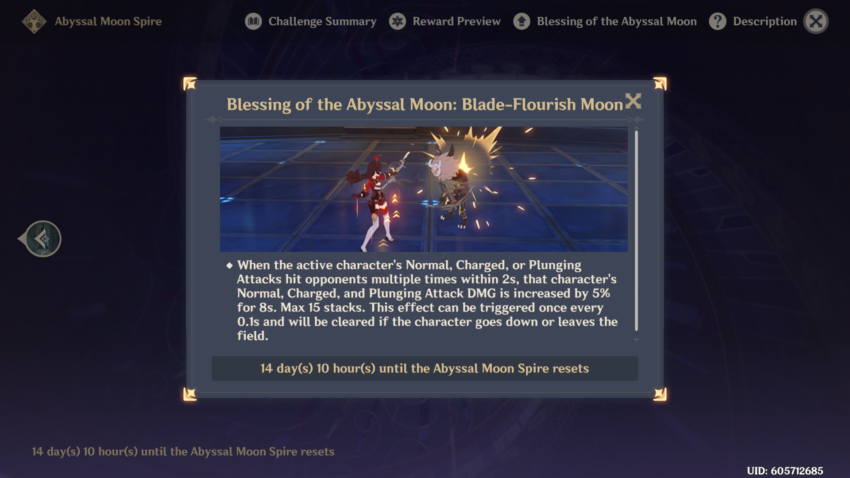
Each Spiral Abyss update grants a unique buff to help you out on your battles. This update is the Blessing of the Abyssal Moon: Blade-Flourish Moon. This buff has the following effect:
When the active character’s Normal, Charged, or Plunging Attacks hit opponents multiple times within 2 seconds, that character’s Normal, Charged, and Plunging Attack DMG is increased by 5% for 8 seconds. Max 15 stacks. This effect can be triggered once every 0.1 seconds and will be cleared if the character goes down or leaves the field.
The buff is not that useful for many characters, although you may enjoy the buff if you run Xiao or Yoimiya. At this stage in the game’s life-cycle, it’s highly recommended to slot in at least one 5-star for your Spiral Abyss journey.
Fortunately for us, Floor 11’s Leyline Disorder is a straight-buff instead of a debuff. Characters’ Normal Attack DMG will get a flat increase of 50%. It’s just free damage instead of something like Corrosion, so take advantage of that with characters that use Normal Attack DMG.
Characters to consider
The enemies themselves are the big issue on this floor, featuring some highly controversial mobs like the Specters and one big Thunder Manifestation. The Thunder Manifestation is a world boss with tons of aerial mobility, making it hard for grounded characters to strike it down. Consider these characters to take with you:
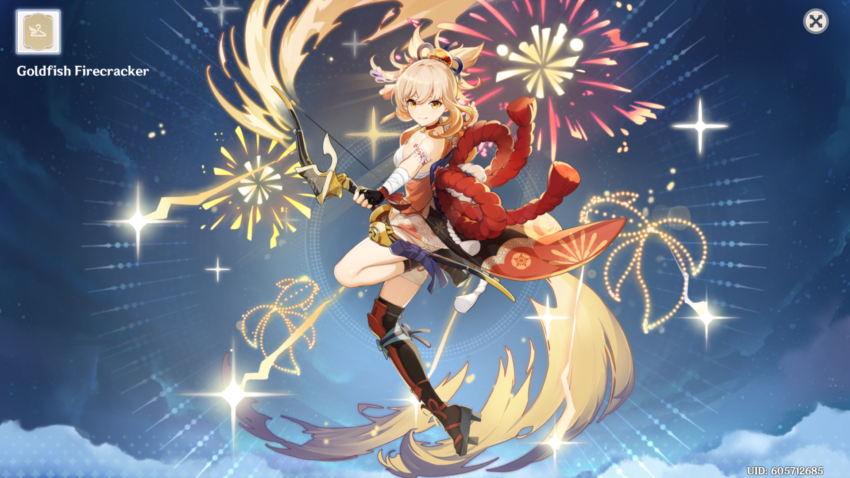
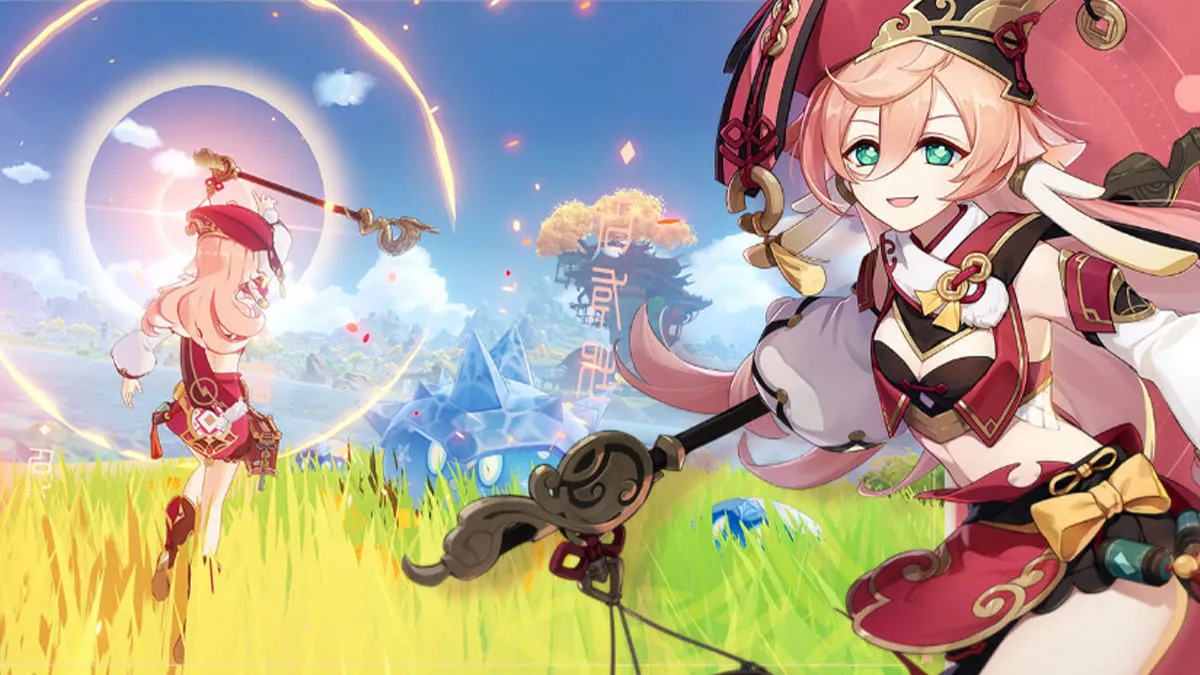
- Yoimiya: Yoimiya is undoubtedly the star of this floor. If you were a player who pulled Yoimiya but was disappointed to see others calling her weak, then you’re in luck. This floor was tailor-made for her and trivializes many of the challenges. Her Pyro-infused Normal Attacks can deal insane damage to the Hydro Mimics found on Floor 11-2-2, and her range is insanely helpful for dealing with the Thunder Manifestation. (A good alternative to Yoimiya is Yanfei.)
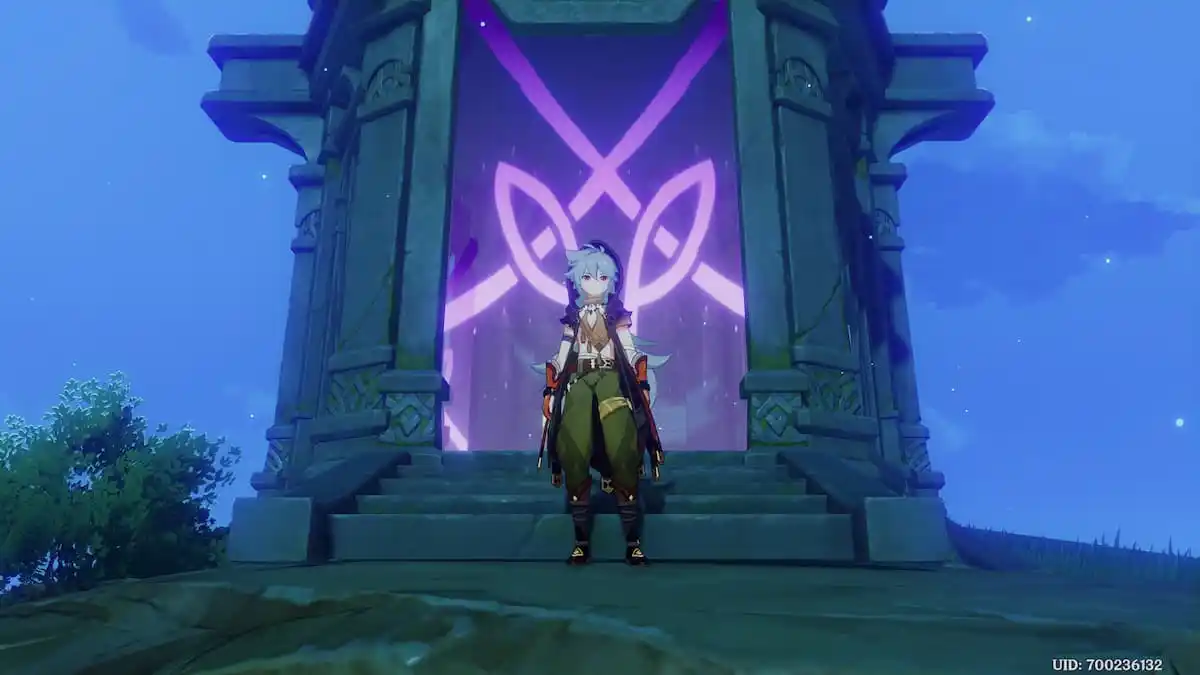
- Tartaglia: Tartaglia has always been a top-meta character in his “Childe International” team, consisting of Tartaglia, Kazuha or Sucrose, Xiangling, or Bennett. This team is also quite affordable, as it only requires one 5-star. He continues his reign of usability here, and you can run him on your first or second team.
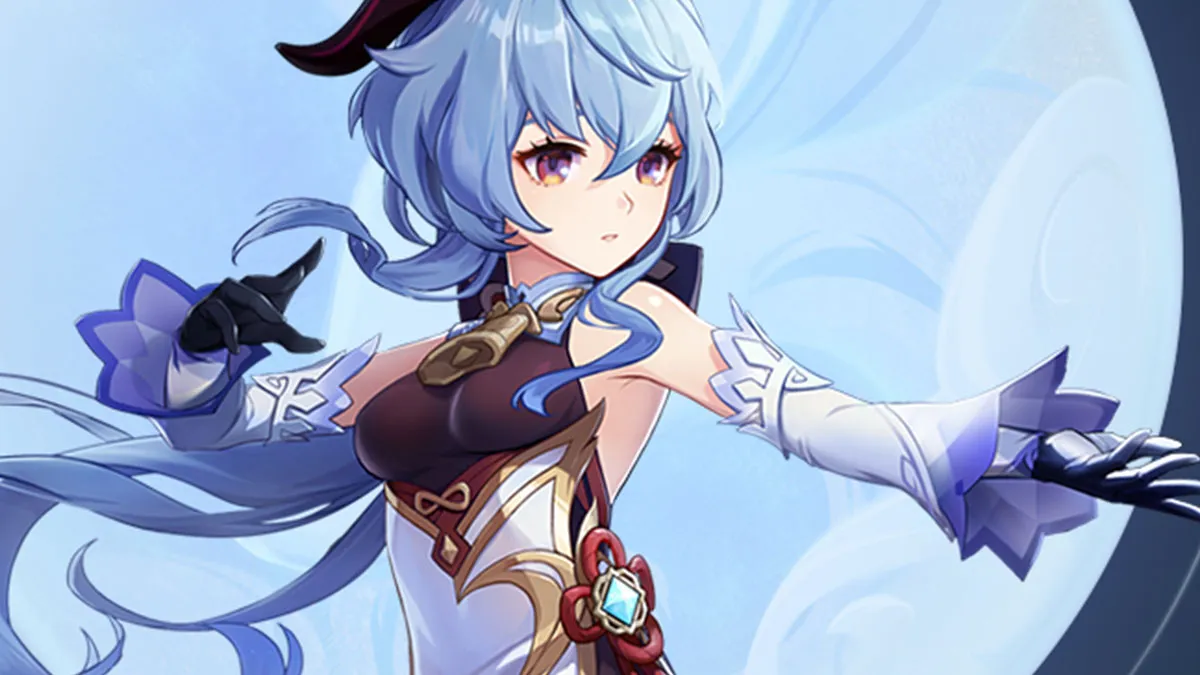
- Ayaka / Ganyu: Freeze teams will make a return of usefulness on this floor. Ganyu, in particular, can make short order of the Specters found on Floor 11-2-1.
- Zhongli / Thoma: If you don’t have Yoimiya to deal with the Thunder Manifestation, then you’re going to have to brawl up close and personal with the Thunder Manifestation. The boss has many confusing, obscure attacks that are difficult to dodge. As a result, the comfort of bringing a dedicated shielder will likely save your run from a downed character.
Floor 11: Chamber 1 – First Half
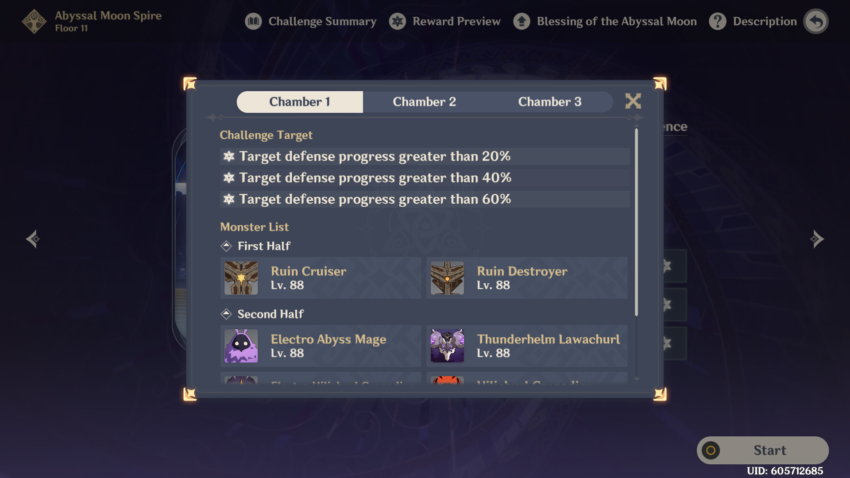
The goal of this chamber is to defend the target’s health. Enemies that spawn will directly aim at a Leyline at the center of the map, and you must defeat the targets quickly enough so that your Leyline’s health stays above 60% for max completion.
If you aren’t worried about obtaining 3-stars on this chamber, this floor isn’t bad. Otherwise, you’ll have to quickly defeat the Ruin Cruisers and Ruin Destroyers. The enemies come in two waves. The initial wave is two Ruin Cruisers, and the second wave is two Ruin Destroyers.
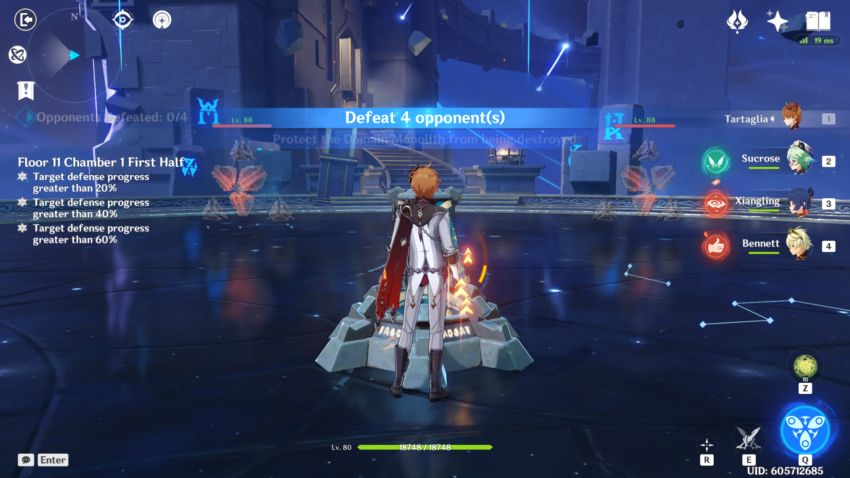
The best way to tackle this first wave is simply attacking one of the Ruin Cruisers at a time. Once you are attacking one, the aggro of the enemy will draw towards your character, meaning they’ll ignore the Leyline at the center. You can position yourself like this:
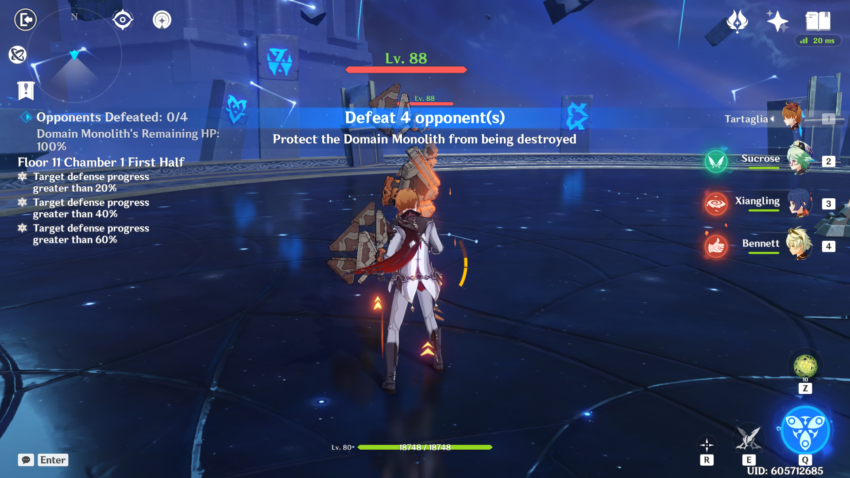
So the Ruin Cruiser will back up into the second Ruin Cruiser. This will help you deal AoE damage and kill both of these enemies simultaneously, as they will naturally group up together. Now, the Ruin Destroyers will spawn. Immediately head to the closest Ruin Destroyer. If you’re lucky, the second one will ignore the Leyline at the center and teleport to you.
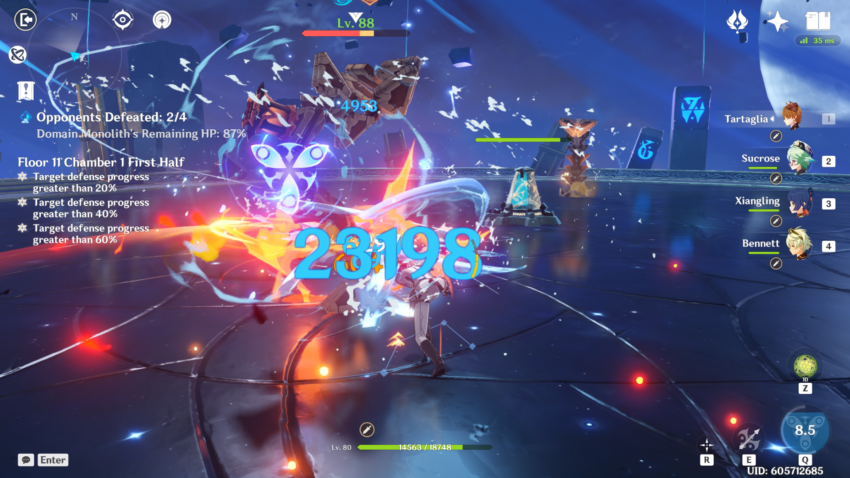
Floor 11: Chamber 1 – Second Half
To floor is straightforward, without many difficult enemy patterns. Just deal as much damage as fast as you can. You can throw yourself at the enemies to draw their aggro away from the Leyline at the center, but it’s a straightforward set of enemies.
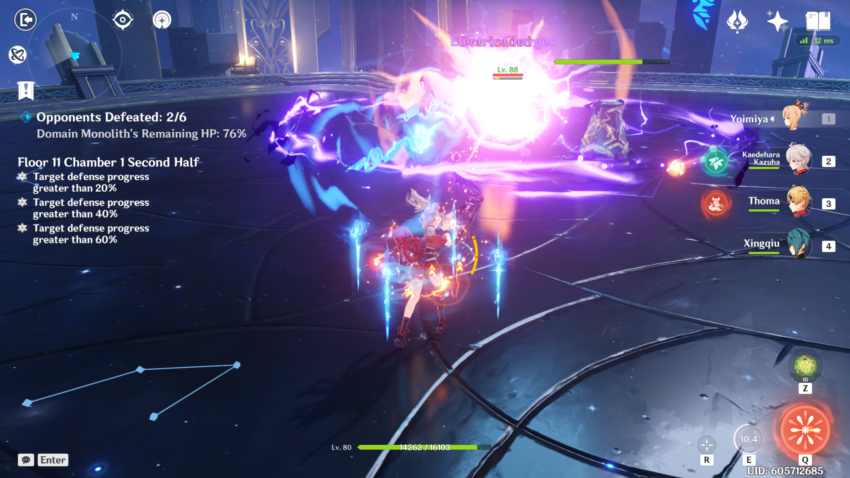
This is another floor that demonstrates the usefulness of Yoimiya, as she can easily dispatch the Electro shields present on the floor from a safe distance.
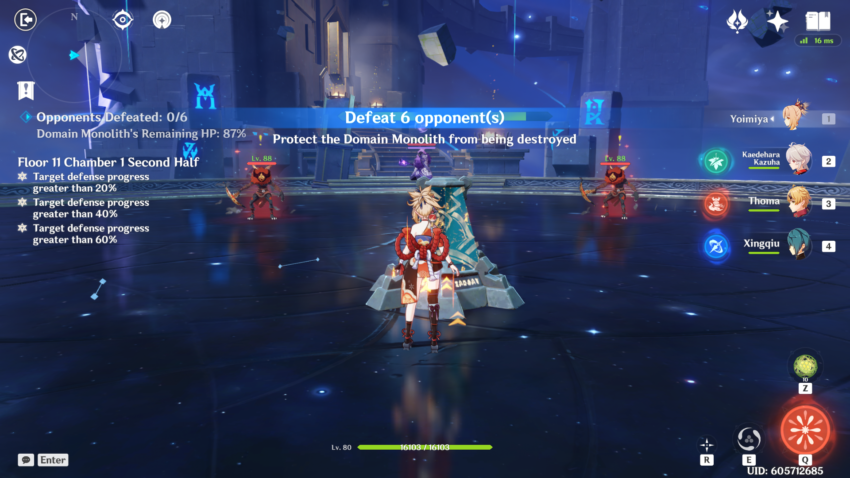
Floor 11: Chamber 2 – First Half
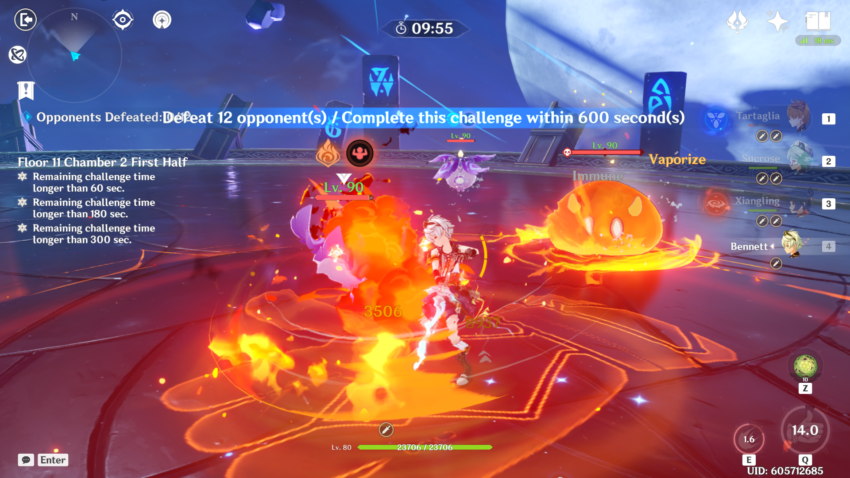
Oh boy, the Specters are here. And it’s not just regular Specters you’ve seen in the overworld. We’ll fight some unique Electro and Pyro Specters this time. Combined with slimes. Here’s the good thing: for max completion of this floor, we have 5-minutes. We can take our time here.
There’s gonna be tons of damage immunity on this floor, as all these enemies are immune to their respective elements. Pyro users are still useful to deal with the Electro enemies, but we’ll need an alternative for the Pyro specters.
Because we have five minutes, we have no problem in using Tartaglia’s regular attacks here to simply brute force these enemies to death. Even if you don’t use his Elemental Skill, you should be able to defeat these Specters quickly enough. You don’t have to deal with their frustrating attack patterns either with the range your Tartaglia has.
If you don’t have Tartaglia, any built Bow character will work fine. Especially as Normal Attack DMG is buffed on this floor.
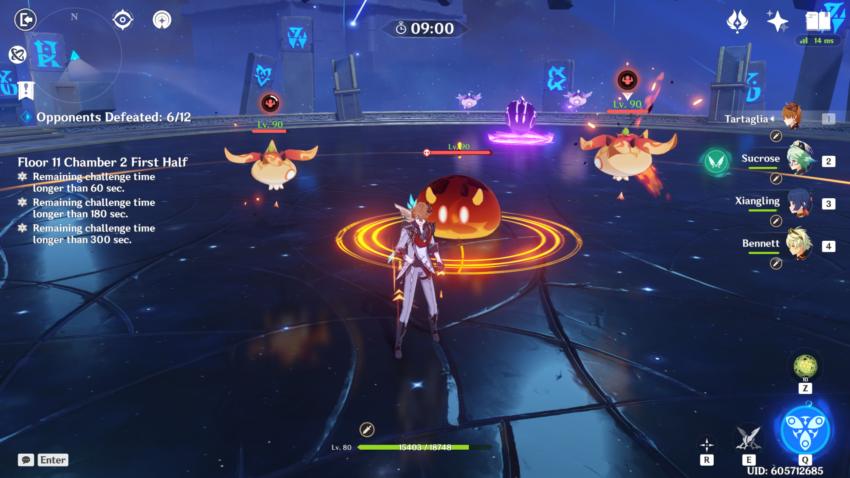
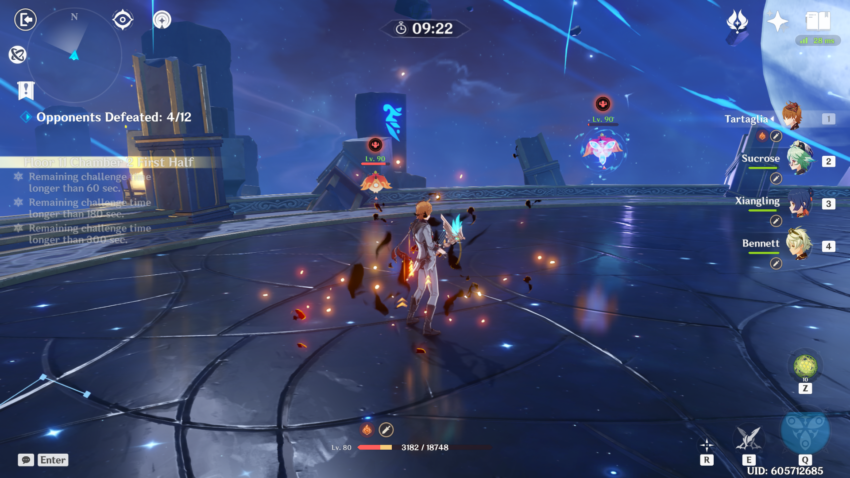
Once you defeat the initial wave of Slimes and Specters, two waves will spawn at the same time. Immediately go behind one of the spawns, as seen above. The other wave on the opposite end will automatically teleport to you, saving some time.
Floor 11: Chamber 2 – Second Half
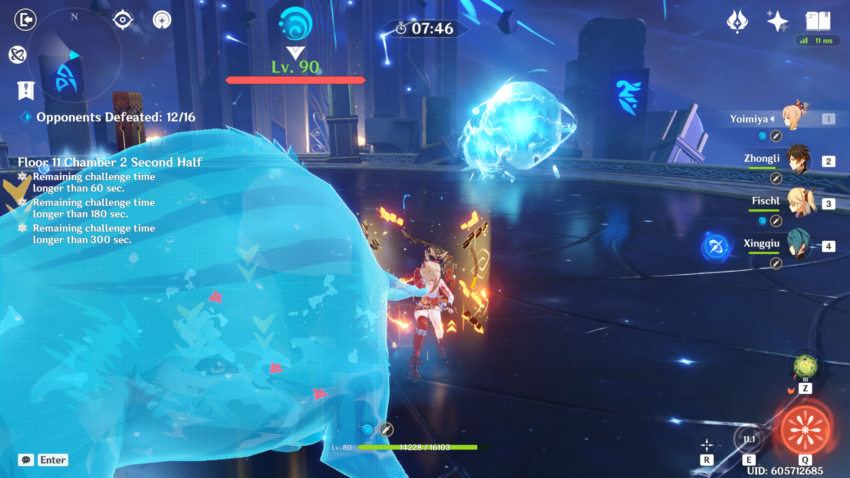
The Second Half of Chamber 2 is a bunch of Hydro Mimics. Another demonstration of Yoimiya’s usefulness is on display here, as she can automatically aim for hard these hard-to-hit enemies. They hit hard, however. In my run, I had to swap for Zhongli, as Thoma’s shields weren’t cutting it.
The big thing to note on this floor is the third wave of Hydro Mimics. They spawn two crab Hydro Mimics and two duck Hydro Mimics…and they all explode. If you defeat them at once, they’ll spawn a minefield of bubbles that will explode and deal insane damage. Be mindful of that.
Floor 11: Chamber 3 – First Half

This chamber is pretty easy and only consists of three enemies. The two Kairagi and Mirror Maiden. If you need a reminder, the two enemies above need to be killed at approximately the same time, or the other will refresh its HP. Using a grouper like Sucrose or Kazuha is pretty useful in making sure the enemies don’t stray too far away from each other. (I personally just like to go straight for the Mirror Maiden. I find the Kairagi will naturally group up.)
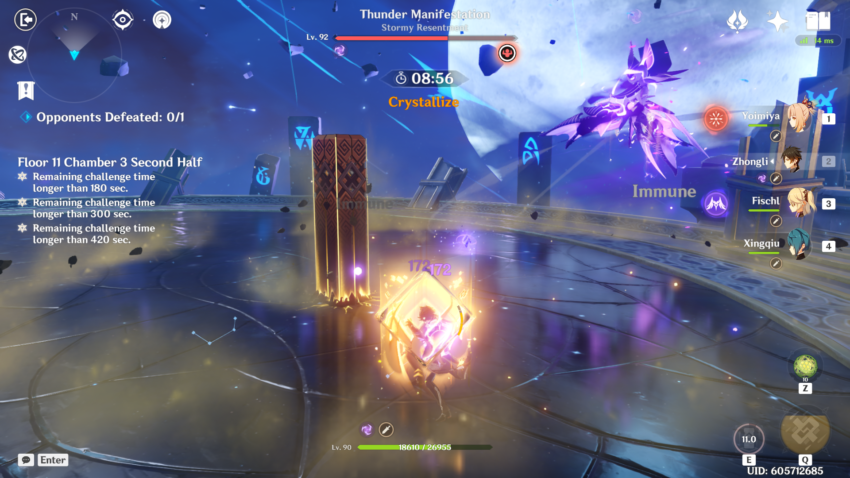
Floor 11: Chamber 3 – Second Half
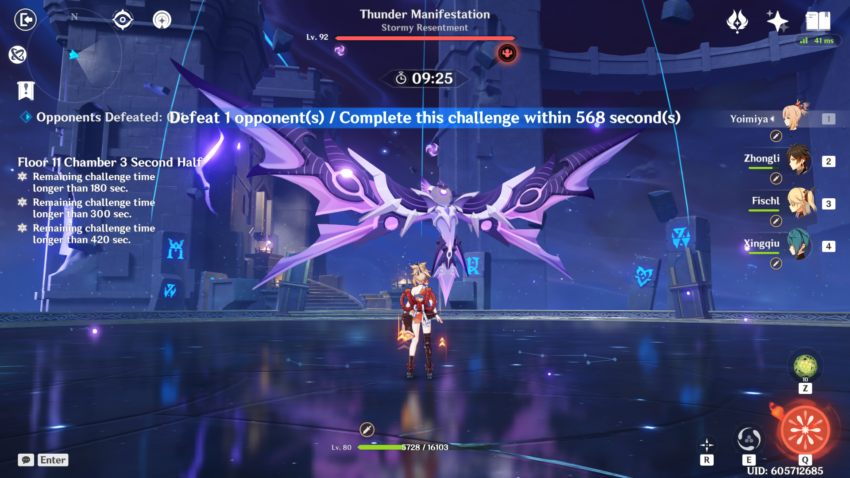
…Great.
The big question most players will have is: why did miHoYo put this massive World Boss into the Spiral Abyss? It’s a mystery, but one that we don’t have time to solve. This Thunder Manifestation has insane attack patterns that you’ll need to deal with if you don’t have a shielder. (And even if you have a shielder, you can’t be too lazy.)
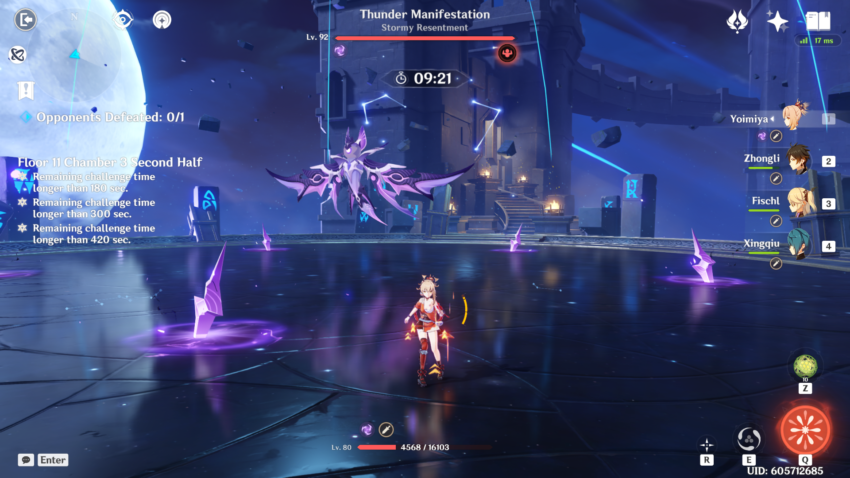
The boss can shoot out these projectiles that will subsequently shoot out waves of Electro energy that can damage you. This is pretty straightforward; just dodge these projectiles while shooting the Thunder Manifestation down. Unfortunately, if you don’t have Yoimiya, you’ll need to get up close.
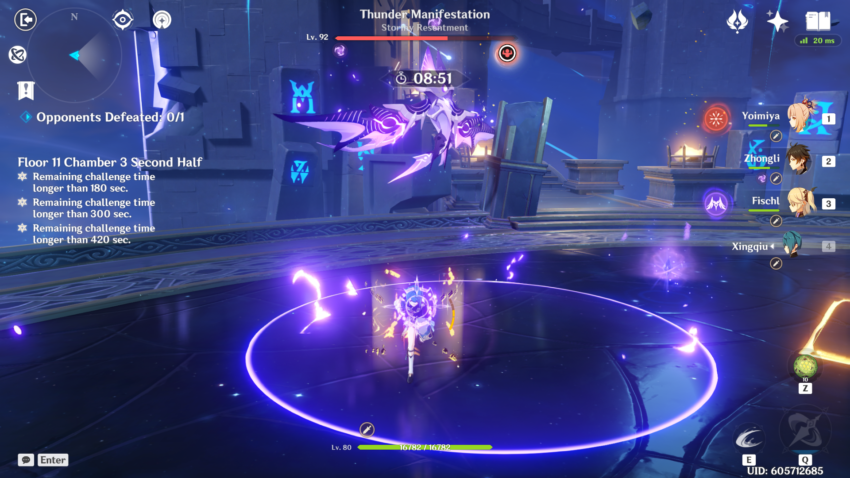
Look at this saw-like contraption. While it looks intimidating, all you have to do is dash through one of the Electro-walls as it closes in. You’ll phase right through it without taking any damage.
Occasionally, the Thunder Manifestation will spin towards you. This just requires good reaction time. Dodge it if you can.
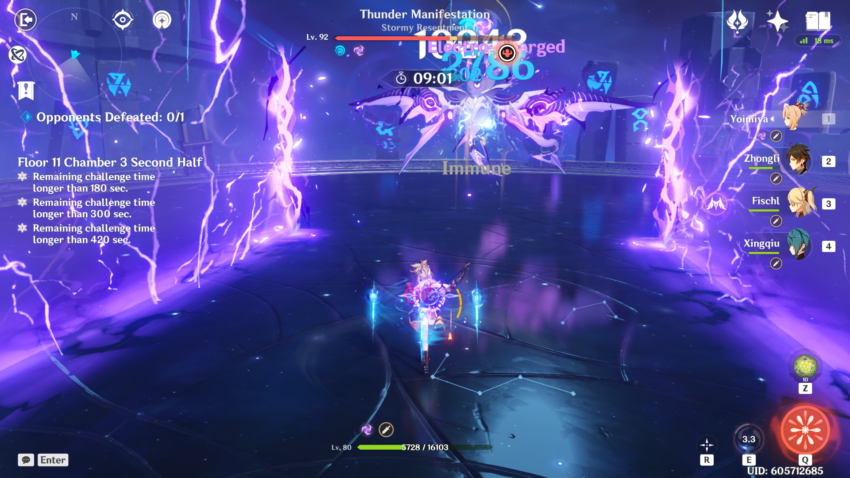
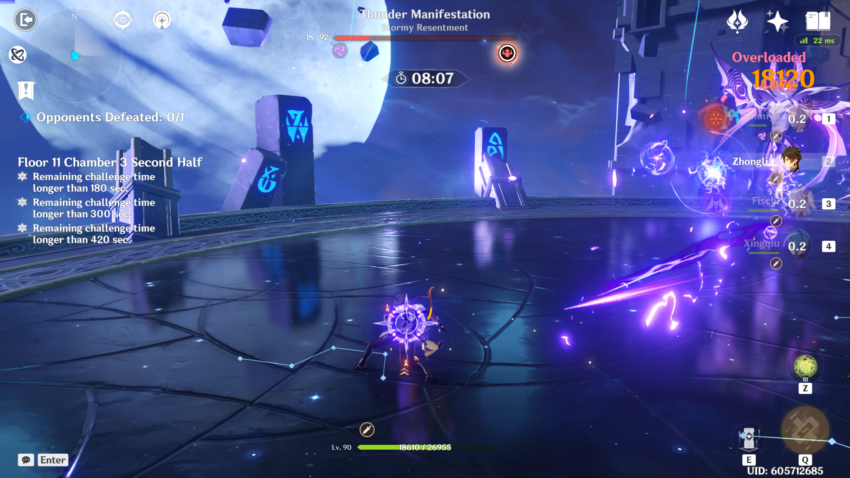
One of the most difficult attacks to dodge is this one. A purple circle will home in on you, and after a set time, a large lightning bolt will strike down and track you. If you react to the circle in time and run from it, you can outrun the lightning bolt. Otherwise, you won’t really be able to outrun it.
During this attack, you’ll see the Thunder Manifestation charge up orbs of Electro energy. These will then shoot out at you as projectiles, so be prepared to dodge them when necessary.
Memorizing these attack patterns will help greatly in your Spiral Abyss run. If it weren’t obvious, Yoimiya is great here, as you can strike this foe down as it flies into the air. But it’s possible with a grounded team as well. The biggest challenge is not how the boss flies into the air, but its overwhelming attacks.
Once you clear Floor 11, you’re ready for the biggest challenge of the game: Floor 12.


Published: Jan 17, 2022 05:49 pm