Floor 11 of the Spiral Abyss in Genshin Impact Version 2.7 has changed, giving players a new challenge to face in the hardest content available in the game. Floor 11 of Genshin Impact Version 2.7 possesses some interesting challenges on its own and empowers Anemo units to deal extra damage altogether.
Each Spiral Abyss update grants a unique buff to help you out in your battles. This update is the Blessing of the Abyssal Moon: Closing Moon. This buff has the following effect:
“After the active character uses an Elemental Skill, Normal Attack DMG is increased by 16% for 8s. Max 3 stacks. Stacks are counted independently.”

Floor 11 has an independent buff that increases the power of your Claymore-wielding characters. The Leyline Disorder of this floor provides a 75% DMG Bonus to Claymore-wielding characters, which includes their Normal Attack, Elemental Skill, and Elemental Burst.
Characters to consider

This buff greatly increases the damage of Claymore-wielding characters, which makes any Claymore character a natural pick. It’s highly recommended you slot in at least one Claymore character in one of your teams.
- Arataki Itto / Noelle: Geo units are in high demand for this floor. Rock Shield Mitachurls and Rockfond Rifthounds are weak to Geo units, which makes these units a good choice for main DPS in the first half.
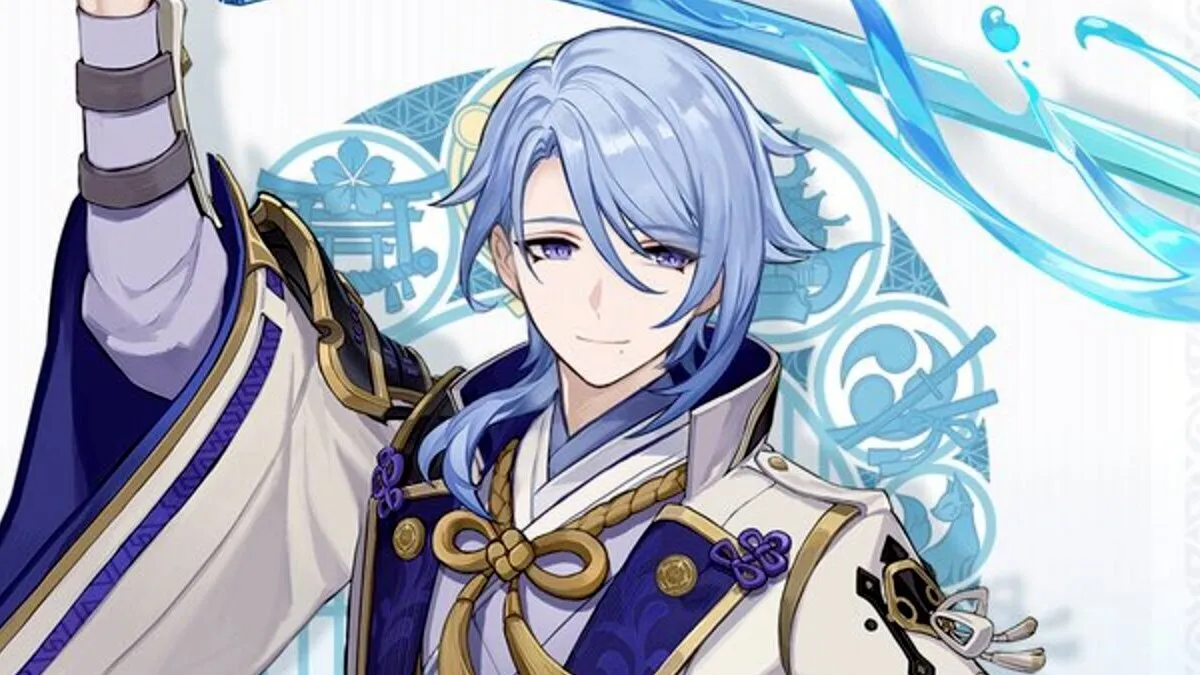
- Eula: Eula is another strong main DPS choice for the second half of Floor 11. Eula has strong burst damage which helps against some of the tankier enemies, such as Mirror Maidens or Thunderhelm Lawachurls.
- Yoimiya: While Claymore characters are buffed, the Blessing of the Abyssal Moon still buffs Normal Attack DMG. Characters who thrive with Normal Attack DMG will still perform well here.
Floor 11: Chamber 1 – First Half

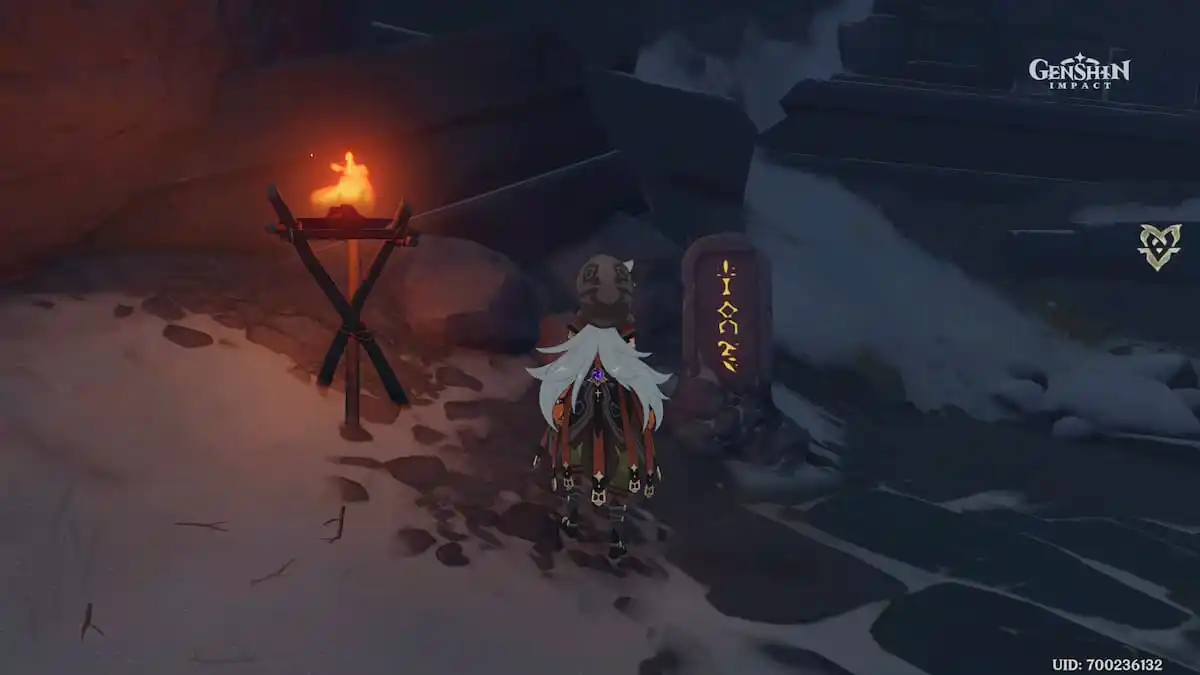
On this floor, you have to defend a monolith as enemies attack it. For the maximum rewards, you cannot let the monolith go below 60% HP. The Rockshields some of the Mitachurls are holding can make the floor go by slowly, but you can bring Claymore characters and Geo characters to wipe out the shields easier.
If you run to the position pictured above, the Rockshield Mitachurl should aggro towards you. This reduces a ton of potential damage dealt by enemies on the monolith. Using characters like Zhongli with strong CC is also helpful in perfecting your clear for this floor.

The final enemy is a Stonehide Lawachurl that appears when you defeat all the Mitachurls. Be sure to wipe out the smaller enemies first and make the Stonehide Lawachurl the only enemy you face. You can easily take this enemy away from the monolith that way.
Floor 11: Chamber 1 – Second Half

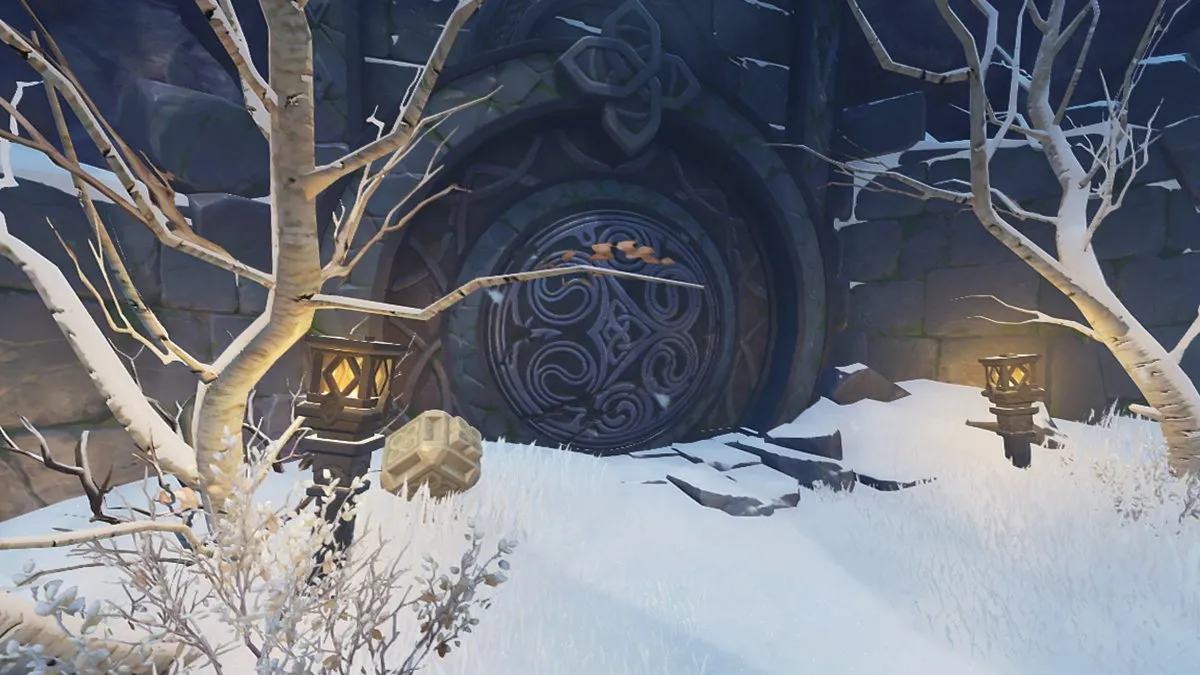
These enemies are easily displaced by units like Kazuha, Sucrose, or Venti. Treasure Hunters that can be easily crowd controlled will spawn close to the monolith. You just have to point your crowd control abilities at the monolith, and enemies will be dragged into the center and unable to damage the monolith.
There are some Kairagi enemies as well, but they can also be pulled in with crowd control. This should be an easy clear if you have any Anemo characters you can put on your team.
Floor 11: Chamber 2 – First Half
At the start of this chamber, three Icewall Mitachurls will charge at you from three different directions. These enemies naturally group up with each other, so you can hit them with a Zhongli burst and send them packing easily.

Following this, a Cryo Abyss Mage and Frostarm Lawachurl will attack you. Head to the Cryo Abyss Mage, as the Frostarm Lawachurl will naturally come towards you. Claymore DMG should easily melt through these Cryo shields.
Floor 11: Chamber 2 – Second Half

The first half of this floor will begin with four Fatui Skirmishers at the center of the map. Try to group them up with Kazuha or Venti and defeat them in one go before they pop their shields.
Following this, a Mirror Maiden will spawn on the opposite side of the map. You’ll just have to defeat one Mirror Maiden, so you should have plenty of time.
Floor 11: Chamber 3 – First Half

Noelle or Arataki Itto will thrive on this floor filled with Rockhounds. Geo Rockhounds are weak to Geo DMG, which is why it’s recommended to bring either character. Noelle will receive buffs from the Geo hounds, Claymore buff, and Blessing of the Abyssal Moon in particular.
If you don’t have a Geo character, this floor may be a little tougher. Try bringing Eula on this floor to melt down the tankier Rockhounds.
Floor 11: Chamber 3 – Second Half

This is a very easy floor that you should have no problems with, unless you simply do not deal enough damage. The floor begins with a single Thunderhelm Lawachurl, followed up by two Vishap Hatchlings. There aren’t many enemies to deal with at all in this half, and you should easily dispatch of them provided you have the damage.
Once you clear Floor 11, you’re ready for the biggest challenge of the game: Floor 12.


Published: Jun 4, 2022 02:39 pm