Update
The Deceivers is live in Hitman 3 once more for 10 days starting at 5 PM PT/1 PM BST on April 29. The guide we’ve outlined below still works and will serve you well regardless of whether this is the first time you’ve taken these targets on or not. All Hitman 3 players can try the mission out, even if you’ve already completed it in the past. Remember though, you only get one chance.
Original article
In a cruel twist of fate, IO Interactive decided that the first Elusive Target for Hitman 3 should be a returning one from Hitman 2. Not only that, but players have to take down two targets instead of one with this in-game event. In this guide, we’ll show you how to take the pair down with a rank of Silent Assassin.
Sapienza

The first thing you need to know about this Elusive Target is that it’s set in Sapienza, a location from the first game in this Hitman reboot trilogy. The game’s locations were ported to Hitman 2 as a Legacy Pack and are now considered Hitman 2 content.
If you ported your Hitman 2 progress into Hitman 3 when you loaded up the game for the first time, you should have the location available. If not, you’ll need to unlock it on your respective platform. If you already own it, this won’t cost you anything. If you don’t, you’ll need to purchase the Hitman 1 pass to unlock all of the locations in Hitman 3, including Sapienza. Once you’re sure you can access the location, it’s time to prepare.
The Deceivers

The two targets you must kill in this Elusive Target are Richard J. Magee and Anthony L. Troutt. There’s a brilliant briefing within the contract page that is well worth watching before you attempt it.
The major change with Elusive Target missions is that you can only play through them once. As soon as you begin to complete objectives, you’ll no longer be able to restart the mission. However, until you begin to complete objectives, as in when you’ve killed your first target, you can restart. There’s also no option to save during this mission.
With this in mind, it’s worth playing around in the world of the mission a few times before you attempt your Silent Assassin run. Follow the motions of our guide to ensure you understand what you need to do and when. After that, you should be prepared enough to make the Silent Assassin run.
Loadout
The loadout for this mission is quite simple. To make this guide as accessible as possible, we will start in the Main Square starting position. You’ll need to bring coins and a silenced pistol. If you have any emetic poison items that you can put into the loadout, it’ll make the mission ever so slightly faster. We’ll show you where you can pick some up in Sapienza all the same.
Step 1: Mischievous kitchen staff
From your starting location, get up and run to the large apartment building on the right. This is where one of Sapienza’s story missions plays out. It’s also the building that holds the ICA Safe House.

Below is a map reference for this location.

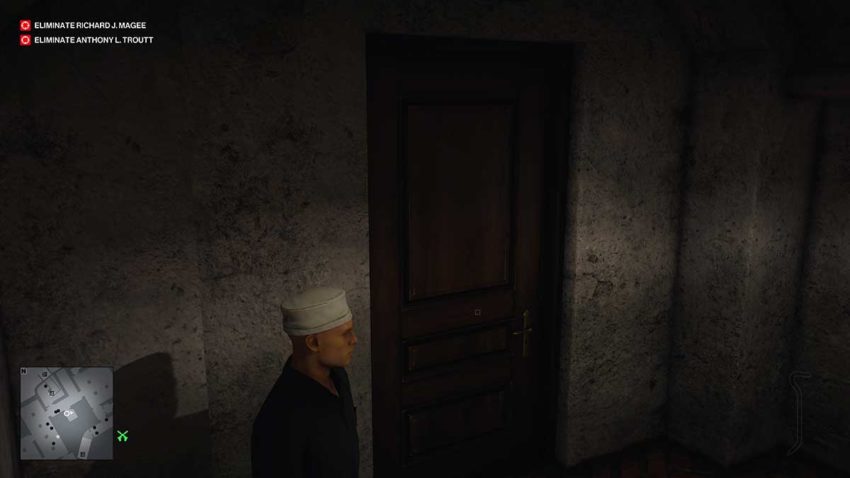
You need to head up the first set of stairs, and then enter the first door you come across. Agent 47 has a key for this room, so you’ll be able to unlock it. Once you’re in, go through the door to the left and through the next door onto the roof. You need to vault up onto the balcony of your neighbor’s room.

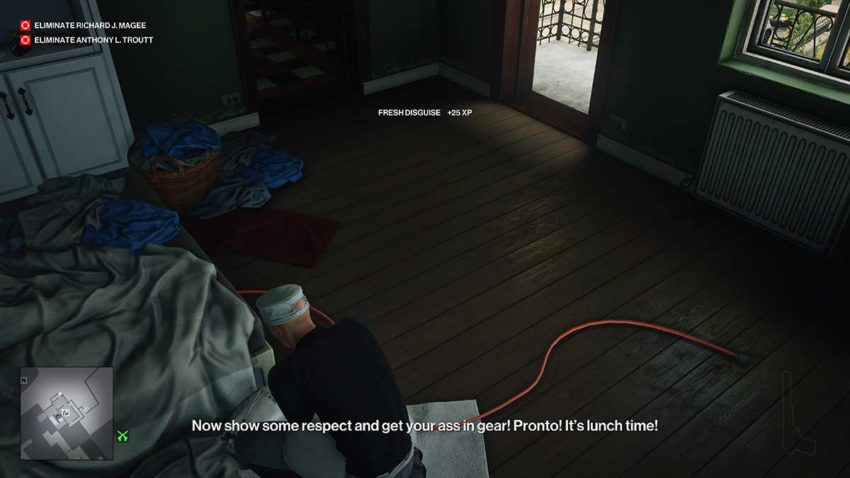
Inside, just on the bed, is a kitchen staff disguise. You need to put this on to get through the rest of the mission.
Now go back out to the balcony and drop onto the roof. Turn around and back, and you’ll see a break in the wall that allows you to drop into the villa’s grounds. Before you drop down, use your silenced pistol to take out the security camera. We’ll be erasing the footage later, but it’s worth doing so anyway.

With the camera out of the way, holster your pistol and drop down. You need to get into the kitchen, through the door to the yellow building, and then up the stairs on the left. In the kitchen, you can find the emetic rat poison.

Below is a map reference for this poison.

Head back out of the kitchen the way you came in. When you’re outside, turn right and head towards the main villa stairs. You’re not going up them, though. Instead, run to the left of those stairs. There is a short staircase leading down into the garage to the right of the main opening. Go down these and in through the door.

In this small corridor is a crowbar — pick this up.

Now take the opening behind you. This leads into the wine cellar, and you should see some wine barrels lying around. Head down here until you can see a staff member standing in front of a glass of wine.
Throw the crowbar at the staff member, then quickly hide his body in the laundry bin in the room just next to him. Do this quickly, because the other staff will move into this area shortly.

With the body hidden, use the emetic rat poison to taint the glass of wine. Pick up your crowbar and head back along the corridor to this area. On your right is the door to the bathroom. Go inside and wait.
Keep using instinct to check if your target, Anthony L. Troutt, is making his way down here. You’ll be able to see an NPC donning a fedora walking into the area with an entourage of bodyguards.
We found some inconsistencies with the target’s timing and behavior. To ensure that he drinks the wine, go and eavesdrop on what he’s doing when he does come down to the wine cellar. As he heads towards the bathroom, run ahead of him and lie in wait.

Now all you have to do is wait a little more. Eventually, the target will drink the wine and come into the bathroom. When he does, close the door and drown him. This will look like an accident, so anyone who stumbles across his body won’t bat an eyelid.

If you wanted to skip any waiting, you could bring the lethal pills into the mission and then move on with everything else. Your target will eventually drink the wine and die, and it won’t affect your Silent Assassin rank. However, you’ll get a higher rank from drowning the target because the body won’t be discovered.
To give yourself some breathing space, you could also subdue the target for now. This means that you can head out to try and kill the other target first. If you’re unsuccessful, you can try again. Otherwise, you can come back afterward to finish the job by snapping this one’s neck. Just be aware that on your return, the guards at the front gates of the villa will frisk you, so you’ll have to drop your silenced pistol first.
Step 2: An incident in the clocktower
With one target down, leave the area and head out of the villa’s main entrance. You need to get to the clocktower, which is the tallest building in the main square.

The front door is locked. While you can use the crowbar to break in, it’ll alert the guard inside, as well as anyone watching you. Instead, wait for the NPC to come down the stairs and open the door for a smoking break. When the door opens, rush in. The kitchen staff disguise is allowed to be in this area.

Now you need to run up the stairs until you reach the guard room. This is level 6 of the building. Exit onto the balcony, lean against the doorway with the door open, and wait.

Below is a map reference for this location.

Eventually, a fedora-wearing guard will come up here for a smoking break. As he enters the doorway, subdue him and pull him onto the balcony. This guard could also already be on the balcony. If he is, subdue him all the same. Make sure that you grab his weapon and drop it on the balcony; otherwise, it’ll mess up the next part.

Now you need to clear the guard room. To do this, move around the balcony and lean against the wall under the open window. One guard will move here and have a smoke. When he does, make sure the other two guards in the room aren’t looking and then subdue him. You can leave the body where it is.

The guard to the right will notice the weapon that has been dropped. He’ll pick it up and disappear. He won’t be back for quite some time, so you shouldn’t need to worry about him spotting you.

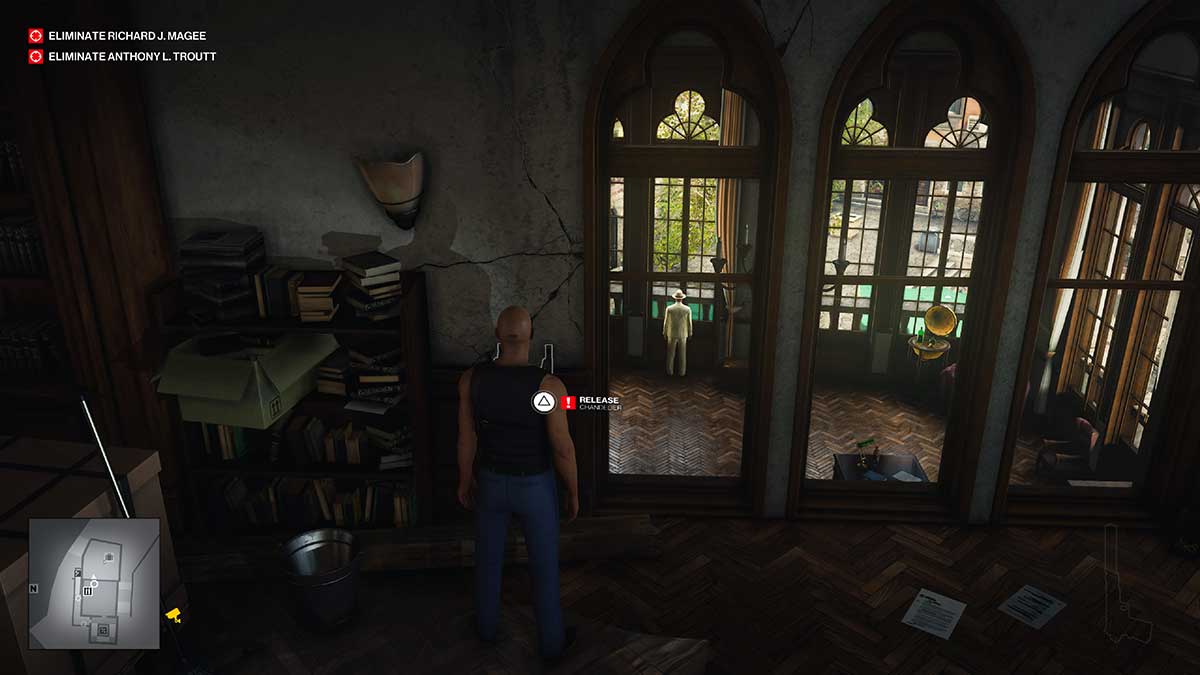
When that guard has left the room, there should be one left. When he isn’t looking, vault into the room. You can vault over the large furniture in here to avoid being spotted. You could throw the crowbar at his head to subdue him or use Agent 47’s hands. When you’ve taken him out, hide his body in the container in this room. You’ll need to wear his disguise for this next part.

Look through the large window in this room. You should be able to see a chandelier and a few NPCs. The one you need to watch for is Richard J. Magee. At some point during his loop, he’ll be walking under the chandelier. When he is, use the lever to the window’s left to drop it on his head.

Step 3: Exit

Before you leave this room, destroy the security footage. You’ll have been spotted by it on your way up. You can shoot the equipment to be sure if you feel like that’s necessary. This will prevent the cameras from picking you up on the way back as well. You should also put your kitchen staff disguise back on if you intend on heading back to the villa to kill your subdued target.

Make your way down the stairs and out the front door. Head to the villa if you need to finish off the second target. Otherwise, pick an exit and leave the mission. The easiest one for us was the boat in the marina. You can run down there with no risk of being spotted.


Published: Apr 29, 2022 01:01 am