Ambrose Island is the first new location to be added to Hitman 3 since its initial release. The island is a complicated mix of military thugs and pirates that don’t want any outsiders to get in their way. This guide explains how to complete the mission with a rank of Silent Assassin, so you aren’t detected by a single soul.
Related: Where to find the submarine key on Ambrose Island in Hitman 3
Loadout for Silent Assassin on Ambrose Island in Hitman 3
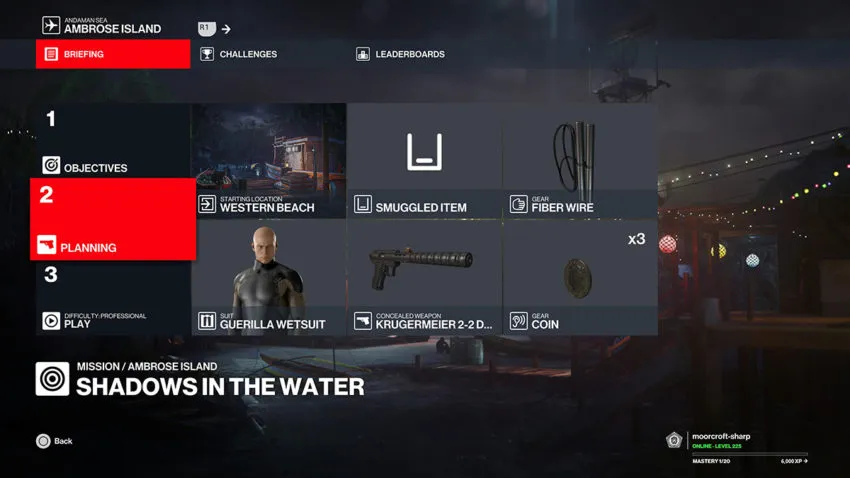
This guide doesn’t require any fancy equipment, so bring the basics. It’s worth wearing the Guerrilla Wetsuit because you won’t see it again until you hit Mastery Level 20 on this location. As for a gun, you don’t necessarily need one, but we always bring the Krugermeier 2-2 Dark in case things go south.
Step 1: Reach the antenna
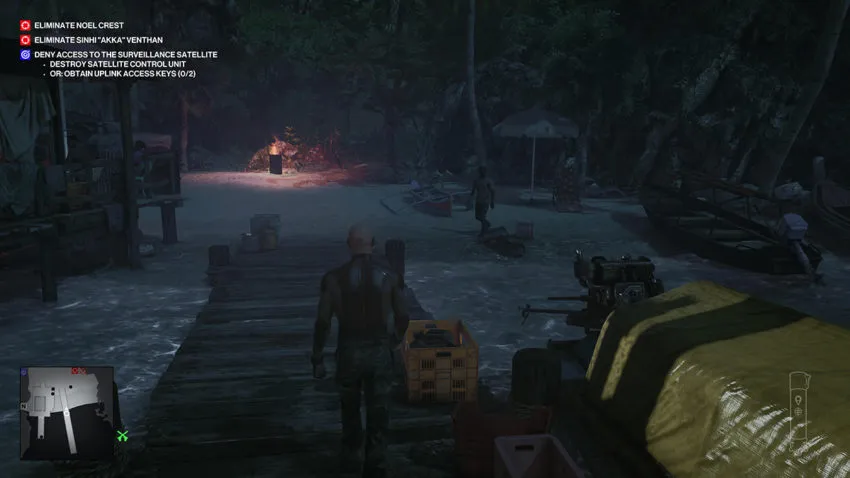
From your starting location on the dock, make your way towards the fire ahead of you. Turn left and walk down the beach until you see a small nook to your right. There should be a vine growing up the cliff here.
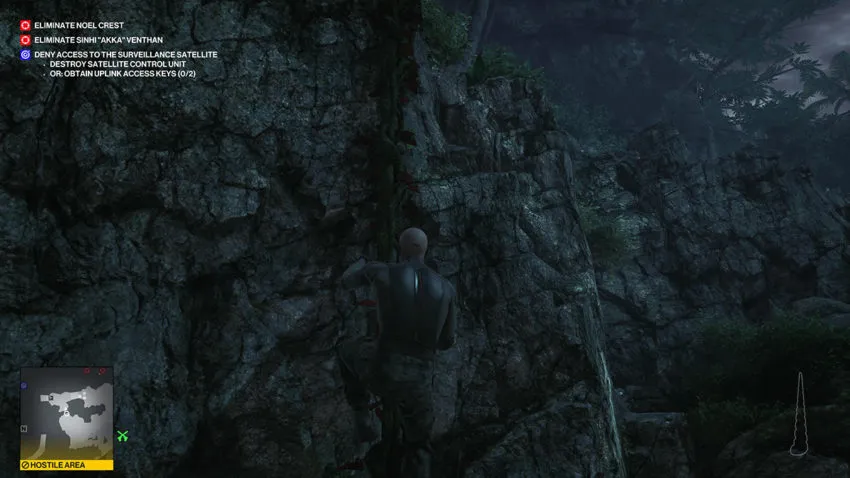
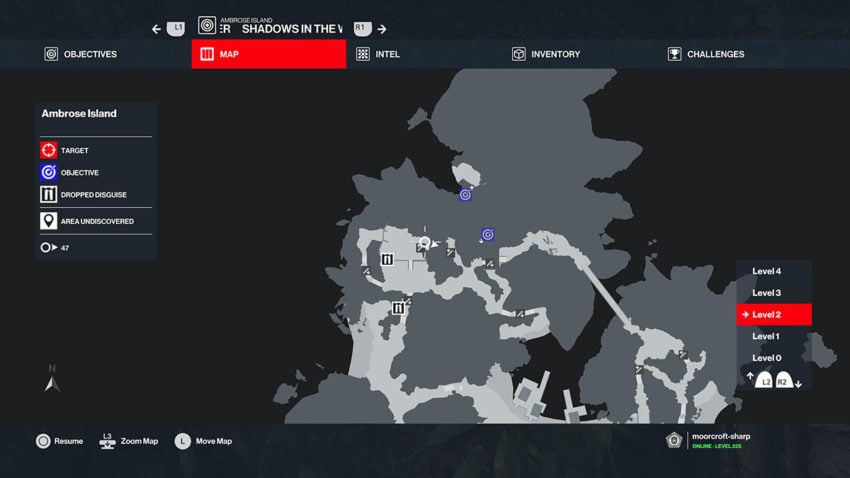
See the below for a map reference for this vine.
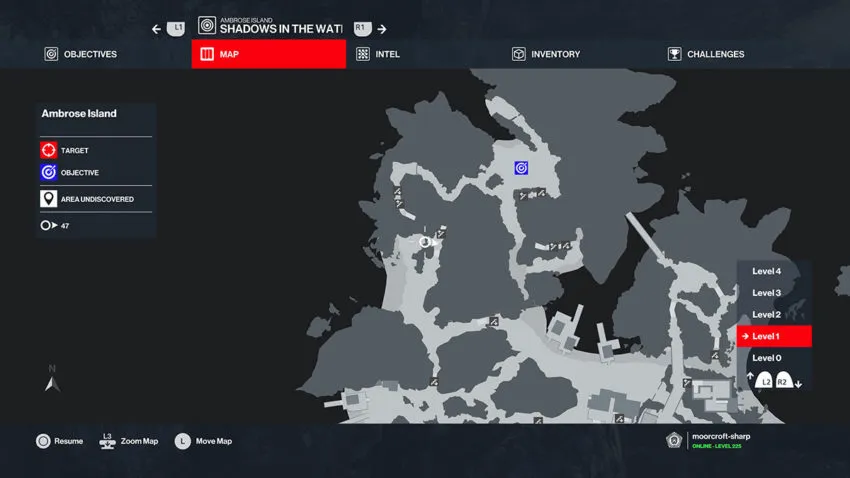
Climb up the vine to reach a path above. One of the cooks will walk down this path to smoke every now and then. You need to wait for him to walk close to you and then throw an object to distract him and draw him into the tall grass. Subdue the cook and take his disguise.
Follow the path up the steps, and you’ll be in the kitchen area close to the antenna. It’s then revealed that one of your targets, Noel Crest, would be terribly upset if the antenna went down.
Step 2: Get the first key card
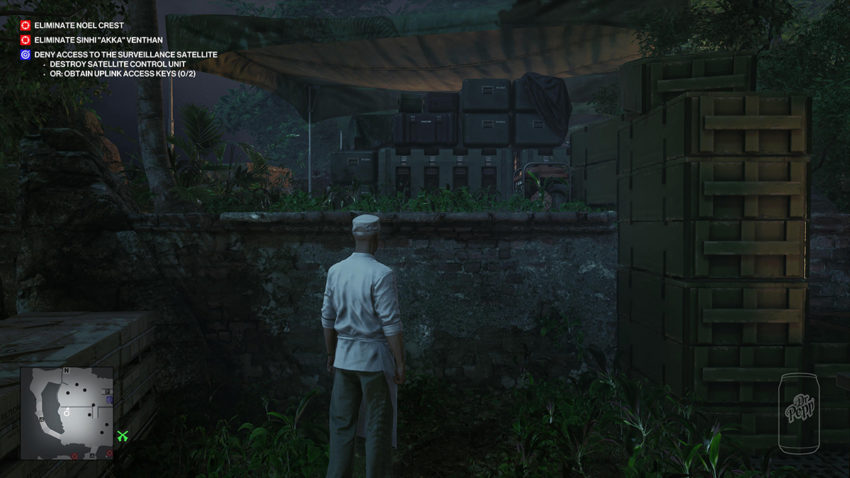
Before you do anything to the antenna, you must take out Crest’s most-trusted henchman. He’ll occasionally come into the kitchen area to try out some of the food. Make your way to the left of the kitchen area, where you can see a high ledge with a generator on it. You need to vault up there, turn the generator off then on again to distract a guard, and hop back down. Once the guard walks over to investigate, subdue him and take his disguise. Leave his body where it is for now. See below for a map reference for this ledge.
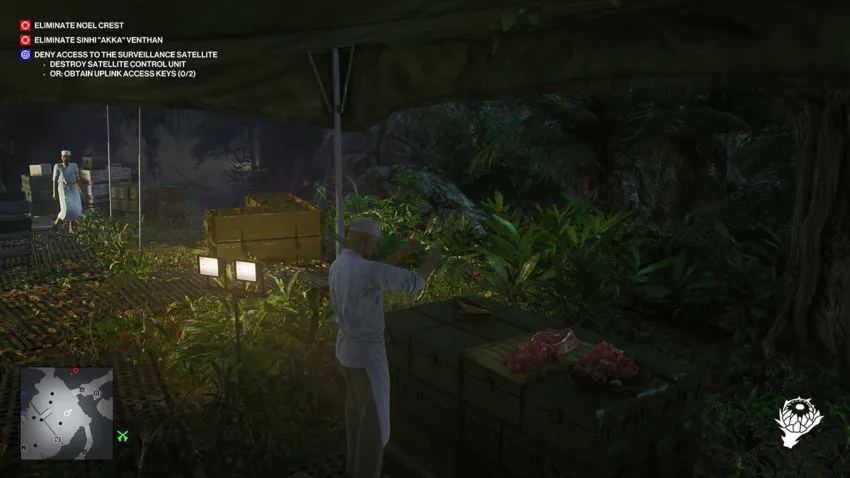
Head to the back of the area filled with guards to find a poisonous plant. See below for a map reference for the plant.
With the pant in hand, return the way you came and pick up your cook disguise. Then, head over to the food on the counter in the kitchen and poison it. This will trigger the henchman to come and eat some of it, causing him to feel sick.
Head back up the ledge and put your guard disguise on again. Follow the henchman to the portaloo at the top of the stairs and then pacify him. Don’t drown him because it’ll ruin your Silent Assassin rating. Pick up the card he drops, which is one of two required to complete the mission. Now, wait for the NPC guard above you to look to the left and drag the henchman’s body into the tall grass to your right. Wait for the NPCs in the area below to look away before dumping the body off the ledge. This will ensure it’s not found later.
Step 3: Kill Crest
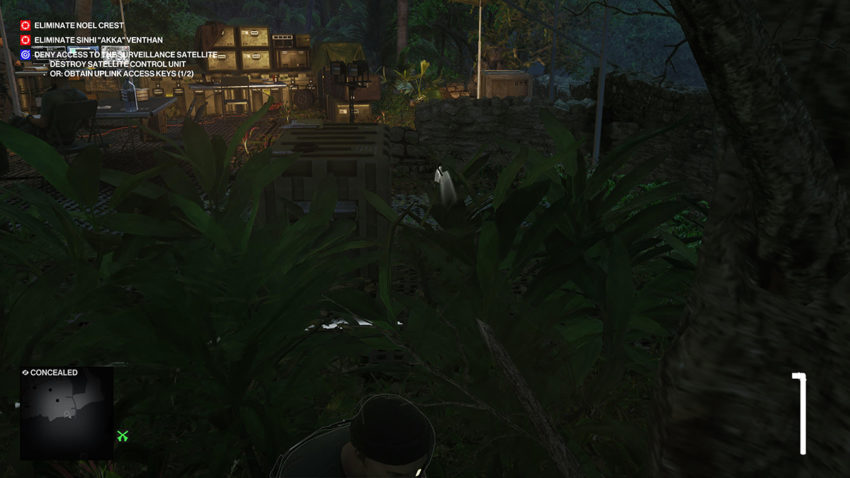
To kill Crest, there are a few things you need to do first. Go down into the area with the computers and pick up the screwdriver from the table. Then, head into the tall grass at the back of the area and distract the guard reading his paper into coming over. When no one is looking, subdue him and hide his body in the grass where he fell.

Next, move to the opposite side of the area, close to the generator you used earlier, and drop another object to draw over the second guard. Subdue him and hide his body in the chest behind you. Then, drag the body of the guard you subdued earlier near the generator and dump him in the chest too.
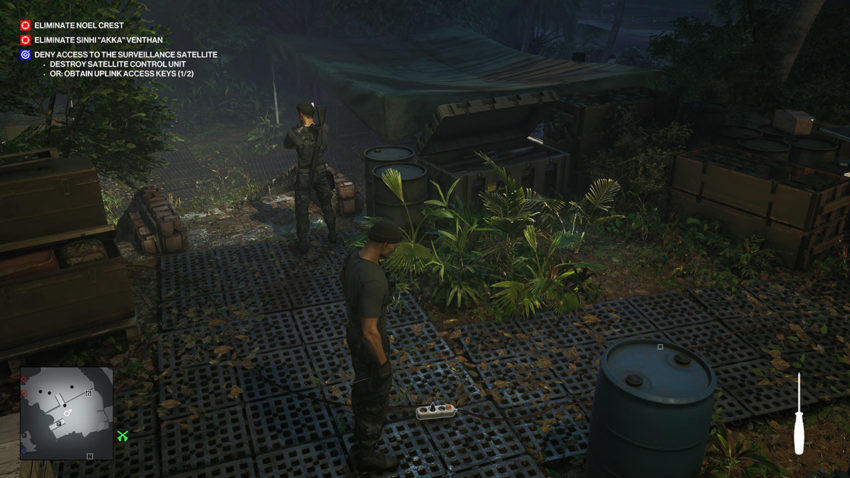
Finally, you’re ready to set up the kill. Walk over to the electrical socket on the floor in this area and sabotage it. Then, pop the barrel of water close to the electrical socket to create a trap. The last thing you need to do is walk over to the computer and interact with it. This will shut down the antenna, draw in your target, and cause him to die via electrocution. The kill counts as accidental, so no one will care about finding the body.
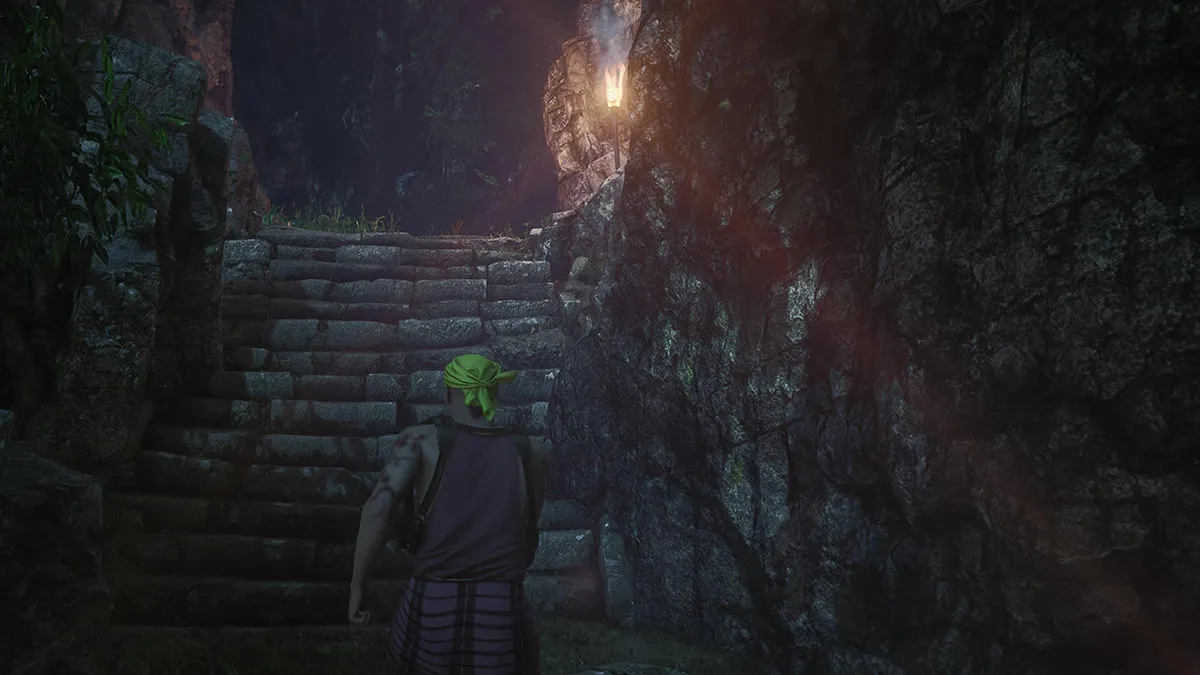
Step 4: Get the emetic grenade

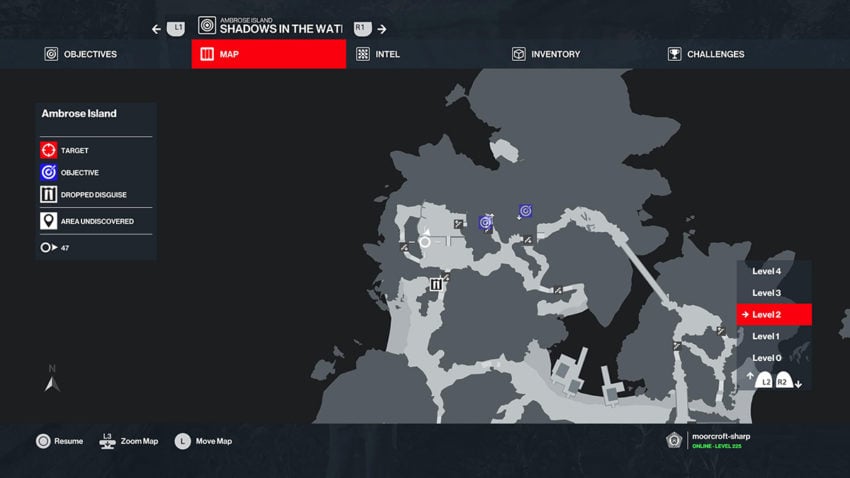
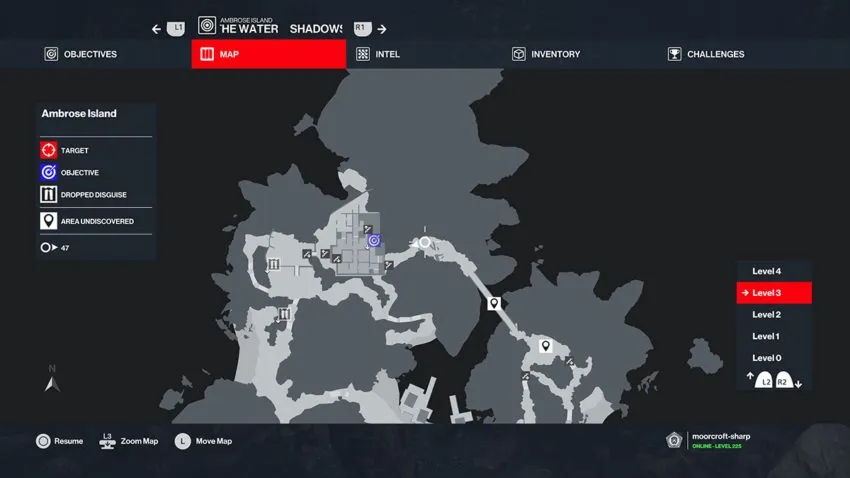
With one target and one card down, it’s time to find the second two. Before you do that, though, you’ll need a couple of tools. The first is an emetic grenade. Head up the stairs from the antenna and turn left. Climb one of the walls or use the stairs to get up to the top floor of the ruins. See above for a map reference for the ruins.
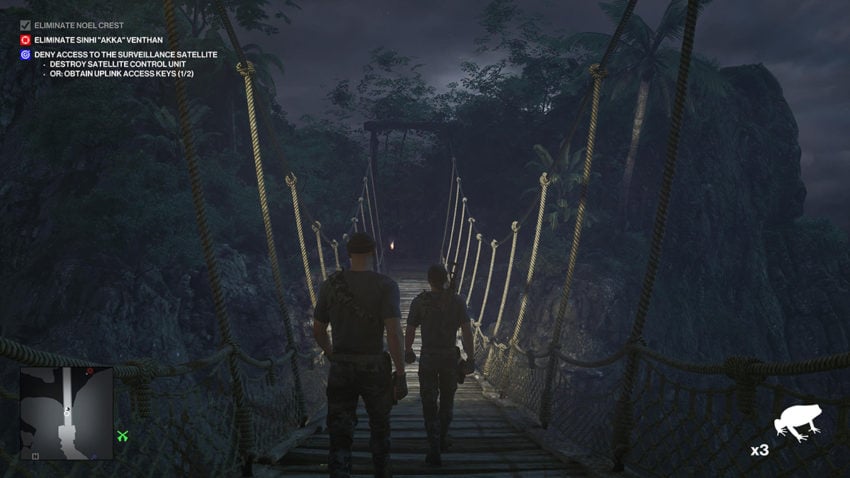
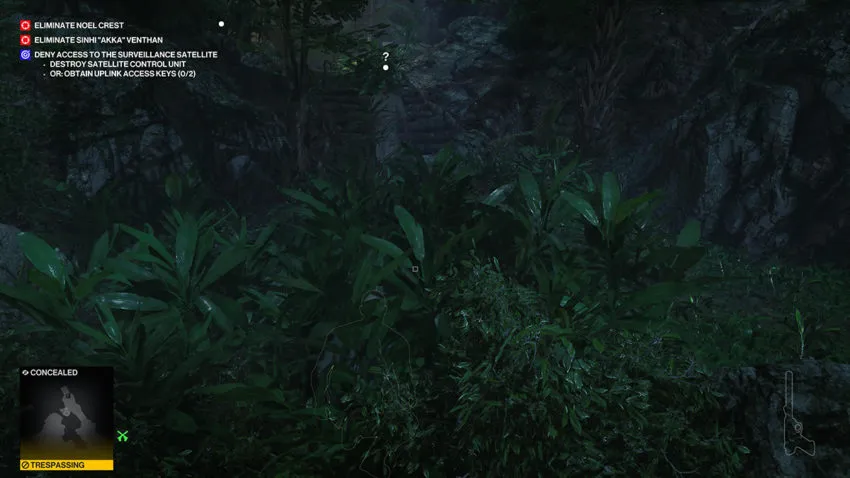
Follow the ruins and go down the stairs to your left. This leads to a path that eventually comes to the long rope bridge across to the pirate side of the island. Dodge the cameras along the way to ensure a swift exit. There’s a poisonous frog on the path as you walk this way towards an NPC called Gregory M. Yeager. Crouch as you approach the frog and hold the interaction button to pick it up. Keep following the path until you reach Gregory and can talk with him. After a short conversation, you can give Gregory the frog to receive an emetic grenade. See below for a map reference for the frog.
Step 5: Find the Bone Lockpick
The last item on our list is the Bone Lockpick. Follow the path to the right of Gregory, then turn left, but this time, go down the steps to the right that lead into the sea. You can walk in the shallow water here.

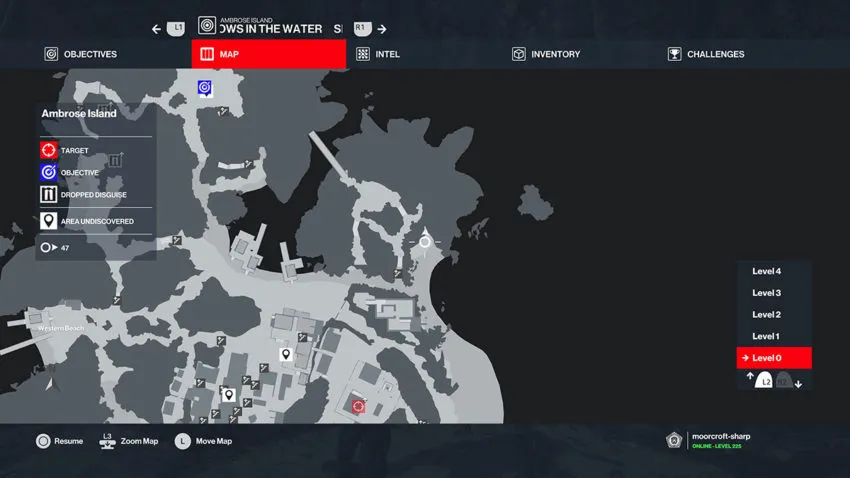
Take the path to the right and follow the beach to your left. You should see a pink umbrella and a skeletal hand sticking out of the sand. Interact with the hand to get the Bone Lockpick. See below for a map reference for the Bone Lockpick.
Step 6: Kill Akka
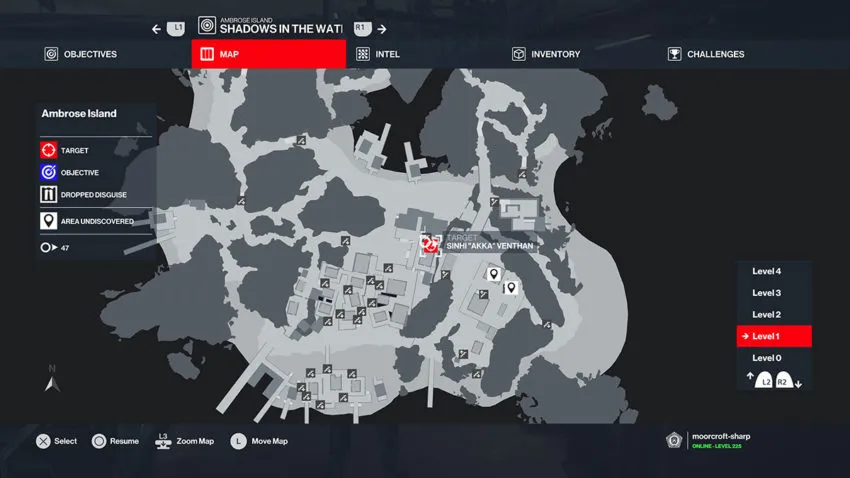
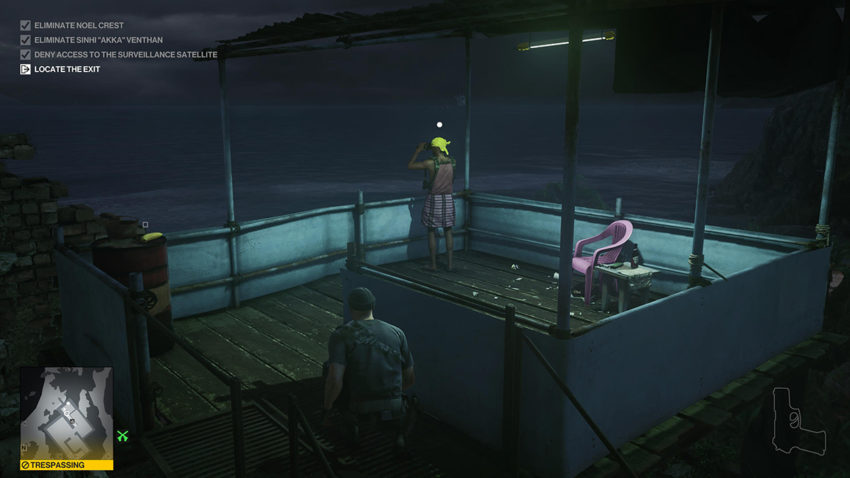
The second target is inside the pirate shanty town, and there are only so many areas inside you can go wearing your current disguise. Head in and get to the veranda overlooking the ping pong game. Eventually, Akka will walk into this area and pause for a phone call. See below for a map reference for this location.
When Akka pauses to take a call and smoke, run past her and to the left. Go past the two pirates standing idly in the way and turn left around the building again. You need to use the Bone Lockpick to get in the door that leads into the building nearby. Make sure the pirate leaning against the wall to your left is looking away before you do this.
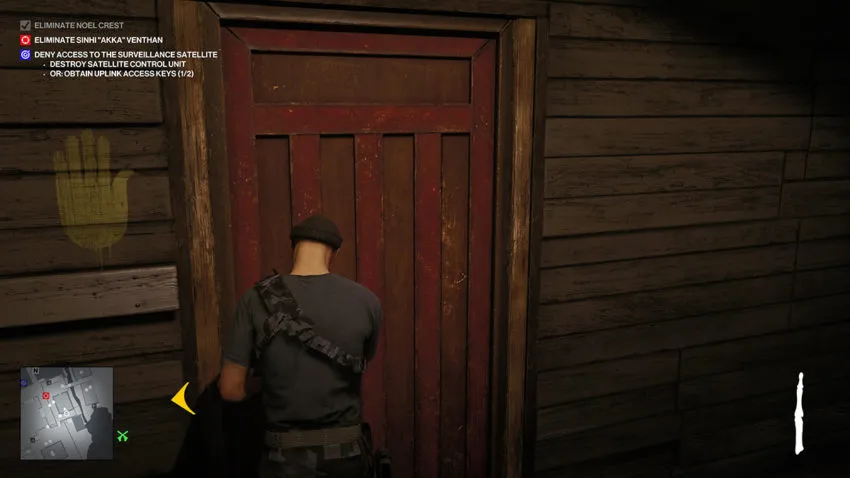
Once you’re inside the building, crouch down. Head across the room and open the door on the opposite side, then move back a little towards the way you came. The goal here is not to let the guard see you through the window. At this point, Akka should be walking past the open door, so throw the emetic grenade at her feet to poison her.
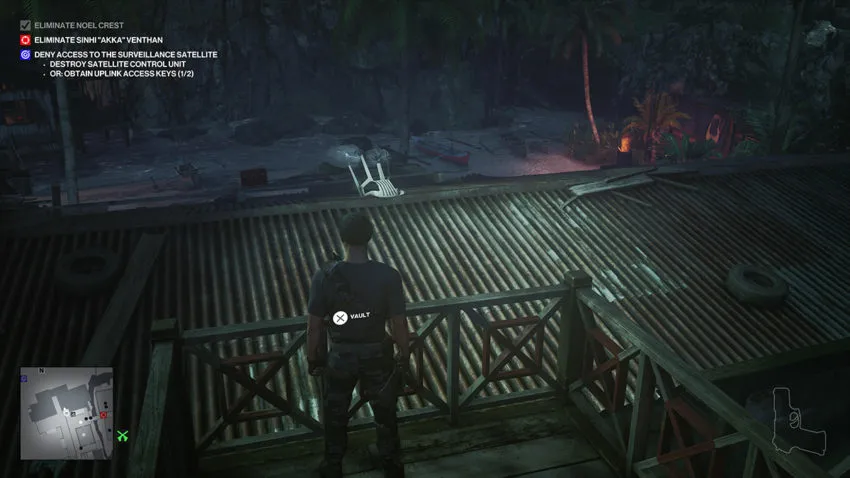
Akka will now head to the nearest toilet. In the meantime, go to the end of the veranda that overlooks the tin roof and vault over. Turn right and head towards the ledge with the generator that is on. Make sure the guards to your right have sorted themselves out before you head up there because you’ll be trespassing once you get up.
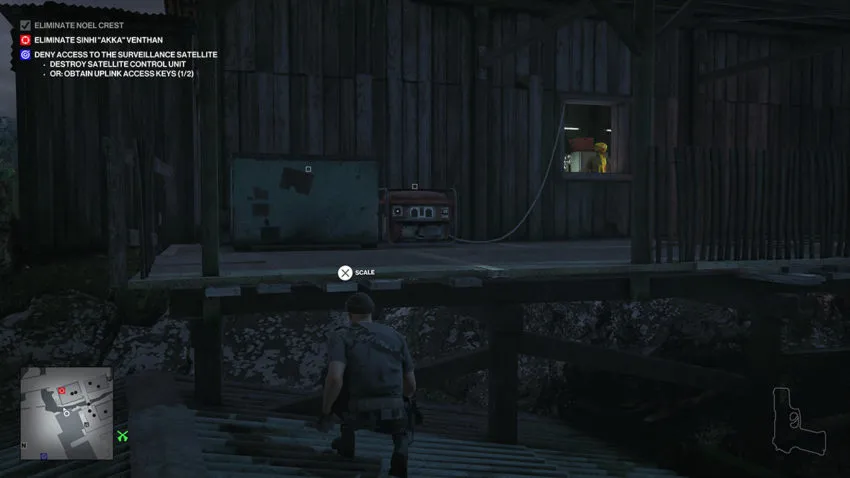
Use the generator to distract one of the NPCs inside the house. When they leave to investigate, vault through the window and move to the door to your left. Akka is throwing up in the toilet to your left, but there’s a guard in the way. Throw an item into the distance, slightly to the right, to draw this guard away.
At last, the only thing left to do is to move around to Akka and drown her. Do this to ensure her body doesn’t kill your Silent Assassin rating. Then, before abandoning her corpse, pick up the second card she drops so that you complete your secondary objective.
All you need to do now is exit. There’s a guard tower nearby where you can subdue a pirate to get a disguise that will allow you to move around this side of the island freely. The closest exit is very near that pirate, but you’ll need to get the submarine keys before you can unlock it.


Published: Jul 26, 2022 05:36 pm