The Spire of the Watcher dungeon is available in Destiny 2 and was added during the Season of the Seraph, Season 19. For those eager to rush into this dungeon, we recommend making sure you go in prepared and ready to handle the many challenges awaiting you in this Vex-conquered facility. You can do this by yourself or with a fireteam with two other Guardians. Here’s what you need to know about how to complete the Spire of the Watcher dungeon in Destiny 2.
Spire of the Watcher dungeon guide for Destiny 2
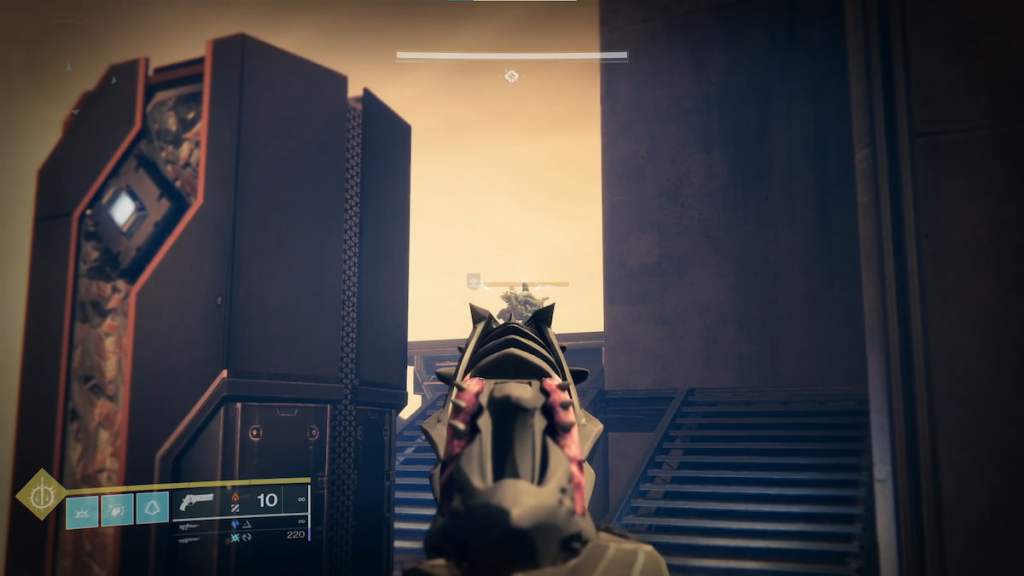
When you begin the Spire of the Watcher dungeon, proceed through the starting area and make your way through the valley. You won’t encounter anything while moving through the valley. Eventually, you will reach the entrance to the facility, and there will be a Vex walking around. When you kill this one, more Vex will spawn in, and the goal is to activate the center module. You can only do this by destroying the Conduit Minotaurs, which spawn in the area. They drop the Artrician buff that activates the nodes in this area.
Related: All Devil in the Details recording locations in Spire of the Watcher in Destiny 2

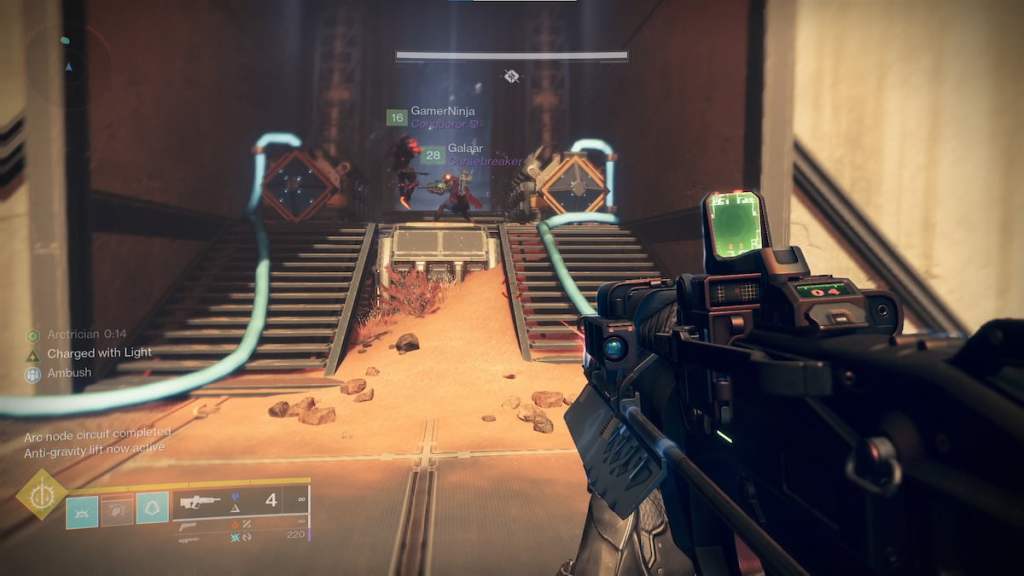
You activate the center by following the yellow wires to the other nodes. You need to find the furthest nodes from the center, shoot those, and then work your way back to the center. You will need to do this for each of the four nodes. When all four have been activated, go through the door and slide down into the facility.
While inside the facility, continue to the doorway and take the pathway to the left. The door will not open, and you must work through the vents. This path is relatively linear. You will need to drop through the pipes and arrive at a room with vats and a large computer terminal.
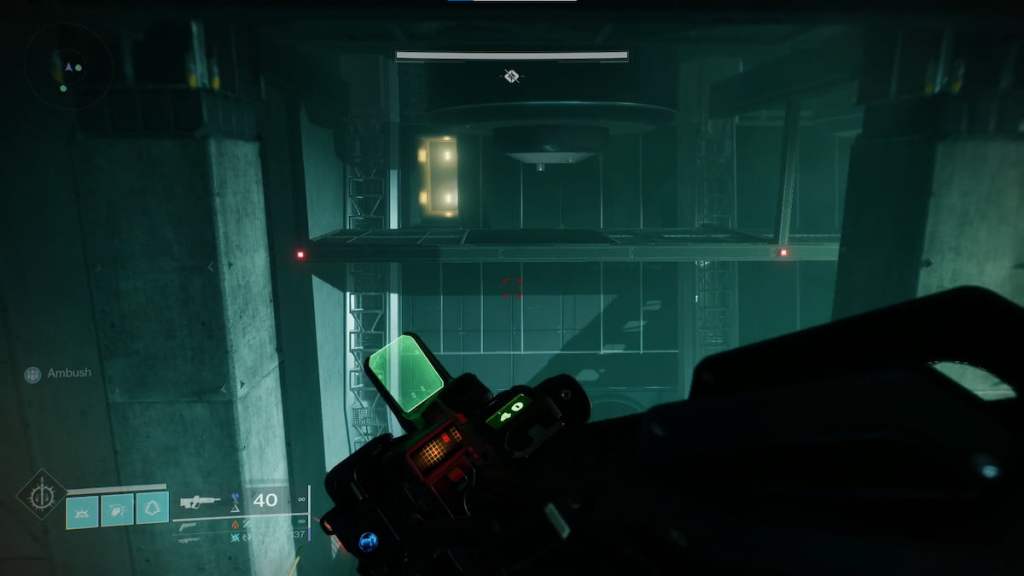
When you get to the computer room, go to the left and jump into the top area, where you will get into a room with large platforms, with multiple Vex coming after you. This area is also relatively linear but requires a good amount of jumping. You have to make a large jump that can be difficult for some players to reach. You’ll get to the end of the area when you arrive at the elevator on the other side, and it takes you up to a computer room, linking you to the Ares Spire.
Ares Spire encounter
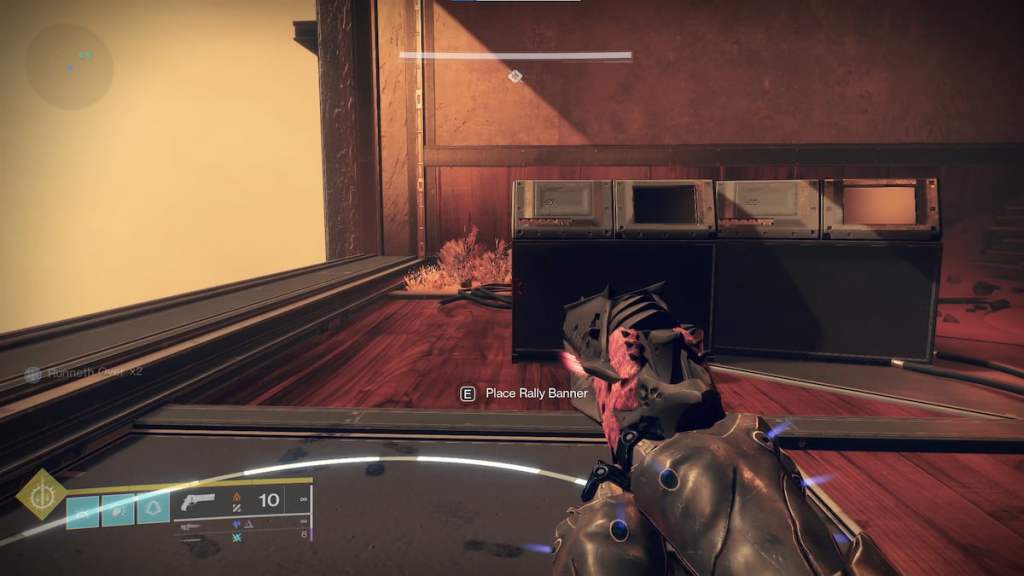
When you arrive at the Ares Spire encounter before you leave the starting area, there is a Rally Banner you can put down before jumping up.
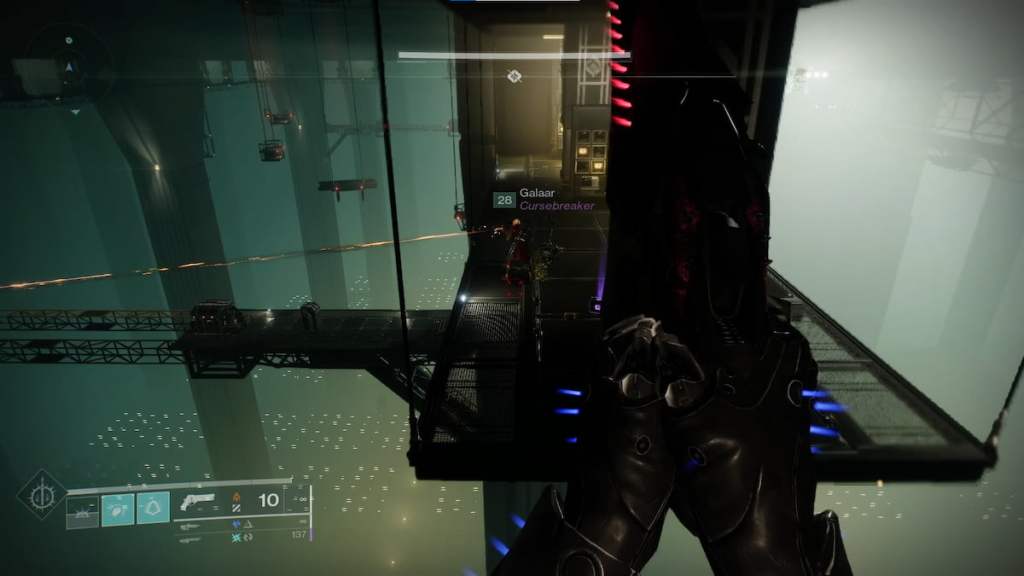
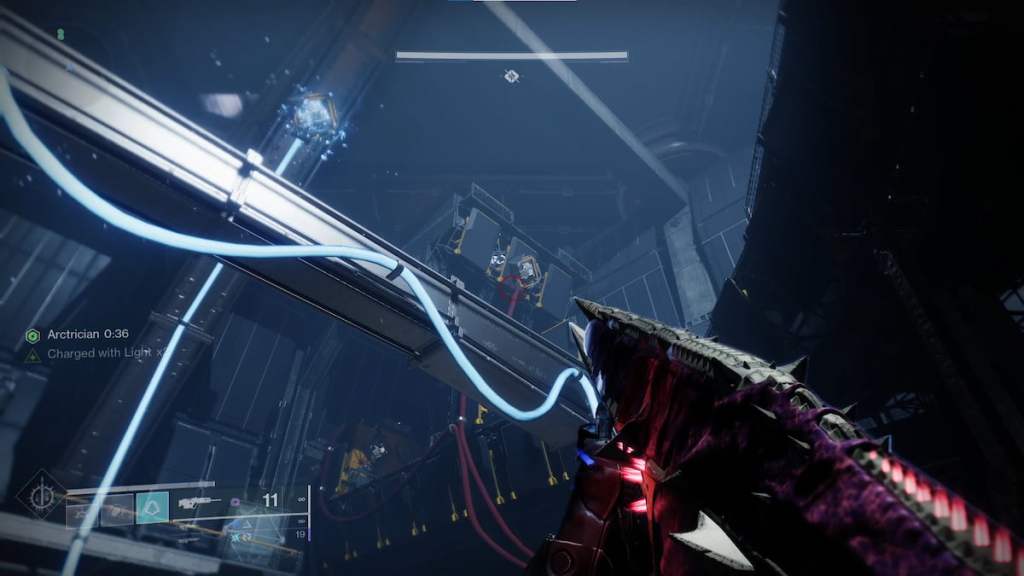
Similar to the starting area, your goal is to activate the batteries on this level by defeating the Conduit Minotaurs, getting the Artrician Buff, and shooting the nodes. To start the encounter, you need to defeat the starting Conduit Minotaur and activate the batteries.
The batteries will have multiple nodes connected to them with yellow wires. Unfortunately, these nodes are hidden in various locations surrounding the structure, so tracking them down can be challenging.

Follow the wires connected to them, and when you reach the elevator with the nodes, they will activate it so you can go to the next area. You will need to repeat this process for the next two layers until you reach the top of the Ares Spire. It’s a rinse-and-repeat process, but the nodes are in different locations, as are the batteries.
Akelous, Siren’s Current encounter
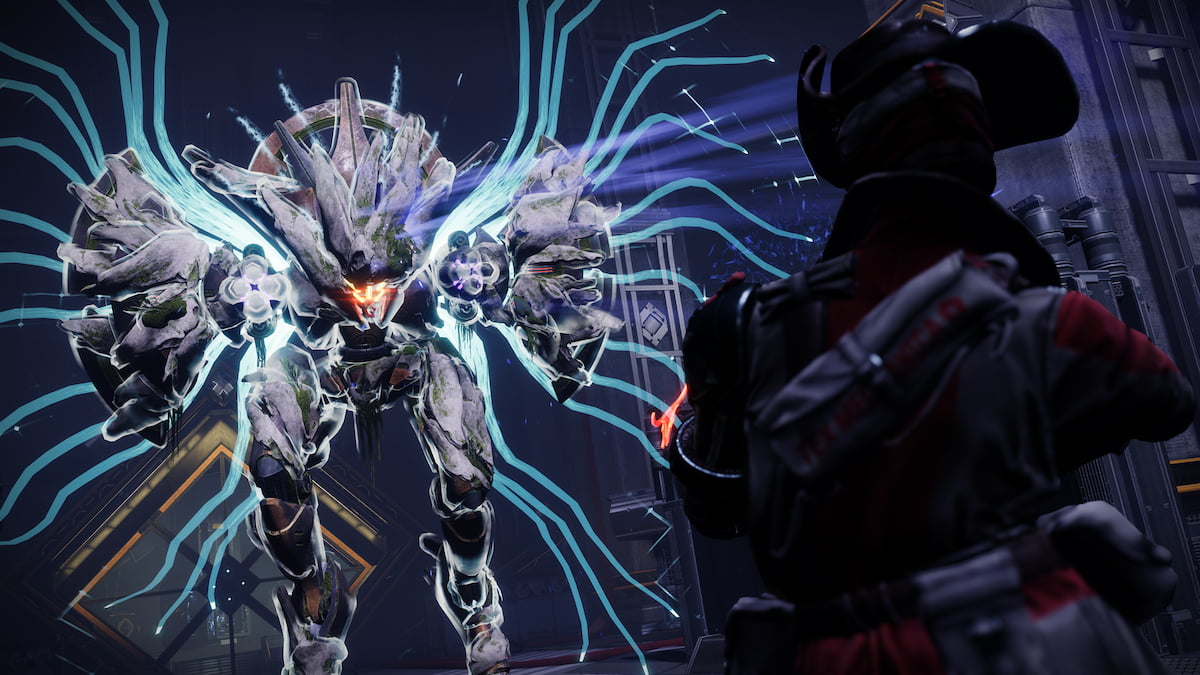
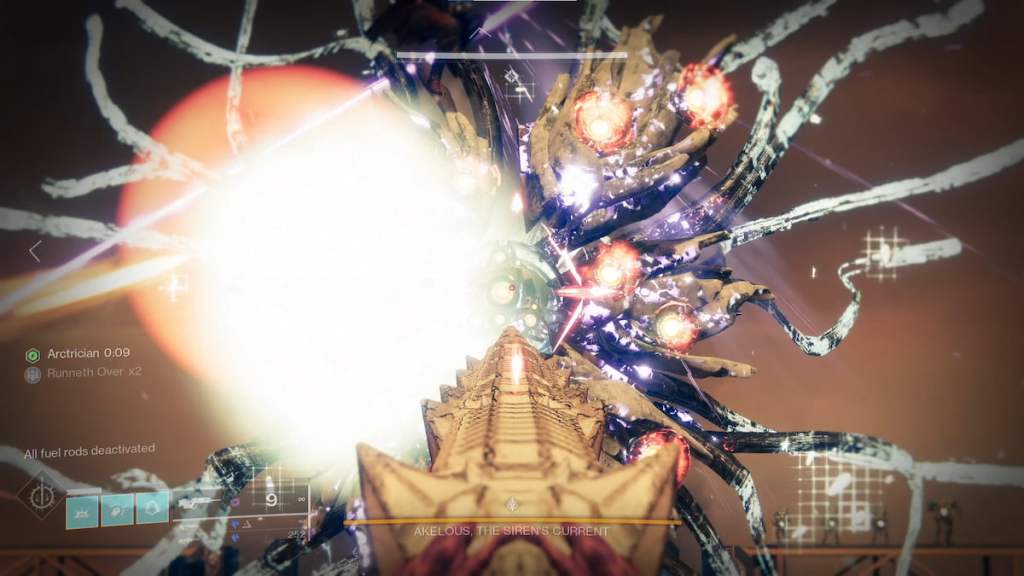
When you reach the top of the Spire, you have your first boss encounter against Akelous, Siren’s Current. It will be at the center of the arena, and you’ll need to defeat it to progress forward. You can start the encounter by shooting it at any time.
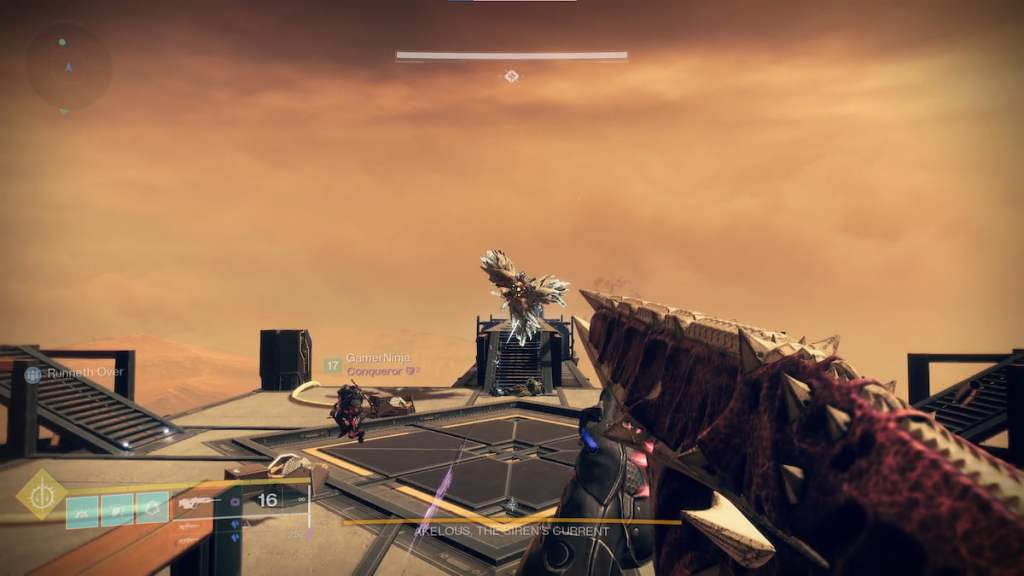
How you defeat Akelous comes down to the center switches and the nodes on the four walkways. You will need to defeat a Conduit Minotaur to gain the Arctrician buff, activate the nodes at the center, and then follow the wires to the batteries at the back of the walkways. You will need to do for each one, and the final one you complete is where you battle against Akelous.
When you’ve completed the final node, Akelous will approach you on the walkway, and you need to destroy the various orange orbs on its body. Once those have been destroyed, it will become vulnerable, and you can shoot at its center and damage it. It will retreat to the center, but don’t follow it. After a short amount of time, it will release a shockwave, pushing you back if you’re too close, or potentially killing you. This will be the rest of the phase, and you need to repeat the process.
Reach the bottom
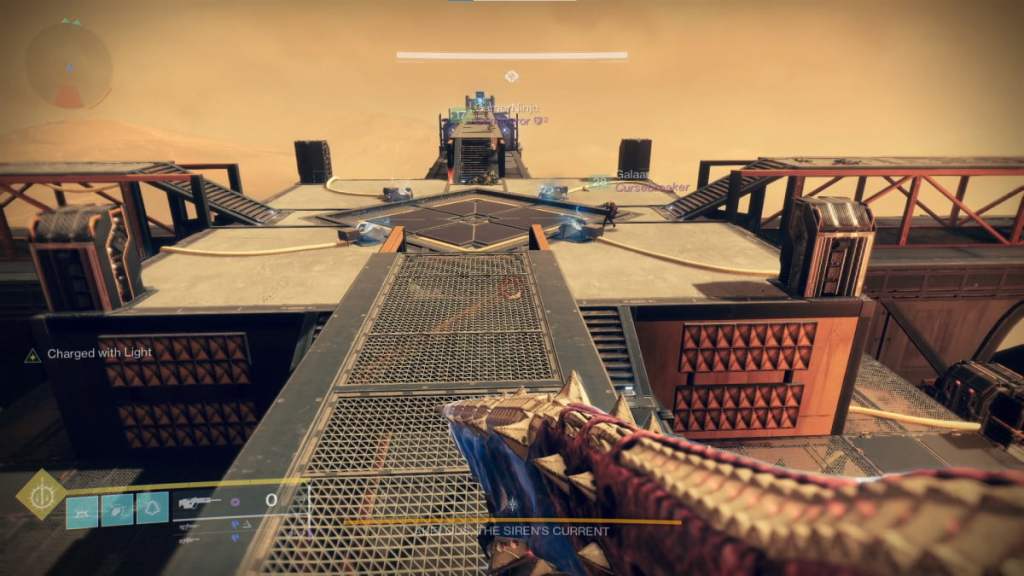
After defeating Akelous, the center will open up, giving you a chest and a vent for you to go through. Follow the pathway down where you must maneuver to the next arena. It will take some time to reach the bottom and go through the vents, taking you back to the Ares Spire.
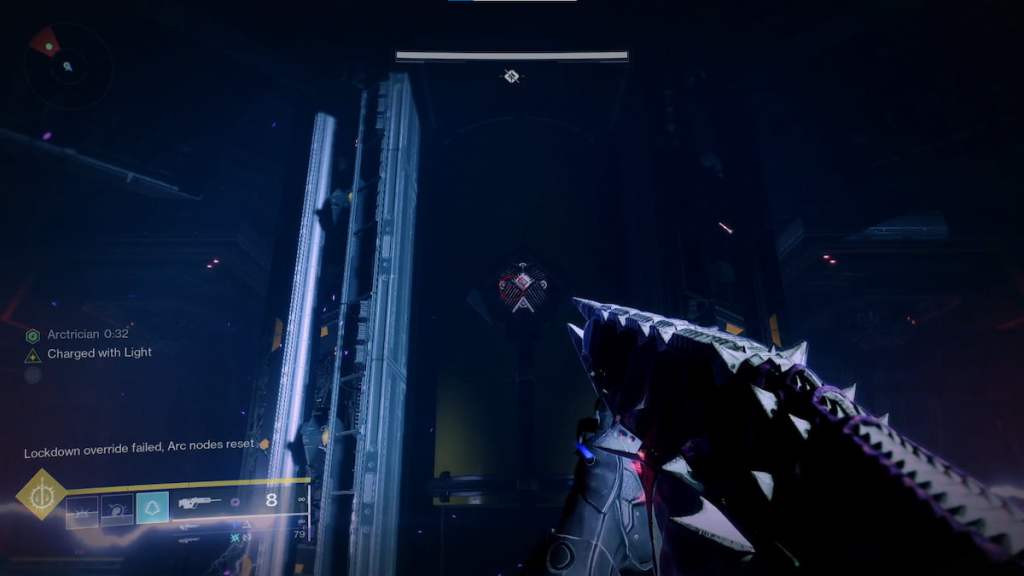
In each area, there will be multiple enemies for you to defeat and Conduit Minotaurs to destroy to give you the Arctrician Buff. Each room will have several nodes. You need to activate them quickly, or they will reset, and you will need to try again. If you get it correctly, you can progress to the next room with a similar puzzle.
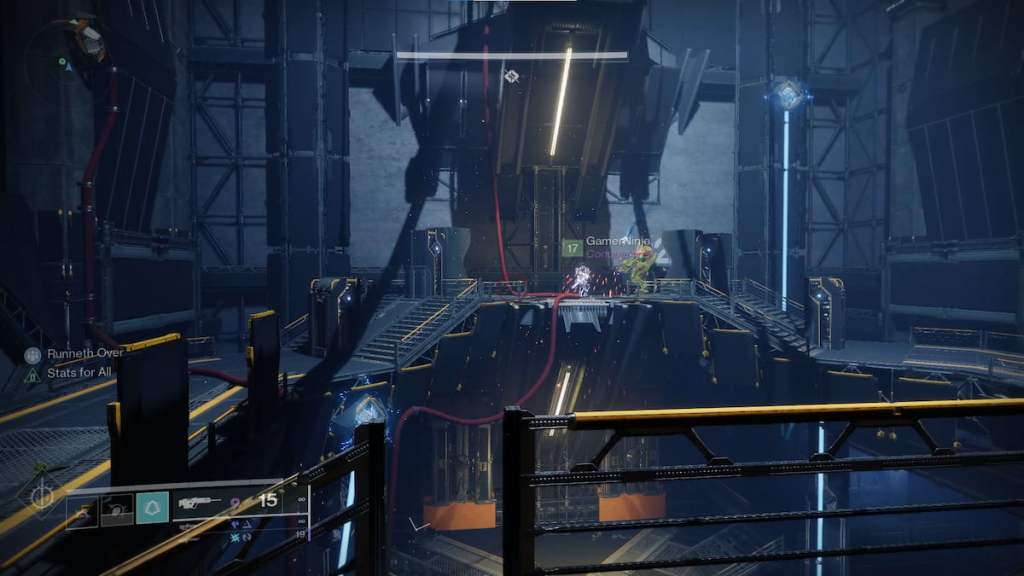
The most difficult room will be the final one which features a Hydra in the middle, with electrical currents making it difficult to navigate the area. There are four nodes on each wall in the room, along with one at the center where the Hydra and the electrical current are. If you angle your Guardian, you should be able to see the center one without having to step in the middle to activate it.
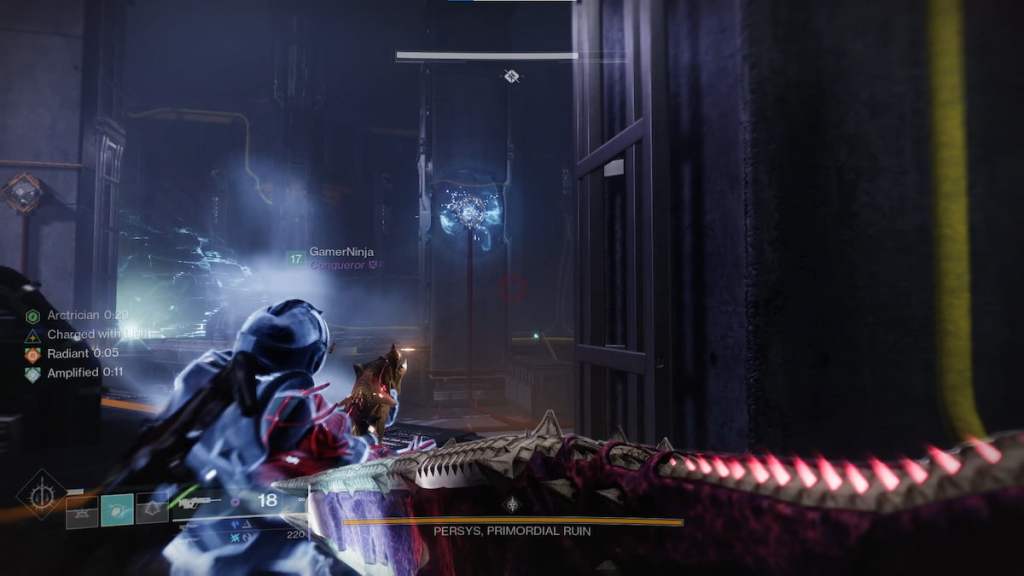
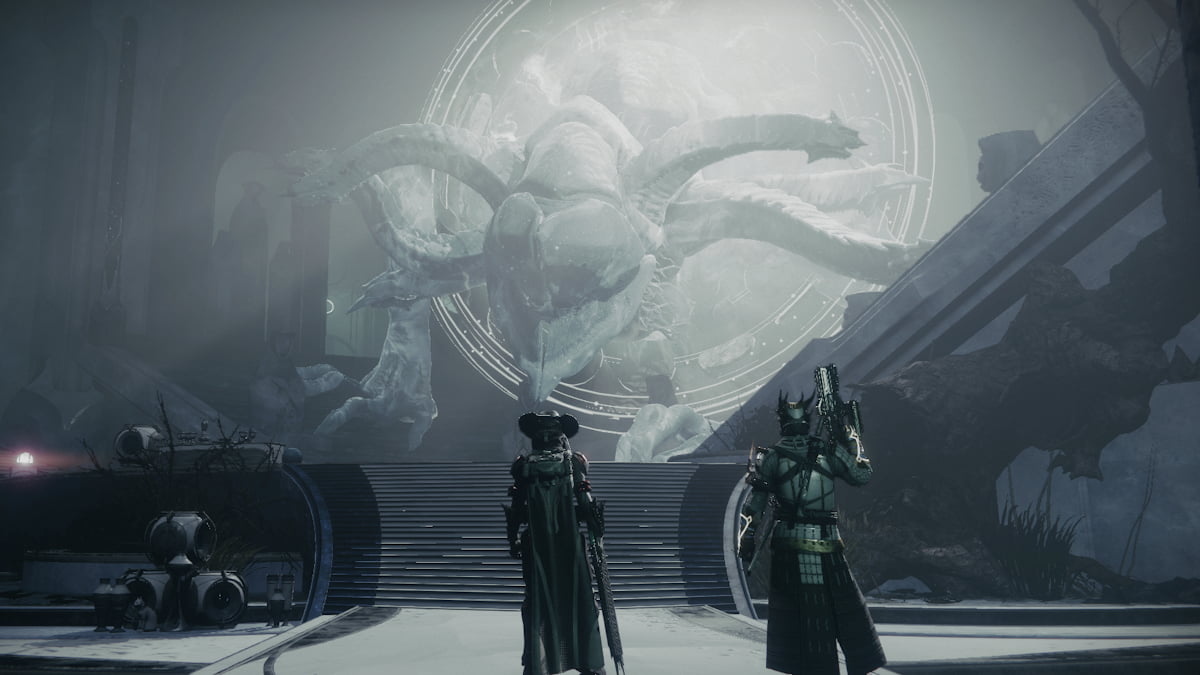
Persys, Primordial Ruin encounter
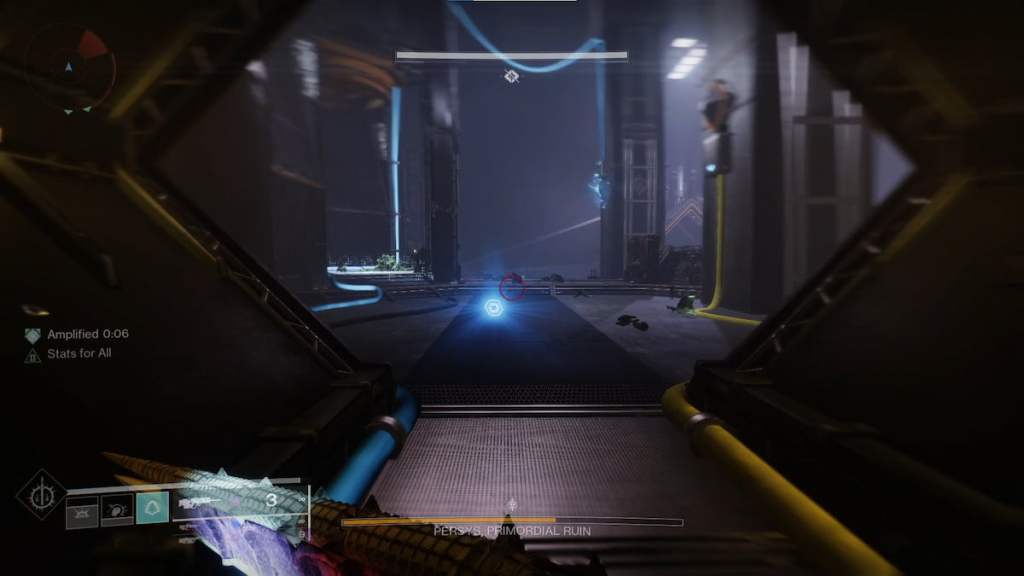
When you reach the bottom, the final encounter will be against Persys, Primoridal Ruin. You will primarily want to ignore the main boss for this fight and instead focus on the enemies and activating the nodes. When the fight starts, take out the two Hydra on either side of the room, and then take out the Conduit Minotaurs that spawn shortly after to get the Arctrician buff. With the buff, activate the five nodes at the center, opening the main door.
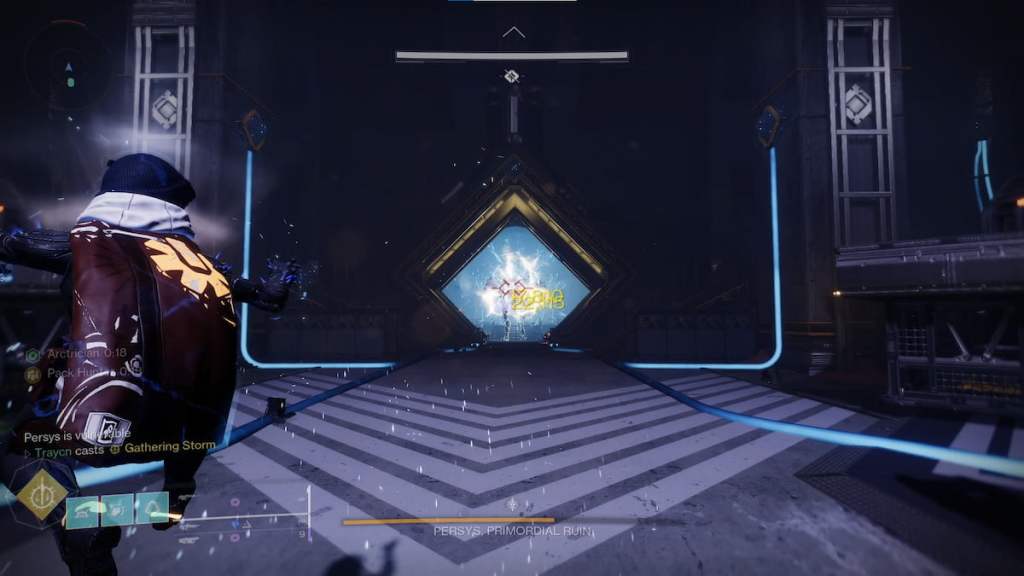
With those all activated, two nodes on the outer pillars open up, one on each side. Activate those currents and activate each node until you reach the next room, completing the circuit. Once they both have been activated, a notification reads, “Reactor Isolation Chamber Active … Take Cover.” You will need to return to the location you started.
Make sure you have the Arctrician buff on your Guardian. If not, Conduit Minotaurs spawn that you can eliminate to acquire the buff. You want to wait until the center nodes open up again, like how you started this encounter, and activate them all again. This closes the main door behind Persys, containing the explosion. When the doors open up, Persys is vulnerable. You can damage them for roughly 20 seconds before their shield returns.
You will need to rinse and repeat this process until you defeat Persys. This is the final encounter in Spire of the Watcher.


Published: Dec 10, 2022 12:47 pm