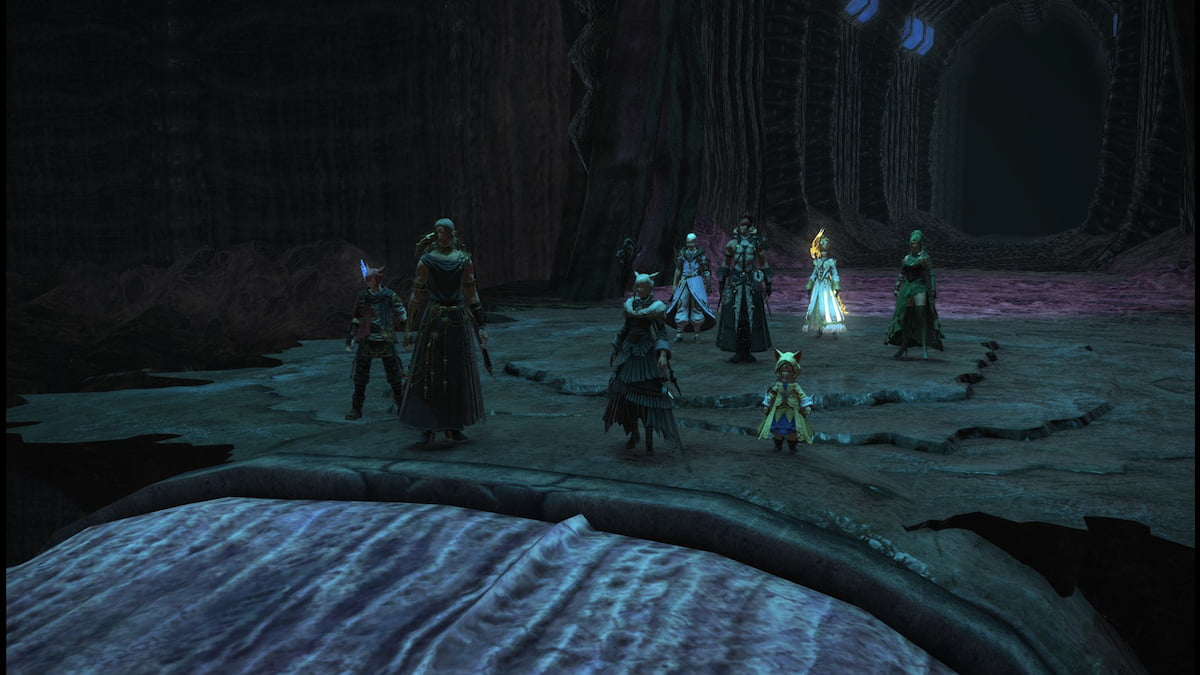
The Tower of Zot is the first dungeon in Final Fantasy XIV’s Endwalker expansion. You and your team will need to infiltrate the tower to deal with the forces inside it. You will be playing with a Tank, two DPS Jobs, and a Healer. Here’s everything you need to do to progress and complete the Tower of Zot dungeon.
Arrive at Ingenuit’s Ingress
When you initially arrive, you and your party will begin by grabbing multiple Tempered Imperial units. If your Tank and Healer are comfortable with it, you can grab the first wave of Tempered Imperials and lead them into the next area where you’ll fight against an Armored Fiend, a massive robot-like creature. Make sure your Tank grabs the Armored Fiend, proceeds to the next platform, and then make short work of this mob using your AoE abilities.
After these units are dispatched, the next step is for you to proceed up the pathway that appears, where you’ll battle against another wave of Tempered Imperials and Armored Fiend, along with a Sky Armor enemy. You’ll need to defeat both of these enemies before moving forward. After these two have fallen, you’ll be facing the first boss, Minduruva.
Clear Ingenuity’s Ingress
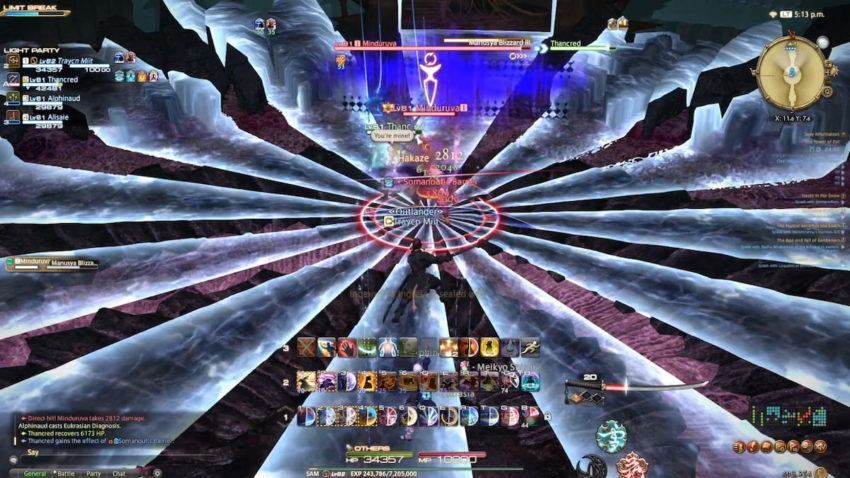
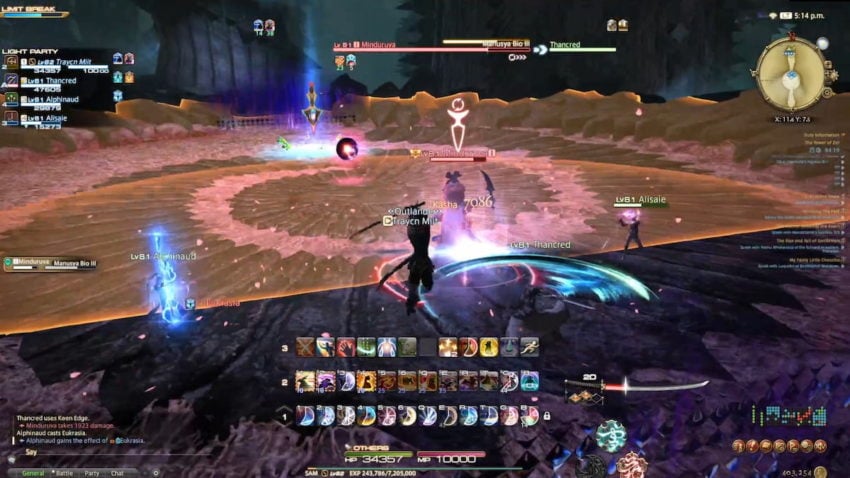
The Mindurvua battle places you against the first Magus Sister. Like any fight, you’ll want your Tank to grab aggression from Mindurvua and then have your DPS attack them from behind.
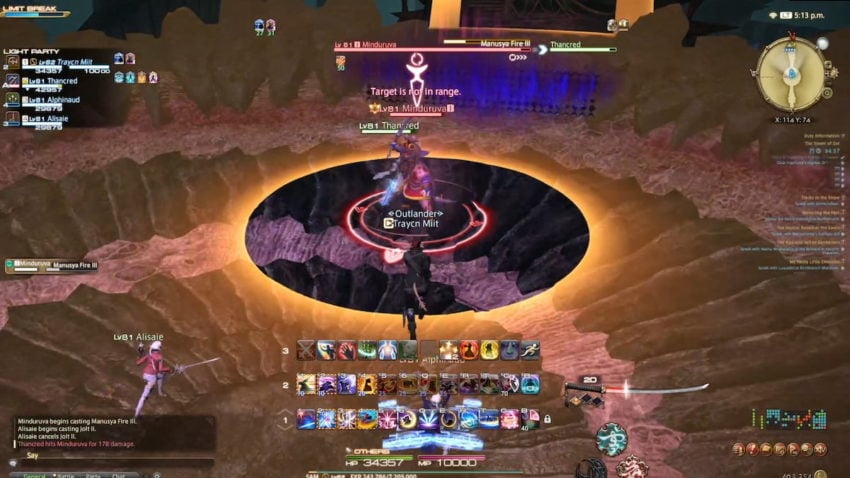
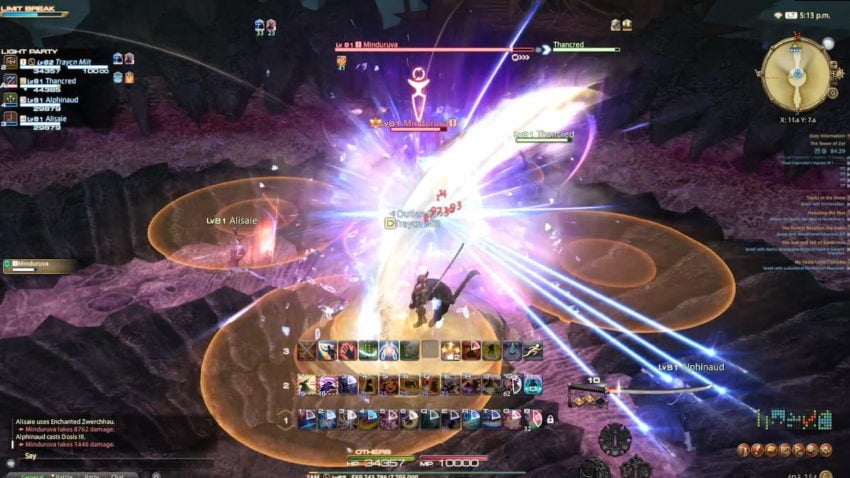
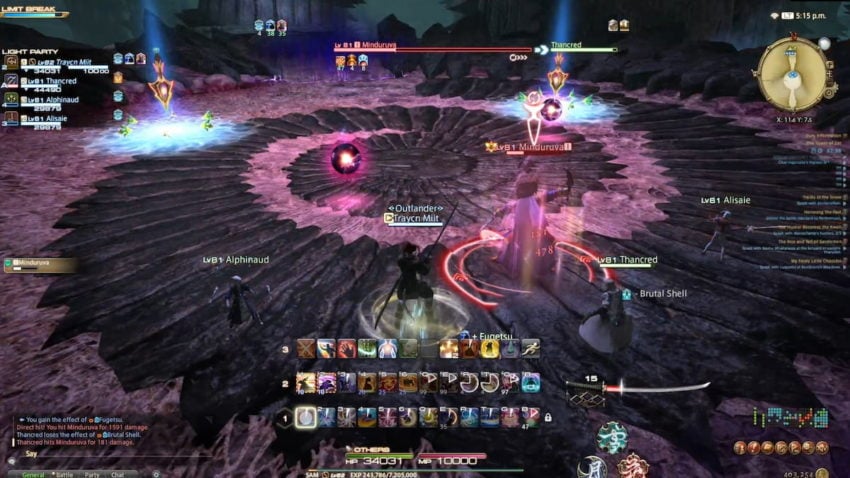
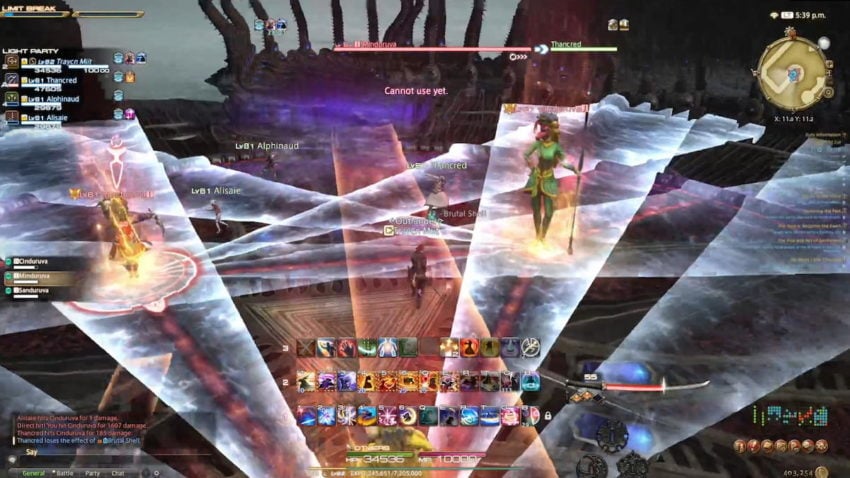
The first attack Mindurvua always deals with is Manusya Bio. You can expect to see this attack throughout the encounter aimed at your Tank. It’s an attack that goes immediately for the Tank, and it deals a poison DoT. After several hits, the subsequent attacks from Minduruva include Manusya Blizzard III, Manusya Fire III, Manusya Thunder III, and Manusya Bio III. Each of these acts differently.
- Manusya Blizzard III fires throughout the whole room, creating a wheel-spoke attack around the room. You want to go between the attacks to dodge it.
- Manusya Fire III blasts the room with a massive fire AoE. You can dodge it by standing at the center of the attack.
- Manusya Thunder III fires lightning bolts down that go north, south, east, and west of the attack in a clear pattern.
- Manusya Bio III is a poison attack that Mindurvua fires out directly in front of them, with a clear area behind the front of the attacker where you can dodge.
Mindurvua will be firing off these attacks throughout the encounter. However, they’re also going to be using Transmuting forms of these attacks. The Transmuted spell will appear as an arrow pointed on the ground, to the south of Mindurvua’s starting position. You’ll need to target Mindurvua to see which of the four attacks Minduruva will send at those arrows, memorizing these attack patterns and then dodging them accordingly. Finally, Minduruvua will perform one of the two remaining spells that were not Transmuted.
Minduruvua will continue this pattern until you defeat them and progress through the dungeon.
Arrive at Prosperity’s Promise
After defeating Minduruvua, you can now progress further into the dungeon, and you’ll be facing off against another wave of Tempered Imperials that look far more alien now and Zot Umbrils. Once you deal with these monsters, you’ll then fight against Zot Death Claws and Zot Hypertuned. Again, we recommend taking them in small groups to watch their attack patterns as the Zot Death Claws can unleash a minor line AoE attack, and the Zot Hydertuned perform a more significant corner attack.
You’ll want to make sure your Tank is grabbing a small amount of them and progressing at a reliable pace that works with the entire group.
Clear Prosperity’s Promise
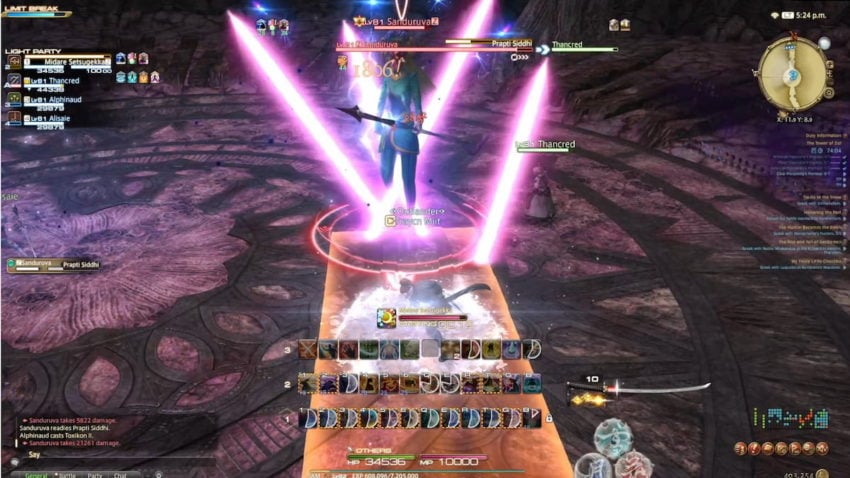
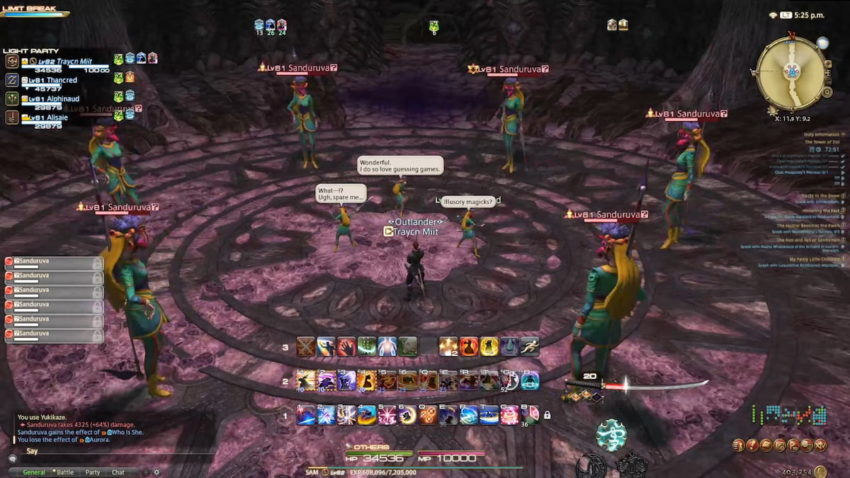
During this dungeon phase, you’ll be facing off against Sanduruva. Sandurvua will focus on your party’s Tank when they start the engagement using Isitva Siddhi. You can expect this attack to be used throughout the encounter.
After a short time, Sanduruva will then use a line AoE attack called Prapti Siddhi focused on a party member, and they perform this attack at everyone at least once before changing to the next attack. When this first happens, you can freely sidestep. Then, later in the engagement with Sandurvua, use it and freeze an ally, preventing them from dodging, forcing your party’s healer to remedy any lost health.
After Sanduruva performs Prapti Siddhi on the entire group, she uses Manusya Berserk, creating several purple balls scattered throughout the room. There will only be one side where an orb is floating, giving you a small safe spot to huddle with your group. Anyone hit by Manusya Berserk is immediately drawn to Sanduruva when then performs an AoE attack on anyone close to her.
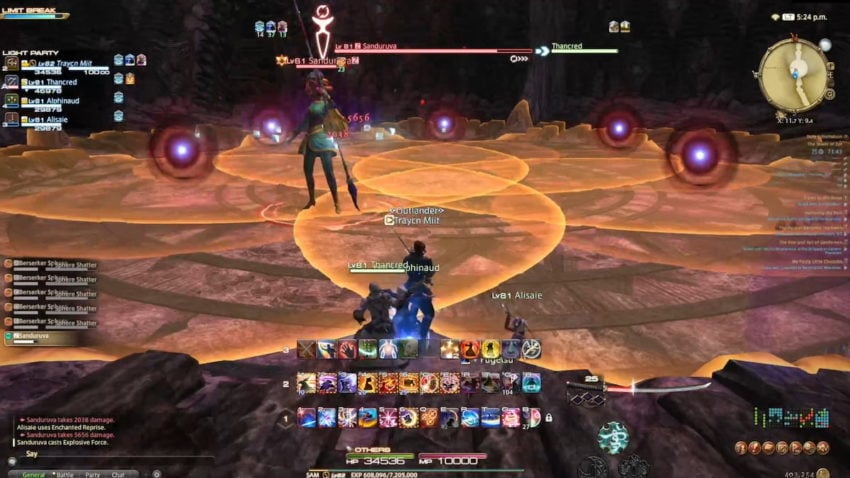
After performing this attack once, the attack transforms into the orbs becoming illusions of Sandurua called Manusya Confuse, transforming your allies into illusions of Sanduruva. You want to go to the side where the Sanduruva is not moving and huddle there to avoid the Manusya Berserk AoE attack.
You will continue this rotation through the remainder of the encounter until you defeat Sanduruva, and you can proceed into the rest of the dungeon.
Arrive at Wisdom’s Ward
Similar to the previous locations, you’ll be running through waves of Mobs. The first ones you encounter are Zot Predators that can perform a large line AoE attack in front of them. Next, you Zot Roaders can achieve a similar line AoE attack, but it’s a dash. You’ll also have to deal with Zot Gunships that can fire a small AoE attack at specific party members that you’ll have to dodge. You can also expect a mob called the Mark II Zot Colossus and the Zot Armored Weapons. The Armored Weapons can fire lasers down at a party member, similar to the Zot gunships, and a massive cone in front of them. The Mark II Zot can fire out a straight line AoE attack.
Defeat the Magus Sisters
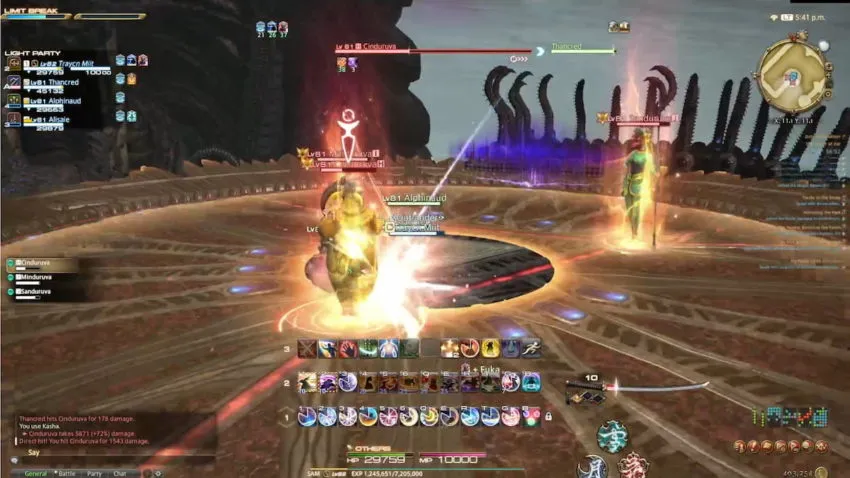
The final boss features Cinduruva, the last combatant. However, at the beginning of the encounter, with some damage, Cinduruva summons Minduruva and Sanduruva to their side, forcing you to battle against all three. It’s important to note that the Cinduruva will be your top priority during this encounter. If you focus on Minduruva or Sanduruva and defeat them, Cinduruva will revive them. Therefore, Cinduruva is your top priority.
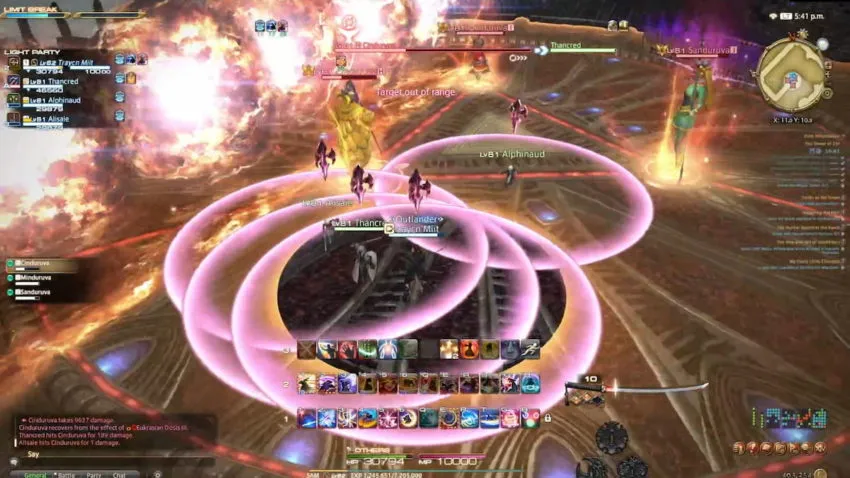
Their initial attack is one of three massive AoE attacks that they unleash. These attacks vary depending on what phrase The Magus Sisters say. These are the three phrases and their attacks.
- Glacial ice, entomb our foes: This features a similar pinwheel Ice blast that Minduruva used in the first encounter straight in front of them, that slowly rotates to the southwest part of the map. You want to make your way to the entrance where you came in to have the best chance of avoiding the massive AoE explosion of attacks. There will also be direct line AoE attacks that start at the middle of the room and slowly spread out to the left and right sides. Before the attack is finished, a large AoE attack indicated by an arrow will appear in the ‘safe zoe’ bringing a massive ice rock ontop, forcing your party to swap sides.
- Insatiable flame, consume our foe: A large AoE fire blast will occur where you will have to run to the direct center of the encounter. Shortly after the AoE danger is over, multiple AoE line attacks will overlap the center, forcing you to escape in a diaognal movement to escape them.
- A second AoE fire attack will appear with only the center being the safe location. During this, all team mates will have a single AoE on them with a purple arrow over their head, so after the AoE is finished, scattered to avoid overlapping damage from each other.
- Thunderous tempest, smite our foe: They’ll unleash a massive lighting bolt blast that form large circles, and the large circles unleash smaller circles, sending out massive lightning blasts. Simultaneously, large line AoE attacks will fill the room that you will also need to dodge.
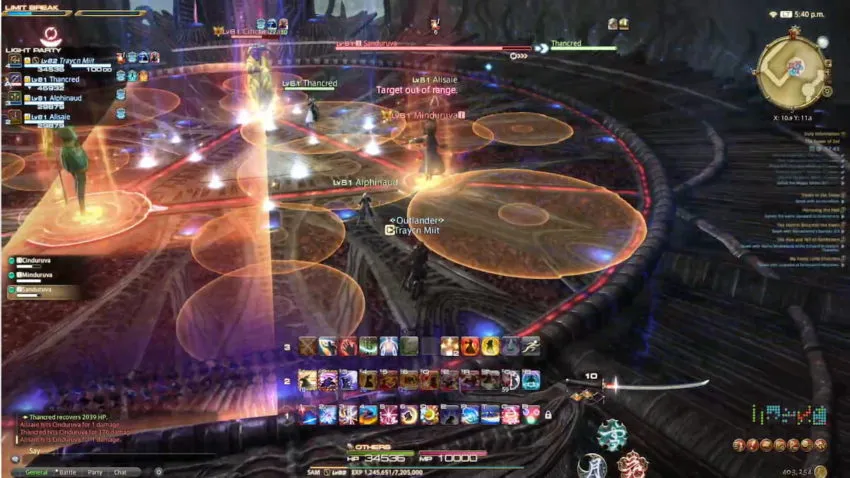
After the AoE volley, your Tank wants to return its focus to Cinduruva and attack them. Sanduruva will be standing next to Cinduruva and performing her previous Prapti Siddhi line AoE attack without the time freeze so that you can dodge this attack. Meanwhile, Minduruva will be performing small iterations of their spells from their encounter on the Tank, stacking damage, and rotating through the four choices.

You’ll want to continue this rotation until you defeat Cinduruva. From there, you’ll want to eliminate the two remaining sisters who will continue their previous rotation. With Cinduruva gone, they’ll start using the attacks from their initial encounters, so you’ll want to watch out for Minduruva’s spells and Sanduruva’s Berserker Spheres.
After defeating this boss, you’ll have completed the Tower of Zot.


Published: Dec 3, 2021 05:45 pm