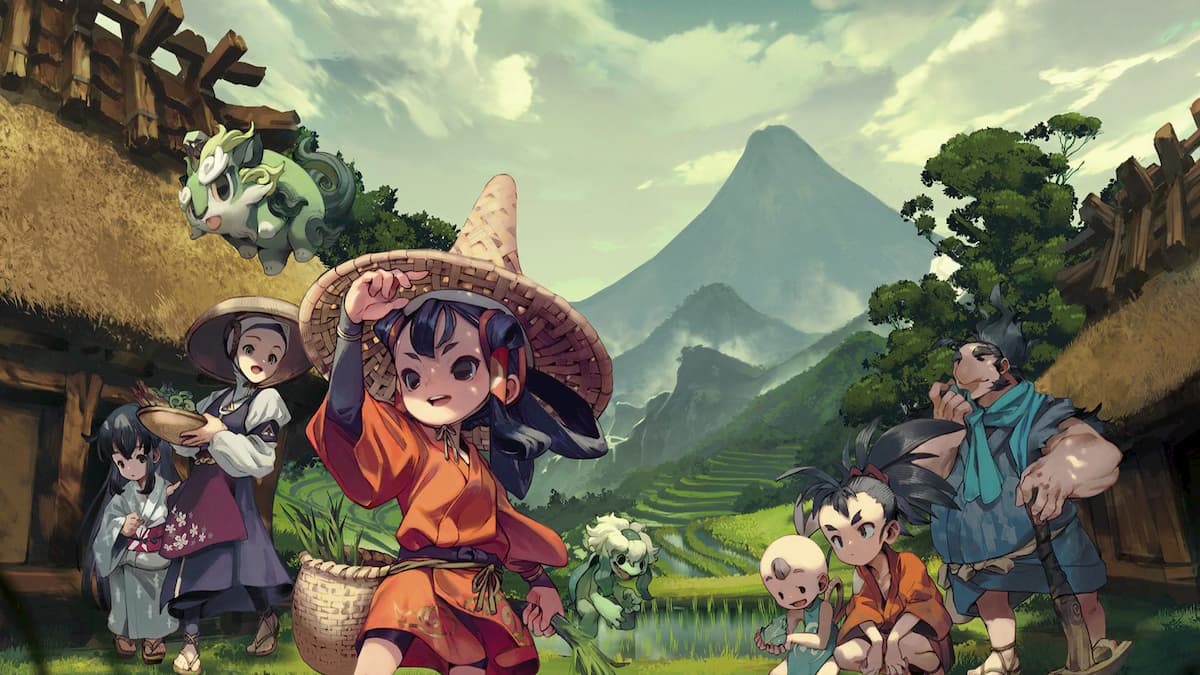
Sakuna: Of Rice and Ruin is a side-scrolling combat game centered around the protagonist, Sakuna, who has been banished to an island overrun with demons. To progress, you must grow and harvest rice to become strong enough to defeat the monsters and advance through the game. Even though Sakuna: Of Rice and Ruin is a role-playing game, you do not level up by fighting enemies or completing stages the good old fashioned way. Instead, you level up based on how well you take care of your rice field.
Rice provides the primary source of food in Sakuna, supporting food buffs, which recover your character’s health over time. Additionally, rice is the key ingredient of most other food dishes in the game, expanding the variety of food that is accessible for consumption. This guide will walk you through the steps to farm a healthy rice field.

Quality vs. quantity
The higher the stats of rice, the more you can improve as a fighter, because this means the higher the rice quality. However, the quantity of rice is more ideal during the early game. The reason being, is because the quantity is desirable for trading and food buffs. As you progress through the game, it’s recommended that quality is put at the forefront of importance, do to the value of advancing your fighter, and in turn, advancing through the game.
Preparing fertilizer

On the final day of winter, you can start preparing your rice field. However, before you do that, it’s critical to prepare the fertilizer. To make fertilizer, you need to head over to the nearby outhouse right next to your rice field and scoop up some poop in a bucket (you heard that right). Then, bring this over to the fertilizer pit, adding it in, along with these base components: Beast Manure, Beast Hoof, Fallen Leaves — about five each, and enough Amber so that the fertilizer triangle glows big and green. The goal here is to make sure your fertilizer contains enough nutrients for the entire growing seasons for the rice. Now, it’s time to add in some more components. Start with tossing in Rotten Food, which gives bonuses to each of the stats at the cost of being less resistant to insects. To combat this side effect, add some Salt, Spring Water, and Renowned Water — the water combats the toxicity that the salt increases in the concoction. Lastly, add Powder of Transformation, which cooks up the Fertilizer instantly, so there’s no waiting around.
Tilling the rice field

The first step in tilling the rice field is to remove all of the rocks by picking them up so that the field is clear for the rice seedlings. Next, apply the fertilizer to the bare field. Then, start with one of the corners in the field, and start tilling, working your way down, end to end, in parallel lanes. Take your time here, making sure you cover the ground uniformly. Later on in the game, you’ll unlock a Farming Skill titled Furrow Sight, which shows you how much rice field you’ve tilled by glowing bright gold. Additionally, you’ll unlock a cow, which makes the process of tilling a breeze.
Sorting and sowing

Sorting and Sowing is a process that alters the quality and quantity of rice. By adding mud and salt to the water, it becomes heavier. The idea here is that the bad seeds that are lighter than the mud and salt will float to the top, whereas the best seeds will stay at the bottom, thus sorting the rice while the mixture is stirred up. Here, your best bet is to primarily add mud because it increases the quality quite a bite while not lessening the quantity by too much. After this, you’ll have the decision of how you wish to Sow your seeds. Sowing them thickly gives you improved rice quality, and sowing them thinly a higher quantity of rice. Make your decision based on your rice goals.
Time to plant

It’s time to plant the rice seeds. During the second harvest, you’ll unlock the farming skill titled Planting Instincts. This skill displays a grid spanning across the field while planting rice seeds, which is helpful for planting your seeds the perfect distance between one another. Plant a seed in each of the squares, one by one. As you progress through the game, you’ll unlock additional Farming Skills where you can plant more seeds at once, in various formations, and faster. After the seeds have been planted, head over to the water source and open it up, submerging your prized rice field with fresh water. Cut off the water source when the water level is at 20%, which comes up to Sakuna’s ankles.
Maintaining the rice field

Maintaining your rice field is an all-year-round job, even during the winter season. The mission is to keep ideal water levels, remove weeds, and exterminate bugs and insects — all factors that can hinder your rice harvest. We recommend releasing ducks onto your rice field as well because they feed on insects and weeds. However, when your rice field enters the sprouting stage, the ducks will eat the rice, so remove them before this happens. As mentioned above, the ideal water level is about 20%, so be sure to keep it right around there. The sun will evaporate the water, and if it rains, this will increase the water level. You can use the game’s waiting mechanic, which makes the time pass by quickly to help you out at the beginning. During this time, the rice field will progress through multiple phases, including offshoots and a sprouting stage. For the first and second offshoot stages, you want to maintain the above water level. However, by the third offshoot stage, you’ll want to drain the ricefield. Shortly after this phase, the sprouting stage is up next, which requires you to add more water again, this time adding about 30% water level. The harvesting stage comes up next, right around the later end of the summer season.
Harvesting, threshing, and polishing the rice

The best time to harvest is when the weather is warm and dry. Once harvested, immediately carry over your rice bunches onto a drying rack. It takes about 10 hours for the rice to dry, weather permitting. Now it’s time to thresh the rice — this is the procedure of extracting the rice grains off from the rice plant. To polish the rice, you use a Rice Pounder and a Water Mill. At this time, you’ll have a decision to make: White or Brown rice. We recommend hulling the rice until it turns into white rice. The reason being is that white rice promotes your character’s growth, whereas brown rice focuses more on food buffs. Now, at last, the time has finally come — after all of your hard work, your rice harvest is complete and ready for the taking.


Published: Nov 20, 2020 12:01 am