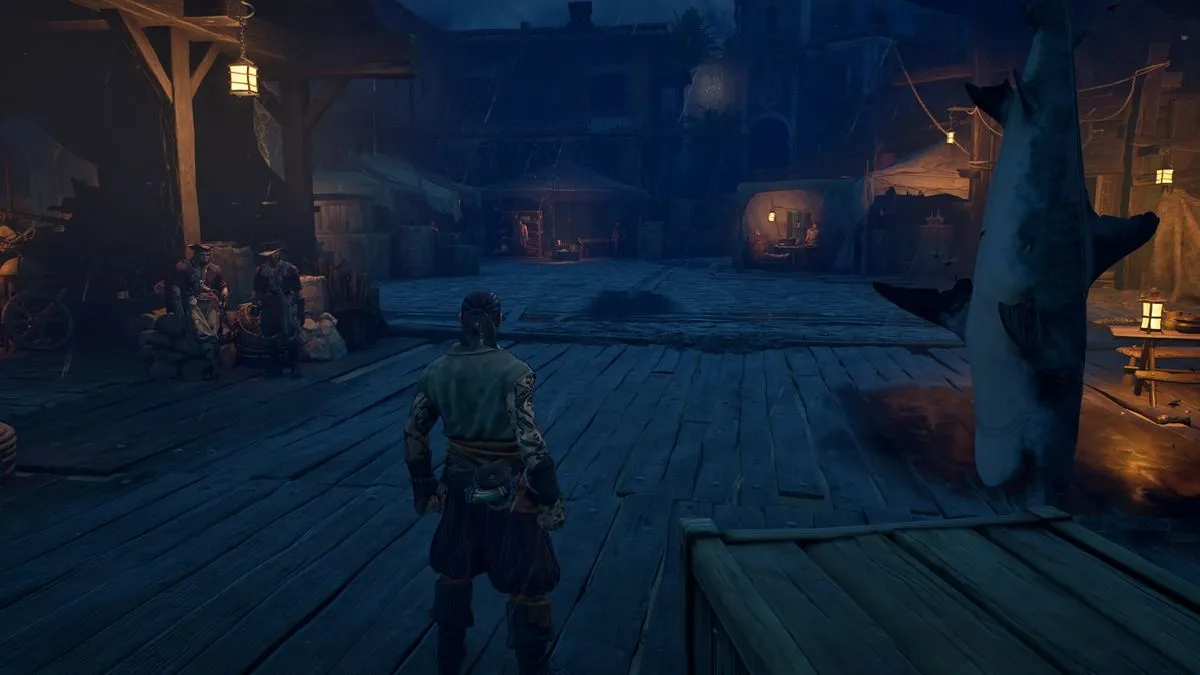
Davy Jones has been a looming presence in Sea of Thieves: A Pirate’s Life, and by the Dark Brethren Tall Tale, you’ve been a thorn to his side. Now that you have Captain Jack Sparrow back on your side, it’s time to hit Davy Jones and stop his plot to take over the Sea of Thieves. You will start this Tall Tale as you did with the previous ones, by going to the Castaway’s Camp and voting at the Dark Brethren book.
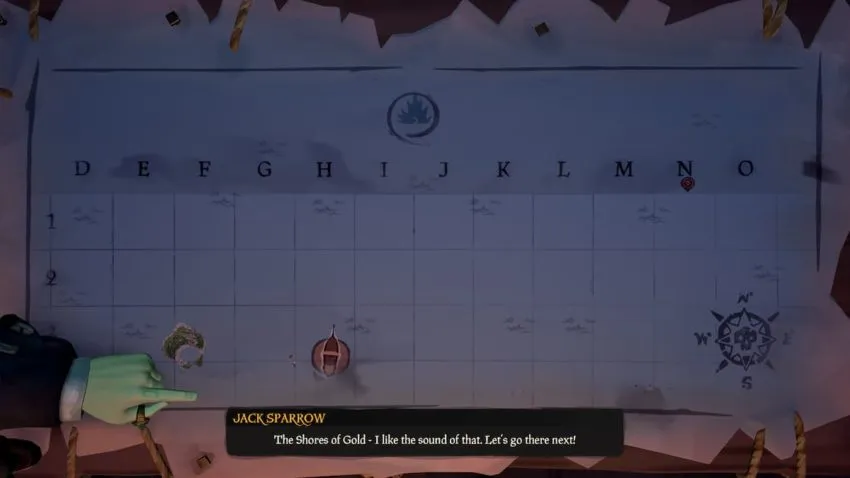
The Castaway will reveal herself as a character you may be familiar with, and Jack Sparrow will join you for a mission to infiltrate the Coral Fortress, where Davy Jones is gathering his own nefarious counterpart to the Brethren Court. Check the Tall Tale book in your Quests radial, and the last page will show you a map to the Coral Fortress. It is all the way in the far north, ahead of Smuggler’s Bay and Old Faithful Isle, and it’s conveniently marked on your map.
The Coral Fortress

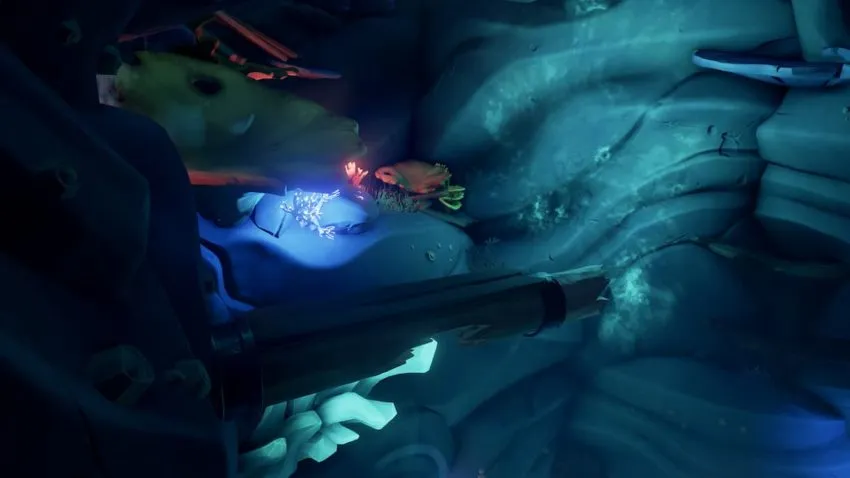
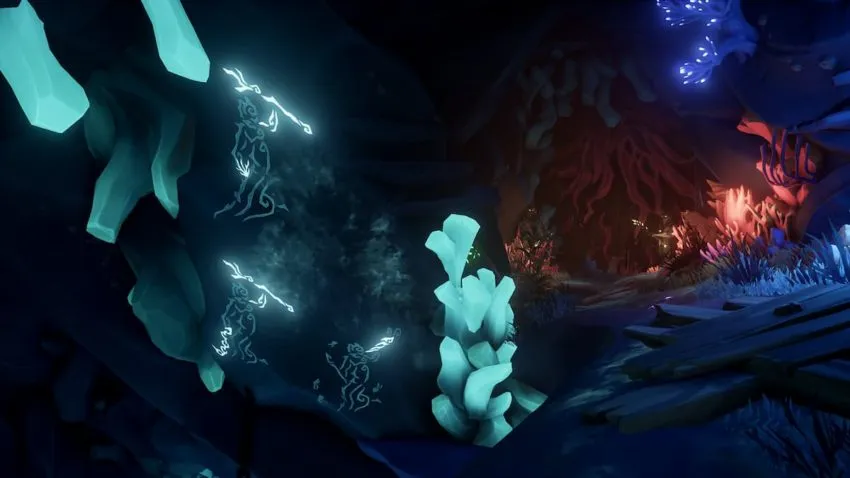
Sail to the north with Jack Sparrow, and the waters to the Coral Fortress will be rocky and stormy. Jack will jump off and embark on land by himself; the general; entrance should be clear if you’re heading from the south, and you should be able to safely park the boat as you approach land. Follow Jack’s voice, and walk clockwise until you reach a cave lit up by blue glowing coral. Go through, and you’ll find Jack near two red Siren statues and a large stone door. Watch Jack take out a locket that plays a tune from the Pirates of the Caribbean films to open the door — this will take some time, so don’t be alarmed if the door takes a while to open.
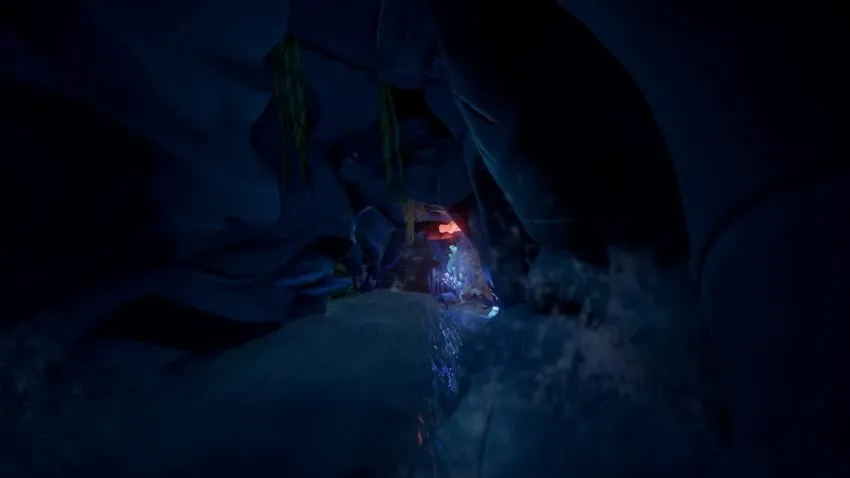
After the door are levers to activate for The Siren’s Call commendation, and some journals to nab, but otherwise, dive under the water and swim through a cavern in a left — another journal is through this cavern on the left side. Keep swimming through all of the air bubbles, following Jack Sparrow, until you reach a massive rock for him to move out of the way for you.
Swim out of the water and stand on a nearby geyser; it will shoot you up to a platform, where you will find a pulley. Use the pulley to rotate a thin wooden platform towards you; stand on it as it begins to rotate back and jump to the other side. On the right is where you will find a journal, but to the left is your main path, with some wooden planks forming as a ramp, and some small gaps to jump across. Use the mast ladder ahead and climb up to meet Jack.
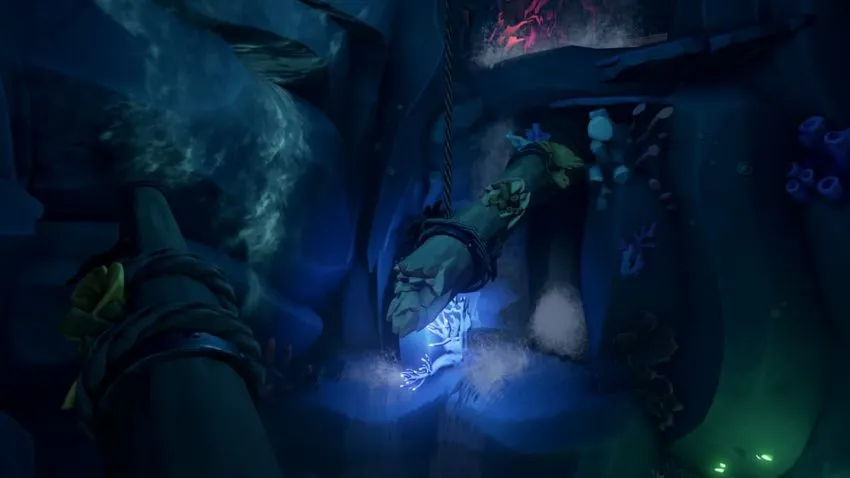
Jack will take a stumble and slide down a rapid stream of water — follow him, and veer to the right if you want to take the alternate route for the Secret Waters commendation. Ahead of you is the Flying Dutchman, the ship of Davy Jones.
The Chamber of Sorrow
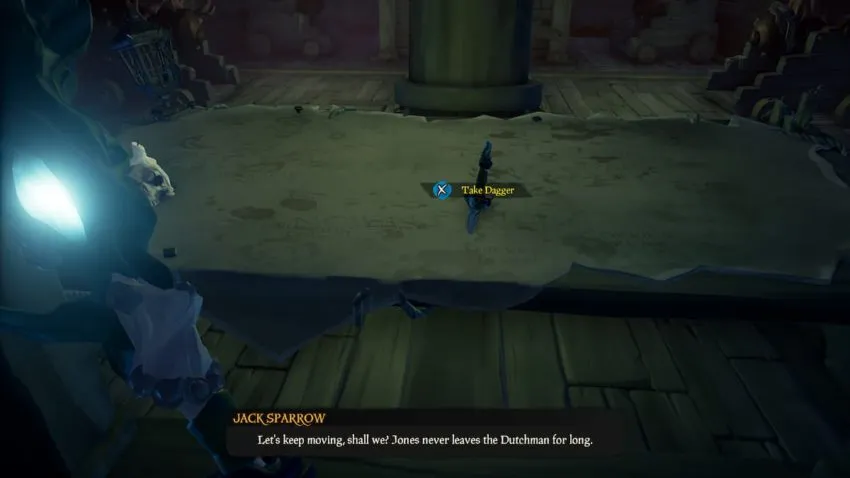
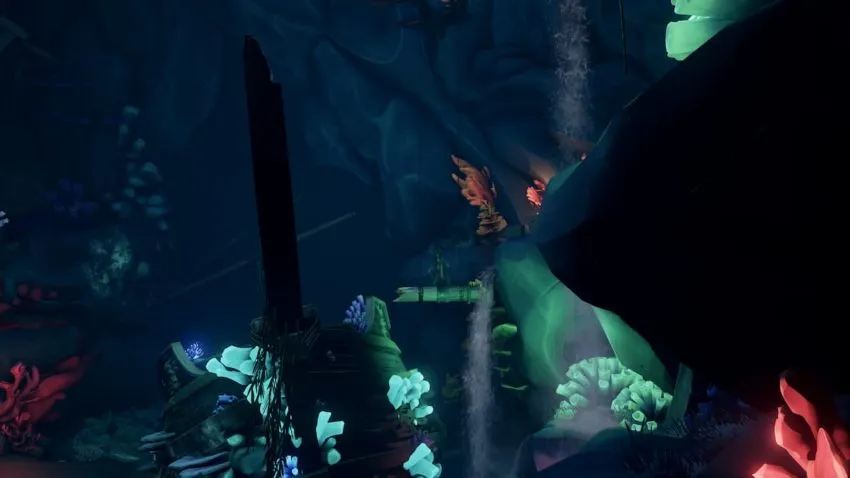
Climb into the Dutchman with a ladder at the front of the ship. There are Tridents of Dark Tides scattered about, but focus on opening the captain’s quarters door. Do this by finding the opening to the lower deck, going down the stairs, and finding the map table. Hit the Take Dagger option to open the door. Go up the steps and go into the captain’s quarters, which has an organ at the end.
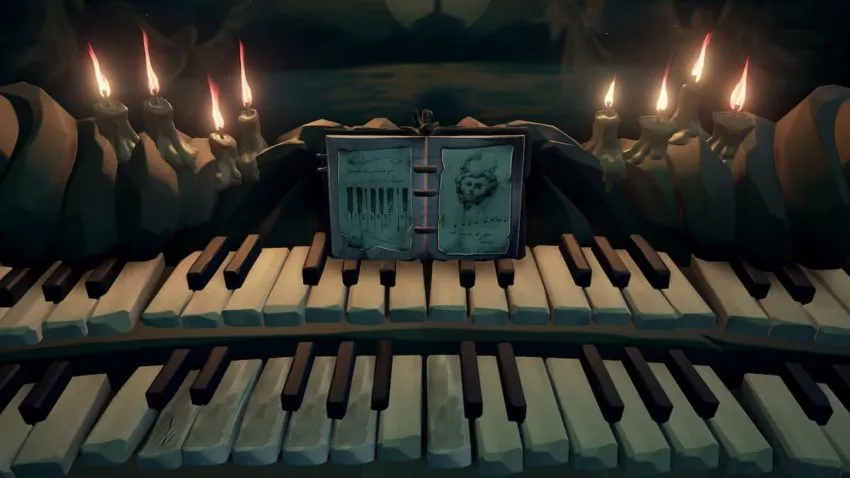
Get the journal on the left, and approach Jack Sparrow, who hands you sheet music. You can access this sheet music at the end of your Tall Tale journal. There are eight piano notes marked on the left page, and the sheet music is on the right. Look at the organ itself, and once you interact with it, the journal will be opened in front of you for your reference. Look in the middle row of keys and spot the ones that look worn out — match these with the diagram of keys in the book, and with the leftmost note as 1, play the following notes by selecting them individually and hitting the jump button: 1, 2, 3, 4, 5, 6, 7 (the black key between 5 and 6), and 8, which is the same key as 5.
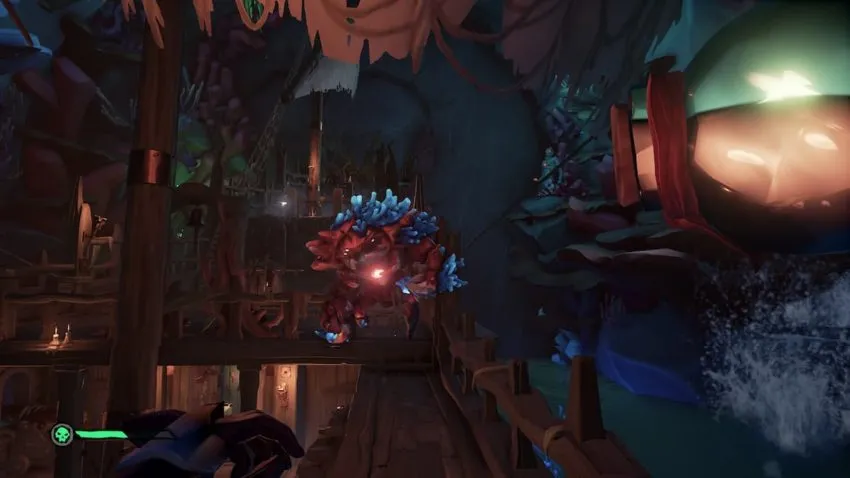
After completing this, a tune will play and a battle will commence. You will have to defend the Flying Dutchman from waves of Ocean Crawlers. There will be at least five waves, alternating between Ocean Crawlers outside the ship and inside the ship. For the Crawlers outside the ship, use the cannons — there are eight on each side of the ship, with two cannons being inside the captain’s quarters and two others being up the stairs at the front of the ship. You should be used to fighting Ocean Crawlers now, and the Trident of Dark Tides should help, but remember that when you see the large Crab Ocean Crawler create shields for itself and other enemies, shoot the Crab first.
Once you defeat all of the Ocean Crawlers, the Red Siren Statues will glow and a large stone door behind the Dutchman will open. Swim through the back and Sirens will ambush you — ideally, you should still have a Trident of Dark Tides with you to make easy work of them.
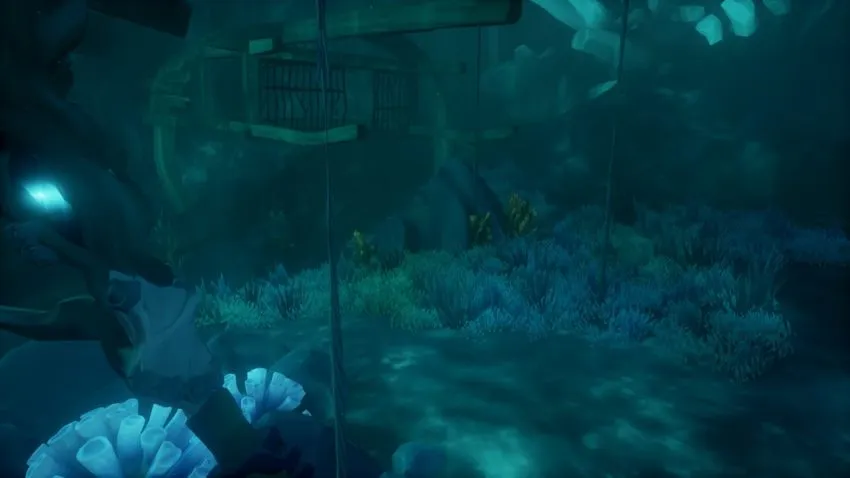
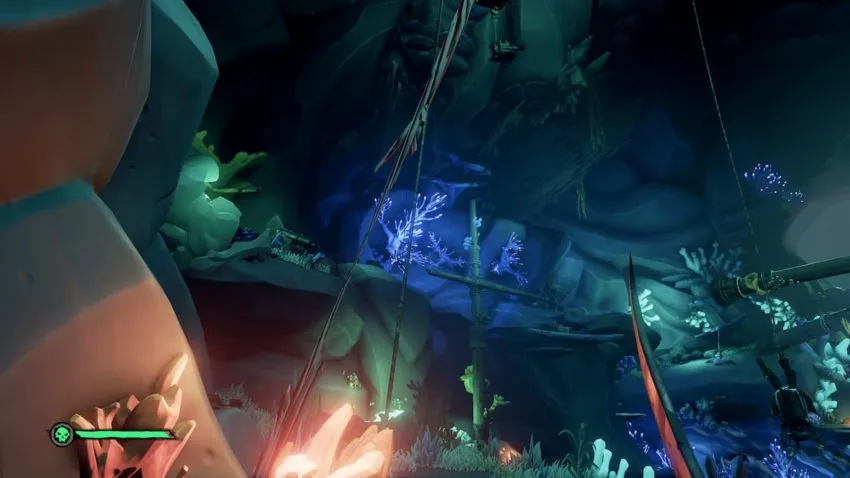
You can’t get on top of the rocks ahead from here, so dive underwater. There will be three pieces of shipwreck, all tied down by thinning rope. One piece has three ropes attached to it; the next one has one rope and the last rope has two ropes. Cut all of them down, and you’ll make some wooden platforms that you can walk on. Use the wood to reach the rocks and waterfall on the other side.
There are levers for a Siren Mural and a journal in this area, but otherwise take a left and go up a ramp. Jump onto a platform, climb a ladder, and take a right to a pulley. Use the pulley to lower a wooden structure that can act as a floor. Swim to the wooden structure to meet up with Jack, who will let you through the waterfall ahead.
There will be two Siren statues, one missing a heart. After some dialogue, Jack will find the Siren Heart — grab it from the left. Put the Siren Heart in the statue and hit both statues to make them raise their tridents up high, matching the art behind you. Hit the large statue surrounded by red coral to open up the passageway ahead.
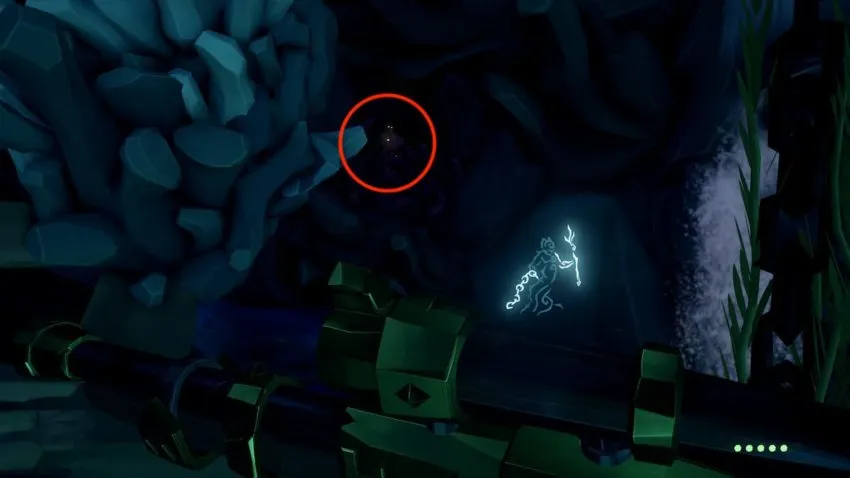
There will be another Siren statue puzzle, but with three statues this time. The first will be right ahead of you, and hit the statue to match the image next to it so it has its trident lowered. Next, go onto the broken ship platform, walk to the end, and look to the left. You’ll see another Siren art piece, and to its left, hidden in the dark behind coral, is the second statue. Shoot it so it has its trident in the middle.
Take a full 180 degree turn to see another piece of art — to its left is the last statue; shoot it with a long range weapon to have it raise its trident. There is an armory and ammo chest near the first statue if you need it. Shoot the large statue, southwest of the large wooden platform, and you can use the pulley behind you to the left of the ammo chest. Use it to raise the large wooden platform as a ramp, and use it to reach the area now accessible after completing the puzzle. Continue through this path and run up two masts that act as bridges until you reach two more Siren statues.
Hit the two statues so they are raising their tridents high up. The large statue is back behind the second mast bridge. Hit it to open the wooden door in the way.
Deep into the Fortress
From the cliff after the wooden door, drop down for a tough battle against some Ocean Crawlers, including two Crab Ocean Crawlers. There is a nearby barrel with food to replenish your health and an ammo chest next to it. After defeating these enemies, keep going up the ramp and use a geyser to go up a ledge. Go up and you’ll see a near-broken rope — damage it to open the wooden door next to the geyser.
Move forward and hit a switch above a barrier to go through. Swim up to find another statue puzzle with three statues around you. Solve it and then hit the large statue to raise the water level. Swim up and resurface, and then move ahead. There will be a cavern with two halves of a mast — the half mast closer to you will have a pulley to its right, while the half mast farther off has a pulley over to the left of the cavern. You will use both of these pulleys to create a bridge, but you will have to switch between them and run up the mast fast enough to get up to higher ground. After that, go down a water slide.
The Court Convenes
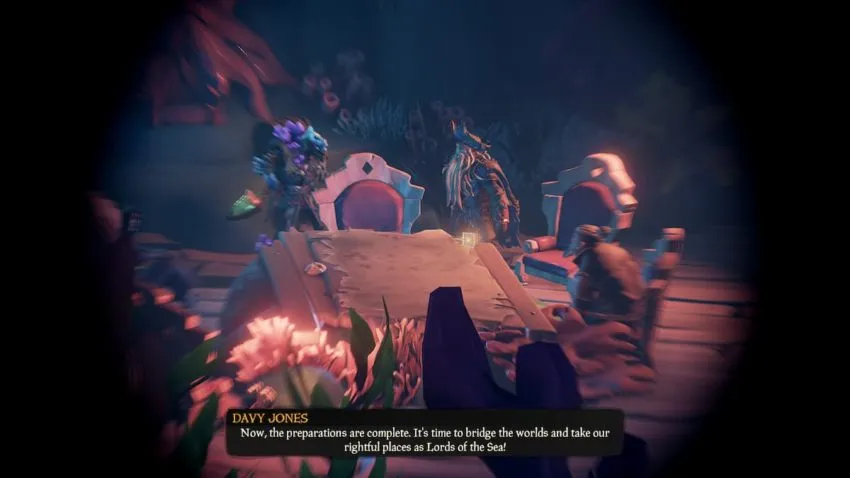
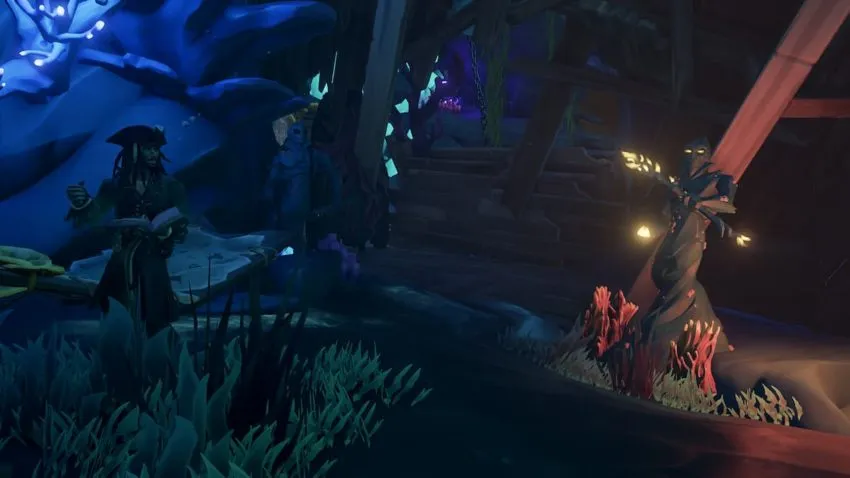
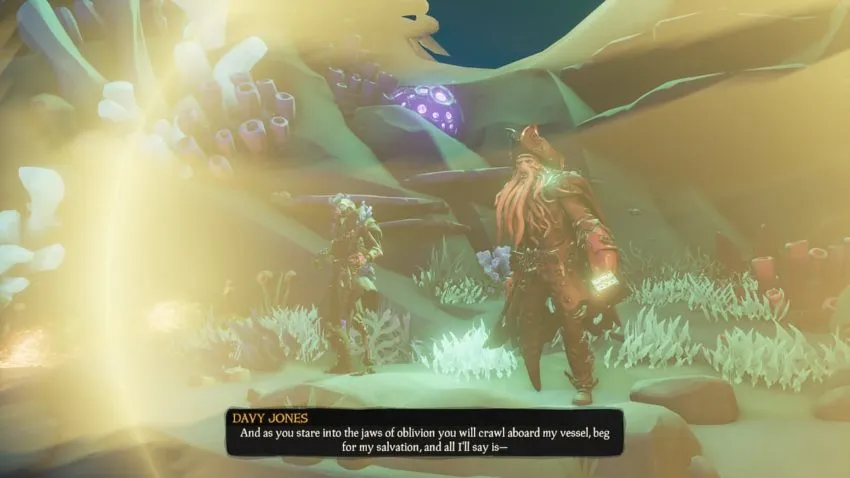
Resurface and overhear a conversation between Davy Jones and some nefarious figures from the Sea of Thieves. If you listen to the entire exchange, you will earn the Dark Desires commendation. Wait until the Dark Brethren members disappear, then run through a cavern on the right.
Ritual of Thieves
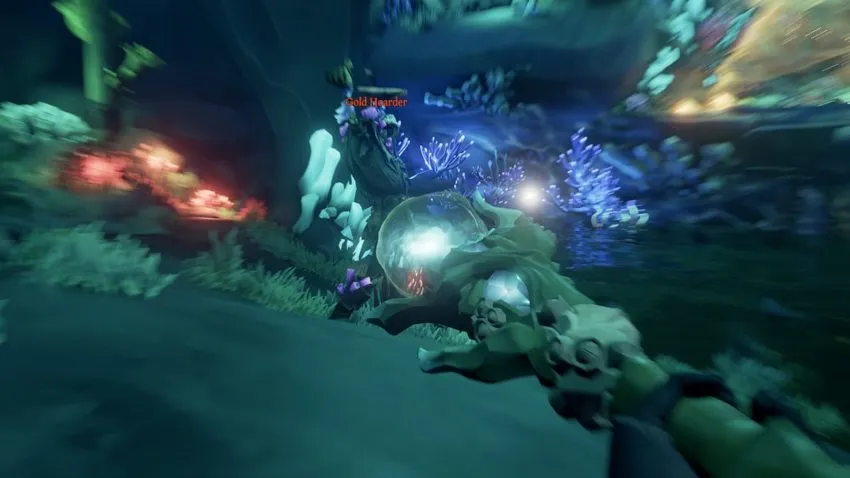
You will catch the Gold Hoarder and Davy Jones performing a ritual, surrounded by a forcefield. What will commence is a lengthy final battle, and Captain Jack Sparrow is at your side through a ship he crashes through the wall. Ocean Crawlers will pop out, and you’ll have to stay mobile and fight them all off with the help of Jack’s cannon fire. Check nearby barrels and grab Tridents of Dark Tides scattered about.
After the first wave, Jack will ask for some help getting supplies. Find a pulley across from the front of Jack’s ship and lower the mast so Jack can jump on. Jack will then drop you a storage crate full of fruit and throwables, and the second wave will commence. Jack will eventually need your help again, and you will go to a pulley to the right of the ritual.
With the Ocean Crawlers defeated, Davy Jones will send the Gold Hoarder to fight you. His attacks include burrowing underground and popping out, throwing explosive bags of gold straight to the ground, and directly engaging you with swordplay. Keep your distance, and use a Trident of Dark Tides against him if you still have one. He will retreat after taking enough damage.
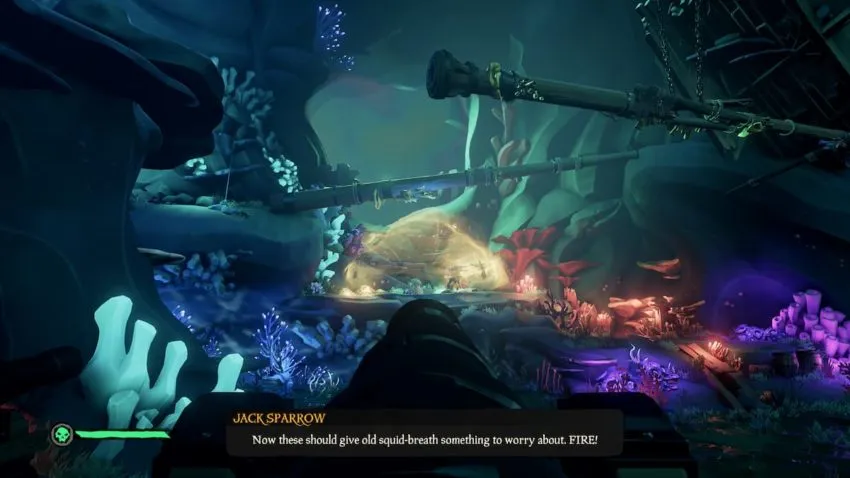
Jack will then clumsily try to interrupt the ceremony, getting stuck hanging by his foot on a rope. By the closest wall to you is the end of the rope — cut it to free Jack. He will then drop cannons in front of the ritual, after which you will bombard Davy Jones and the Gold Hoarder’s forcefield with cannonballs. After they disappear, the Tall Tale is complete, and you will go through the barrier to leave the Coral Fortress and go back to your ship.


Published: Jun 30, 2021 10:43 pm