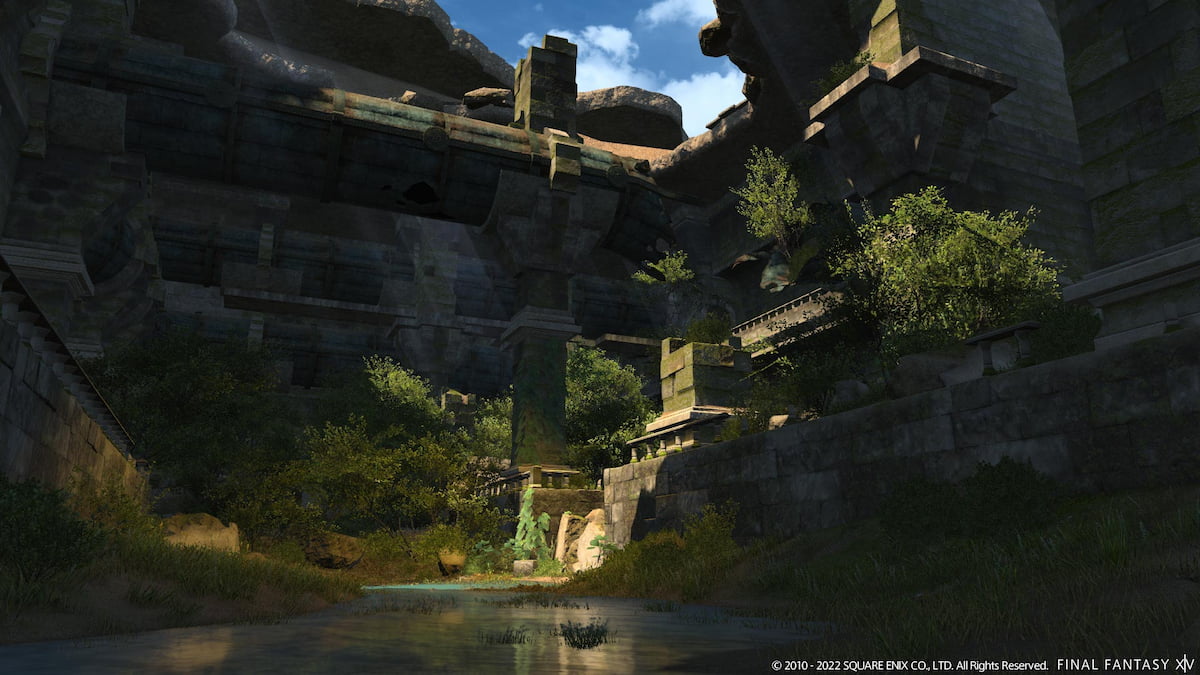
The Sil’dihn Subterrane variant dungeon in Final Fantasy XIV is a unique experience where players can explore it through several routes. Each of these routes contains different encounters. In addition, there’s an achievement where you will need to find 12 unique survey points by progressing through this variant dungeon. Here’s what you need to know about finding all 12 Survey Points in the Sil’Dign Subterrane variant dungeon in Final Fantasy XIV.
How to find all 12 Survey Points in the Sil’dihn Subterrane variant dungeon in Final Fantasy XIV
To complete these Survey Points, you must complete this variant dungeon several times. You can choose to undergo this adventure by yourself, do it with a dedicated group, or complete it with random players. If you’re exclusively trying to get these Survey Points, it might be better to focus on going alone or with a dedicated group.
Related: How to unlock the Sil’dihn Subterrane variant dungeon in Final Fantasy XIV
Here’s what you need to discover each survey point.
Note 1
This will be available on the leftmost route. You will need to wait until you progress into the room with the various sacks. Go to the green bag located at the northeast corner, and then grab the yellow sack at the southeast corner to place it on the pillars.
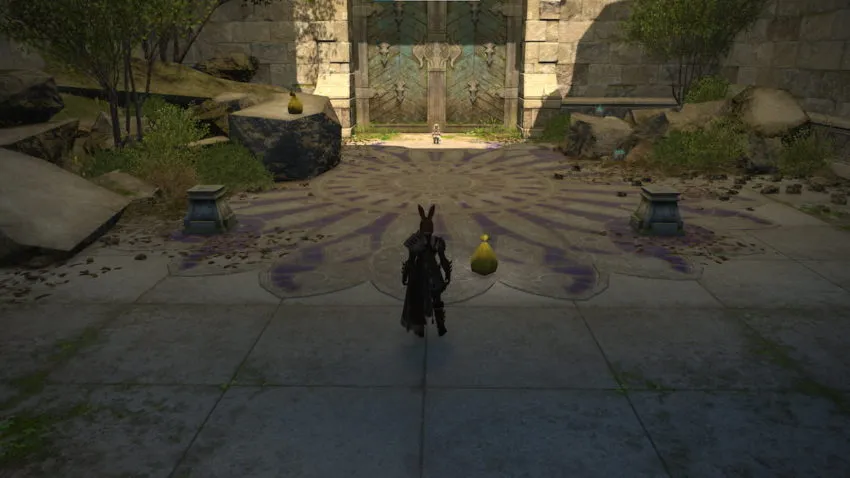
This will prompt Nanamo to speak, and you can proceed to the next room. While in this room, wait for Nanamo to speak again, but do not enter the gate. Instead, wait until Nanamo has finished talking, and then find some rubble to the left of your position, and there will be a door. Open the door, unlocking this note.
Note 2
This will be available on the leftmost route. Similar to the first note, you will want to continue through the rest of the dungeon, but make sure not to interact with the door. If you do, you will not secure this note, so proceed through this route by not changing course.
Note 3
This will be available on the leftmost route. When you reach the rooms with the sacks, select any other combination of bags you can find in the room rather than picking the green and yellow sacks in note one’s specific locations. When you proceed, flower circles appear after the door opens. You want to trigger these flowers, and you will receive the note when you reach the end of the dungeon.
Note 4
This will be available on the leftmost route. Like note three, make sure to summon the flowers in the next room, but you want to avoid them. If you or another player triggers them, you will not receive note four.
Note 5
This will be available on the rightmost route. You will need to make your way past the boss and then proceed to the next area. You will want to make sure you take the leftmost route when you have the option to choose while at the winch. You will need to make your way through the majority of this route, but select Spark when you have the choice between Spark and Flame.
Note 6
This will be available on the rightmost route. Unlocking this note is precisely similar to getting note five, except you will need to make sure you select Flame rather than going with Spark.
Note 7
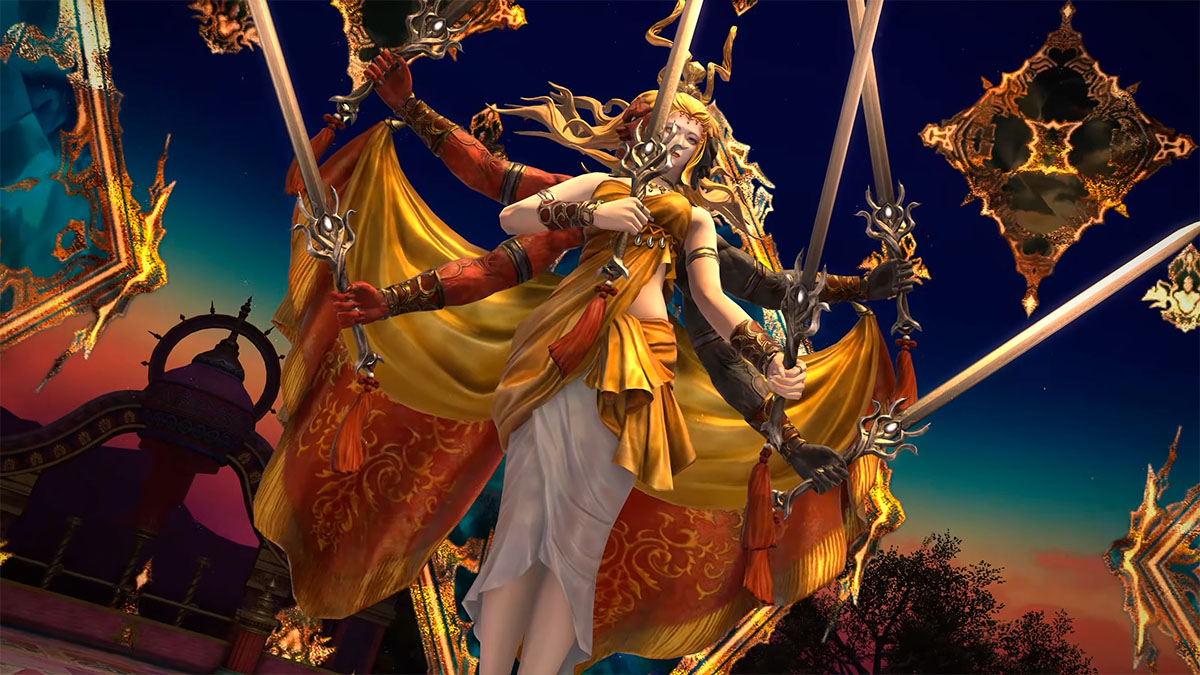
This will be available on the rightmost route. When you reach the winch, select to go to the right rather than to the left. When you get to the second room, there will be several Drake enemies, and you will need to defeat them from largest to smallest. The correct order will be Forgotten Drakefather, Forgotten Drakemother, Forgotten Drakebrother, Forgotten Drakesister, and then Forgotten Drakeling. We recommend focusing on these foes one by one, using single-target attacks. After this, grab the incense in the next room, and interact with the coffin after defeating the boss.
Note 8
This will be available from the middle pathway. You won’t need to worry about the notes until you reach the end, so the boss and the routes you take to get to the final area do not matter. For note eight, you want to approach the scales and place any combination of things you want on them, except for the helmet and fruit. Once you’ve done this, pull the right level, defeat the boss, and complete the dungeon.
Note 9
This will be available from the middle route. It’s similar to the steps for note eight, except to ensure you pull the left lever when you reach the scales and mess up the correct combination.
Note 10
This will be available from the middle route. When you reach the scales before fighting the boss, place the helmet on the left side of the scales and then the fruit on the right side. Once you’ve done this, click the Nald statue on the left side before you encounter the boss, and you will receive this note.
Note 11
This will be available from the middle route. Like note 10, you will need to make your way to the final part and place the helmet on the left side of the scale and the fruit on the right side. Now, instead of clicking the Nald statue, click the Thal statue and then fight the boss.
Note 12
The final note, note 12, will be available by going down the right pathway. You will want to proceed as if you are going to complete note seven: upon defeating the boss, click the right side for the winch, and beat the Drake family in the same order, defeating the Forgotten Drakefather, Forgotten Drakemother, Forgotten Drakebrother, Forgotten Drakesister, and then Forgotten Drakeling. Once you’ve done that, in the next room, defeat the enemies and grab the incense. Now, when you’re at the coffin, make sure to make the emotes “/bow,” “/respect,” “/vpose,” and then “/kneel,” which will summon the secret boss for you to battle, the Throne Knight, rewarding you with note 12 after you defeat it.


Published: Oct 20, 2022 07:13 pm