Much like most video games nowadays, Trek to Yomi features a series of collectibles known as Artifacts. Separated by chapter, these Artifacts don’t serve any tangible gameplay purpose. They’re there to provide extra insight into the game’s world, Japanese culture, and to fill out the achievement and trophy list.
Our guide below details where you can find all seven Artifacts in Trek to Yomi’s first chapter.
All Trek to Yomi chapter 1 Artifact locations

The first collectible, the Tamaya Mirror, can be found near the beginning of the chapter. Immediately after finishing the opening combat tutorial, you’ll gain control of Hiroki outside of the dojo you were just in. Instead of taking the steps into the village, head back inside and exit through the back door. Keep moving right until you find the mirror sitting on the ground at the end of the path.

The second collectible, the Izanagi Print, is practically unmissable. After Trek to Yomi teaches you that certain objects such as carts can be pushed out of the way, you’ll be able to head up a set of stairs. Once inside the building at the end of the stair set, you’ll find the Izanagi Print sitting on a table to your left, which is also the direction you need to head to in order to progress through the story.

Shortly after acquiring the Izanagi Print, you’ll come across a building with a quartermaster on the first floor yelling at you to leave immediately. Exit through the left behind the quartermaster. There will be an NPC on this screen with three dots over his head indicating you haven’t interacted with him yet. Approach the NPC and press the A button on an Xbox controller or the X button on PlayStation to speak to him. You’ll be granted the Kai-Awase Shell once the conversation ends.

As you continue forward, you’ll come across a stack of barrels that fall in front of what appears to be some sort of merchant. Press onward through this linear path. Speaking to the merchant serves no purpose other than to immerse yourself further in the world. You’ll start to hear distant screams just as you approach a fork in the path. Take the path to your left, where you’ll find the Sakura Bloom sitting on a table in the middle of the room.

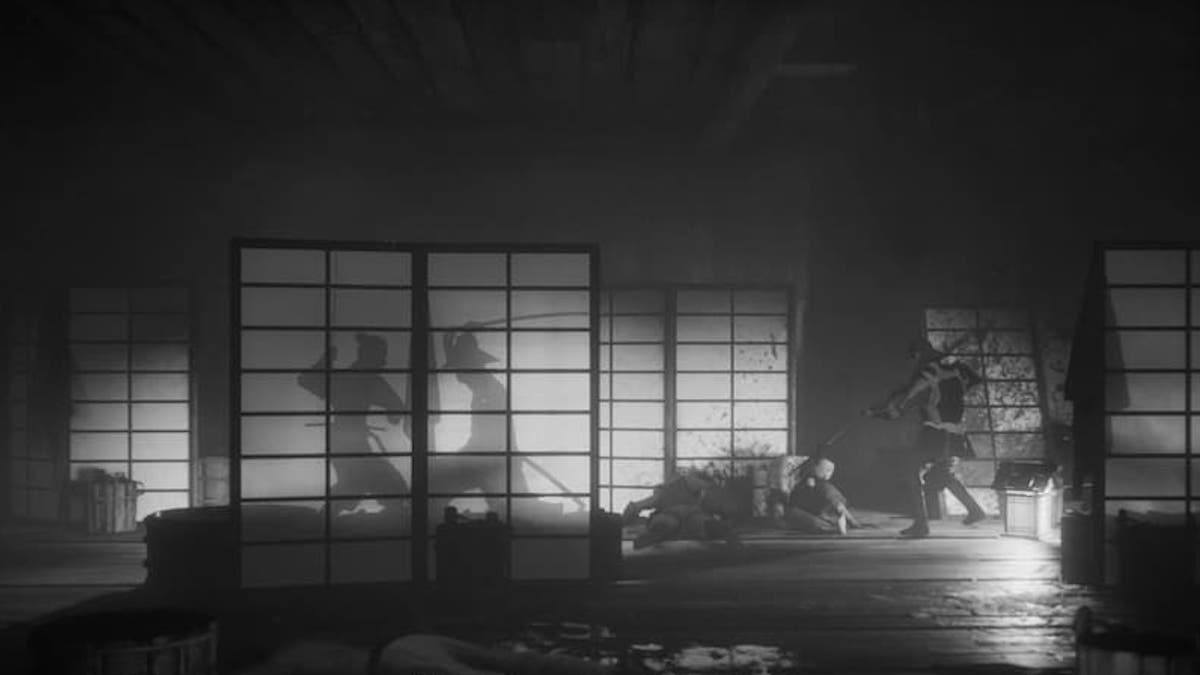
Once you fight your first batch of enemies, the following screen sheathes your sword. You’ll notice a shrine near this screen’s entrance. Move forward just a little bit until you reach the end of the wooden fencing lined up behind the shrine. Take the path behind this fencing, which will lead to an NPC cowering in fear in the corner. The Field Mouse Sculpture is on the table across from the NPC.

After exiting the initial village, you’ll come across scenery of an open field that overlooks a neighboring village. You’ll fight a few enemies along this road before entering the second village, which has multiple dead bodies lining the path to its entrance. Once in the village, enter the house behind the NPC that is sitting down and crying outside. The Kakute is situated on the ground toward the middle of the screen.

Immediately after exiting this second village, you’ll have to fight a trio of enemies attacking a barred gate that leads into the village. After dispatching these foes, continue through the linear path until the screen changes and you’re met with a fork in the road. Take the path to your right, which will have a shrine nearby. Walk past this shrine and kill the enemies in the cemetery. The Izanami Print is plastered on a tombstone at the very end of this screen.


Published: May 5, 2022 01:18 pm