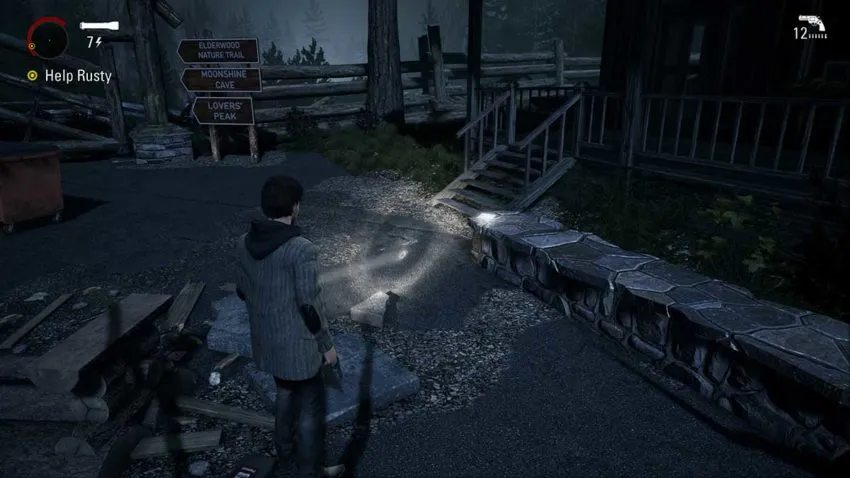
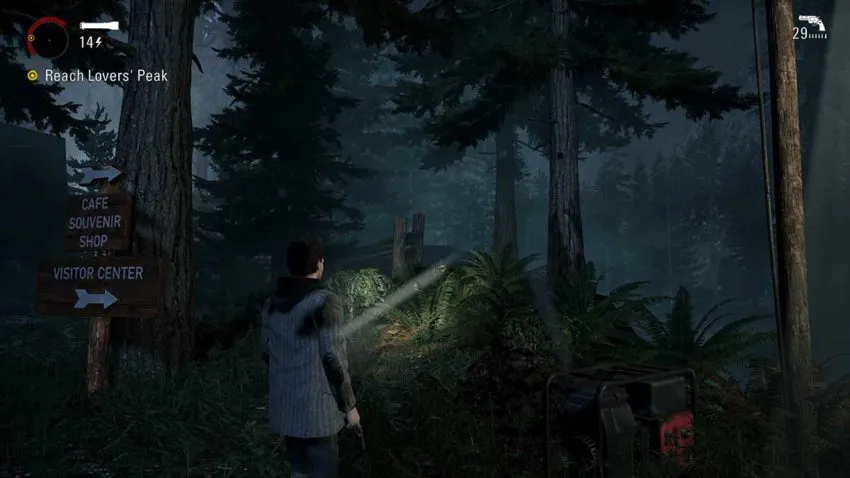
Each Episode of Alan Wake Remastered is peppered with items for you to pick up that count towards 100% completion of the game. In this guide, we’ve outlined every collectible in Episode 2 in order of appearance, so you can pick them up as you progress through the story.
Coffee Thermos #1
This Coffee Thermos is easy to see from the first frame of the Episode.
Manuscript Pages #1 and #2
These Manuscript Pages are to the left of the cover mock-ups that you need to inspect. Look at the pile of papers, and you’ll see the prompt to pick them up.
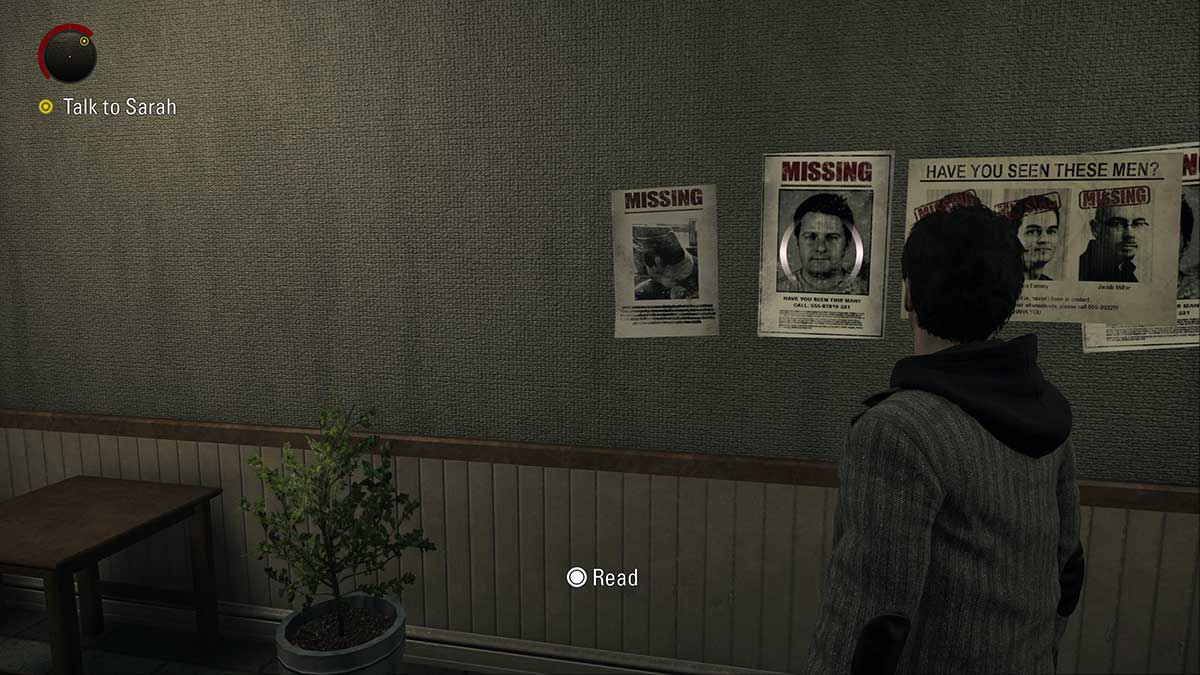
History #1
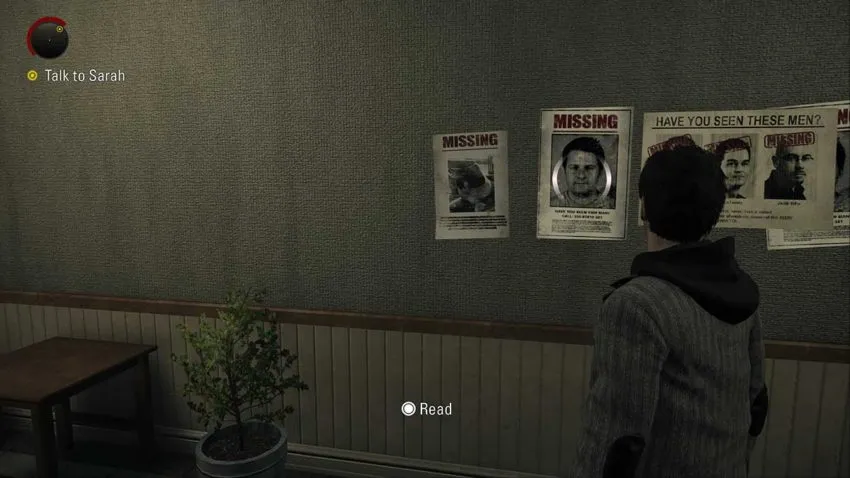
After seeing the doctor, turn left out of the door and examine the posters on the wall for some history before you visit the Sherrif.
Coffee Thermos #2
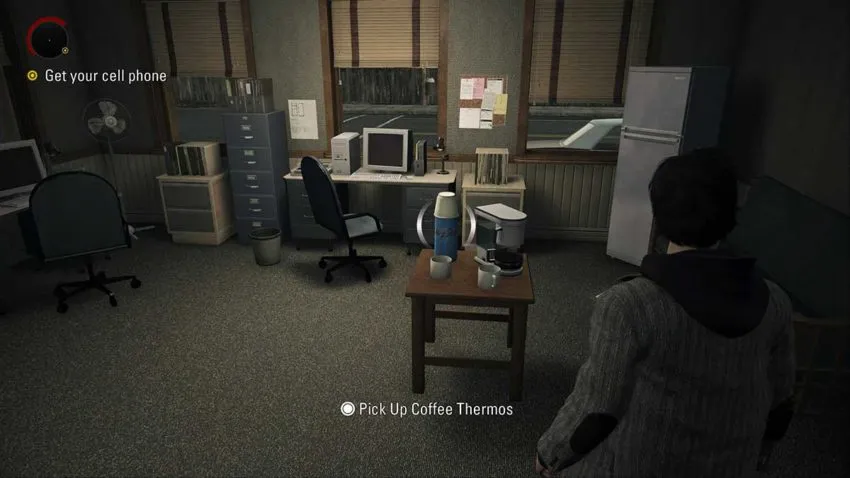
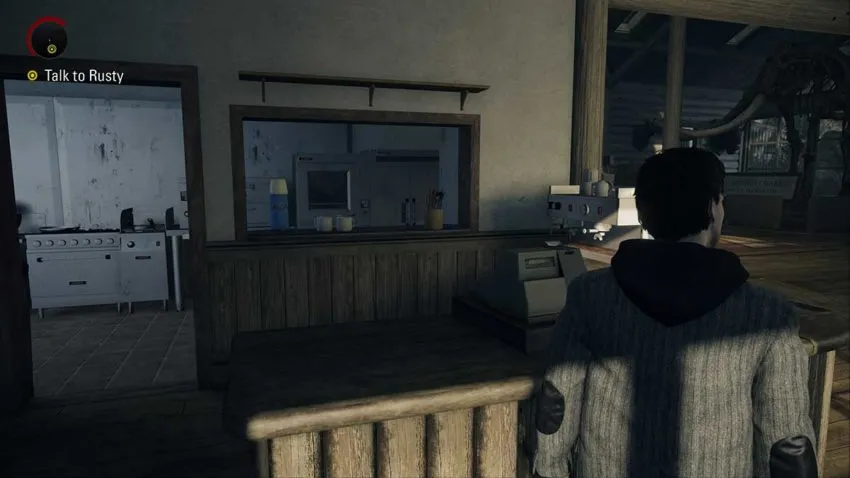
After you’ve seen the Sherrif, make your way past the reception area and into the room beyond. There’s a Coffee Thermos on the table.
Manuscript Page #3
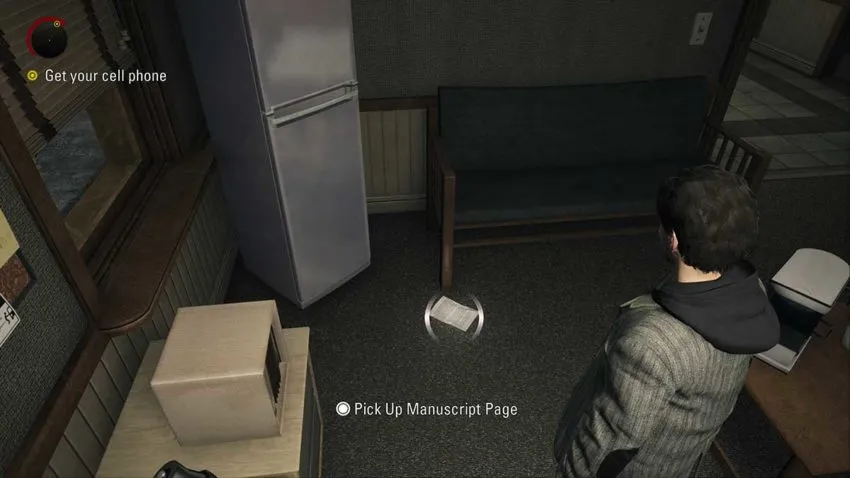
To the right of the Coffee Thermos is a bench and a fridge. On the floor in front of the refrigerator is a new Manuscript Page.
Manuscript Page #4
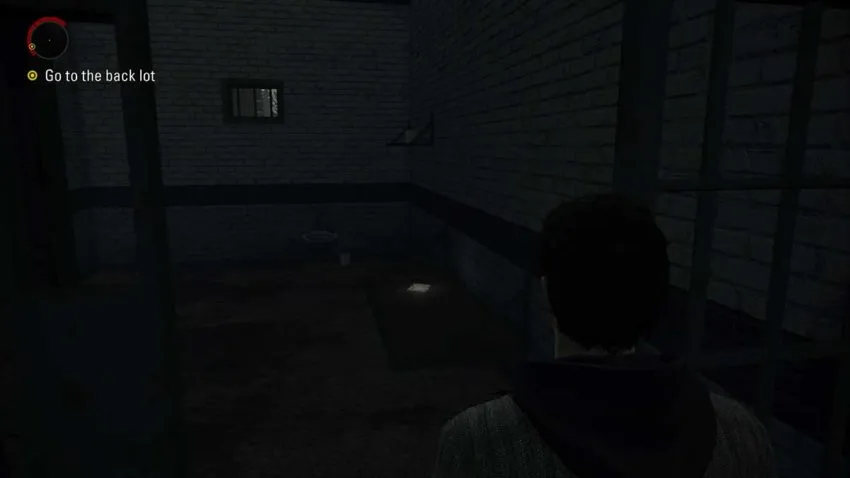
As you make your way through the cellblock, look in the open cell on the right for another Manuscript Page.
Radio #1
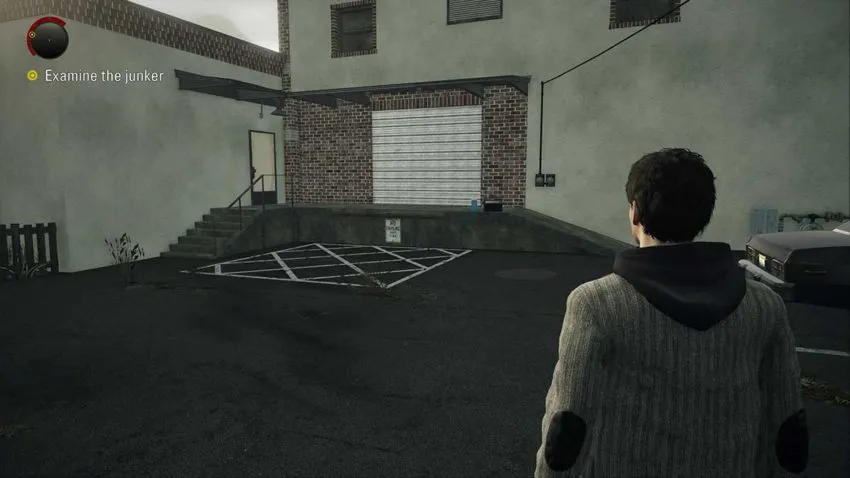
As soon as you come out of the door from the cellblock, you’ll be able to see a Radio across the parking lot. Go and turn it on to collect it.
Coffee Thermos #3
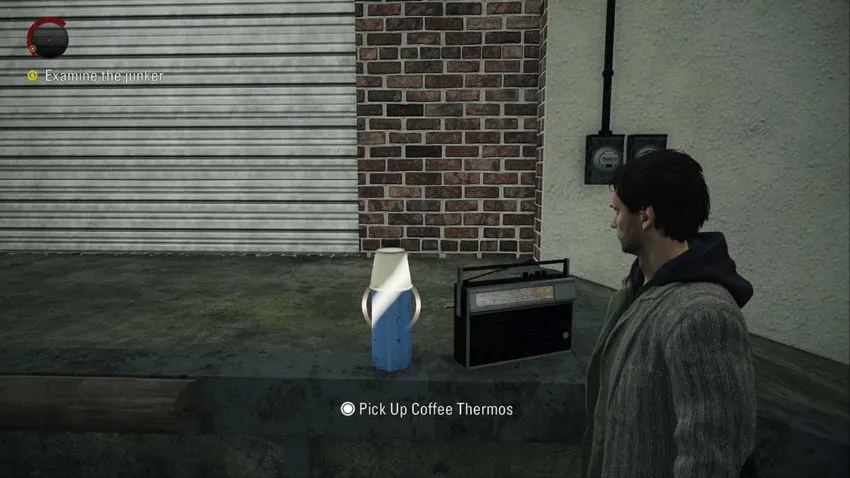
Pick up the Coffee Thermos next to the above Radio.
Manuscript Page #5
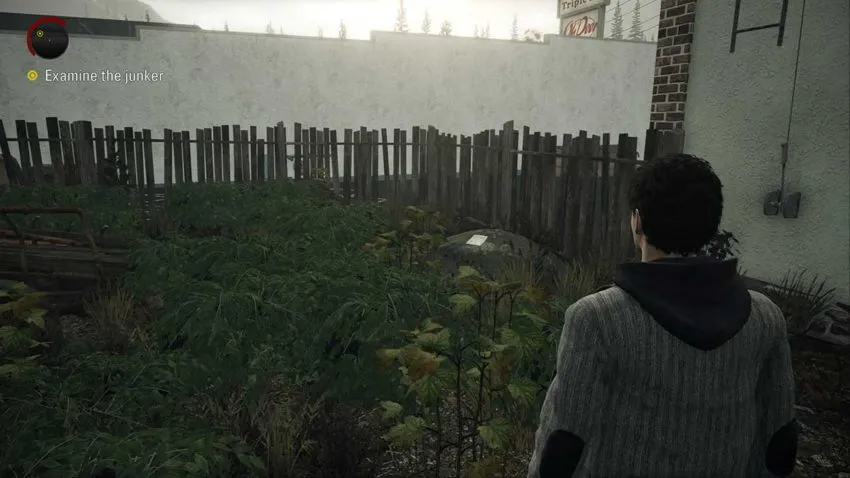
Once you’ve broken into the area next to the parking lot in search of the junker, you should be able to see a Manuscript Page on a rock to your right.
TV #1
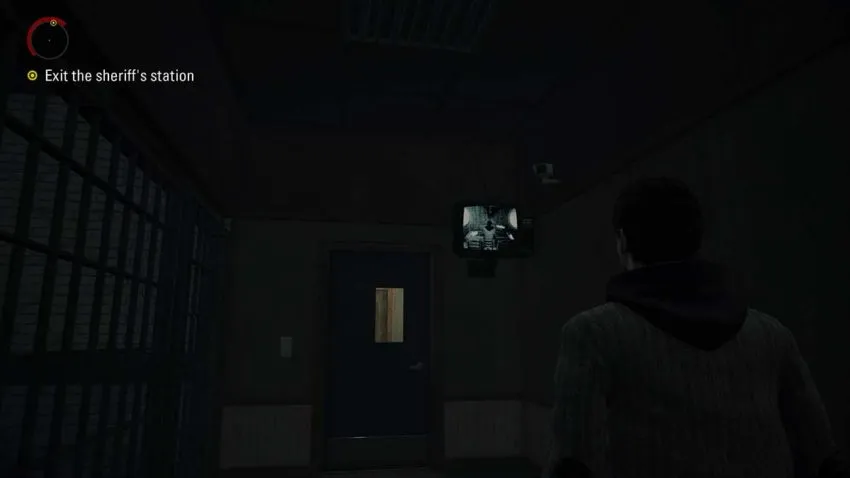
You’ll trigger this TV to come on as soon as you walk back into the cellblock.
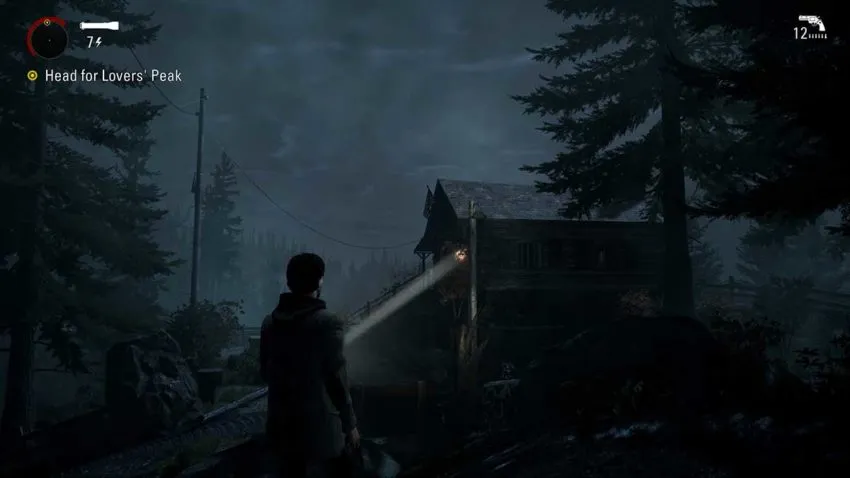
History #2
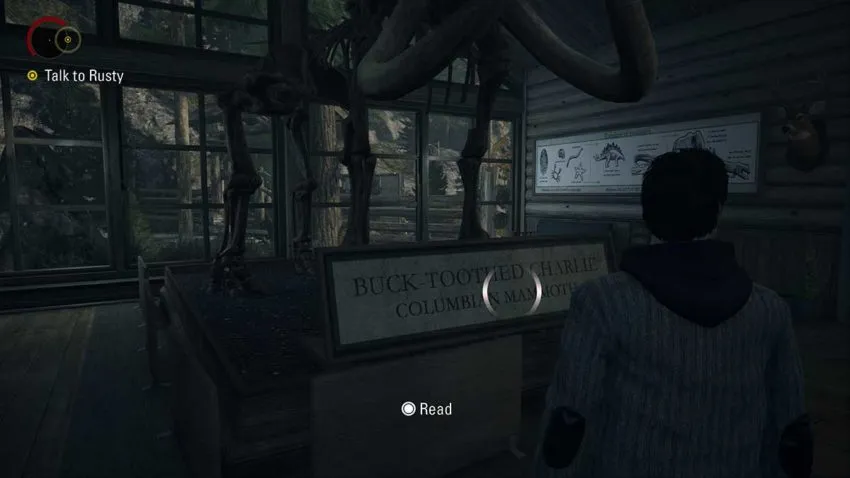
Once you’re at the lodge, look to your left, and you’ll see a mammoth statue. Read the plaque for some more information about this particular specimen.
Coffee Thermos #4
Walk around the lodge and look into the small kitchen. A Coffee Thermos is standing on the opening in the wall.
Coffee Thermos #5
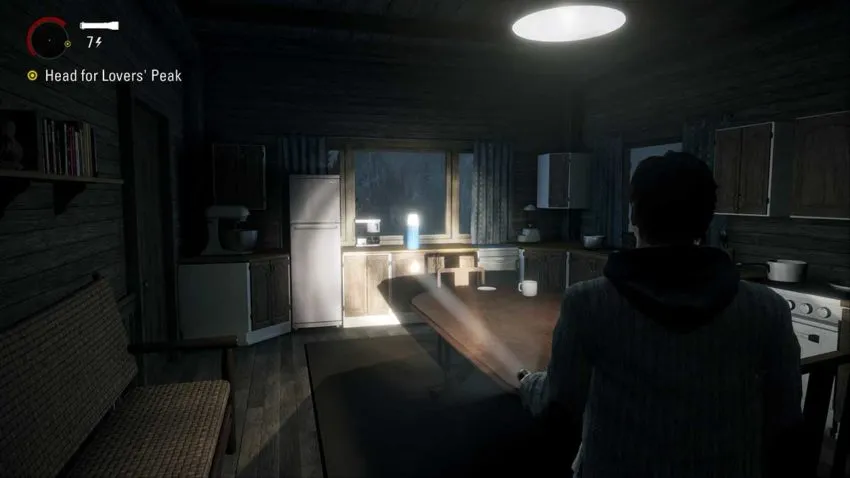
In the next scene, you’ll be in the cabin with Alan and Barry. Go downstairs and look in the kitchen to find another Coffee Thermos.
Coffee Thermos #6
Head outside and walk around the cabin. At some point, you’ll find a hot tub with a Coffee Thermos sitting on it.
Manuscript Page #6
Make your way down the stairs to the trail and look around Barry’s yellow car. There’s a Manuscript Page near the back.
Radio #2
Head down the track, and you’ll come to a cabin. Go inside and turn on the Radio to collect it.
TV #2
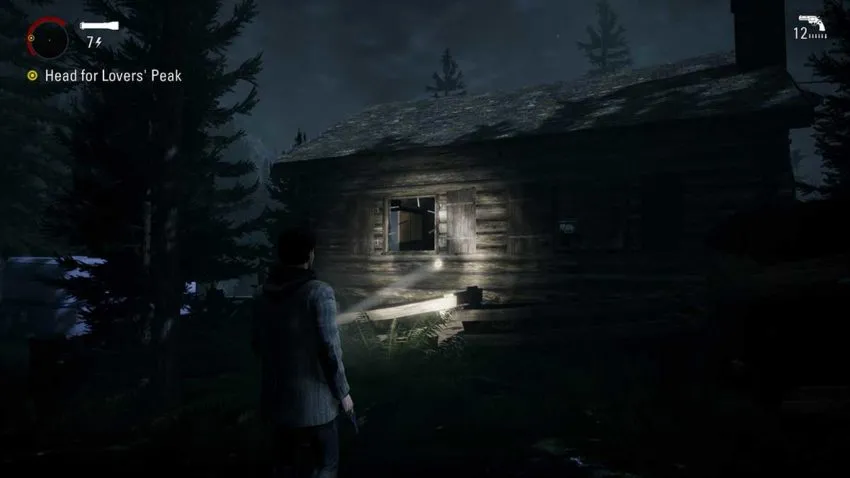
Keep going down the track, and you’ll find another, slightly more abandoned cabin. Kick the door down and turn on the TV inside to collect it and see another creepy episode of the local niche TV show.
Manuscript Page #7
As you go down the track, it’ll have a trail that goes up over a slop nearby. Follow it up to a small structure with another Manuscript Page inside.
Manuscript Page #8
Back on the road, there’s a Manuscript Page in the boot of a nearby car.
Coffee Thermos #7
As you come back to the lodge area you were in earlier, look around to your left for a small building without any lights on. Inside is a Coffee Thermos sitting on a table.
Manuscript Page #9
Run along to the large building with the locked doors. There’s a bench outside of it with a Manuscript Page on it.
Manuscript Page #10
Once you have the keys and get inside this building, you can grab a Manuscript Page just outside the door at the end of the corridor.
Coffee Thermos #8
At this point, enemies will begin spawning in the area. Before you go back to Rusty, look around the building to find a Coffee Thermos at the foot of a tree.
Manuscript Page #11
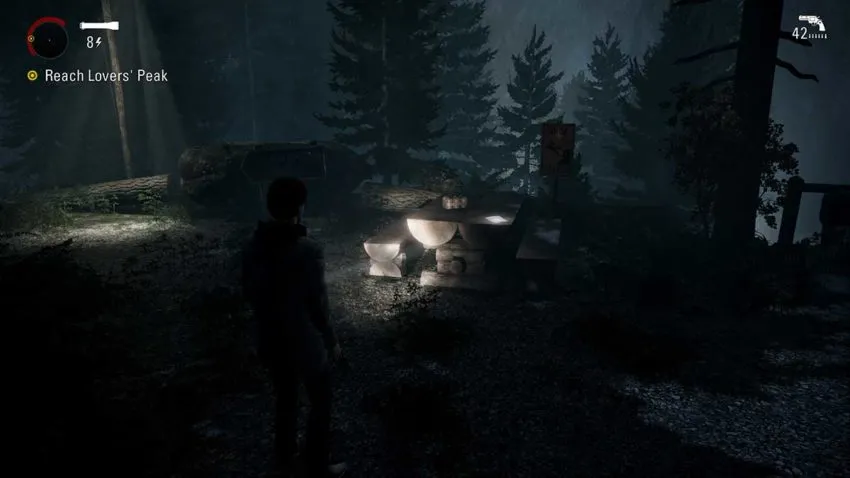
As you start to make your way through the woods, you’ll come to a small area with a picnic table. There’s a Manuscript Page on the table to collect.
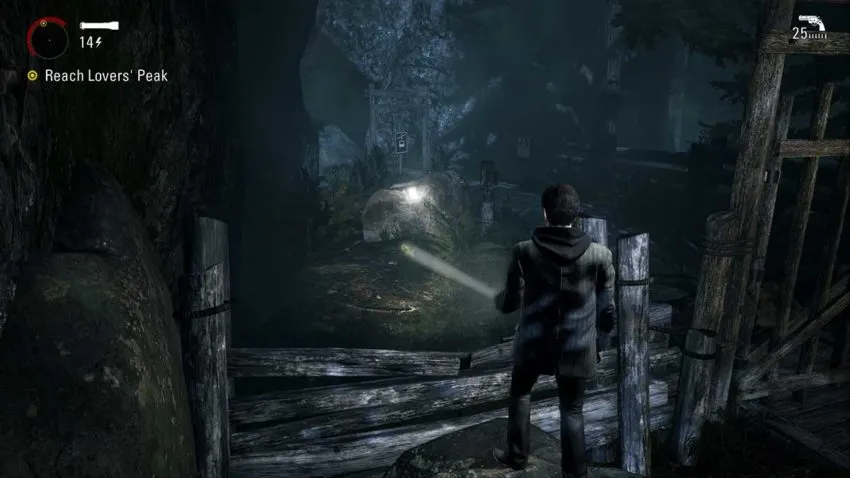
Chest #1
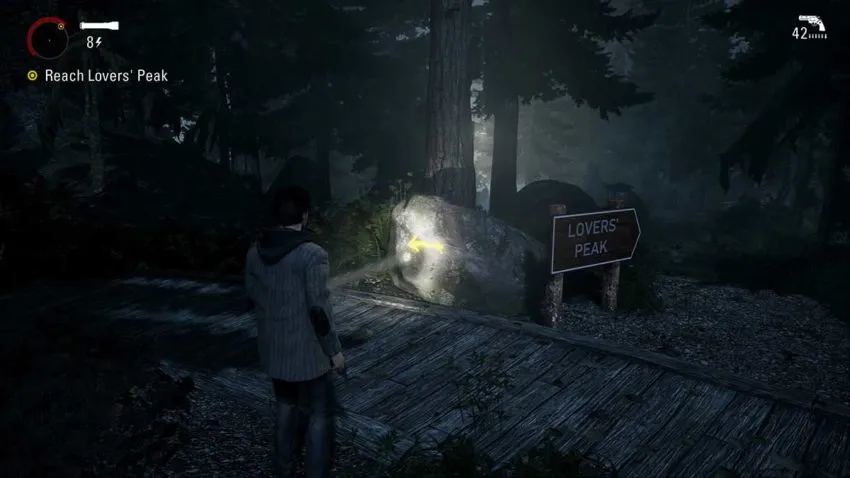
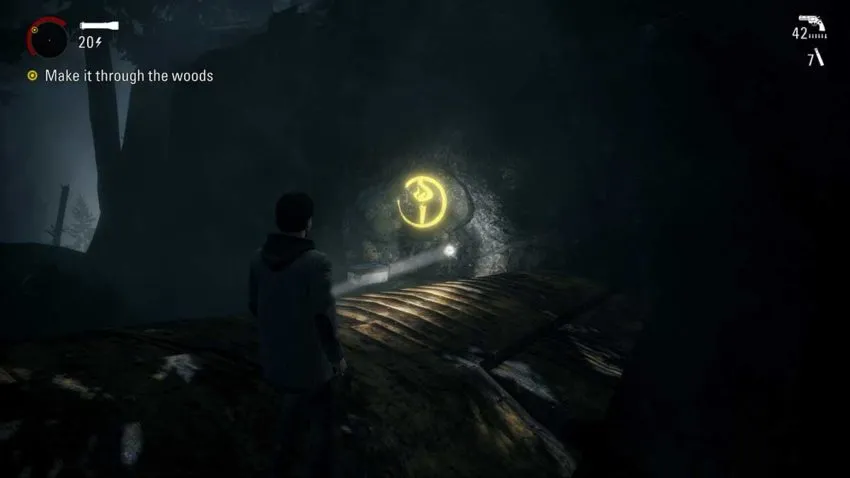
Keep heading along the trail until you see a sign for Lovers’ Peak next to a rock with some yellow paint on it. Follow the yellow paint to a Chest in a cave with some helpful ammunition inside.
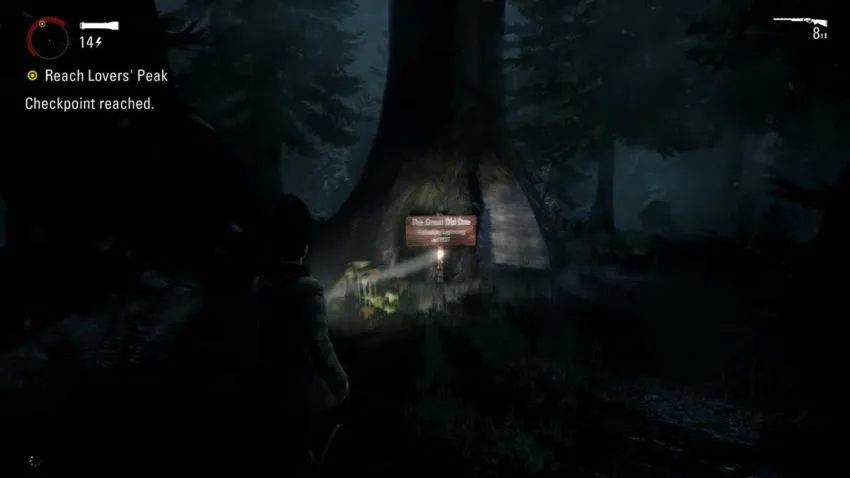
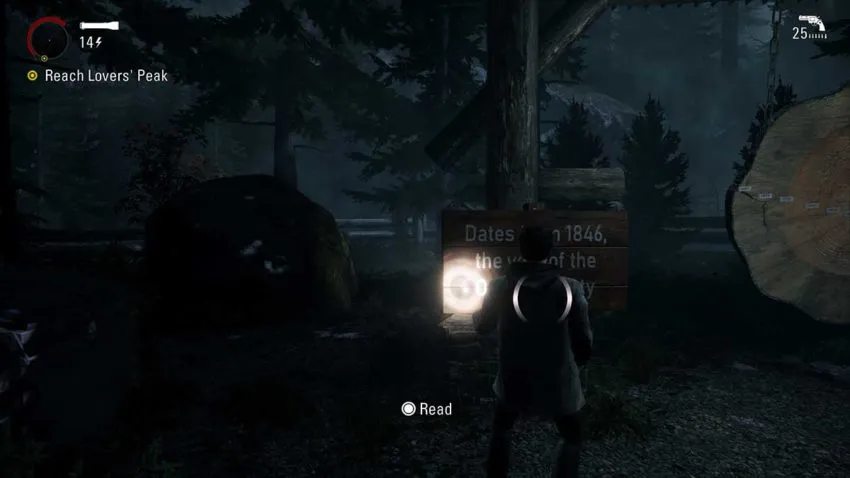
History #3
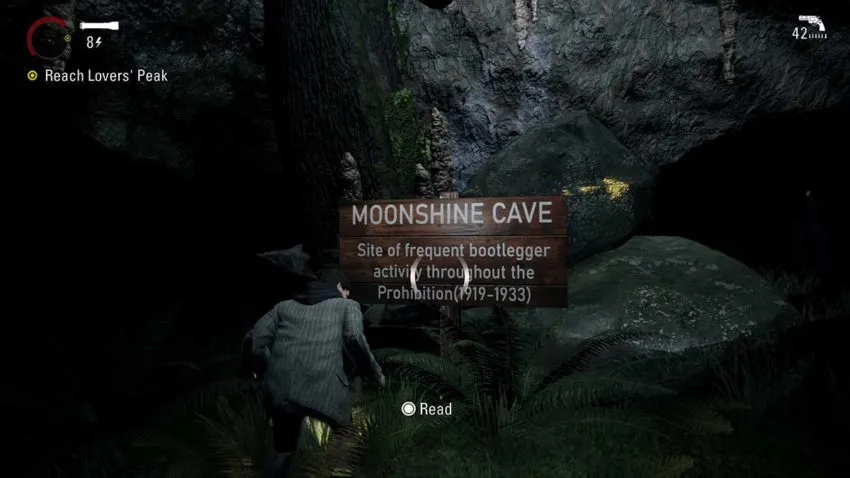
On your way to the above Chest, there’s a sign you can read for some more history on the area.
Manuscript Page #12
Keep following the spooky trail, and you’ll eventually see a picnic table off to the side. Head up there to pick up a Manuscript Page from the floor.
History #4
Along the path, you’ll find a huge tree that an enemy pops out of. The sign on this tree has some helpful history on the area if you’re interested.
Coffee Thermos #9
Once you’re out of the area with the giant tree in, you’ll find a generator to turn on. Look left from the generator, and you’ll see a subtle path that goes along the edge of the treeline. Follow it all the way to a wall, and you’ll find another Coffee Thermos.
Manuscript Page #13
When you get back onto the main trail, you’ll find another Manuscript Page on the floor near your path.
Coffee Thermos #10
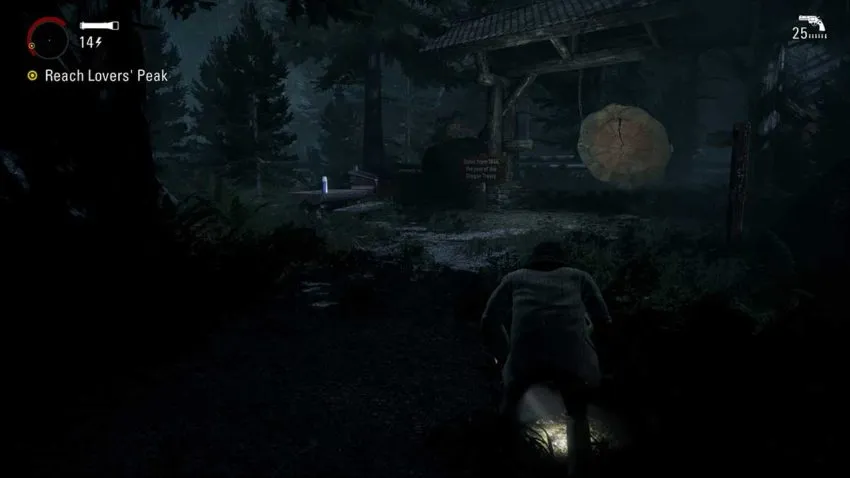
Before heading up the trail, which leads left, go to the right to find a huge suspended wooden circle, a cut of a giant tree. On the picnic bench to the left is another Coffee Thermos.
History #5
Read the plaque on the wood for some more history on the area.
Manuscript Page #14
You need to jump over a fence to continue forward. But, don’t miss the Manuscript Page on the rock in front of you as you do so.
Coffee Thermos #11
After the first major encounter with the kidnapper, look behind the sign to find another Coffee Thermos.
Chest #2
Once you and the kidnapper have parted ways, look around for some yellow paint on the floor. You can follow it down into yet another cave with a Chest inside.
Manuscript Page #15
To the left of the main path is a Manuscript Page sitting on the rocks. You can see the broken house in the distance from this position.
Manuscript Page #16
Keep going down the path and look for an area with a picnic bench on your left. There’s a fallen tree across what appears to be the edge of the area. Walk up to it, and you should see another Manuscript Page just the other side of it.
Can Pyramid #1
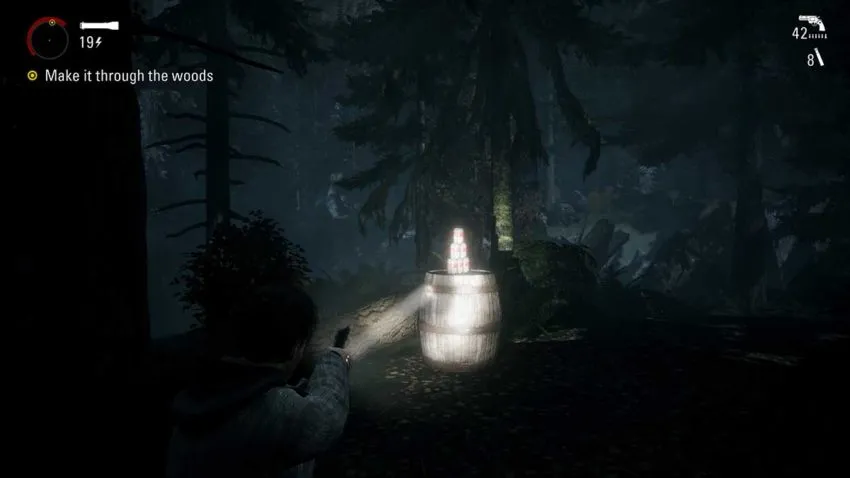
Turn around from the above Manuscript Page, and you’ll see the Can Pyramid sitting on an old barrel.
Manuscript Page #17
At the next generator, there’s a cabin to the left with a Manuscript Page inside.
Coffee Thermos #12
Inside the above cabin is another Coffee Thermos to collect.
Chest #3
Before you drop down into a new area, go and look at the plane. You can climb up on the wings and find another Chest with some good weapons inside.
Coffee Thermos #13
Once you’ve dropped down, there are a lot of enemies to contend with. Try to get up to the left of the area before approaching the house because there’s a Coffee Thermos perched on a rock to find.
Manuscript Page #18
Before heading upstairs in the shack, go around the extra area downstairs. You’ll see a door that goes out to the balcony here, and there’s a Manuscript Page to collect out there.
Manuscript Page #19
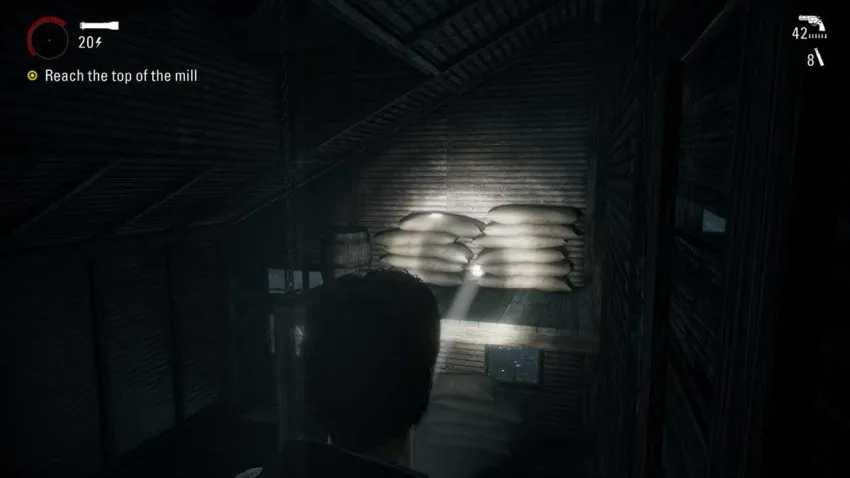
As you go up the stairs, you’ll see another Manuscript Page perched on some bags of flour across the gap.
Coffee Thermos #14
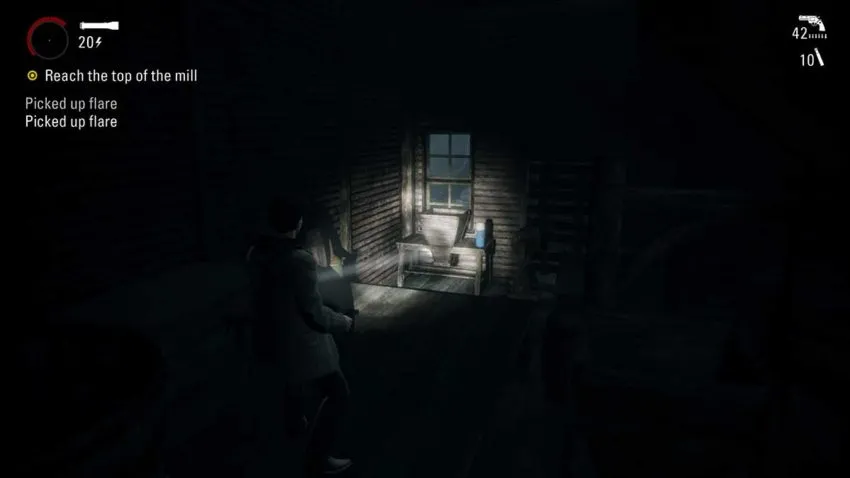
On this new floor, you can walk around the corner to find a Coffee Thermos sitting on a table.
Manuscript Page #20

Outside of the shack, look left, and you’ll see a large structure with boxes inside. Jump on the boxes, and you’ll find a Manuscript Page hiding behind them.
Coffee Thermos #15
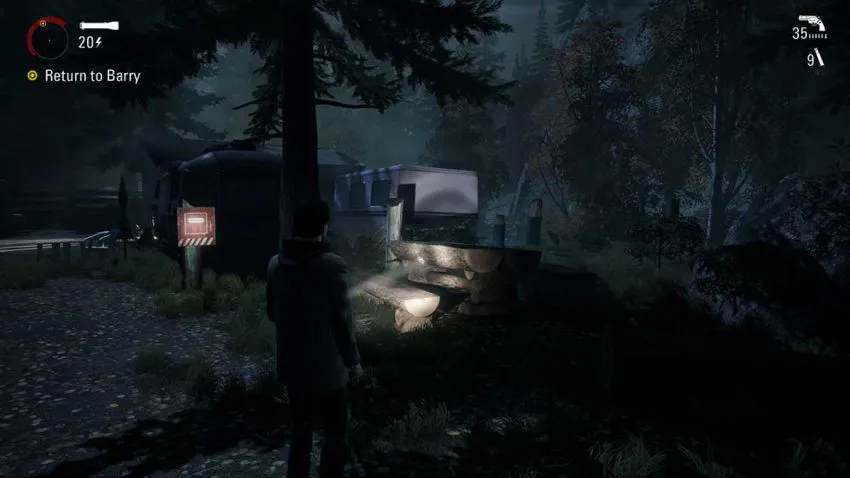
In the same area, look for caravans. There’s a blue one with a picnic table behind it that has a Coffee Thermos for you to collect.
Manuscript Page #21
The bathroom structure nearby has a Manuscript Page just outside of the entrance on the right.
TV #3
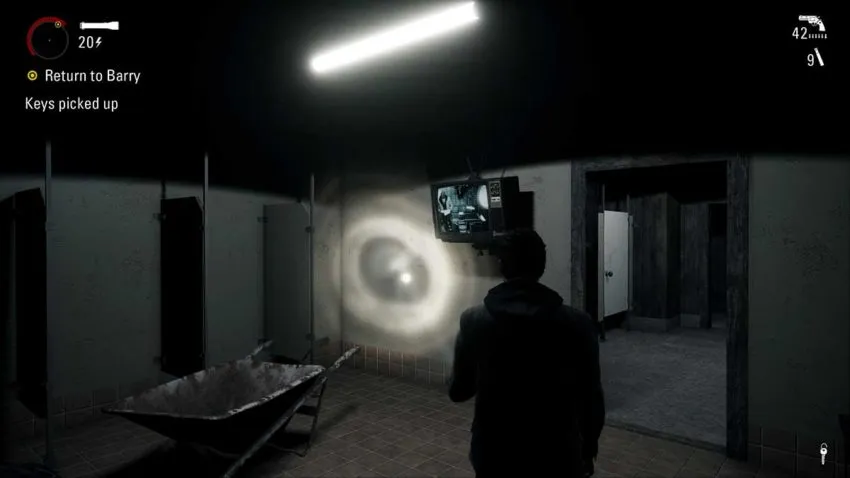
Go inside the bathroom entrance on the left, and you’ll find the garage key as well as another TV to trigger.
Coffee Thermos #16
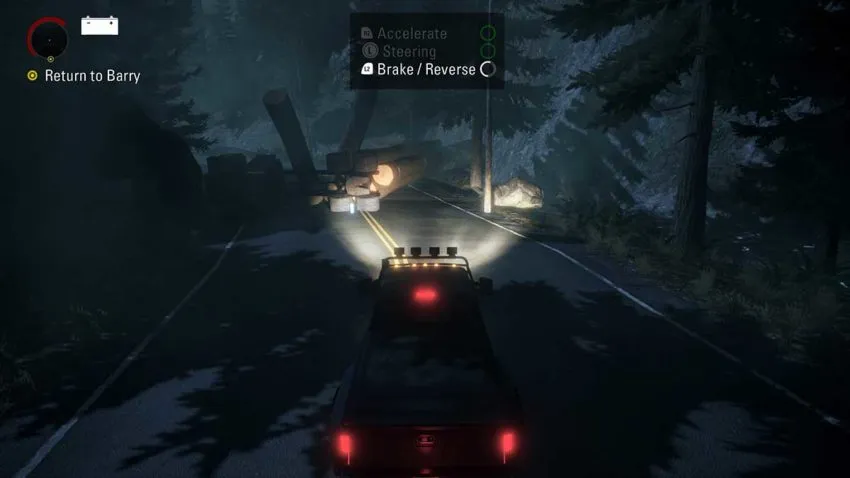
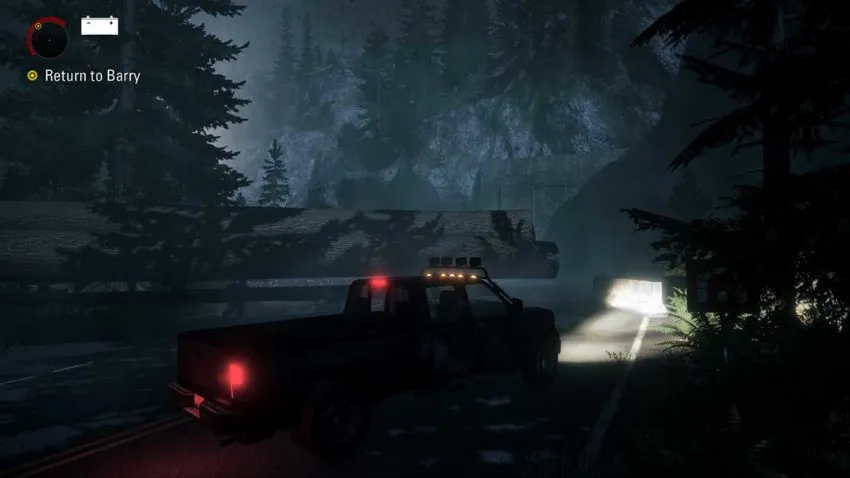
As soon as you’re in the car, turn left on the road to find a roadblock and another Coffee Thermos.
Chest #4
When you drive in the opposite direction, you’ll see some yellow paint on your right. Follow it to another Chest with some weapons to kill the pursuing Taken with.
Can Pyramid #2
Across the road is a small picnic area to explore. There’s a Can Pyramid you need to shoot to collect on the picnic table there.
Manuscript Page #22
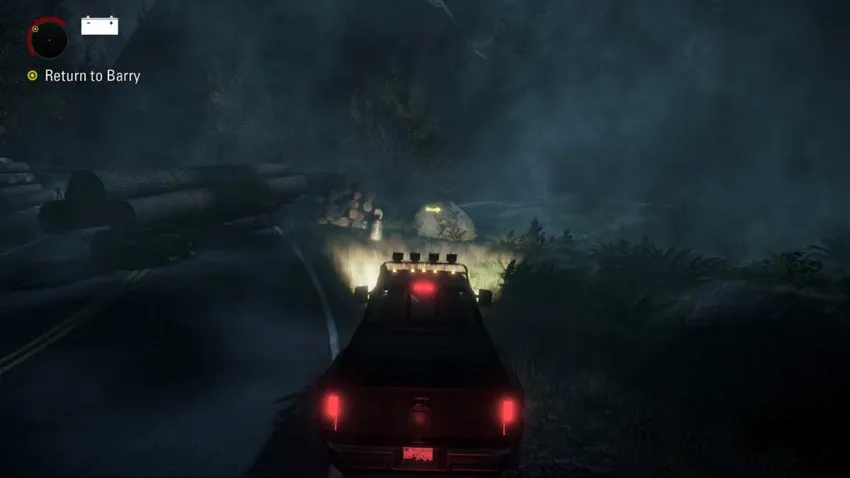
Head down the road some more, and you’ll come to a complete roadblock. Get out of the car and go all the way to the tunnel to find another manuscript Page.
Coffee Thermos #17
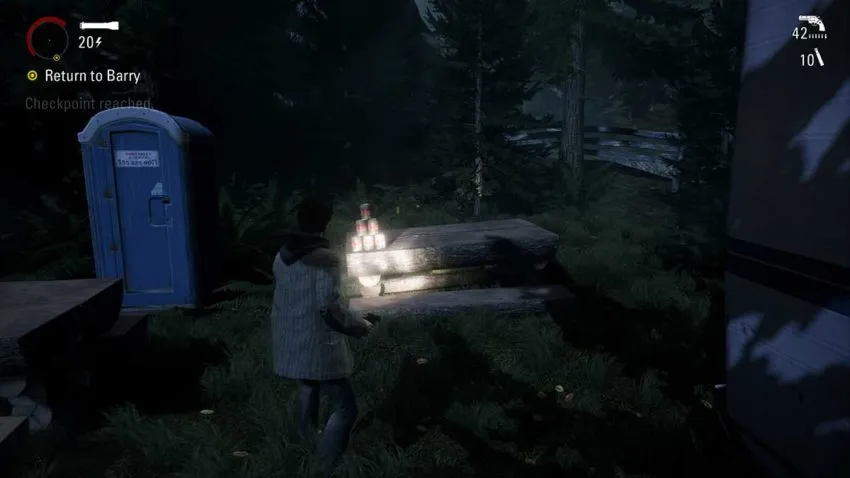
Come out of the tunnel and head up the slop. Before you go through the wooden opening, look for a Coffee Thermos on a bench nearby.
Chest #5
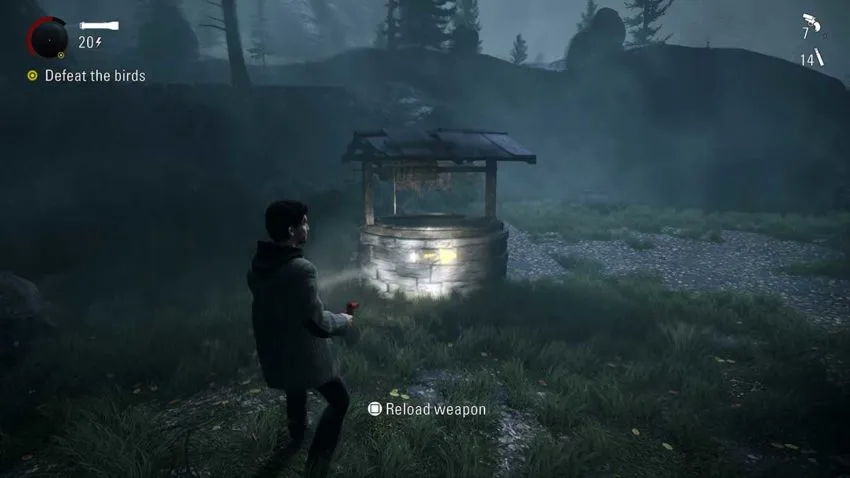
The final collectible is a Chest, and you’ll find it by going around the cabin during the bird boss fight and looking for the yellow paint on the well.


Published: Oct 5, 2021 02:10 am