The Red Star is a tricky Call of Duty: Vanguard map that will keep you on your toes. Moving from section to section at a brisk pace is the only way to do well, and we’ve got some of the best tips and strategies to keep your K/D ratio positive.
The best gun types and strategy
Domination and Patrol are some of the best modes to play with the Red Star map. A is set right out in the open, B is in a narrow hallway, and C is in the back of the map. All require different strategies and guns to succeed. We recommend using mid to long-range weapons for this map. Short-range weapons like an SMG or a Combat Shotgun work within the office building, but while you’re outside, you’re a sitting duck as it’s such an open space.
Out in the open
Let’s start with the A point. The best way to protect it is to hover around the green truck next to it. Going on top of the hood will give you some decent cover from foes ahead of you. However, if your enemies come from either side, drop down and use the cover of the hood to protect yourself from incoming fire. Keep sliding around it for the best results. We don’t recommend using the sacked wall as grenades are commonly thrown around the flag.
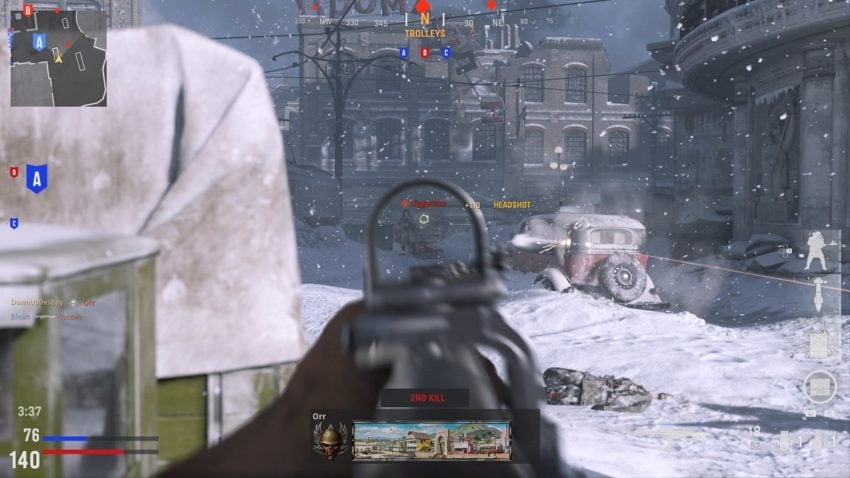
Snipers can overlook the A section by climbing up to the roof of the opposite building. You can’t get a direct shot to those taking over the flag, but you can shoot whoever is near it. For assault rifle users trying to attack the A point, drop down to the abandoned cable bus and mount the metal cans. Just be aware of enemies who come from the B point if it’s being taken over.
Peek through the window
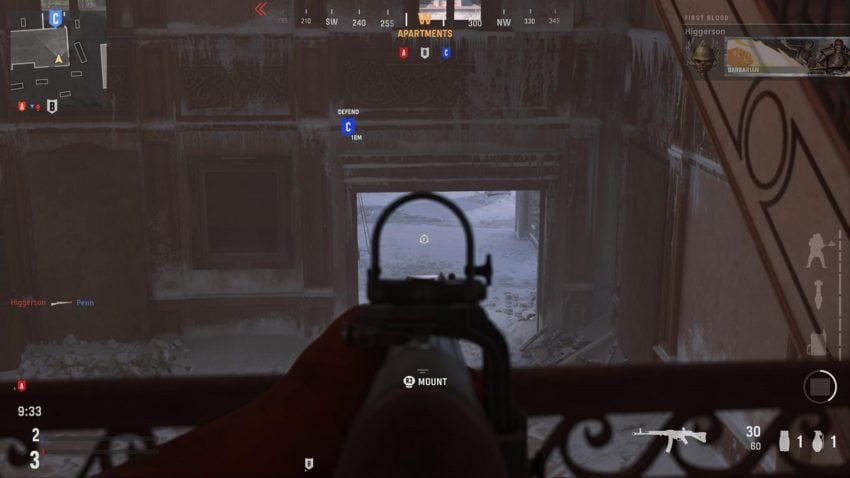
The office building (B point) is the hardest area in Red Star as it’s so populated. As you enter, try to read the situation and where the enemies are spawning from. Near the warehouse, there is a window with some green tarped boxes. For enemy soldiers coming from the C side, there’s an open doorway you can utilize to take out unaware forces.
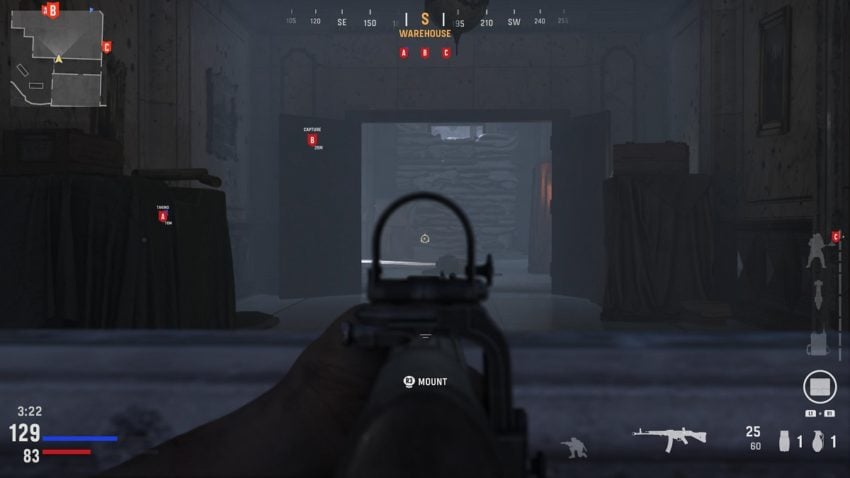
However, you also have to be mindful of the outside path on the left of the office that you’re in. The enemies can swarm in your spot, too, so listen for some footsteps in the snow to your left or right. If you hear anything, go inside from the window as fast as you can and improvise. Hugging the staircase wall, facing West in the office, can be a thriving option too. While you’re in this area, try to avoid the B flag as much as possible, as grenades often fill this spot with explosions.
If you have to capture the B point, use a deployable cover field upgrade to protect yourself from incoming fire. It only works in one direction, so make sure you set it up in the right direction from where the enemies are spawning. It’s not usually useful, but on this occasion, it’s perfect. While in the office building, try to use the green tarped boxes to cover as much as possible.
In the back
The C point (back alley) is tricky. It’s in the corner of some stone walls and can be accessed through a ruined apartment building. Inside the building’s hallway from C, you’ll find a staircase. Use this to overlook the flag point but also be careful of the level above you. Listen out for any footsteps from the second floor.
Protecting Charlie is a little easier. Go North on the compass from the C point, and you’ll find another abandoned bus. Use the sandbags as cover on its left side to protect the area from incoming soldiers at B. From the south side, you can cover the C point by using the red car as cover. It’s next to the flag itself. Once again, be mindful of your back.
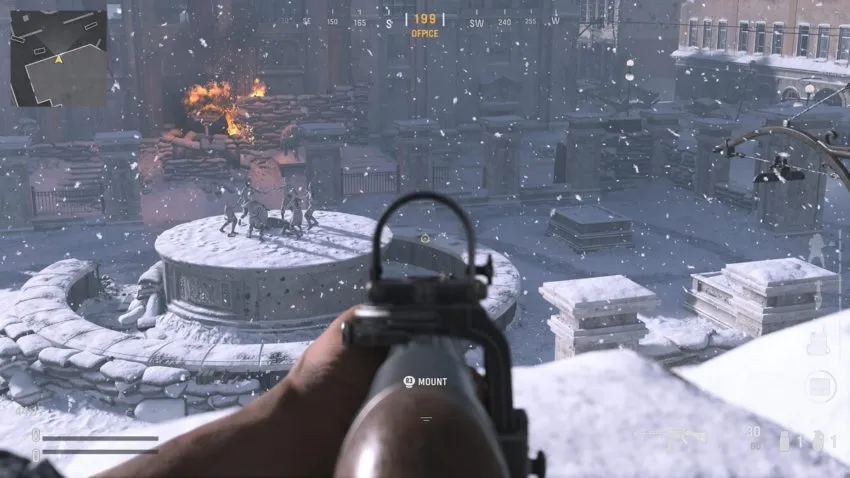
While fighting in Red Star, it’s best to avoid the main square as much as possible. You can be sniped easily from those on the rooftop of the office building or get hit from multiple angles. If you find yourself in the square, however, use the sandbags surrounding the statue for cover. Don’t make this a long-term area for cover, on the other hand. Just go when you feel it’s safe.


Published: Nov 9, 2021 06:49 pm