Devil’s Lair was the first Strike in Destiny history. It was available during the early alpha for Destiny 1, and ever since, it’s been a firm favorite among fans of the series. With Season of the Chosen, Bungie has brought the Strike back in Destiny 2. In this walkthrough, we’ll guide you through the Strike step-by-step, so you know exactly what to do. We’ll even give you some helpful tips along the way.
Begin the Strike
The first step here is obviously to pick the Strike up and start playing it. At the time of writing, the best way to do this is to play the Nightfall: The Ordeal playlist. Devil’s Lair is the Strike for this week, so you’ll get into it straight away. Choose your difficulty and move on.
Step 1 – Get through the Cosmodrome
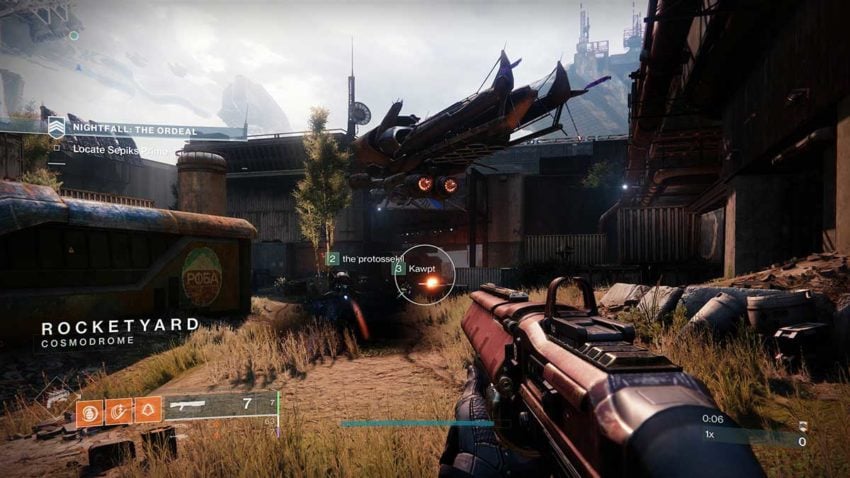
Devil’s Lair’s opening drops you into the Cosmodrome just as the Fallen and Hive are fighting it out. This entire area is pocketed with tiny battles. If you need to complete some bounties, this is a great place to rack up some kills. Move forward through this area. The path should be relatively straightforward.
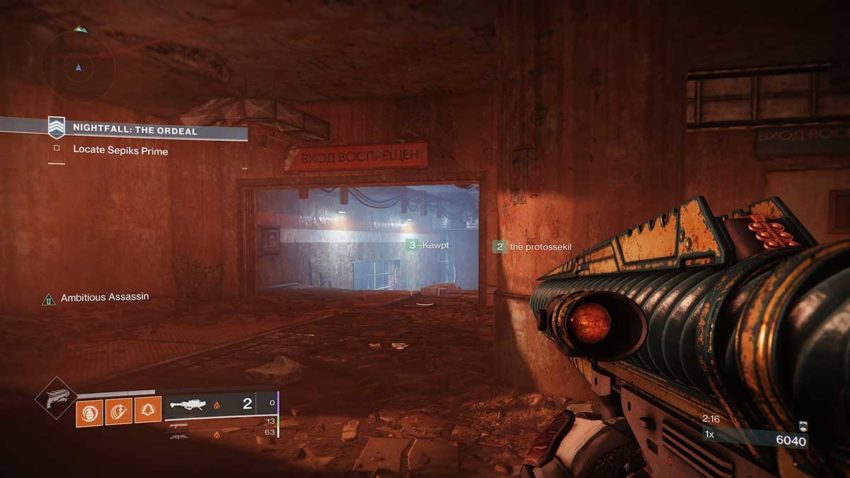
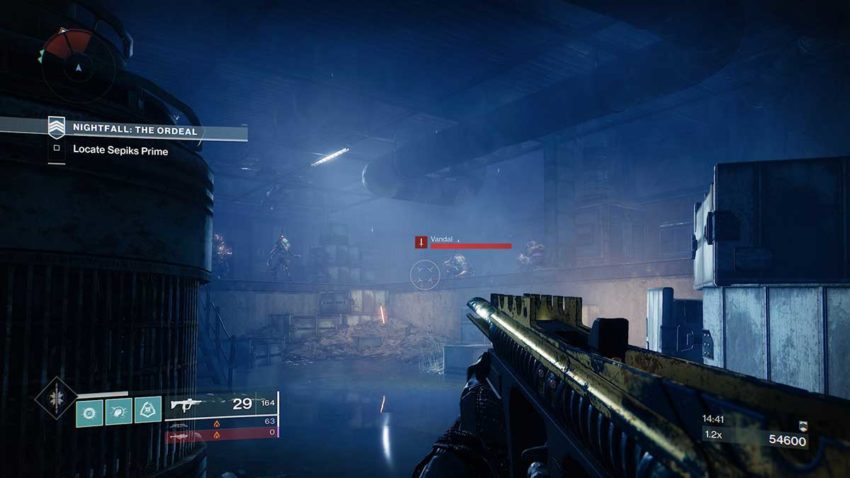
You need to run through this makeshift tunnel in the image above. On the other side is a crossroads where Fallen and Hive are exchanging blows. Run straight through if you’re not interested in fighting, or stick around if you are.
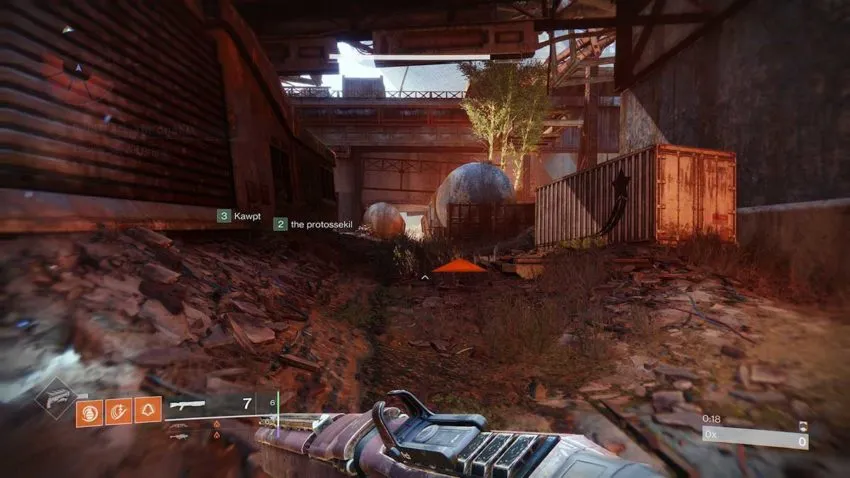
Once you’ve made it through there, look for a staircase. You need to climb it and turn right at the top. There will be an opening there to a small courtyard with a truck submerged in water. Here’s where more Hive and Fallen are fighting against one another.
Across from this fighting arena is a path that seemingly goes nowhere. There’s another collapsed truck to the right here. The way you need to take is through a small doorway on the left at the back.

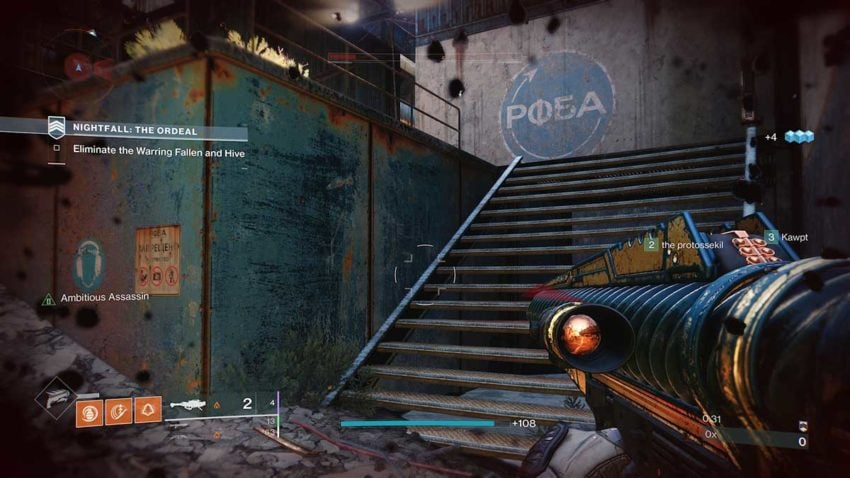
Inside, you’ll find a creepy staircase. Climb it. At the top, there’s an area where a few enemies are idling around. They won’t cause you any trouble though. Push forward and follow the path that takes you through the doorway below.
This s leads to a staircase down to a new level. Head left, and you’ll be entering the first proper encounter of the Strike.
Step 2 – Unlock the way forward
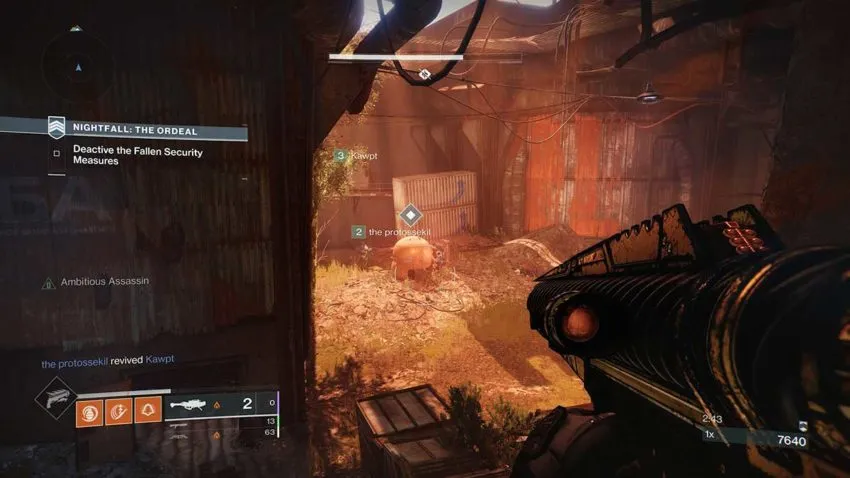
You’re trying to get through the doorway to the left of the object in the image above. Unfortunately, it’s blocked by Fallen mines, and the only way to get through there is to hack this device. Of course, attacking these countermeasures draws out three distinct waves of enemies.
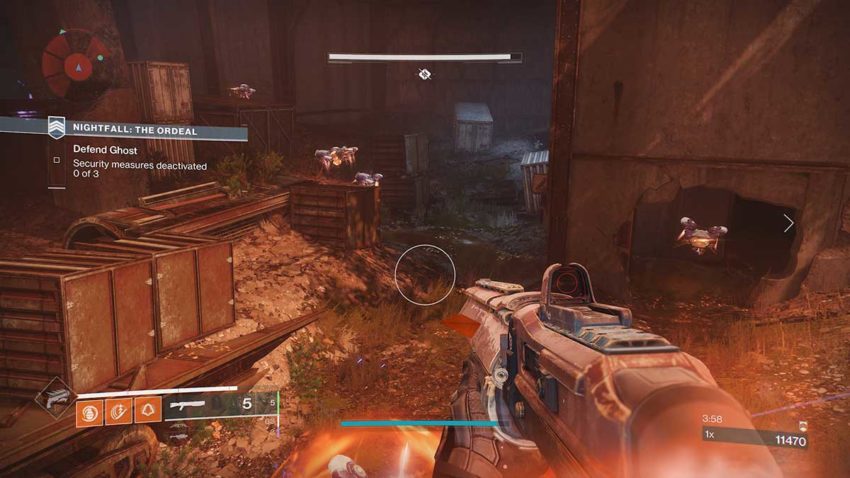
These waves aren’t anything to be too concerned about if you’re at the appropriate Power Level. The best tactic is to stand near the device being hacked so that you can gauge where enemies are coming from.
The main routes enemies will take to get to you are from the left, where there’s a decent Hive population, from the back of the room, which is packed with Fallen Shanks, and through the route you entered, where everything else pours in.
Keep an eye on all sides, and you should get through this with relative ease. The first wave is made up of Fallen enemies. The second adds in some Hive. By the third wave, you’ll be facing off against Fallen and Hive, and they’ll be packing much more challenging enemies.
With all the waves defeated, the path will be clear. Follow it as it twists and turns through this industrial mess of a location. There’s one section filled with water where some Fallen will lie in wait for you. Don’t get caught out by them. Strike first.
Step 3 – The Fallen Walker
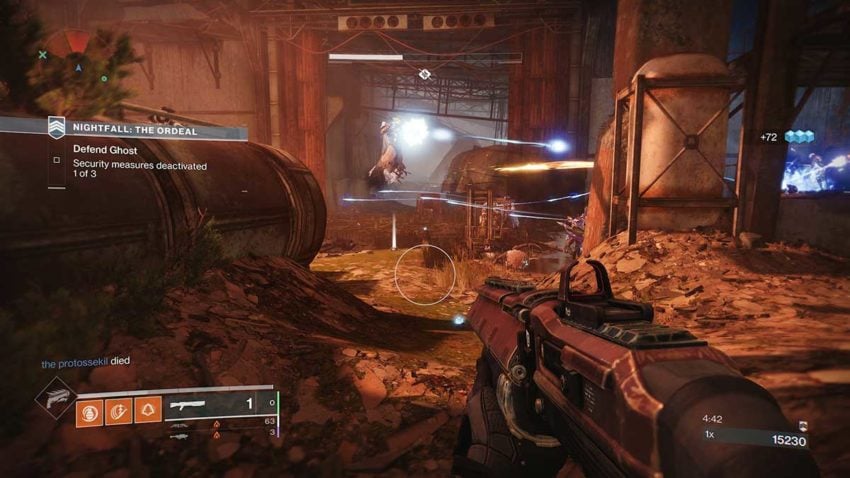
Following this section, you’ll emerge in another open area. Don’t relax though. Things are about to become extremely uncomfortable.
There was just a Fallen Walker and a few enemies to contend with in the original Devil’s Lair Strike. Now there are far more enemies, with stronger foes mixed in for good measure, as well as a Brig.
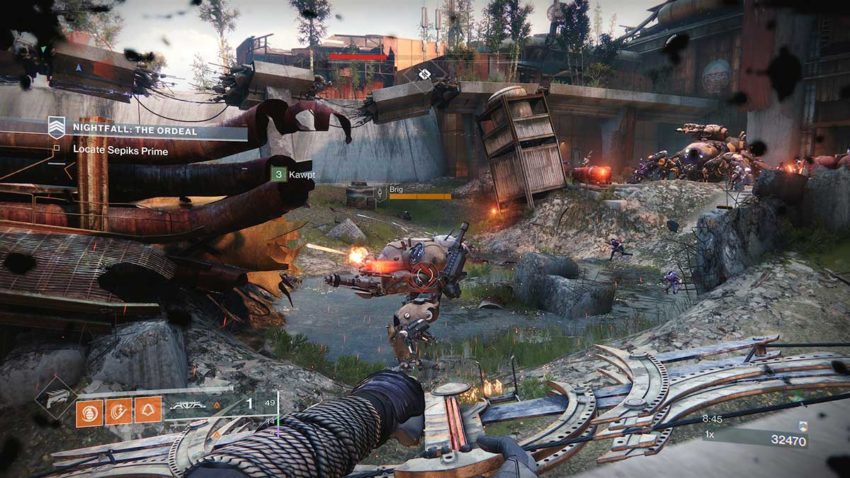
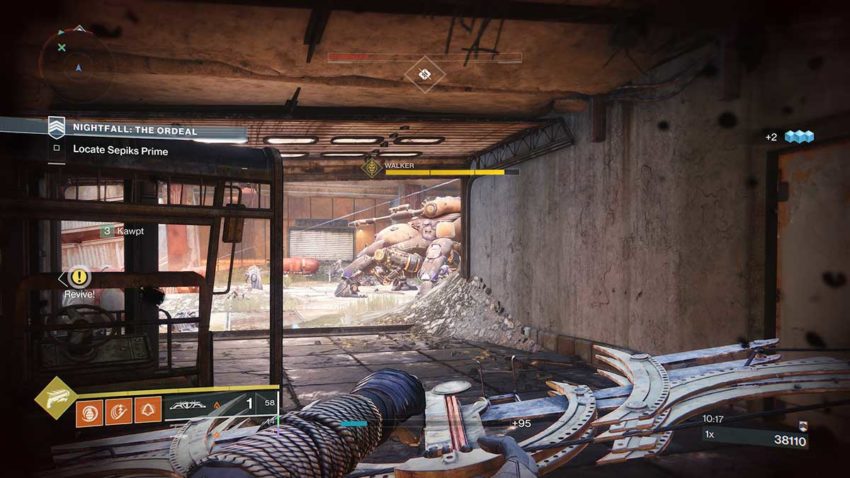
The only way to move forward is to kill the Fallen Walker. Naturally, you’ve got to kill everything else as well. Start with the enemies nearest you, and move forward until you close in on the Brig. Take this machine out because it’ll only cause havoc with your health.
Taking down the Fallen Walker isn’t that difficult from here. The best place to attack from is to the right, where there’s a small path. In here, you can shoot at the Fallen Walker’s legs, cripple it, and then pop out to get some critical hits in. Do this a couple of times, and the boss will be beaten.
You can attack from the left, but you’re far more exposed. Going up against this enemy from the front is just plain stupid.
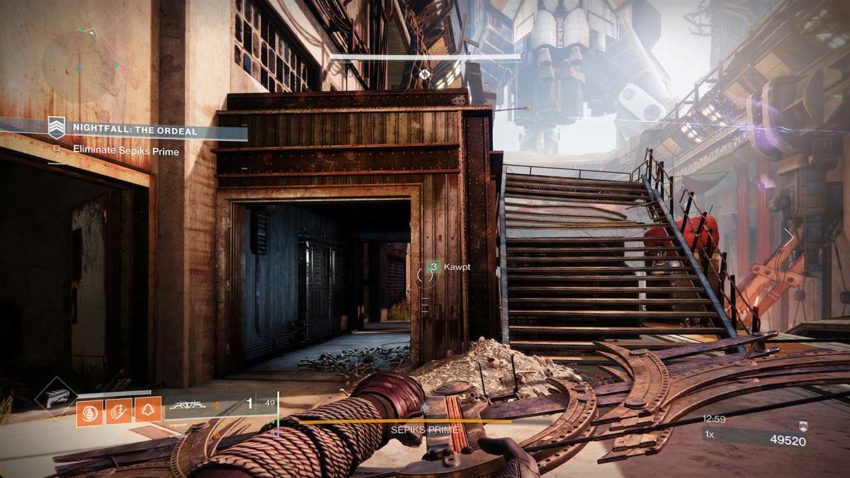
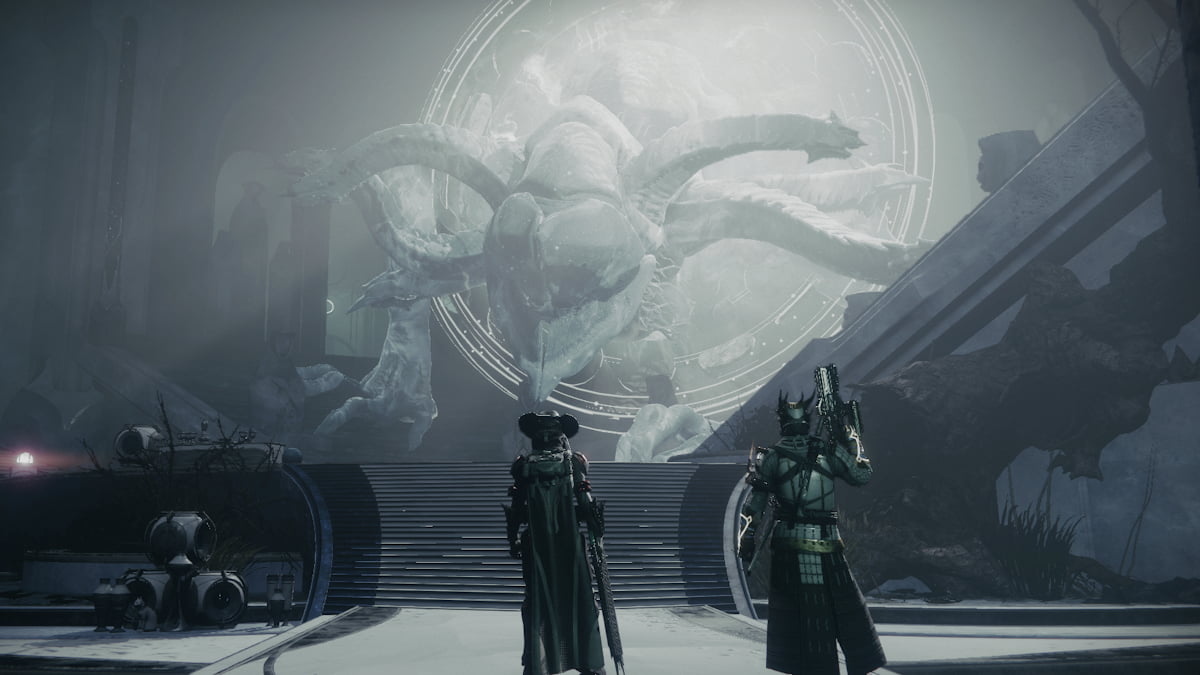
Once the boss is dead, it’s time to follow the path through the door behind it. This one twists and turns again and is filled with human bones, but other than that, it’s really easy going. Keep moving up the stairs until you reach the doorway in the image below. We’re about to face Sepiks Prime.
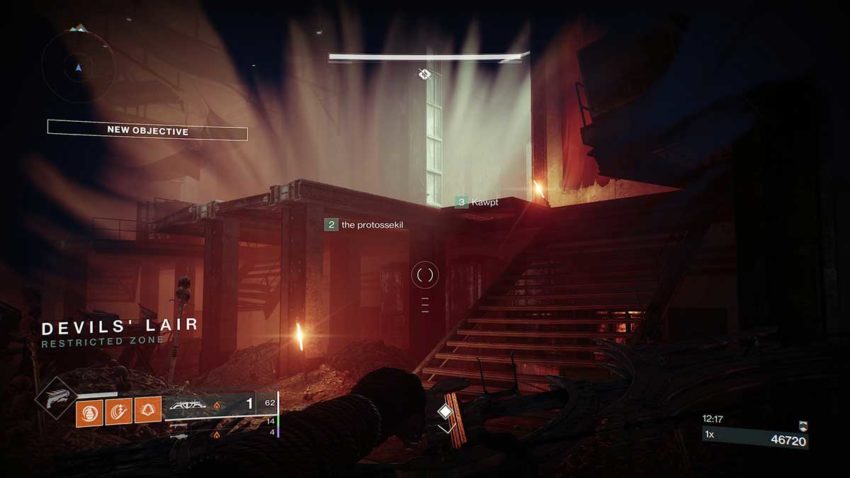
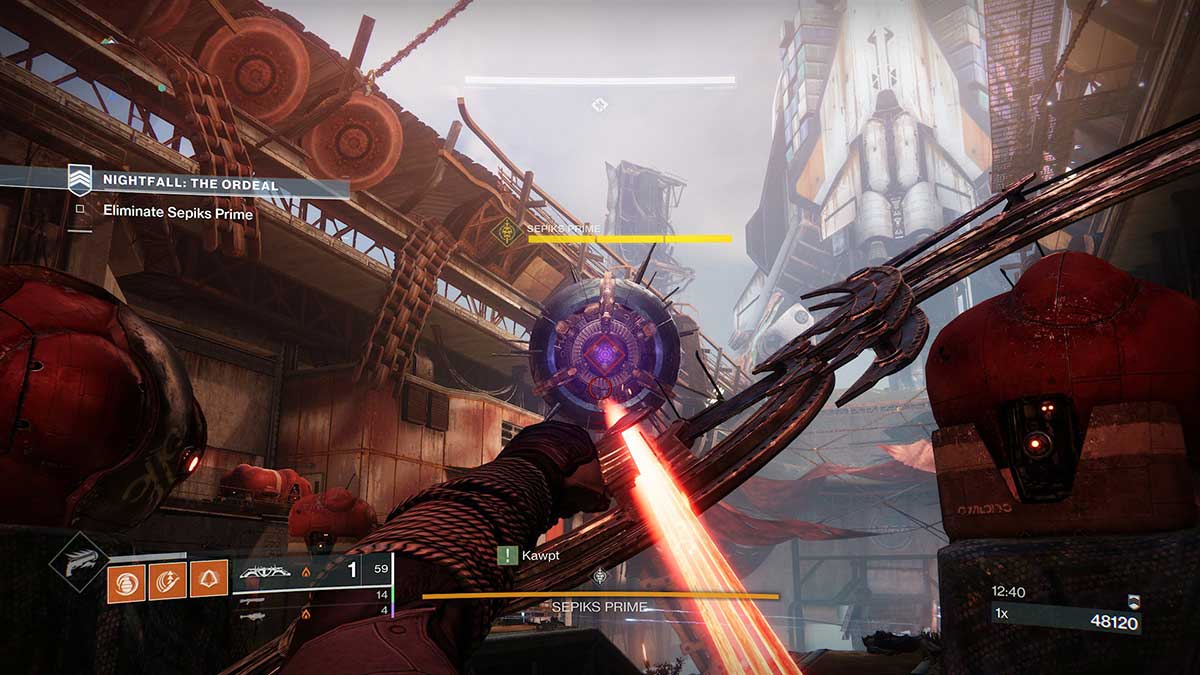
Step 4 – Kill Sepiks Prime
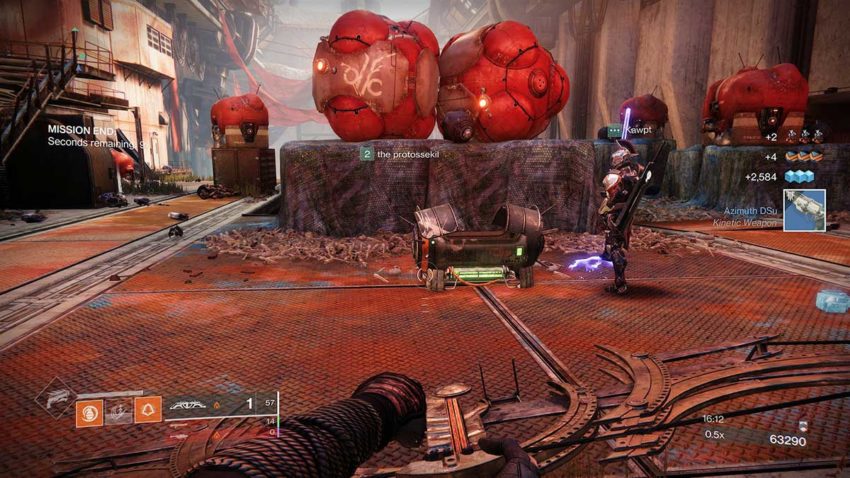
When you first find the boss, it’ll be sucking Ether out of the worshipping Fallen all around it. You need to kill these smaller Fallen before you can even think about damaging it.
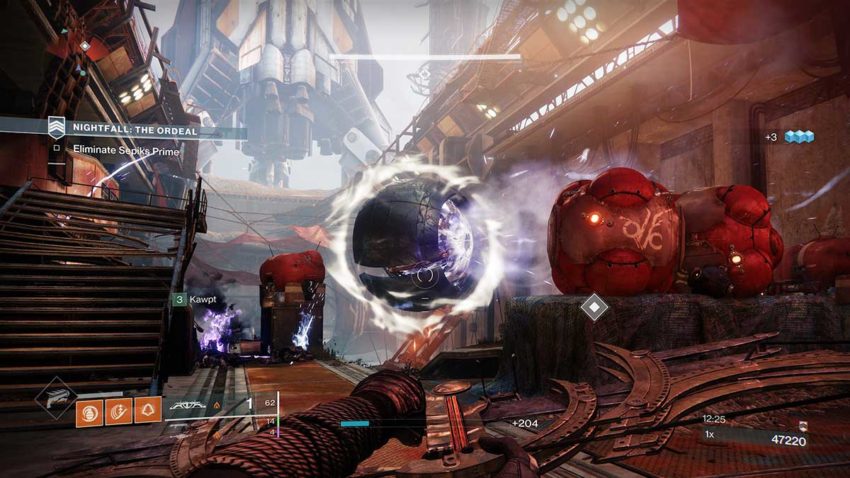
Once the boss does start taking damage, it’ll teleport all around the arena. Keep shooting it as much as you can. Watch out for other Fallen enemies though. They’ll begin to run into the arena to protect their god, so you need to kill them and continue damaging that god.
A great place to get some cover, if you’re taking a lot of damage, is the left side of the arena. There’s a small structure here that you can get on top of, or hide underneath.
When the boss has had enough, it’ll summon a group of Unyielding Servitors. These will generate a shield for Sepiks Prime, meaning you have to kill them all before you can get to another damage phase.
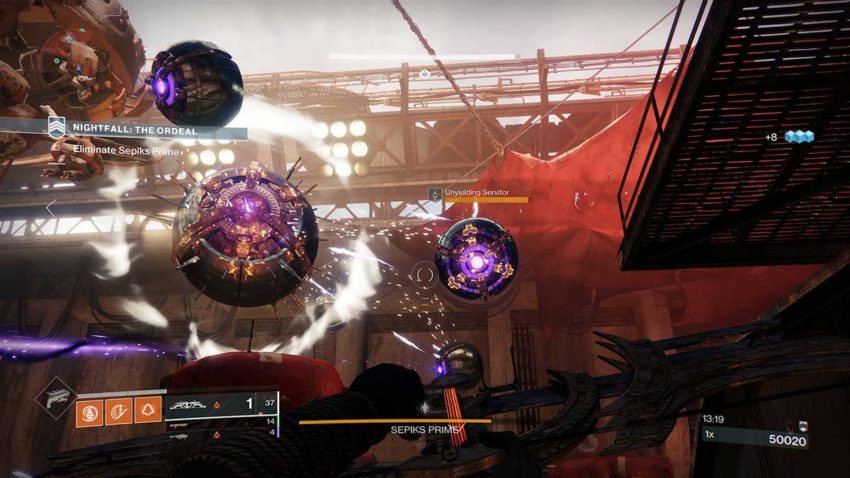
They’re not that hard to defeat, but more Fallen will be filling up the arena. At this point in the fight, you have to compete with the sheer number of enemies for space. As you can imagine, you’re also going to need to watch your health, since every single enemy is out for your blood.
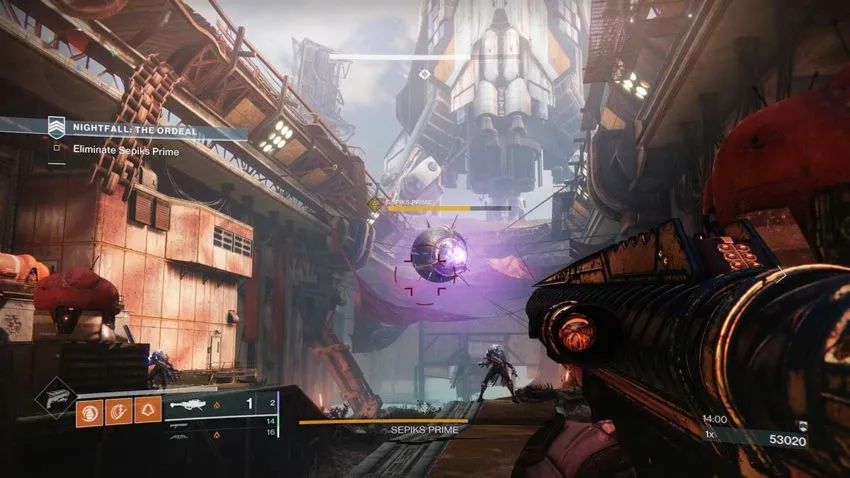
Once you’ve taken down these Unyielding Servitors, you can deal damage again. If you’re lucky, you’ll only have to do this twice before you kill the boss. The key is to keep dealing damage as much as possible. Even if this ends up getting you killed, the more damage you deal, the faster this fight will be over.
If you allow too many enemies to swarm you, you and your fireteam are done for.
When the boss has been killed, the chest will spawn at the back of this arena. As with all many activities in Destiny 2, you’ll get better loot for playing on a harder difficulty level.


Published: Feb 9, 2021 06:07 pm