Deep Dive is one of the seasonal activities in Destiny 2’s Season of the Deep, asking Guardians to venture deep below the surface of Titan’s methane oceans in search of valuable materials — and, of course, loot. The activity is tied to the mission you complete as part of the seasonal story mission.
There will be a lot to get through here each week as more becomes available in this chain of missions. We’ll cover how to complete each week of Deep Dive during Season 21 in this guide.
Related: Destiny 2 – Salvage and Deep Dive Key Uses & How to Get Them
Destiny 2 Deep Dive Walkthrough
You unlock Deep Dives after completing the Operation: Thunderbolt mission and you can launch them at any time from the H.E.L.M. Director node. When you first load in, you can choose between two of Ahsa’s Gifts, buffs to either your damage, shield, your ability regeneration. We recommend ability buffs, as Destiny 2’s current sandbox still greatly rewards ability spam.
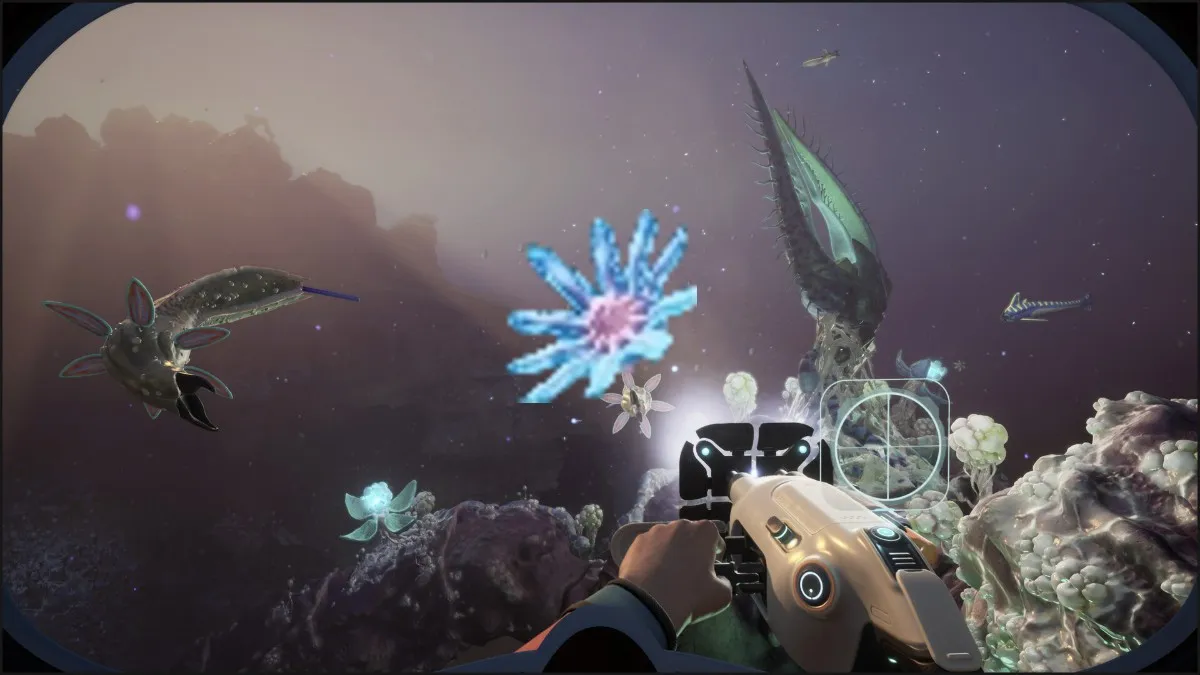
Head down through the airlock and into the liquid methane and through the hatchway to flip the lever that opens the door across the way.
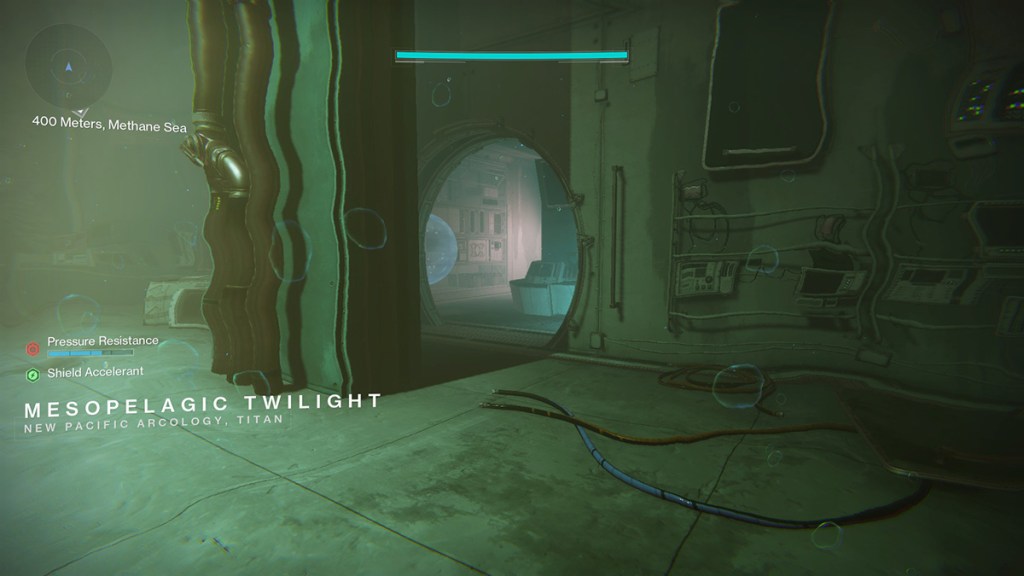
Grab air bubbles as you need to keep your pressurization gauge topped off, and proceed through the hallways, continuing down as you find paths downward. You’ll go through two additional airlocks, one out of the methane, then a second to enter the first of two combat arenas.
How to Complete the First Encounter in Deep Dives
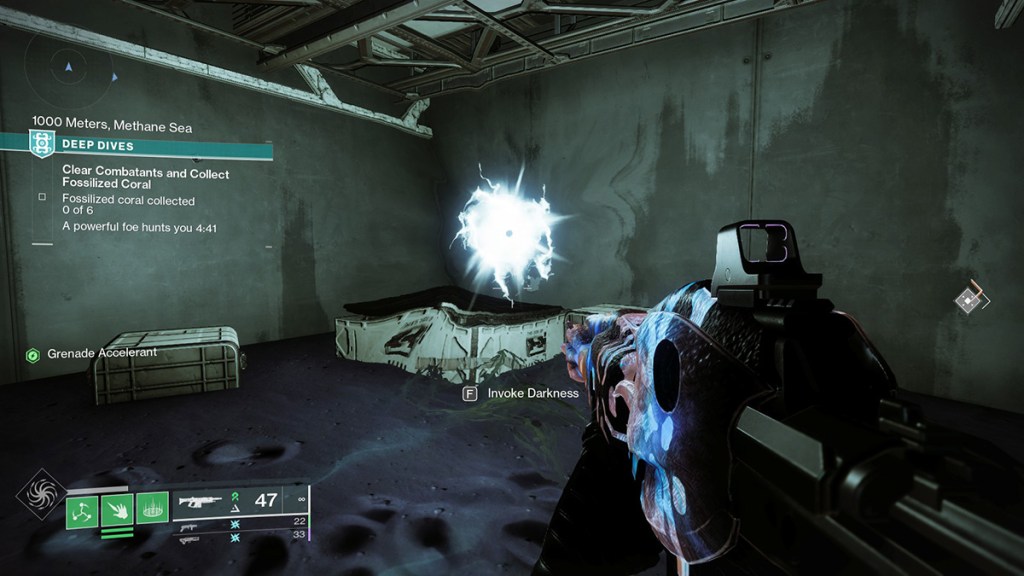
There are two versions of this first encounter: fuel the drill and collect fossilized coral. You have five minutes to complete all the objectives.
To complete fuel the drill, you need to activate the drill by interacting with the dirt pile in the middle of the room to start the drill, then fueling it by picking up fuel cells dropped by the orange bar Servitors that appear.
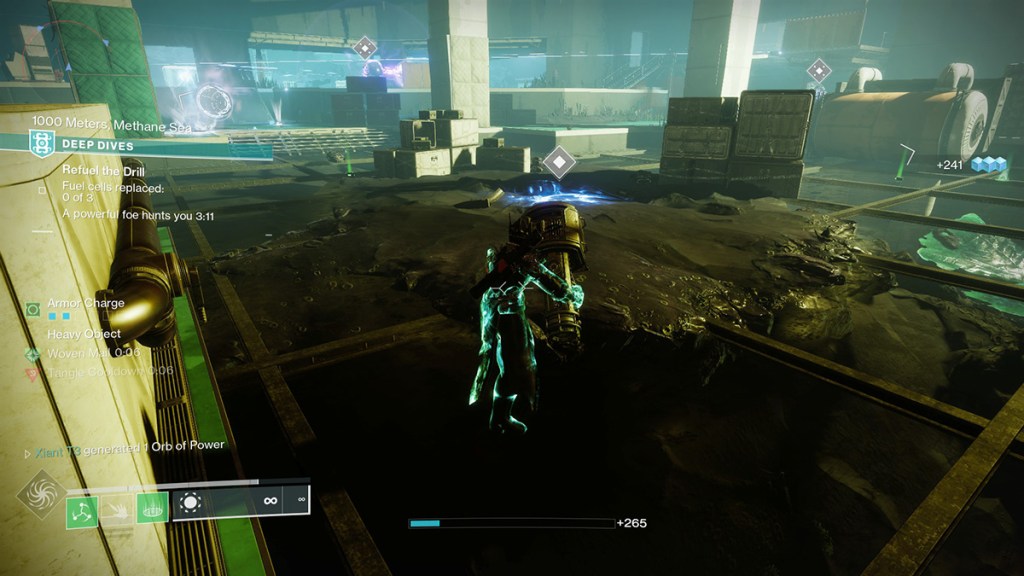
Deposit the fuel cells in the center to power the drill. You’ll need to do this twice more after several waves of adds; then, you can proceed to the next area.
To collect fossilized coral, you’ll need to defeat three Fallen Brig mechs, then interact with the coral deposits near where it spawned.
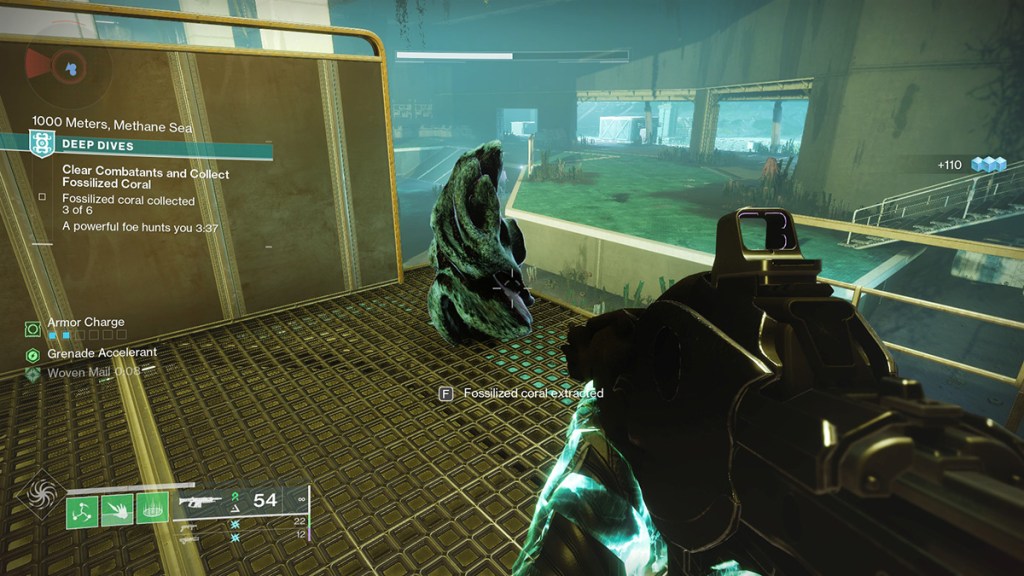
They’re locked until the Brig falls, so you will need to defeat them to progress. Collect all six fossilized coral fragments you can proceed.
How to Get Tier 3 Rewards in the First Encounter
Usually, if you complete the first encounter, you’ll only be at Reward Tier 2. To activate Reward Tier 3, your entire fireteam will need to interact with a Taken orb that spawns somewhere immediately after the encounter begins.
We’ve found the orb in three locations across multiple runs.
- Under the far right-hand platform in the corner.
- Directly underneath the starting platform behind the machinery.
- Behind the boxes to the left of the starting platform.
Gather your whole fireteam and interact with it, as it will disappear after about two minutes into the encounter. If you’re going into the Matchmade version of Deep Dives, I hope you have better luck getting your random teammates involved than I did. It was a struggle.
Provided your teammates all gather around the Taken essence, three Taken Blights will spawn, and you’ll need to destroy them, clear three waves of difficult adds, then complete the standard objective to reach reward tier 3.
How to Complete the Second Encounter in Deep Dives
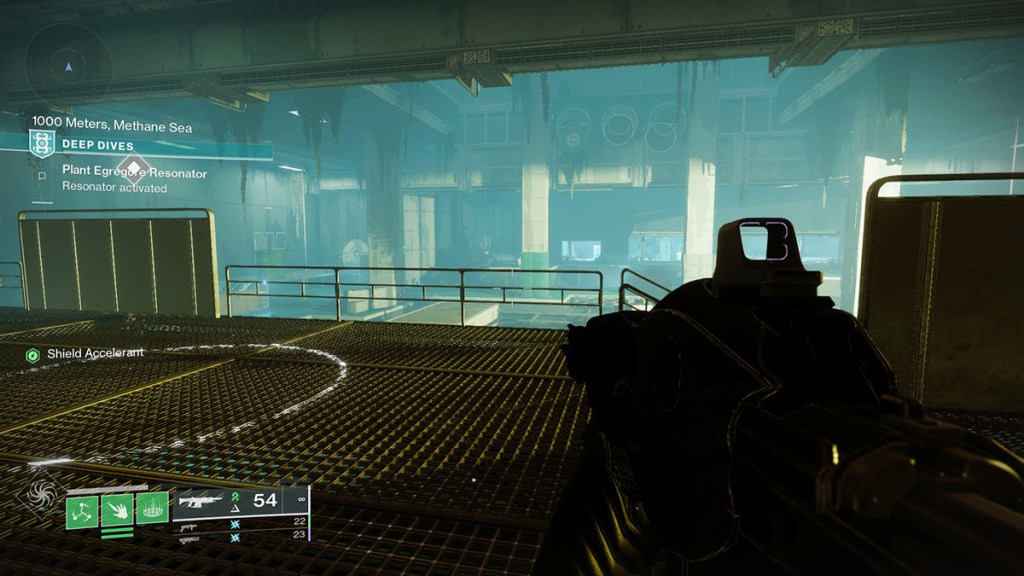
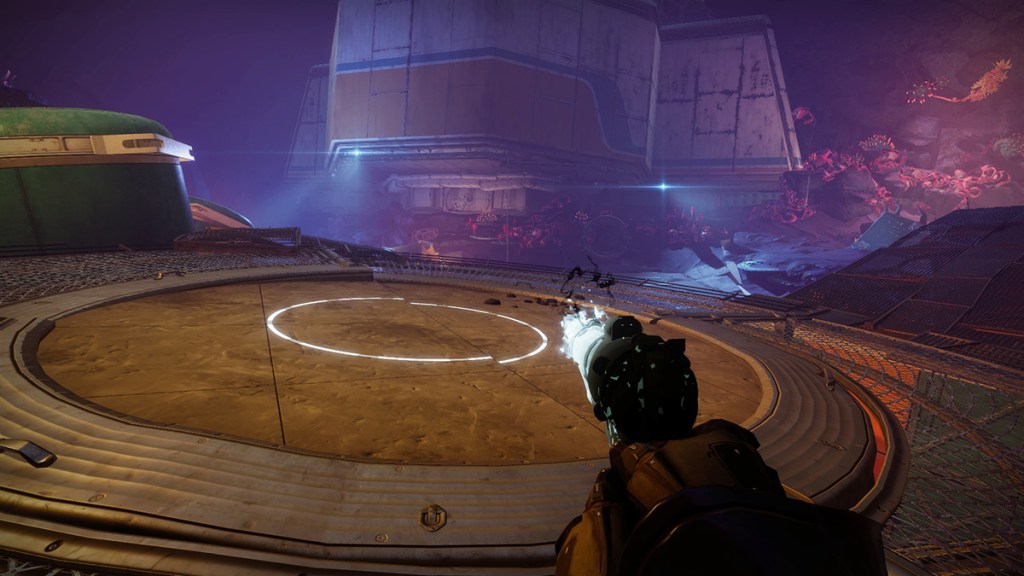
Once you complete the first encounter, you can gather one more Ahsa’s Gift, then proceed through the Gambit portal to reach the third encounter area. Set down a Rally Flag and the Egregore Resonator, then head through the hatches.
The Week 1 boss of Deep Dives is a reuse of the Warden of Nothing Servitor boss.

The fight happens in three phases. The first, the Servitor is on the left side of the arena, where he’ll stay. He has two attacks: a Solar laser beam that tracks whatever target he’s locked onto and a Solar Flare that fills the whole room with a damage aura. Get behind cover to avoid both attacks and use whatever boss D.P.S. weapon you have access to burn down the boss’s health.
When the Servitor is at 66% health, it will teleport your team into a small room, and shortly after, it and a pair of smaller Shield Servitors will spawn.
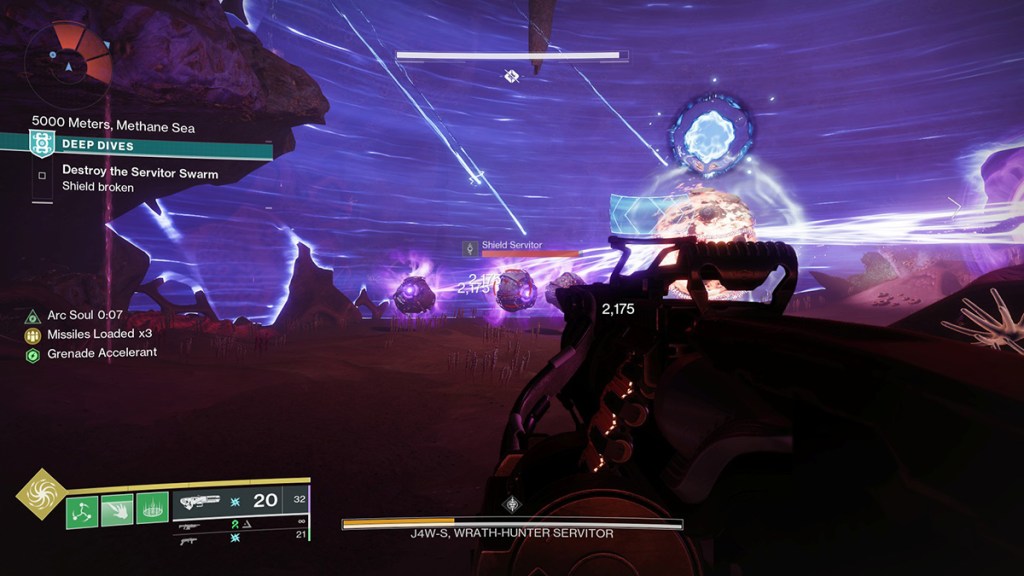
Defeat the smaller enemies to make the boss flee back to its arena, where it will now attack you from the far back of the room. Repeat the damage process until it teleports you again at 33% health, but this time it will spawn five Shield Servitors, and if one of them spawns where you’re standing, it will launch you into the wall at breakneck speeds, leaving you with a sliver of health and probably causing the next attack to kill you. Ask me how I know.
Drop the boss’s shield again, face him on the right side of the room, burn him down, then collect the fossilized coral on the back platform.
How to Complete the Third Encounter in Deep Dives
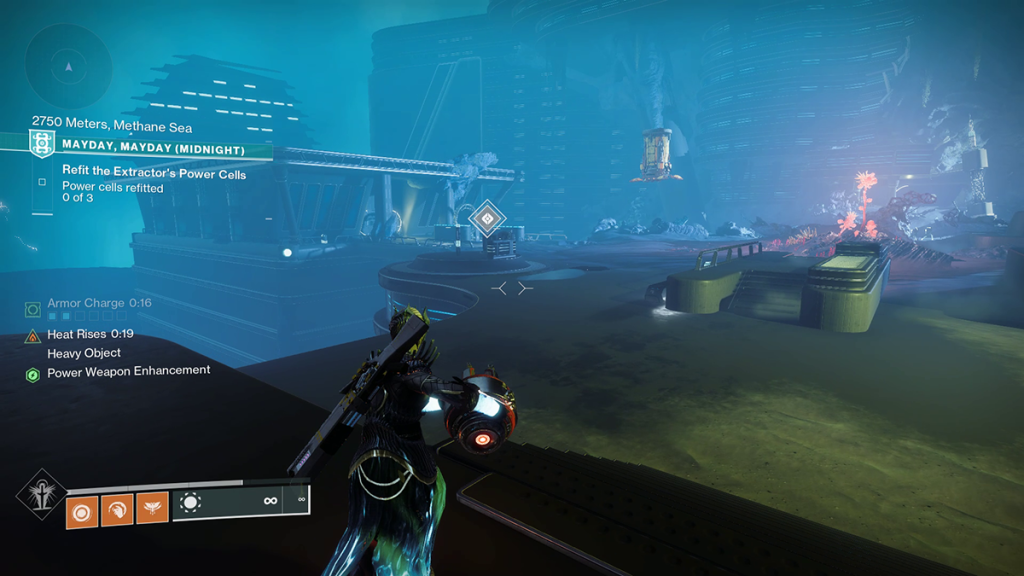
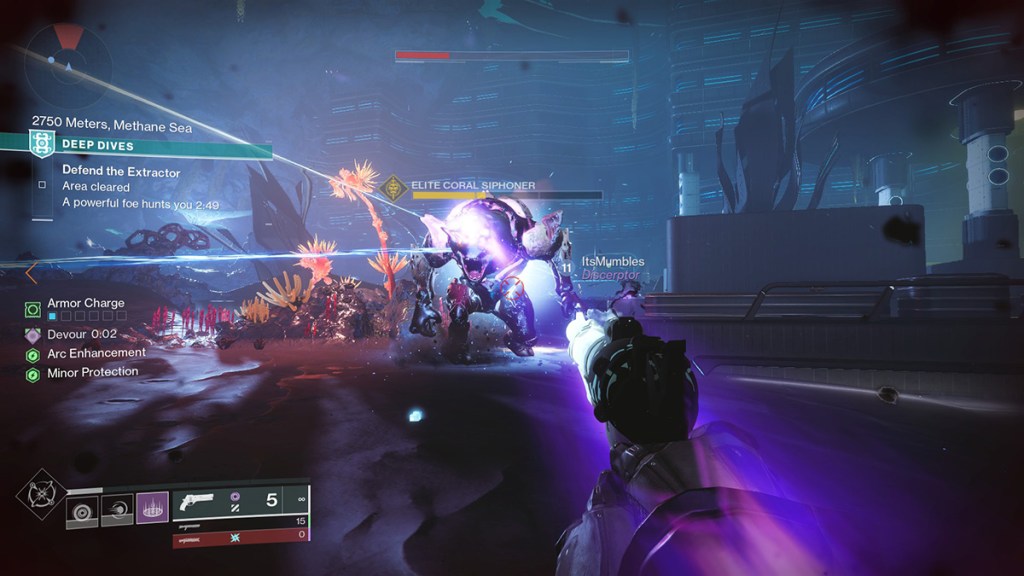
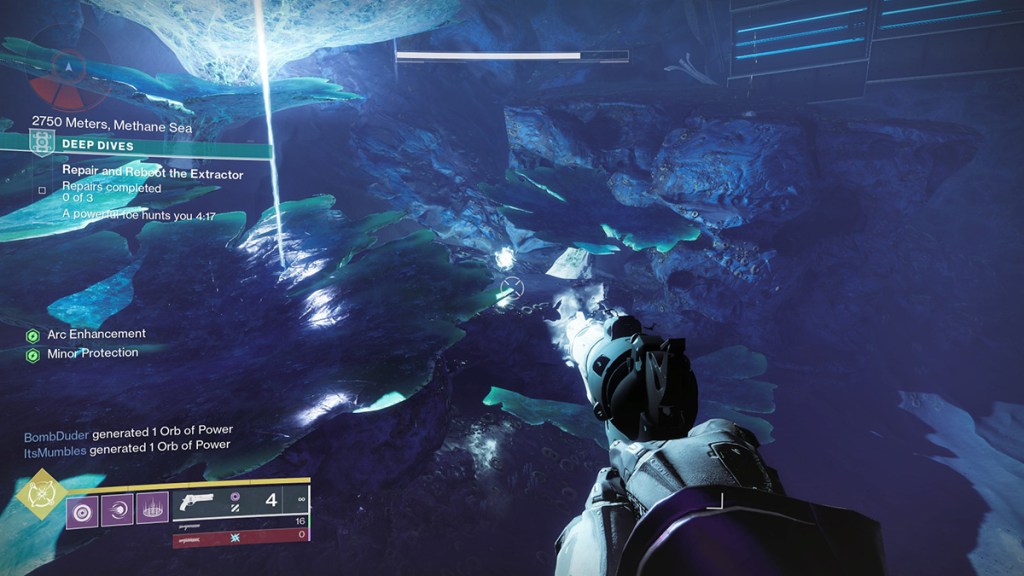
As the Season of the Deep progresses and you complete additional weekly missions, you’ll unlock further depths to dive into, with new bosses and encounters to complete. With week 2 of Season 21, you should have completed the “Mayday, Mayday.” mission. The third encounter of Deep Dives, as well as the boss fight, follows that structure. We’ll go over them in brief here, as well as what changes you should expect.
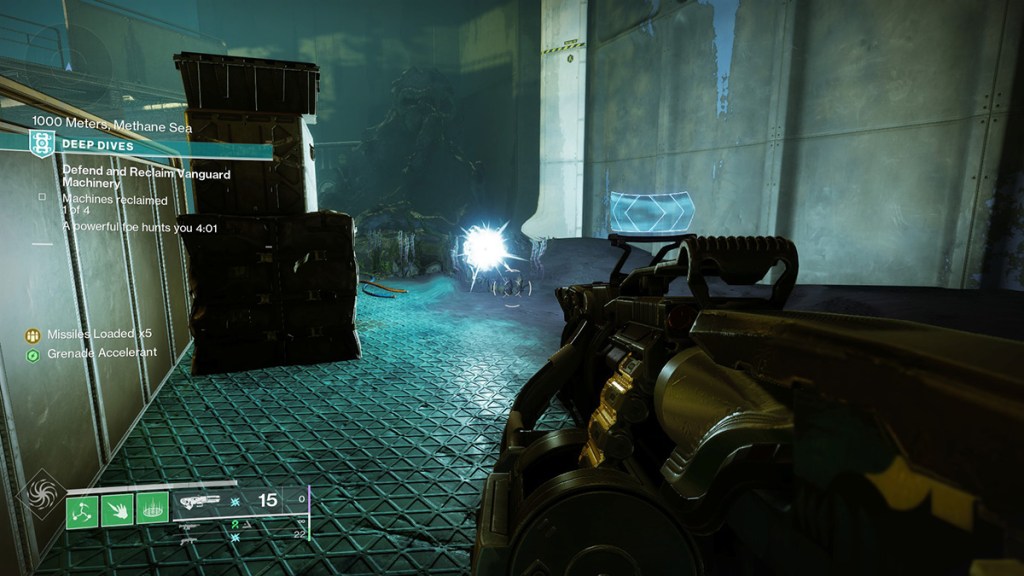
The third encounter in Deep Dives has you first destroying three growths of Hive Chitin to reveal a Fuel Cell, which you take to the back left of the first arena.
After depositing three fuel cells, you’ll repeat the process with three wrenches. This time, however, you need to rip the wrenches from out of three Hive bosses (they were Taken in the mission). You plant the wrenches in some machinery near where you place the fuel cells. You’ll also need to clear all the other enemies out before the next boss spawns.
After fitting all three wrenches, three new waves of enemies will spawn, with three bosses, ending in a very tanky Ogre that will almost one-shot even the hardiest Guardians and will kill you even quicker with its eye beams. Defeat all the bosses as fast as you can (you’re still on a timer at this point).
You can advance the difficulty of the Deep Dive in this room as well, with the first Taken orb we found in the back right of the arena. The second one is behind a large coral outcropping in the back center of the room.
Once all the bosses are finally dead, you can collect one more of Ahsa’s gifts, then head down to the boss room. The boss for the second stage is called Kudazad, Bound to Xivu Arath, a Hive Wizard with two phases.
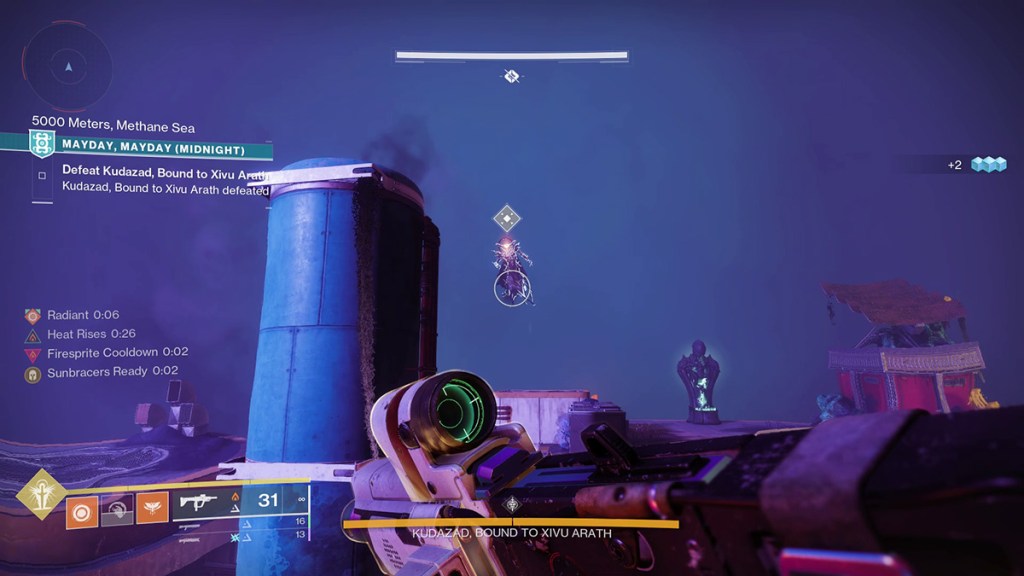
The first phase sees you dealing primarily with him and a bunch of Thralls and Acolytes. Nothing too scary. After you take down half his health, he’ll summon an immune shield, and you’ll need to kill four boss-level Ogres at the front, back, left, and right of the arena (there were only two orange-bar Ogres in the mission). You’ll also need to contend with wave after wave of orange bar Knights alongside the Acolyte and Thrall spawns.
Bring a Linear Fusion Rifle to chunk down Kudazad or a Rocket Launcher to deal with the endless mobs, and you’ll eventually be able to take the boss down and collect your hard-earned rewards.
How to Complete the Fourth Encounter in Deep Dives
The final dive you gain access to starting in week three of Season of the Deep is the fastest of the three. It follows the Operation Fulgurite model, and we’ll go over the basics here.
Your first descent has you flipping two underwater levers. The first is against the pillar in the center of the first underwater room.
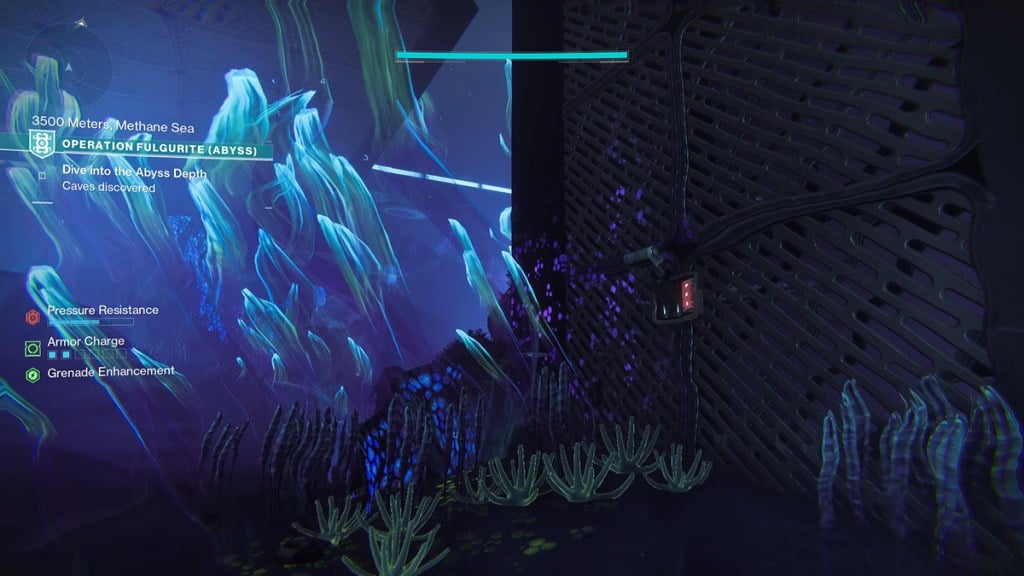
The first lever opens a door around the corner, and once you proceed down into the pink-lit room, you’re looking for another man-made column amongst the sea of natural coral growth.
The door at the end opposite the lever will open once you flip it, and shortly after you’ll enter the first or two arenas. Here, there are two possible objectives. First, you will be fighting Taken and defeating glowing Knights for the coral they hold, then dunking the coral in one of three Gambit-style banks like the one back in the H.E.L.M. Once you bank three coral, you need to defeat three more Interloper bosses. Do this cycle three times to progress.
The other objective is Hive-oriented. You’ll need to clear boss-level Wizards until a bigger boss-level Wizard appears. Clearing all of them will progress you to the boss phase.
The final boss of Deep Dives is Kelgorath, Taken from Bones, a massive Taken Knight.
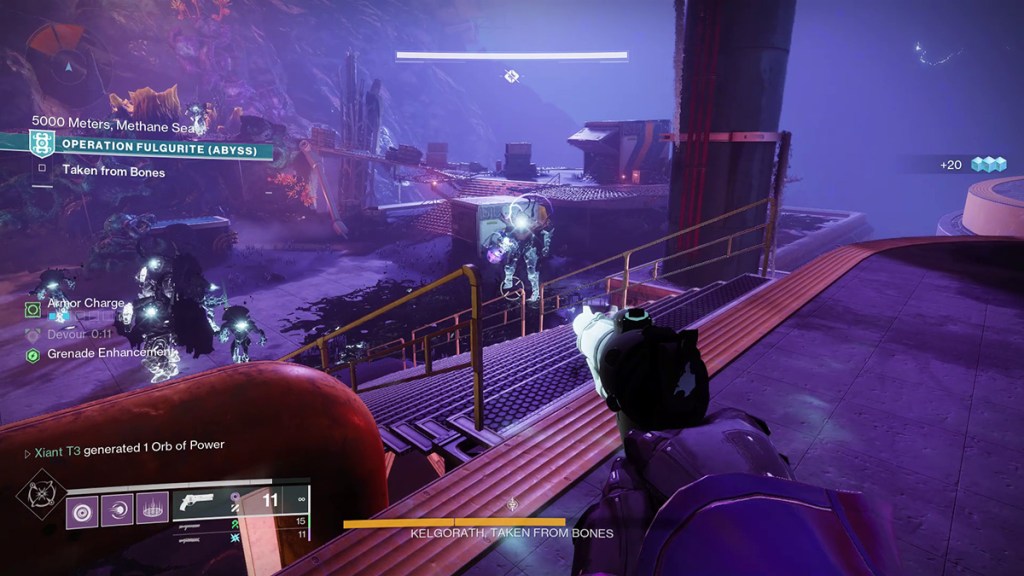
The fight is three phases like against the Servitor, but the enemies are more numerous and more dangerous. In the first phase, you’ll be dealing only with Taken Goblins, Psions, and Phalanx, and when Kelgorath is at one-third health, it will go immune and summon two Taken Blights. Wizards will also appear around the Blights.
During the second and third phases, not only will the previous enemies spawn, but so will Knights, orange-bar Centruions, and Sniper Vandals. Additional Blights will also spawn at the second immune phase, but otherwise, the fight is basically the same.
Defeating Kelgorath will cause the reward chest to spawn, and you can call things to a close.


Published: Jun 6, 2023 02:55 pm