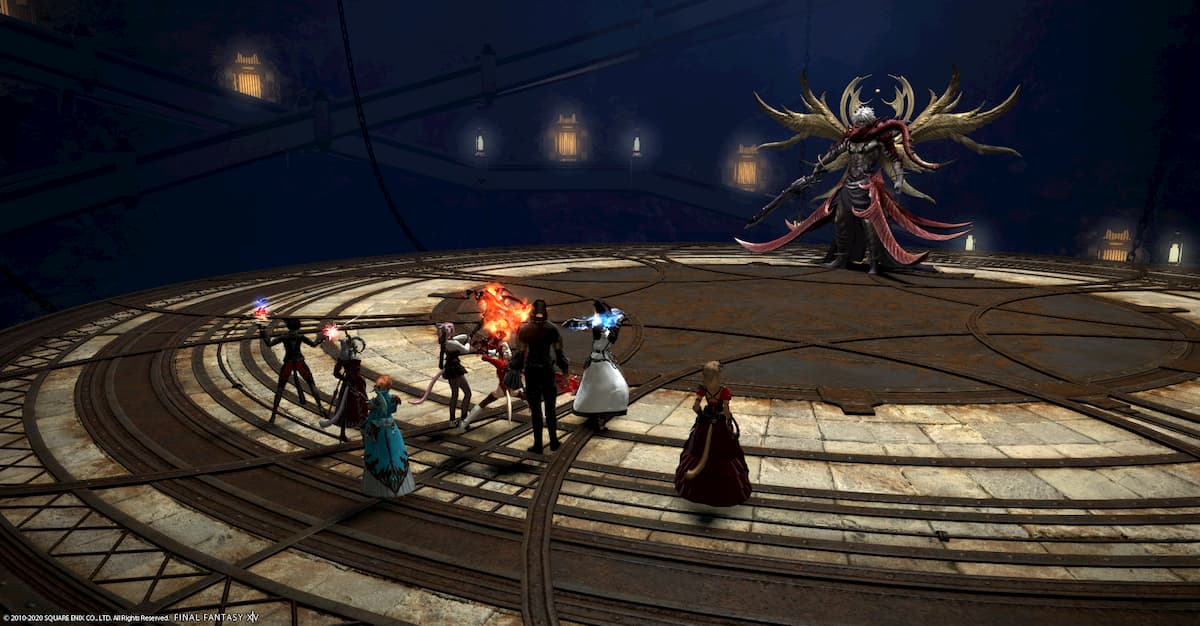
Eden’s Promise: Anamorphosis is the third battle for the final Eden raid tier. Following your quests to unlock Eden’s Promise, you’ll face off against a familiar-looking foe, The Fatebreaker. As a hint for what to expect in this battle, the word anamorphosis refers to a distorted image, one that’s only recognizable from a certain point of view.
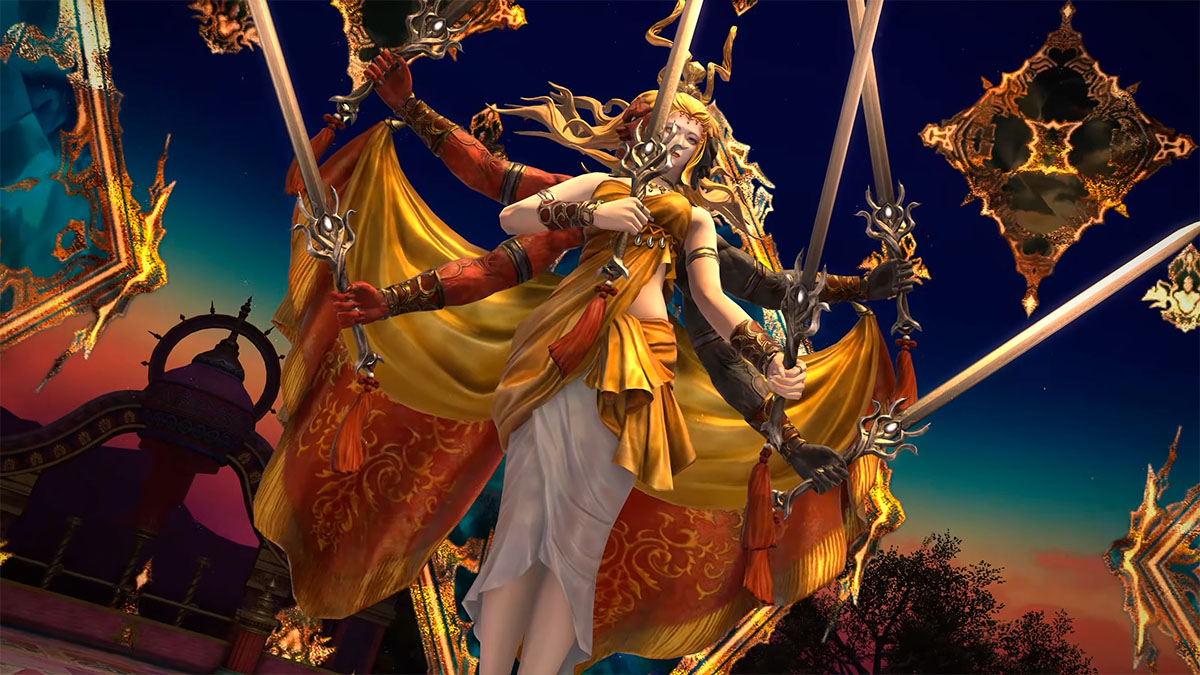
The Fatebreaker
Burnt Strike (fire dragon): Wide column AoE that shoots through the boss. Move to his side while also staying close to the boss’ hitbox. The fire dragon glowing around the boss signifies that this attack will include a knockback. Following the AoE strike, all players will get knocked back a set distance from the boss. Make sure you’re right in the center, just outside of the AoE range. Or use your knockback immunity skill.
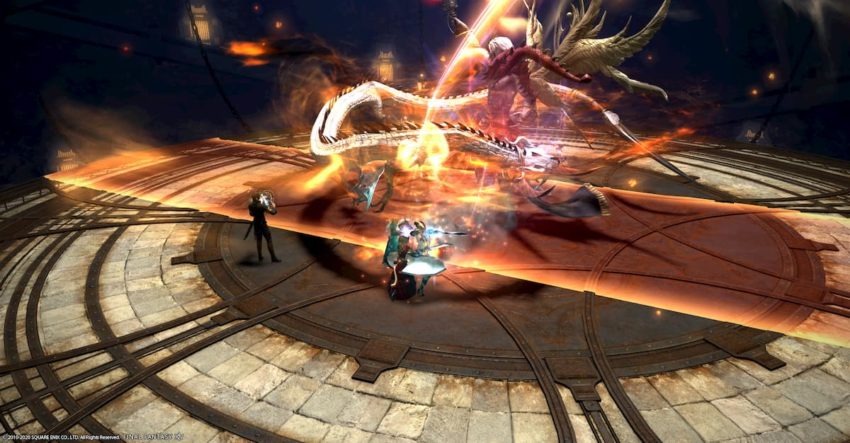
Burnt Strike (lightning dragon): Like the fire version, the boss will again create a column AoE down the center of the field. You’ll want to step farther away from this indicator. With the lightning dragon glowing blue around the boss, this means that another, wider AoE will shoot out at the last second, hitting any players who are too close. You’ll get a good idea for the actual distance once you see the attack a few times.
Bound of Faith (fire dragon): The boss will tether to a player, creating a shared stack AoE marker around them. Stack with this player to soak the damage.
Bound of Faith (lightning dragon): This time, when the boss tethers a player, they’ll receive an electrocution debuff, ticking for high damage. Heal up the damage from the debuff until it expires.
Burnished Glory: Raid-wide AoE damage. Shield up and heal.
Powder Mark: This attack has two stages. One is the initial tank buster hit that you’ll need to use defensive cooldowns for. This hit applies a debuff to the tank. When the debuff expires, a large red circle will appear around them, hitting once again for high damage. The off-tank should provoke after the initial hit. The previous main tank will need to stay away from other party members with their subsequent red circle. This circle can overlap with other mechanics as well, so position yourself accordingly.
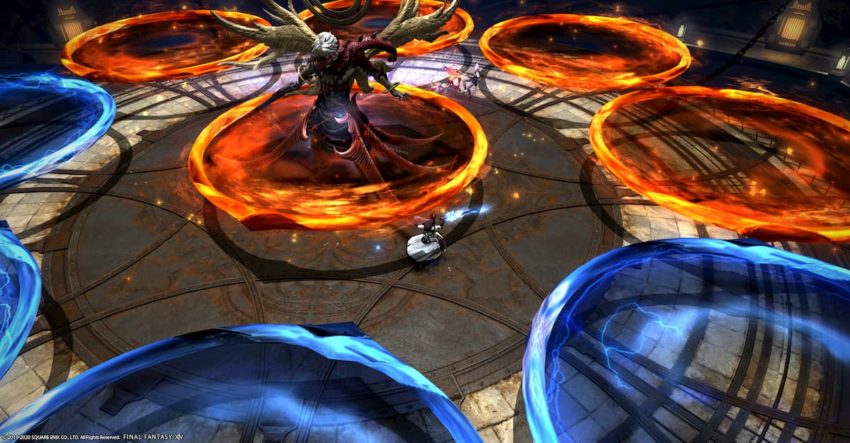
Turn of the Heavens: Several circles appear around the platform. There will be red fire circles in one section and blue lightning circles in another section. Watch for which color dragon swirls around the boss during the cast for this move. If the red fire dragon appears, stand closer to the red circles, away from the blue ones—Vice-versa for the lightning dragon during the cast. Stand just outside the matching circles, not inside the rings themselves. The non-corresponding color circles will explode in a wide radius. Just stay far enough away from that side.
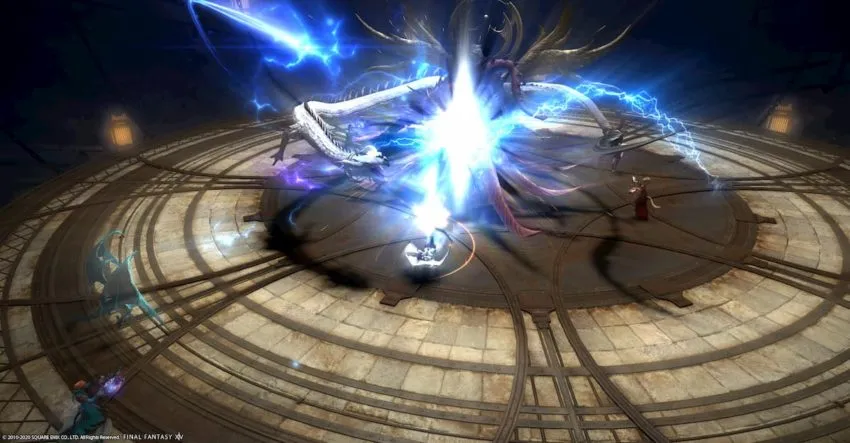
Shifting Sky: The boss jumps up from the battlefield, and a knockback indicator will appear. Stay near the center of the arena, or use your knockback immunity. A dragon will show up soon, sending out a very large attack. Get behind the dragon to avoid the attack.
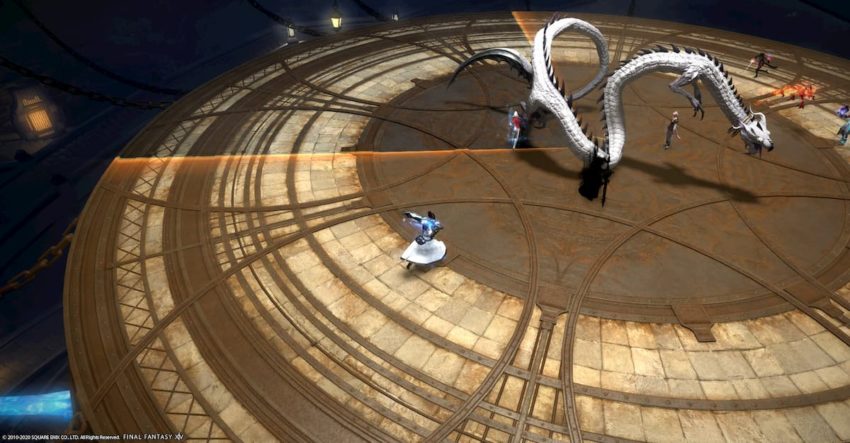
After the dragon resolves, two clones of the boss will appear around the field. One will send out a fire version of Burnt Strike (knockback), while the other sends out the lightning version (stay away). Dodge the clones’ attacks in the order they appear.

Burnt Strike (light dragon): The boss uses the familiar column AoE attack again. This time, when the attack finishes, a number of AoE circles will appear underneath players. Move away from these circles.
Bound of Faith (light dragon): The boss again tethers a player, this time creating a red circle around them. Other players should avoid this circle. However, the boss also gives this player an exploding debuff. After a short time, an explosion will detonate from this player, causing a raid-wide damage attack to go off. Heal up afterward.
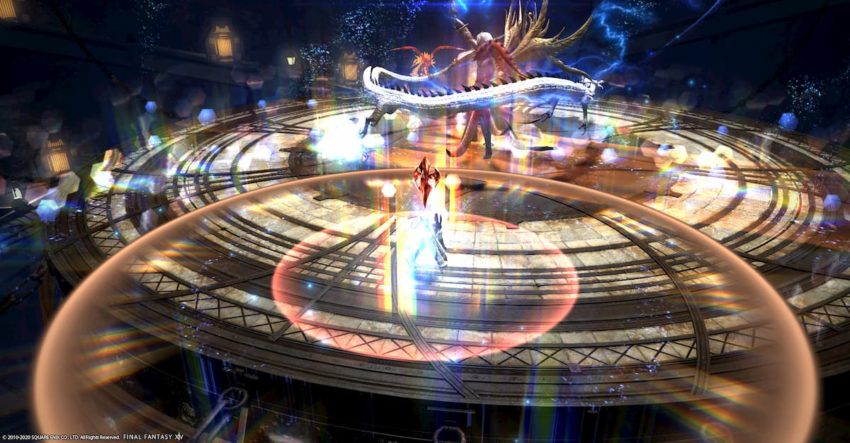
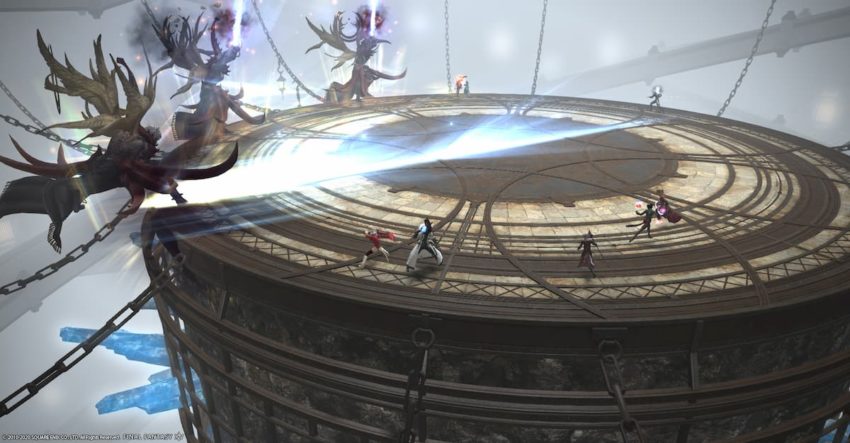
Prismatic Deception: Here’s where my tip from the start of the guide comes in. A few clones will show up around the edges of the platform for a short time, preparing for a phase transition.
The boss will then fog the arena and disappear, taking his clones with him. You might not see anything at all from where you’re standing, but don’t stay put. Run around to where you previously saw those clones before. You should see the actual dangerous clones preparing to shoot off a frontal attack.
Three clones are preparing this attack somewhere within the fog. You’ll need to keep running until you find a safe spot beside one of the preparing clones. Even if you know you’re standing in a safe spot, other players not at your exact location won’t be able to see the same for themselves. Keep an eye out for yourself, then wait for the attacks to go off.
Afterward, the boss will return to the field. He will continue repeating the same mechanics as before until you beat him. Then you’re free to open your treasure chests and roll on loot.


Published: Dec 15, 2020 04:02 pm