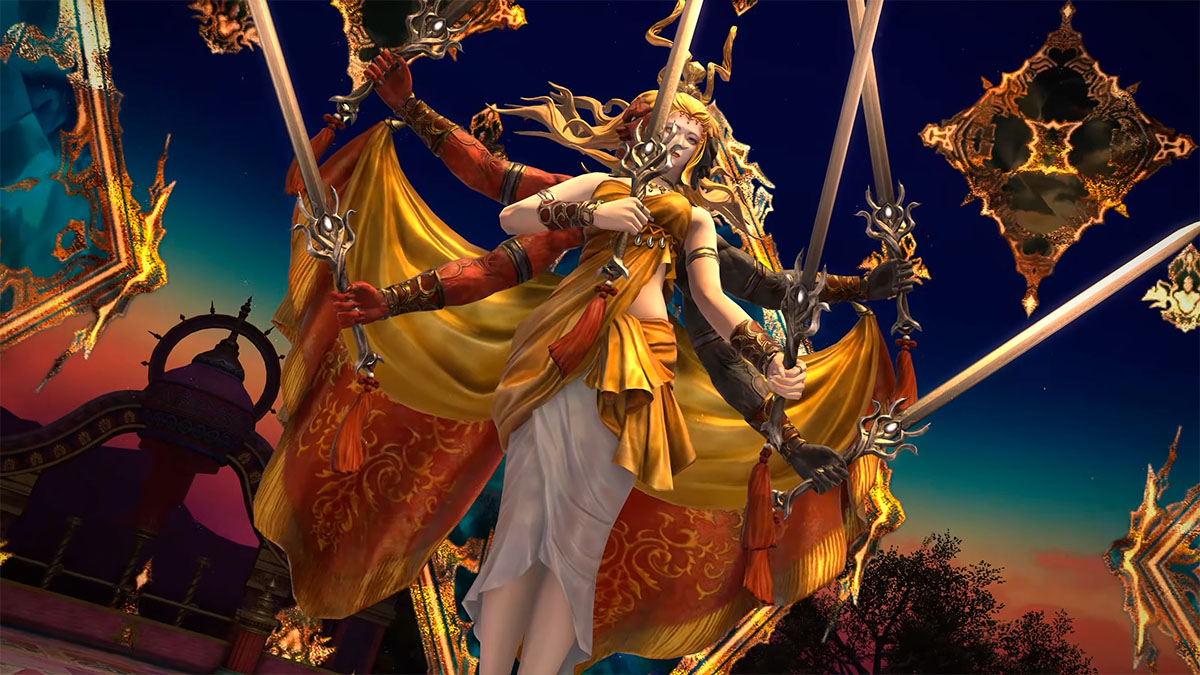
Patch 5.4 brings the normal and extreme versions of the Emerald Weapon fight, originally from Final Fantasy VII, and adapts and modernizes it for Final Fantasy XIV. After unlocking Castrum Marinum (Extreme), you’ll face off against the harder version of Emerald Weapon in this dynamic trial.
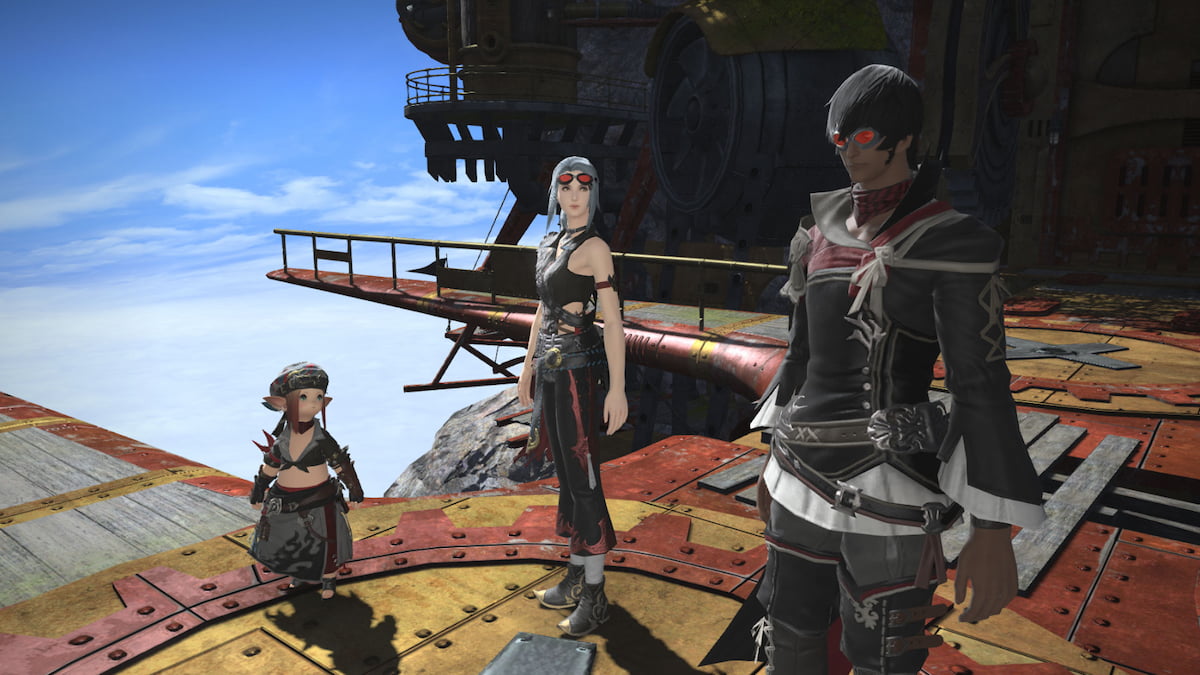
We’ll break down each of the fight’s mechanics in order. Our character in the screenshots is main tanking as gunbreaker, but we’ll be sure to explain the mechanics for all roles: healers, tanks, and DPS. We’ll also tackle the common strategies you’re likely to find in Party Finder, at least on the North American servers. With some preparation and practice, you’ll be well on your way to clearing the extreme version of Emerald Weapon within Castrum Marinum.
Common Party Finder Strategies
First up, when searching for groups in Party Finder, you’re likely to see two pieces of information. One is how to handle “orbs” in Phase One, and the other is how to handle “cross and plus” marks in Phase Two. Handling these cross and plus marks will always be the same, so we’ll detail this later in the guide.
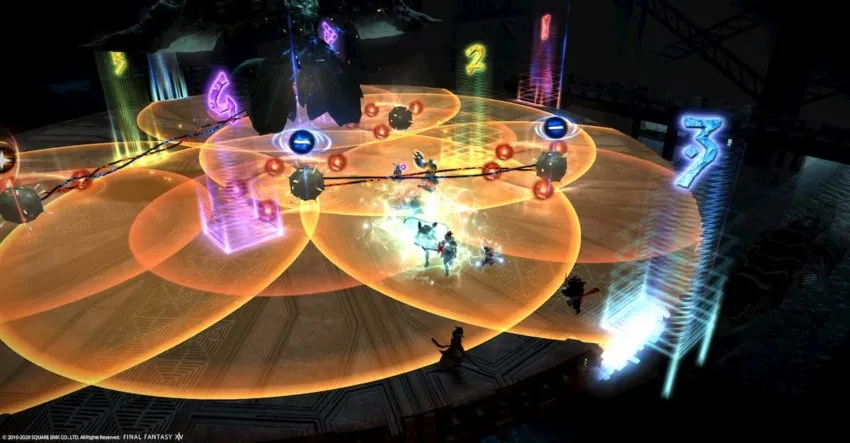
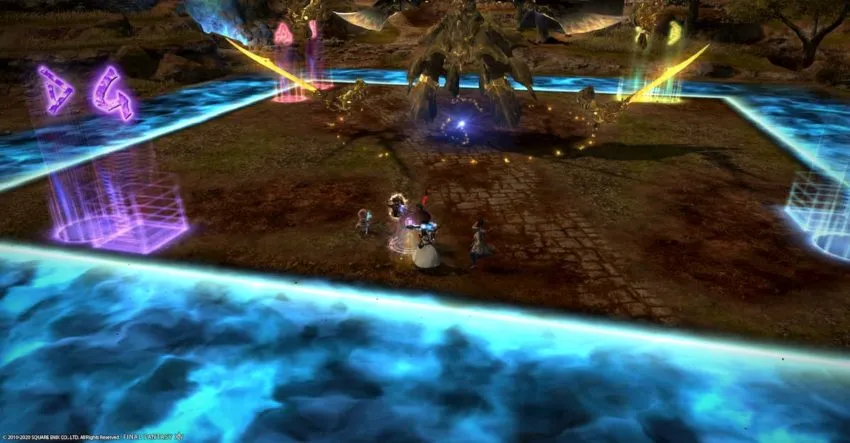
Handling orbs comes down to preference. Some groups prefer to split into two groups of four (4/4 strategy), like in our screenshot above. Others prefer to have four partner pairs (2/2/2/2 strategy) to take care of orbs. We’ll break down both methods for this mechanic below.
Phase One: Orbs, Merry-Go-Rounds, and Magnets
Emerald Shot: Same as normal mode. Heavy tank buster on the primary target. This happens right at the beginning, so be sure to use your defensive cooldowns immediately before or after pulling the boss. Healers can pre-shield for some extra mitigation.
Optimized Ultima: Heavy raid-wide AoE. Pre-shield and heal up.
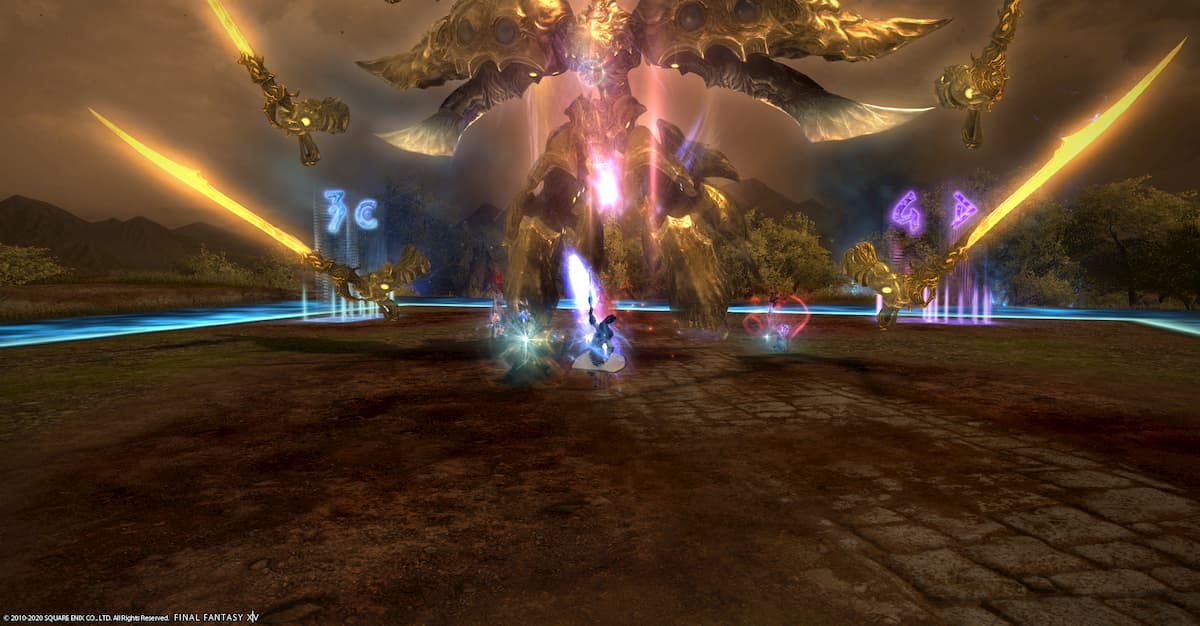
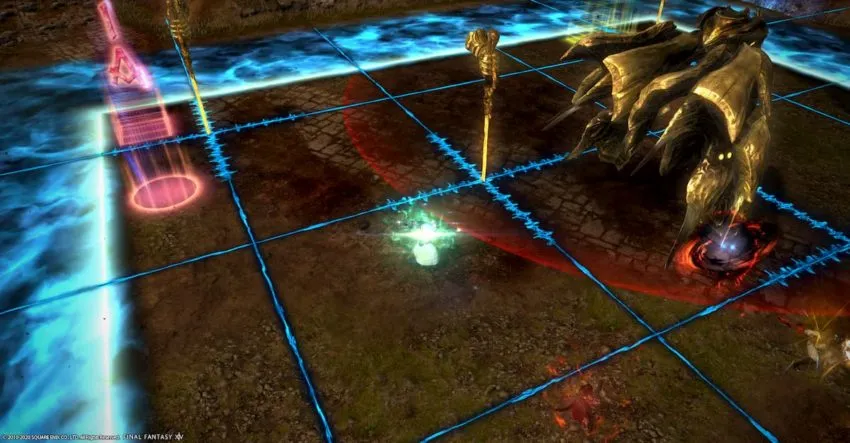
Aetheroplasm Production: Four blue orbs and four yellow orbs will spawn along the walls. Players must go to the orbs to make them detonate for high damage. Then, whichever color orb players went to first, they must get the opposite color next until all the orbs are gone. Grabbing two orbs of the same color will kill you, so be sure to grab the opposite one next. If left alone, the orbs will explode for severe damage, wiping the whole raid group.
Here’s where those 4/4 and 2/2/2/2 strategies come in. You can either have two groups of four players (assigned at the start of the duty) move in sync to grab four orbs. Two groups of four grab all eight orbs this way. Or you can assign pairs to get two orbs each. Whichever method you use, just be sure to get to the opposite color orb for the second (or third and fourth) grabs. That opposite color orb won’t always be clockwise from your position, for instance, so you’ll have to keep an eye out. If you’re doing 2/2, be sure to move in after grabbing the first orb with your partner, so healers can heal everyone up before the next orbs.

Emerald Beam: Also the same as normal mode. Rotating conal attack from the front and back of the boss. Stay near the middle away from the cones, following them as they shoot out, rotating either clockwise or counterclockwise. Similar to a merry-go-round, you’ll want to keep up this rhythm while also dodging the point-blank AoEs from the center.
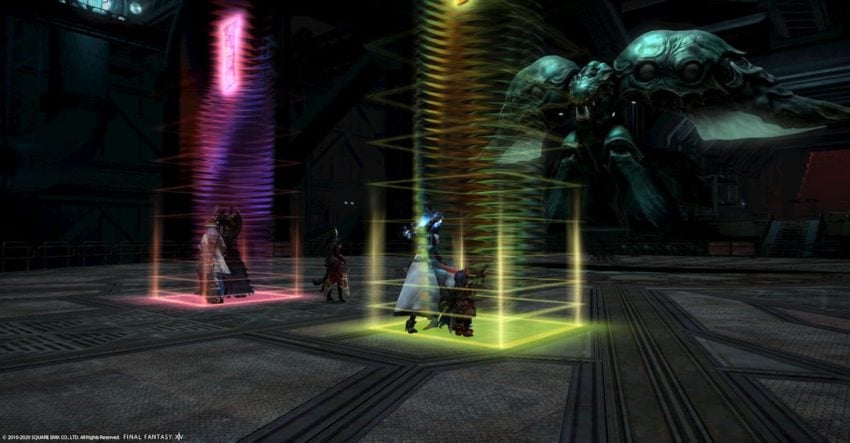
Magitek Magnetism: For the first set, three bombs spawn in set formations. Two will be next to each other with orange plus signs overhead, while a third will spawn somewhere else nearby. These plus signs signal the direction the bombs will move after a short time. Magnetism rules to remember: likes repel, opposites attract.
However, tanks will have high-damage proximity markers to deal with. They will need to move far enough away from the bombs and the other party members and use defensive cooldowns to mitigate some damage. The rest of the party can stand on the other side of the arena, nearest the plus-marked bombs. This allows them to find the eventual free spot from the magnetism movements and the proximity damage from the tanks. If your tanks want to keep hitting the boss for uptime, they can use their invulnerability for this (Hallowed Ground, Holmgang, and so on). Be sure to communicate with your healers first.
A second Magitek Magnetism immediately follows the first one. This set will have linked bombs with both plus and minus signs overhead. As with before, stay nearest the linked bombs with the same signs, as these will repel from one another, creating your safe spot. The linked opposite bombs will essentially switch places while attracting one another, so stay away from these whenever possible.
Emerald Beam: The merry-go-round repeats again. Handle the same as before.
Optimized Ultima: Another heavy raid-wide AoE. Pre-shield and heal up.
Similar to normal mode, several gloved hands will spawn around Emerald Weapon’s form. When this happens, immediately move inside the boss’s hitbox. A quick donut AoE will spawn with no cast indicator. While you have some breathing room during normal mode to adjust, the AoE is nearly instantaneous in extreme mode. If you have any vulnerability stacks from failing previous mechanics, this donut attack will likely kill you.
Divide Et Impera: Another heavy tank buster on the primary target. This time, a red stack marker will appear on the main tank. The off-tank will need to stack with them, and both tanks should use their defensive cooldowns. Healers pre-shield and heal up. The rest of the party must spread out to avoid the other, untelegraphed splash damage that will hit them. If anyone is stacked together, they’ll take too much damage. So tanks stack up; the rest of the party spreads out.
Split: The boss will change its form, signaling the upcoming mechanic.
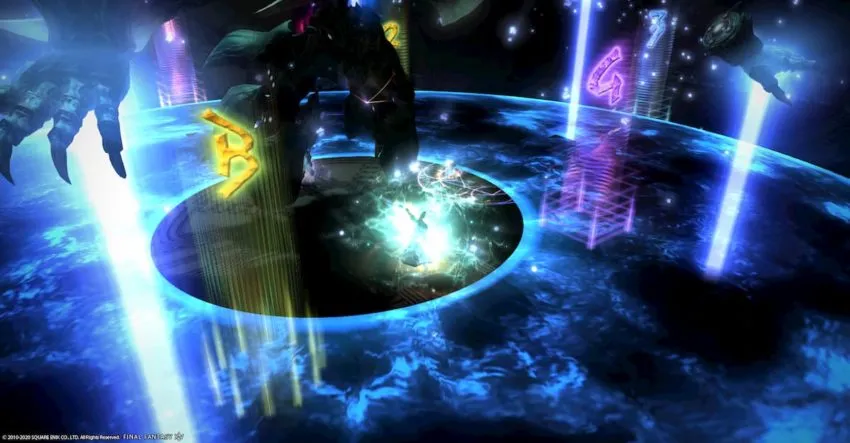
Expire: A quick-casting point-blank AoE. Be sure to move out from the boss during the cast. Soon afterward, a red and black AoE circle will form somewhere on the ground. Move a fair distance away from this circle, as it will expand and deal high damage to anyone standing in it.
The boss will change its form once again, putting its hands away. When this happens, immediately move away. A quick point-blank AoE attack will soon follow with no cast bar.
The third variation of Magitek Magnetism is next. It’s the same as the second set, with the addition of Pulse Laser AoEs to look out for. A few players will have red marks over their heads, making them the targets for these line AoEs. These marked players will need to bait the lasers elsewhere and then move to the correct, safe spot. If anyone gets hit by these lasers, they’ll get knocked off the arena and fall to their death.
Optimized Ultima: Yet another heavy raid-wide AoE. Pre-shield and heal up.
You’ll see mechanics begin to repeat before the boss casts Full-power Optimized Ultima as its enrage. If you see this cast, bring the boss down to 0.1% health as quickly as you can. Use your melee limit break if available.
If you clear the enrage, or if your damage is high enough to skip the Full-power Optimized Ultima cast, then it’s time for the next phase to begin.
Phase Two: Arrows, Swords, Magitek Flames, and Soldiers
Following a cutscene, phase two will begin. Should your party wipe from this point on, you will resume at the beginning of this phase, without needing to repeat the first phase of the fight. If you need to reset here, take care to not have everyone just run to the flaming walls to die. Make sure to hit the boss at least once to “save” your progress first.
Divide Et Impera: Handle the same as before — tank buster stack for both tanks, while the rest of the party spreads out for their damage.
Primus Terminus Est: Similar to normal mode, arrow telegraphs will spawn beneath several players. Marked players will need to move themselves to one wall (without touching the fiery blue flames of death) so that their arrow points them to the opposite wall. In extreme mode, different arrows will point players in different directions.
Ideally, two players with the same arrow directions will stand next to each other in pairs around the edges of the field. Adjust yourselves so that your lanes don’t overlap. Any unmarked players may need to adjust to avoid getting run over.
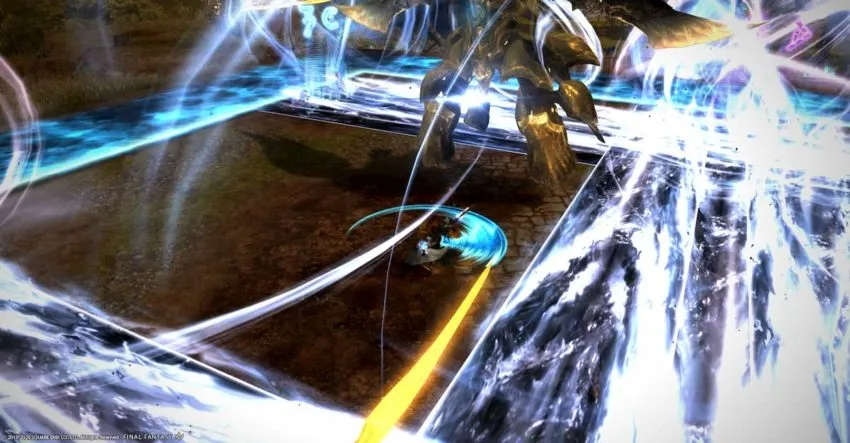
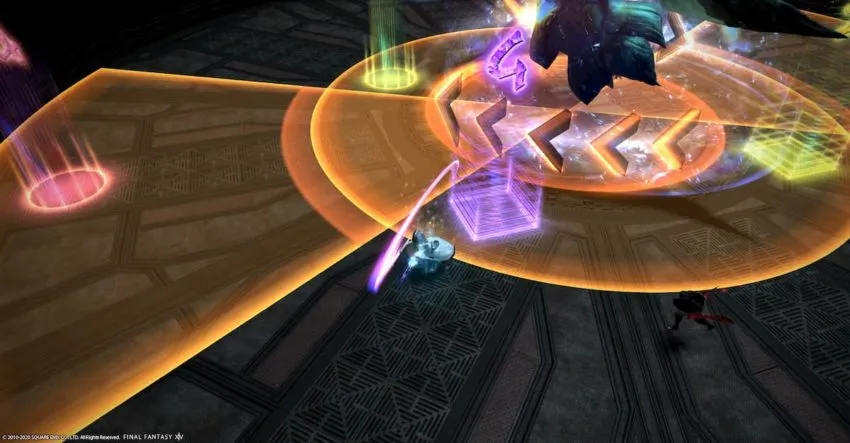
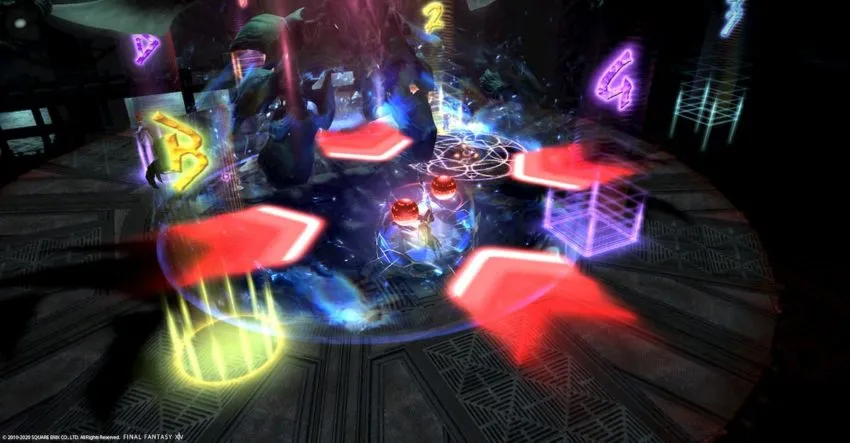
Tertius Terminus Est: Three pairs of AoE swords will drop one after another in one of two patterns. You’ll need to watch the patterns that appear as the swords drop. Either move to the third spot as your temporary safe zone and then move into where the previous blasts exploded. Or you can stand just beside the first spot, wait until it detonates, and then move there until the other blasts go off.
This is a bit trickier to handle than on normal mode, but the same principles apply. You’re dodging the wide shapes of patterns more than the simple AoEs themselves. Watch the order the swords fall in, recognize which patterns form where, identify your safe spots, and move accordingly.
Legio Phantasmatis: Like normal mode, Emerald Weapon will exit the battlefield, and a Black Wolf’s Image add will spawn in its place. The main tank should be ready to pick this up; then, pull the add close to the west wall, next to a row of magitek ships. These ships will have several dots overhead, signaling which order they will fire off in, dropping a series of wide fire puddles as they go.

While burning down the add, watch which order the ships will fire. You’ll want to stand in the lane with the highest possible number. This will be your temporary safe zone while those fire puddles shoot out along the ground. Move after them once they disappear while making your way to the center of the field.
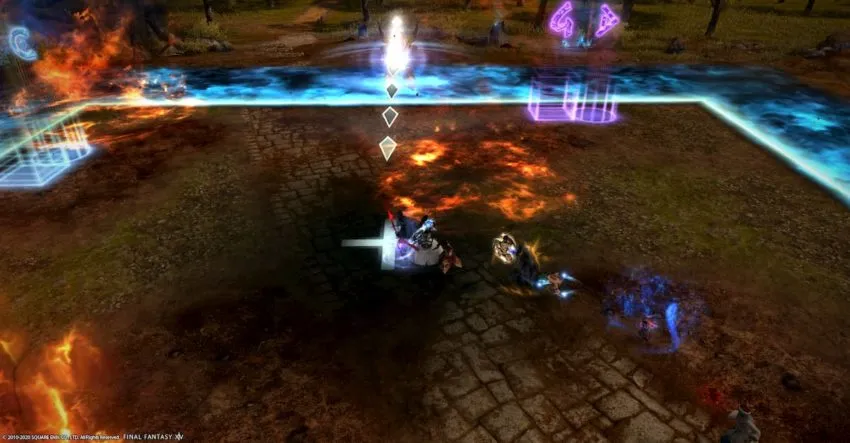
A white cross will appear on the ground, along with a line from one direction, signaling an upcoming knockback. Make your way to that white cross, and stand within the corners, to get knocked back toward the wall. Standing on the cross itself could get you knocked back into the wall directly, which will kill you.
Optimized Ultima: Heavy raid-wide AoE. Pre-shield and heal up. Be careful with anyone who may have vulnerability stacks from getting hit during the add phase.
Divide Et Impera: Handle the same as before — tank buster stack for both tanks, while the rest of the party spreads out for their cone damage. If either tank has three or more vulnerability stacks from the last phase, consider using your invulnerability instead.
The boss will cast Tertius Terminus Est, but it won’t actually go off quite yet. First, Emerald Weapon will use Split to change its form, and then one of two attacks will follow.
If the boss casts Expire, you’ll handle this the same as before. Move out during the cast to avoid the large point-blank AoE. Those three sets of Tertius Terminus Est AoEs will then begin forming over the field. There will also be another red and black marker to avoid, similar to Phase One. You will need to find your safe spots for the sword AoEs as before, all while staying away from the expanding red and black circle.
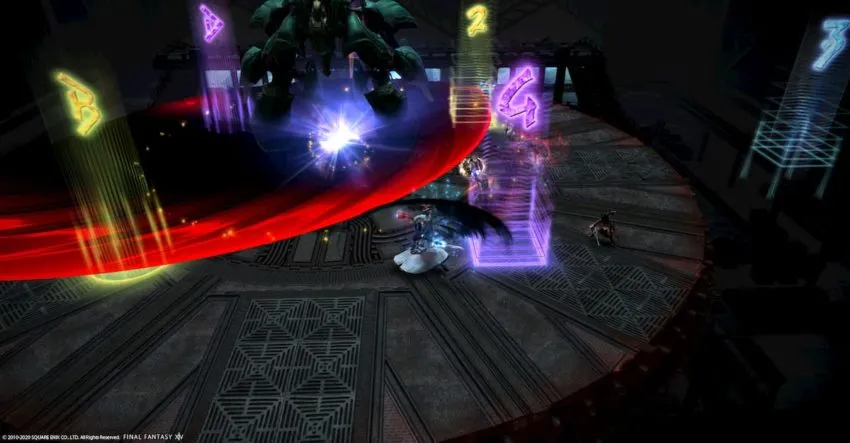
If the boss casts Sidescathe instead, then it’s the same as normal mode. Emerald Weapon will cleave one half of the arena. Whichever side of its body is glowing, that’s the unsafe side you need to get away from. The same expanding red and black circle will follow as those Tertius Terminus Est AoE circles form over the field. You also have a bonus knockback effect to deal with.
To break this down — sidestep the 180-degree AoE from Sidescathe first. Then keep an eye out for the AoE circle sets dropping for Tertius Terminus Est. You’re looking for the third sets to drop as your safe spot. Navigate to that safe spot while avoiding the expanding AoE circle. You can either activate your knockback immunity (Surecast or Arm’s Length) at this time, just as that third sword falls. Wait any longer than that, and it’s too late. Or you can position yourself to get knocked back into that third sword location as your temporary safe spot. In your safe spot, wait for the other swords to detonate, and then move in.
For this section, the boss will cast either Expire or Sidescathe at random. If it uses Expire first, then once this section repeats, the Sidescathe variation will be next. You always know the knockback is coming with Sidescathe, so keep an eye out.
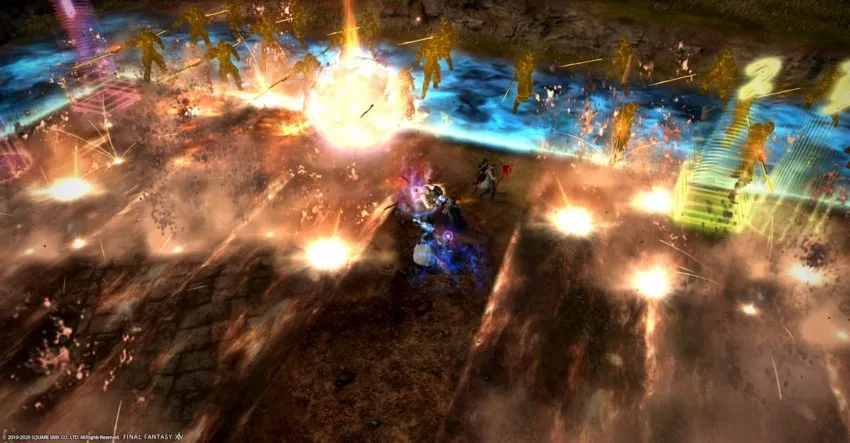
Legio Phantasmatis: Once again, Emerald Weapon will exit the battlefield, and a Black Wolf’s Image add will spawn in its place. The main tank should be ready to pick this up; then, pull the add close to the north wall. The same magitek ships will appear on the west wall, which will again shoot out in their numbered order. At the same time, you will need to dodge those rows of soldiers once the add casts Full Rank, similar to normal mode.
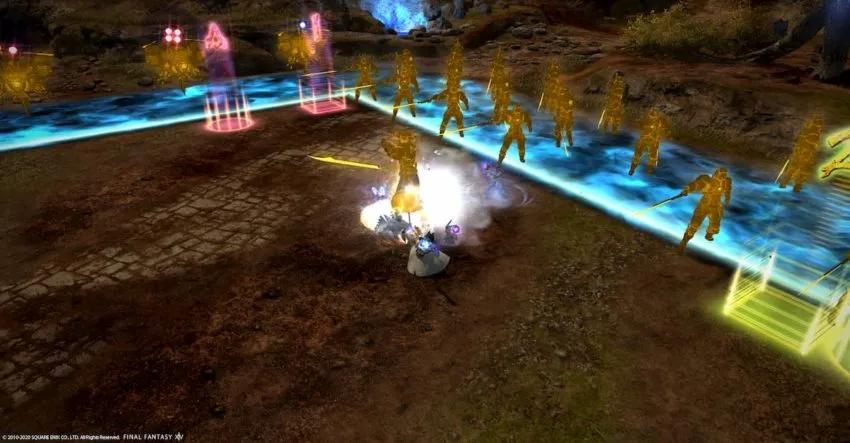
Watch for the order of the ships first. As long as the lane you’re in is not first (or second or third), then you can stay where you are. Then move to the correct area missing a soldier in the front row. Focus on dodging the firing lines as those flame puddles from the magitek ships fire away. Once the soldiers resolve, you can shift around the fire puddles while moving to the center of the field for the knockback.
In the event your north lane will be the first magitek ship line, then move slightly back. You will have to move up into that lane as the flaming puddles pass you by, as you’re dodging the soldier firing lines. It’s a lot to juggle at once, but you’ll get it with practice.
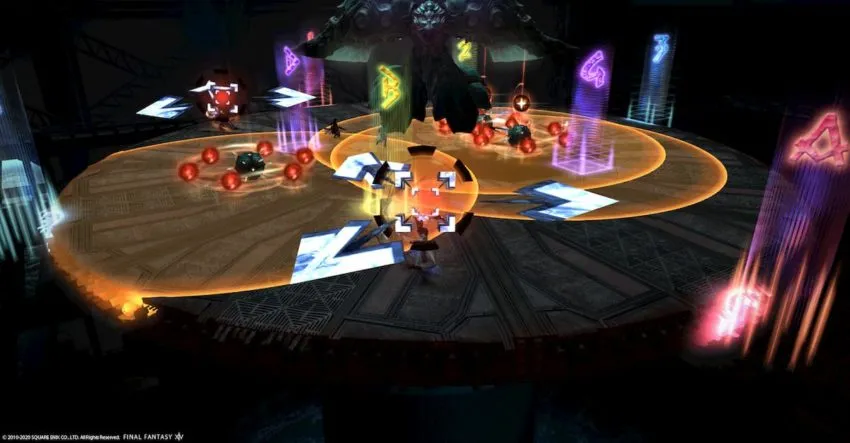
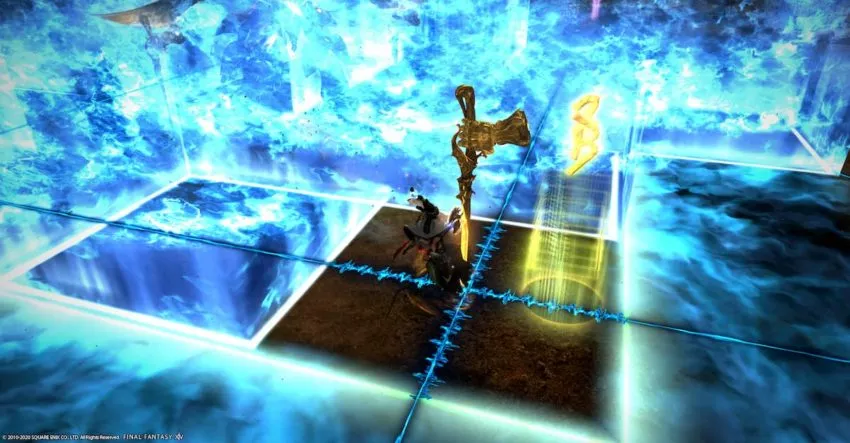
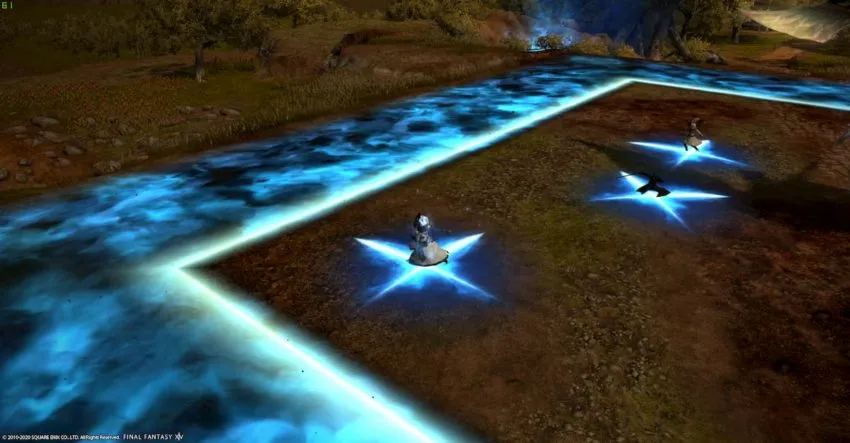
Secundus Terminus Est: Similar to normal mode, blue cross or plus markers will spawn beneath players. Where you drop these markers will determine how and where dangerous AoE formations spawn. If possible, place cross markers at the north, south, west, or east cardinal positions on the field. Place plus markers at the northwest or northeast, or southwest or southeast intercardinal positions. If everyone does this correctly, these positions will create a wide safe spot right in the middle, free from any resulting explosions.
This is where that additional Party Finder strategy comes in. You will often see party members remind players about this before joining the duty.
Like before, the boss will cast Tertius Terminus Est, but it won’t actually go off quite yet. First, Emerald Weapon will use Split to change its form. If the boss used Expire previously in the phase, then Sidescathe will be next, or vice-versa. Handle these the same way as described above.
Another Primus Terminus Est follows with arrows beneath several players.
You’ll have one last Divide Et Impera to deal with. Tanks stack up for shared damage, while everyone else spreads out.
If you have yet to kill the boss by this point, a long Full-power Optimized Ultima will begin casting, signaling the enrage. Kill Emerald Weapon before this cast goes off, or your party will wipe, sending you to the beginning of Phase Two. Too many deaths and/or generally low DPS will ensure you hit this enrage.
Once you defeat Emerald Weapon, everyone will automatically receive one Emerald Totem, and a treasure chest will spawn. The chest will always contain at least one item, a level 515 weapon. The chest may also contain an Emerald Weapon-themed crafting material for furniture, Chocobo barding, or an orchestrion roll, or the (very rare) Emerald Gwiber mount. Speak with C’intana in Mor Dhona (X:22.7, Y:6.7) to exchange your Emerald Totems for rewards as well.


Published: Dec 14, 2020 02:06 pm