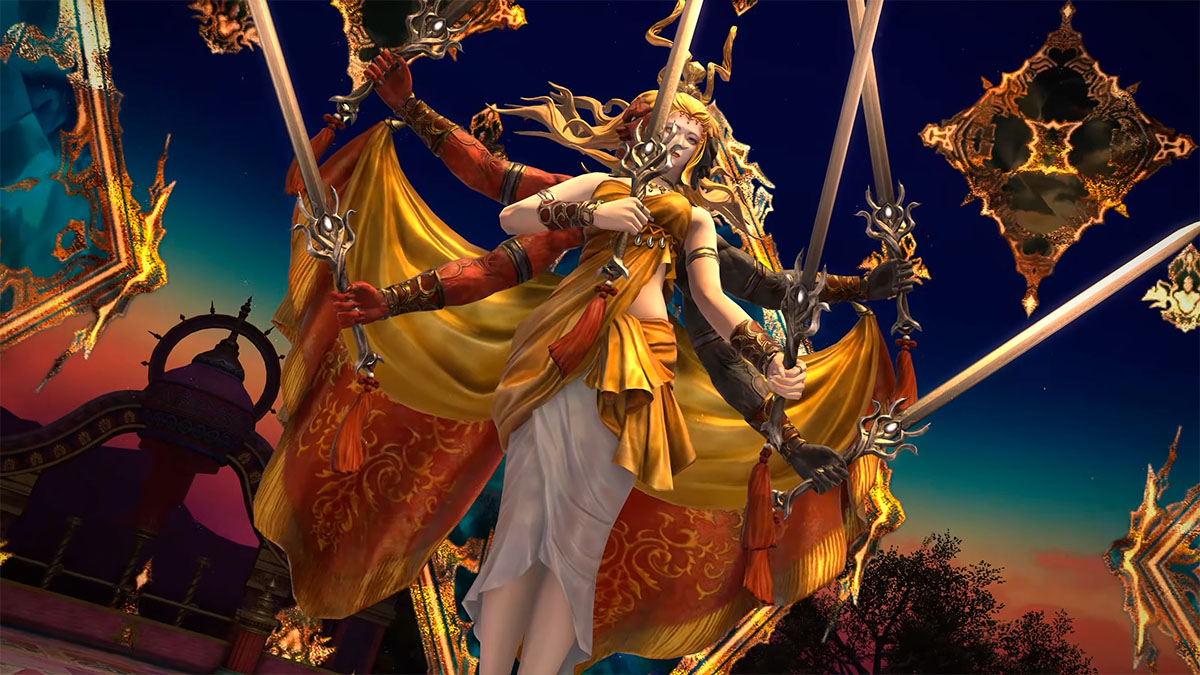
Barbariccia Ex is one of the most challenging extremes to date in Final Fantasy XIV. To defeat this boss, players will need to be aware of positioning, dodge AOEs with precision, and watch the boss’s movements carefully. This extreme trial drops item level 615 weapons as well as a highly coveted mount, so players will want to learn it fast so that they can farm it for the rewards. Here is a quick breakdown of the fight and what to expect when diving into party finder.
Related: How to unlock the Storm’s Crown Trial in Final Fantasy XIV
Barbariccia Ex Phase 1
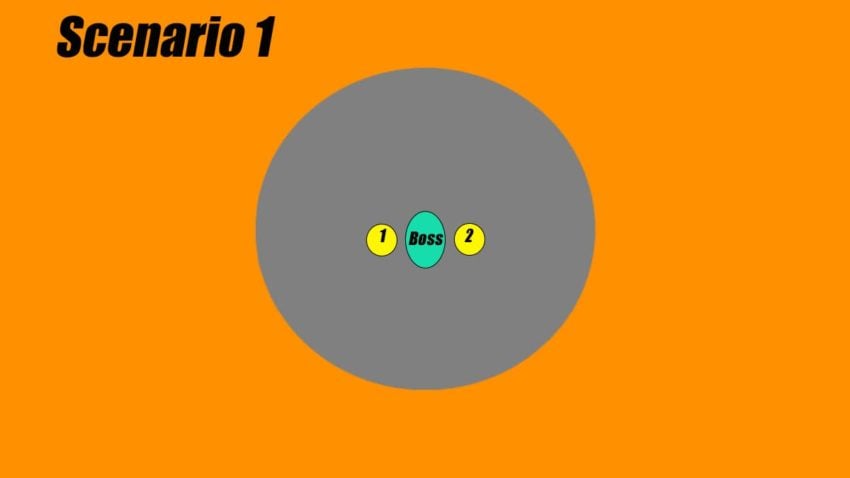
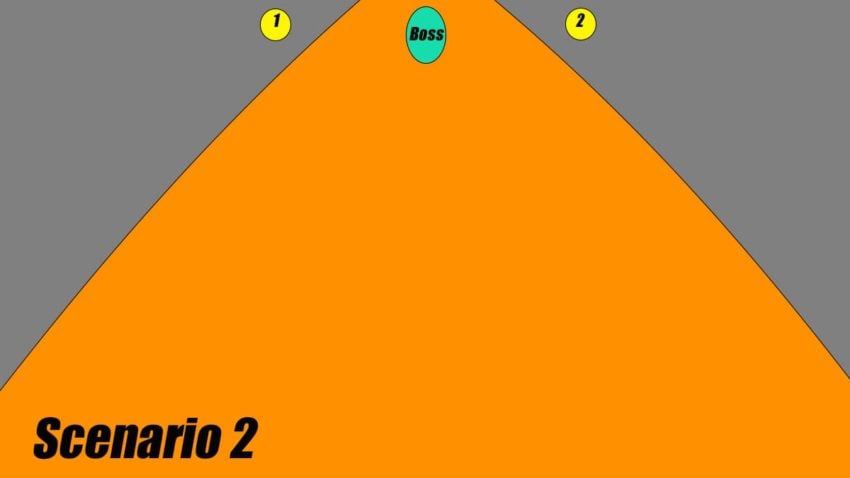
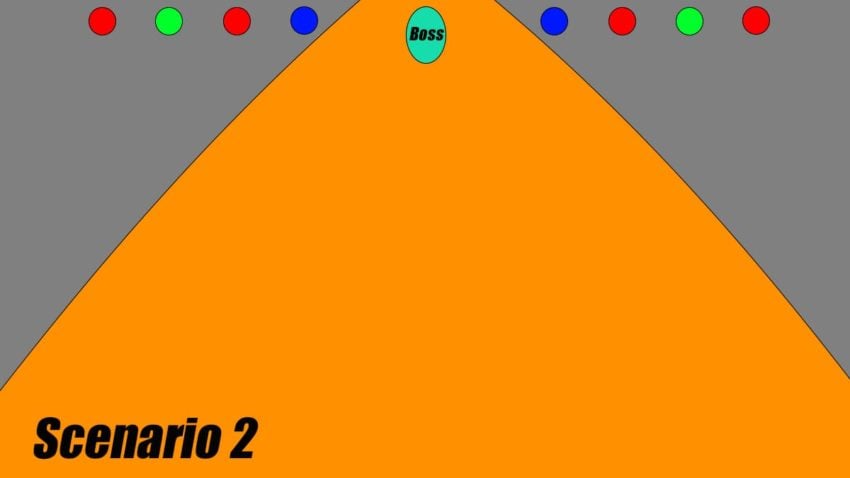
The raid will want to be split into two light parties consisting of two DPS, a tank, and a healer. The entire party will also want to decide on clock positions, having tanks and healers on cardinals and DPS on inter-cardinals.
Barbariccia will begin the fight with Void Aero IV, which is a raid-wide AOE that must be healed up. She will utilize this many times throughout the fight so healers should take note of when she is casting it.
From here, she will cast Savage Barbery. There are two different variations to this depending on how she holds her sword.
- Sword held in the air – She will do a line AOE through the center of the arena parallel to where her sword is landing and also a circular AOE around where the sword is landing. Stand away from the boss and on the opposite side of where the sword is landing.
- Sword held to her side – She will do a donut AOE around herself and a circular AOE where the sword is landing. Stand in her hit box and on the opposite side of where the sword is landing.
Immediately after this ability, she will perform Hair Raid with one of two different animations.
- Float – She will do a donut AOE around her.
- Crouch – She is about to leap to her sword and do a conal AOE through the arena.
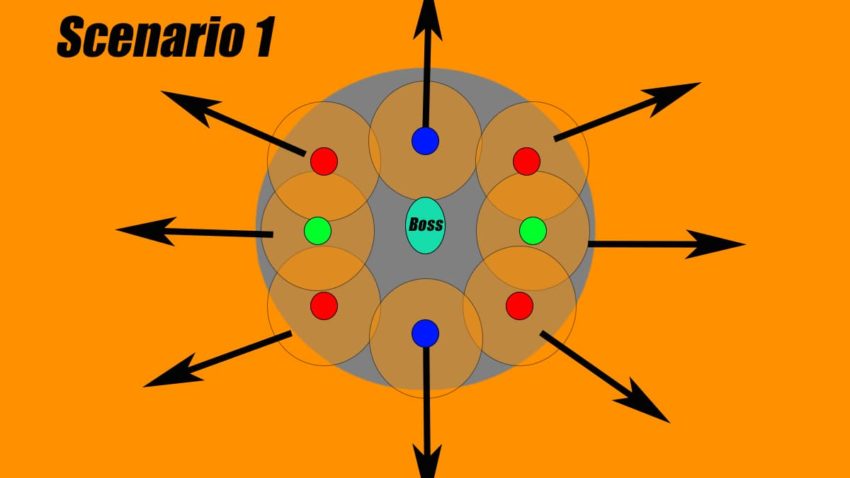
At the same time, the party will receive either light party stack markers on each healer or individual AOEs on each player. There are four different variations of how to resolve this depending on which one goes out and what the boss is doing.
- Floating boss with Light Party Stacks – Stay in the boss’s hitbox and stack your light parties on each side of the boss.
- Floating boss with Individual AOE markers – Stack in her hitbox near your clock positions. As soon as the donut AOE goes off spread to your clock positions.
- Crouching Boss with Light Party Stacks – Run to the side of the room where the sword landed and stack in your light parties on each side of the boss.
- Crouching Boss with Individual AOEs – Run to the side of the room where the sword landed and spread along the edges. There is not enough room to spread completely away from each other, so the furthest players to the corners or tanks should be prepared to run into the middle of the arena as soon as the cone goes off.
The boss will then use Savage Barbery and Hair Raid again, only this time you will always get the opposite scenarios of what she used the first time.
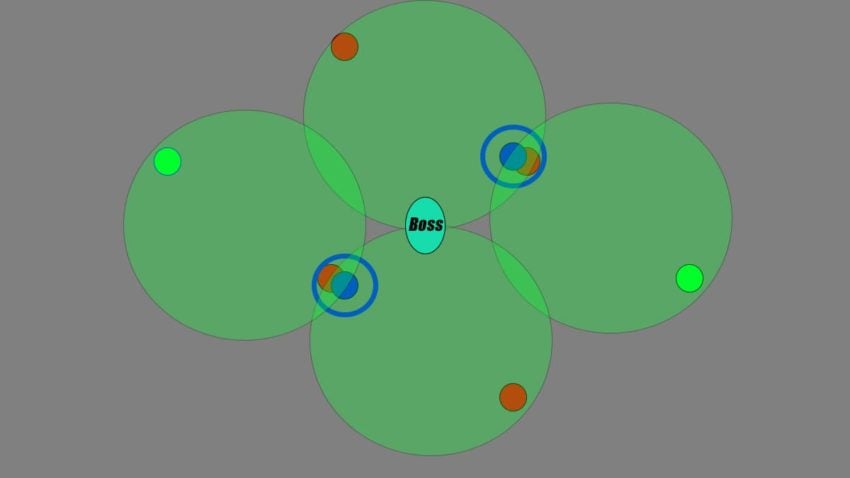
The next major mechanic is called Teasing Tangles. The boss will tether two players in a hair circle on each cardinal of the room. You cannot leave this circle or you will be pulled back in and receive a fatal dot.
At the same time, the boss will place a blue enumeration stack marker on one person in each pair. This person must go to the Northeast/Southwest part of the circle.
The remaining player in each group will either get a giant personal AOE or nothing.
- The person with the AOE must go to the Southeast/Northwest side of the circle.
- The person with nothing must go pair up with the enumeration marker at the Northeast/Southwest part of the circle while also remaining in their own Teasing Tangles circle.
While this is happening, the boss will send conal AOEs through the center of each cardinal circle. If you position as told above, all of these mechanics will resolve without issue. However, the people who are stacked for enumerations MUST immediately move into where the conals just went off as the boss will then send conal AOEs through each player directly after.
Barbariccia EX Phase 2
The boss will then cast Curling Iron and transition to her next phase. You will receive a small knockback if you are too close to the center. Stack and mitigate while the boss is away, and then prepare for the next mechanics by spreading to clock positions.
When she lands, she will tether to each healer and DPS and charge them. As soon as the boss charges you be sure to move out of the line AOE that follows. She will do a tank buster during this called Boulder Break as well which should be invulned.
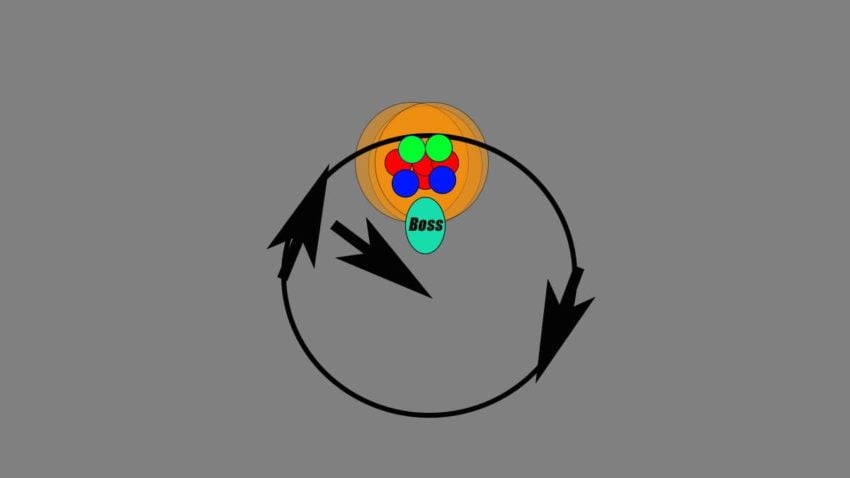
The boss will then do a small AOE around her while sending curved line AOEs around the room. Dodge these and then immediately move into the center to bait some personal circular AOEs. As soon as you see the telegraphs spread to your clock positions. Immediately after the tanks and healers will get enumerations. Each DPS should rotate clockwise to stack with them and move into the center together after the ring AOEs go off.
At this point, the boss will cast Knuckle Drums. This is a hard-hitting raid-wide AOE that she will cast at points throughout the rest of the fight. Stack behind her as she does this.
As soon as she finishes the cast, each player will get a circular AOE underneath them four times in succession. If you are stacked behind the boss, the entire group should move clockwise in a circle around the room together to bait the remaining three AOEs.
Once the final AOE telegraph goes off, one healer will get a stack marker while both tanks will get individual AOEs. The healer and the rest of the party must stack south in melee range of the boss. The boss will knock them slightly back just before the stack marker resolves so stay as a group.
Both tanks should spread to the northwest and northeast respectively to resolve their AOEs. They must also watch for the knockback. The boss follows these mechanics with more tethered charges that must be dodged. She then does another Knuckle Drums.

Barbariccia EX Phase 3
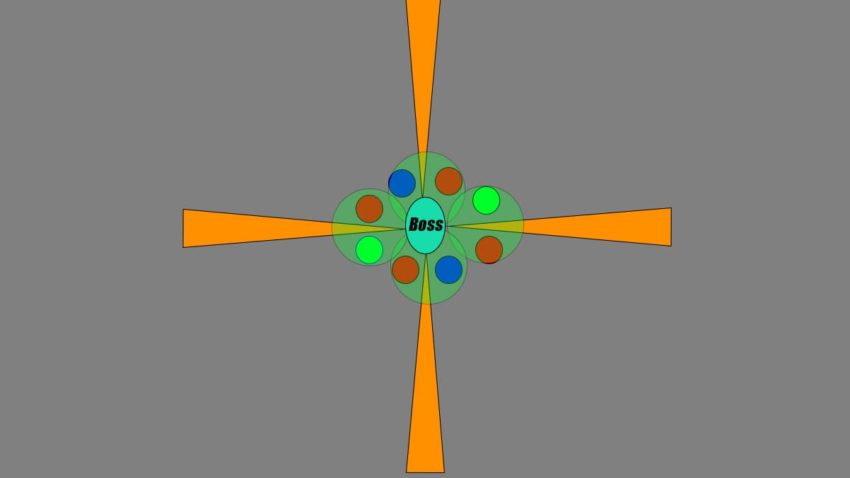
The boss will then revert back to her Phase 1 form. She will then do a new mechanic called Entanglement. Each player will get a colored marker above their head. There should be markers in the inter-cardinals just around the boss corresponding to the colors for each pair to meet at.
The players will then become tangled together in a smaller circle than before. They must remain near each other and avoid conal AOEs but spread just enough after to avoid another set of conal AOEs that go out toward each player right after.
The boss will then do another round of Savage Barbery and Hair Raid from Phase 1. There will be AOE damage and a tank buster going out during this time as well.
The boss will then cast Entanglement for a second time. Players should meet the same way as before and then watch for the two pairs that each gets the enumeration stack circles. Pairs without the circles should move as a group into the enumerations, positioning themselves within opposite enumeration circles of the closest group.
Prepare for another round of Savage Barbery and Hair Raid from Phase 1 soon after this resolves.
Barbariccia Ex Phase 4
Phase 4 plays out similarly to Phase 2 but with two changes. When the party stacks behind the boss to bait the AOEs, they will bait the fourth AOEs in the center under the boss before immediately spreading to clock positions.
After this resolves, the boss will then just through random familiar AOEs around the room. This part is all about personal survival. She should die shortly after this or there will be an enrage.
Barbariccia Normal Difficulty
For players looking for a more casual experience, they will find that Barbariccia can be done on normal difficulty while doing the main story quests. She offers no rewards on normal, but it is a way to tackle the boss without the difficulty that comes with extreme.


Published: Sep 7, 2022 11:37 am