The second encounter in Destiny 2’s King’s Fall Raid is the battle against the Warpriest. For many, this is said to be one of the tougher, if not the toughest, battles in this Raid. You can expect to jump around multiple times, remain flexible, and constantly communicate to ensure everyone stays on top of their tasks. This guide covers how you can complete the Warpriest encounter in King’s Fall Raid in Destiny 2.
How to defeat the Warpriest in King’s Fall Raid
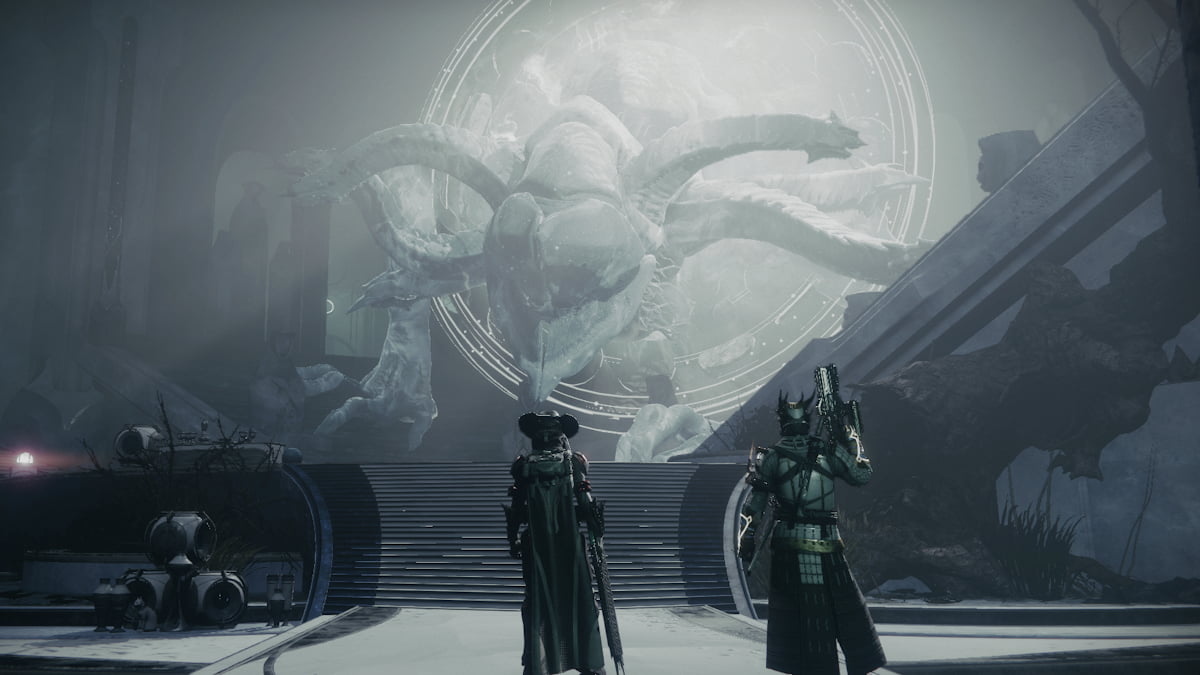
The Warpriest encounter occurs in a large arena with three large pillars in the center. The Warpriest boss will be on the furthest platform from the door, moving back and forth at this location throughout the fight. You will want two players assigned to each of the plates. One person will need to stand on the plate when it is their turn to do so, and the second person will focus on clearing the enemies that spawn at this location. When your team is ready, stand on all three plates to begin.
Related: How to complete the Warpriest Challenge in King’s Fall Raid in Destiny 2
Calling out Warpriest pillars and plates
When the fight begins, multiple enemies will spawn close to each plate. Each team will want to clear through the enemies. There’s nothing significant happening at this point, so focus on taking on the enemies. Eventually, Taken Knights will appear called Revenant Knights. They will appear close to each plate on one side of the room. Each team will need to eliminate them. Once that happens, there will be a notification that says, “Glyph reading sequence started.”

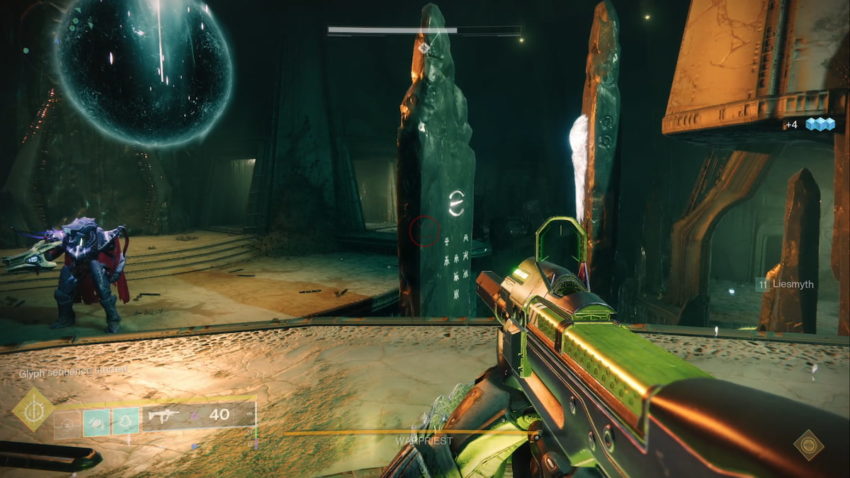
The middle team will step onto the plate and look at the three pillars. They are looking to see which of the pillars are glowing white. This is the starting plate. The middle team will step off the plate and instruct the team whose pillar is glowing to step on the plate. That person will then call out which of the back of the pillars is now glowing white, and that person steps on their plate, and then the final person steps on their plate.
Warpriest’s Aura of the Initiate
The last person to step on the plate will receive an aura. Everyone must regroup, stand next to the person with this Aura, and shoot the Warpriest. The person with The Aura can move around and find a good spot to damage the Warpriest. The Aura of the Initiate around this person will have a timer.
The person with this Aura will want to share the countdown, and another person will be designated a runner to go out and kill a Blightguard Knight that spawns somewhere in the room, typically on the opposite side. The Blightguard drops an orb, and they will need to return to the Aura, steal it from the wielder before time runs out, and continue damaging the Warpriest. You will have two attempts to do this.

After the damage phase, the Warpriest will unleash a massive AOE attack. The only thing that will protect you is standing close to the plates behind the pillars. Stand here until the attack is over, and then reset. You will need to repeat this until you defeat the Warpriest. Taken enemies will appear close to the encounter. If your team drops the Aura before you can take out the Blightguard Knight, the encounter is not over, but the damage phase will be, and you will need to stand behind the pillars. You want as much time damaging the Warpriest as possible to complete this fight.
Warpriest encounter cycle
Standing behind a pillar to protect you from the Warpriest attack causes the pillar to disappear. Therefore, you and your team will want to coordinate and stand behind the same pillar to ensure you have multiple pillars. Once all the pillars have been used, no more will spawn, likely wiping your team when the Warpriest unleashes their attack. At most, you have four damage phases.

While battling against the multiple enemies that spawn into the arena while you are working on the plates, it’s a good idea to use the first part of this section to grab as much ammunition for your Energy and Power weapons. You will primarily use these weapons to damage the Warpriest, such as Rocket Launchers, Linear Fusion Rifles, or Sniper Rifles. You want to conserve this ammunition as much as possible, using Primary ammunition against the smaller foes.
Getting the pillar callouts will be tough, along with ensuring everyone is standing in the Aura while it is active and behind the pillars. We recommend finding a good spot for the Aura person to stand based on the plate, making it easier to damage the Warpriest consistently. Your runners to defeat the Blightguard will also need to be on point to give everyone as much time to damage as possible. After this battle, you receive a chest to loot, and you can advance further into the Raid.


Published: Aug 29, 2022 10:26 am