When it comes to streaming, the ultimate tool is Open Broadcast Software Studio, better known as OBS Studios. It allows you to bring your stream to life, and while it has a steep learning curve compared to competitor software Streamlabs OBS and Twitch Studio, it has a number of distinct advantages.
One of those features that allows it to head off the competition is the use of plug-ins. These are small pieces of software code that can be added to OBS to expand its functionality and improve the quality of your broadcast with features not available in other broadcasting software.
For example, you can use plug-ins from the Reaper Digital Audio Workstation to vastly improve the audio quality of your microphone by equalizing it and setting up a sound gate, all within OBS. Another called StreamFM allows you to add special effect features to the broadcast, such as being able to turn sources into 3D objects, while Shaderfilters can add shaders and effects to sources directly.
However, there is no obvious way to install them to your OBS set-up with documentation light, and many of the download pages will usually assume you know what you are doing already.
Installing Plugins on Windows
To install a plugin on Windows, you need to download the plugin you are looking for. Using the StreamFX plugin as an example, going to the downloads from the OBS Project page will present multiple options for Windows and Linux.
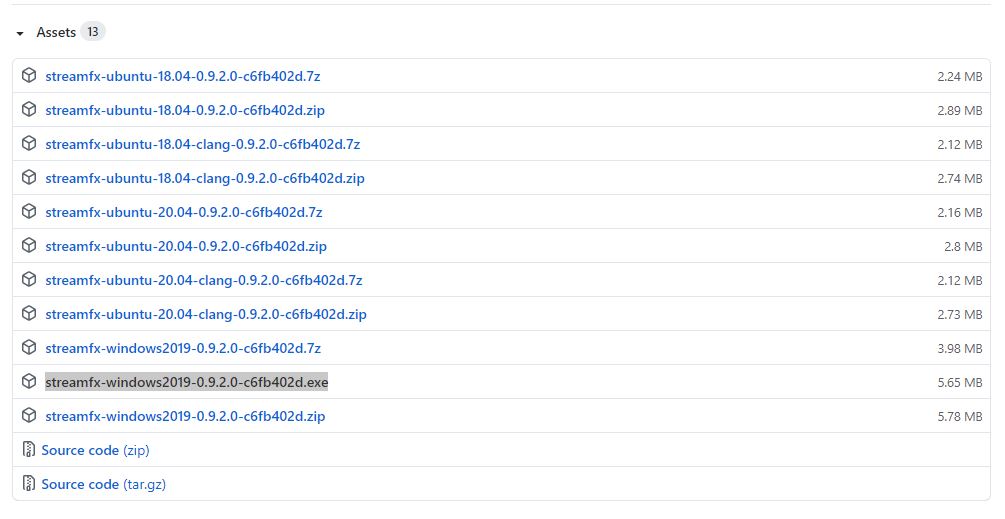
If the downloads include the option of a .exe file for Windows, this will make it easy to install the plug-in. Simply download and run it, and then set the install directory to your OBS Studio directory, which it should detect automatically.
While the StreamFX downloads have this option, it will not be the case with every plug-in. If there is only a .zip file available, download it and within this will typically be two folders, one called ‘obs-plugins’ and another with ‘data’.
To install these to your OBS, extract these two folders from the .zip file to somewhere you can grab them easily, and then move both folders into your OBS directory on your storage drive. This will typically be in the Program Files of your C Drive.
When you attempt to move them into there, it will ask permission to merge the files for the plug-in into OBS. Accept this, and then once done, the files will be within your OBS files. Upon restarting OBS, your client will now include the integrated features. This will either manifest in the Tools tab, have its own tab (such is the case with StreamFX), or be available in the Filters options when you use the Filters menu on a source.
The instructions for macOS users and Linux users will work similarly to the .zip file method described above. Simply navigate to the OBS Studio directory when you installed it, and move the files into here to allow them to merge.
Related: The best plug-ins for OBS Studio


Published: Jan 24, 2021 07:22 pm