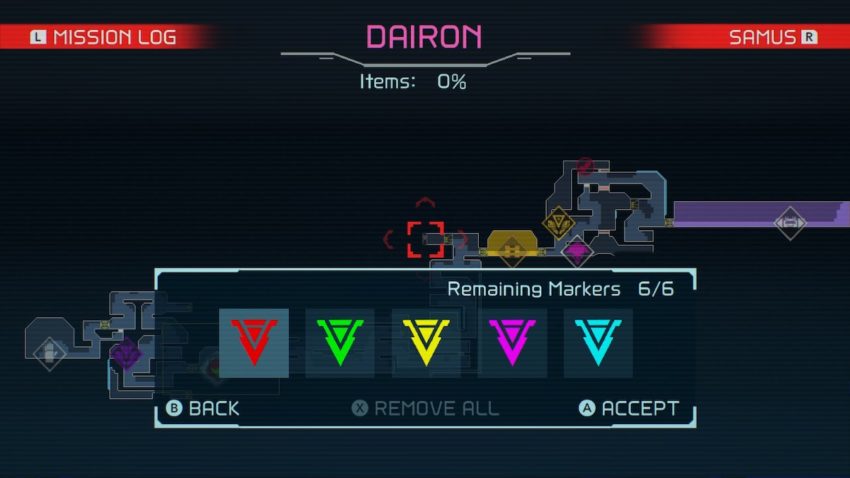
There’s a lot to explore in Metroid Dread’s numerous interconnected hallways. However, the more the game opens up, the easier it is to get lost. Thankfully, you can use map markers to maintain a better sense of your surroundings by adding waypoints to your next objective, the closest save point, or anything else on the map you deem necessary.
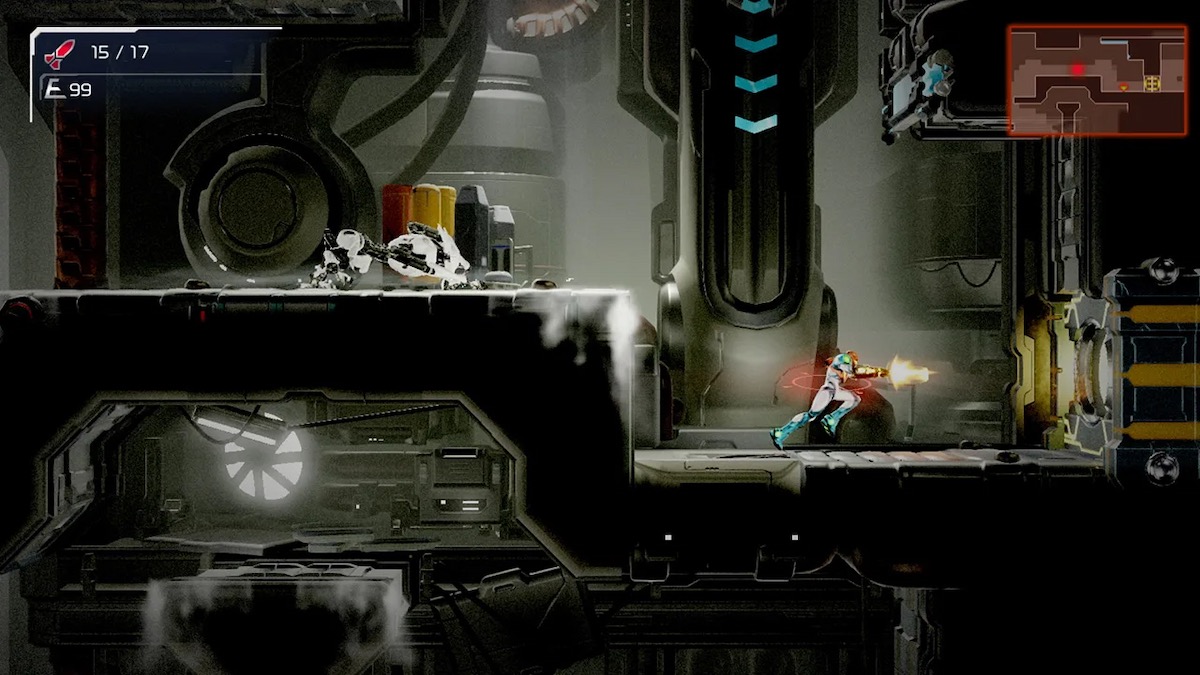
To place map markers, pause your game, then hover the map cursor over whichever part of the map you wish to head towards. It can be an unexplored area, a doorway, an interactive device; virtually anything can be marked in this game. Hit the “A” button on whatever it is you wish to mark, and you’ll be presented with different marker color options. Select any one of these, and you’ll see a marker pop up on top of your desired destination. You’ll also see the marker during gameplay on the mini-map.

Unlike many waypoint systems in video games, Metroid Dread’s markers won’t show you a path towards your marked destination. You’ll still have to figure that out for yourself. But they’re still quite helpful. If you place a marker somewhere above Samus, it serves as a constant reminder that you should be searching for ways to reach the top of the map.
Related: How to counter an E.M.M.I. in Metroid Dread
However, you are limited in how many markers you can use at once. Only six markers can be placed at a time, and they don’t automatically disappear upon reaching your objective. To avoid confusion, you should use only a couple — maybe three at the most — at one time, and always remember to delete them from your map once they’ve fulfilled their purpose.


Published: Oct 9, 2021 08:09 am