
In Mission 3: Scorned Walkthrough of Destiny 2 Forsaken you will ambush a Baron’s Hideout and retrieve Spider’s Cache. Later, in the end, Spider will give you valuable intel on all 8 Baron’s location.
After making Spider your friend in a way, in the previous chapter you will get a tip from him about the location of one of one of the escaped prisoners. This will trigger the next mission Scorned.
Scorned Walkthrough
The chapter is all about attacking Baron’s hideout and retrieving Baron’s cache so that he can give you locations of the 8 Barons of Uldren Sov who killed Cayde.
Transmat Spider’s Cache
Follow the marker as the mission begins and you Thieve’s Landing, you will have to first recover two Spider’s cache here. Just scan the area and you will get the first cache location behind a cabin with three antennas. Shoot down the enemies around and one by one recover two caches.
Assault the Barons’ Hideout
The next thing is to take down all the enemies in the hideout. As you reach the spot take down the Machinist first. Don’t rush into the spot you can easily kill him from distance. He is surrounded by smaller enemies if you ambush you will be attacked from all corners. So stay at a distance and shoot him. Follow the marker and you will reach an underground facility. Loto f enemies will spawn in your path.
Retreive Spider’s Cache
Further inside you will have to retrieve another cache. This place will be filled with multiple enemies, you will need to use your super ability here. After having the cache continue with the objective of assaulting and you will face one of the Eight Barons – The Rifleman. You have to extremely cautious here, stay in cover as much as possible to dodge the attacks. He will disappear after some time. You will have to retrieve a cache and then Transmat it.
Assault the Barons’ Hideout – Defeat Scorned Walker
You will reach another door with a huge Scorn Walker enemy. There is a grenade launcher on the right, take that and the cache will be on the left. You can easily take down the walker with this new strong weapon. The walker will have a huge health bar with a lot of different attack patterns. Like shooting fir bombs on you. It can also summon a shield around him, but you can jump into it and attack the exposed part which glows in orange. Look on the backside of the neck. The weapon will respawn on the same location, you can pick up and use it.
Assault the Barons’ Hideout
After killing the Walker progress further to go deeper into the hideout. Don’t jump into the yellow liquid you will lose health. Once again you will have to retrieve the Spider’s cache. You will reach a room with the cache and almost no enemies, it’s a trap, as you reach near you will see the blue orb. The fight begins after this, the lot of enemies will spawn in the area.
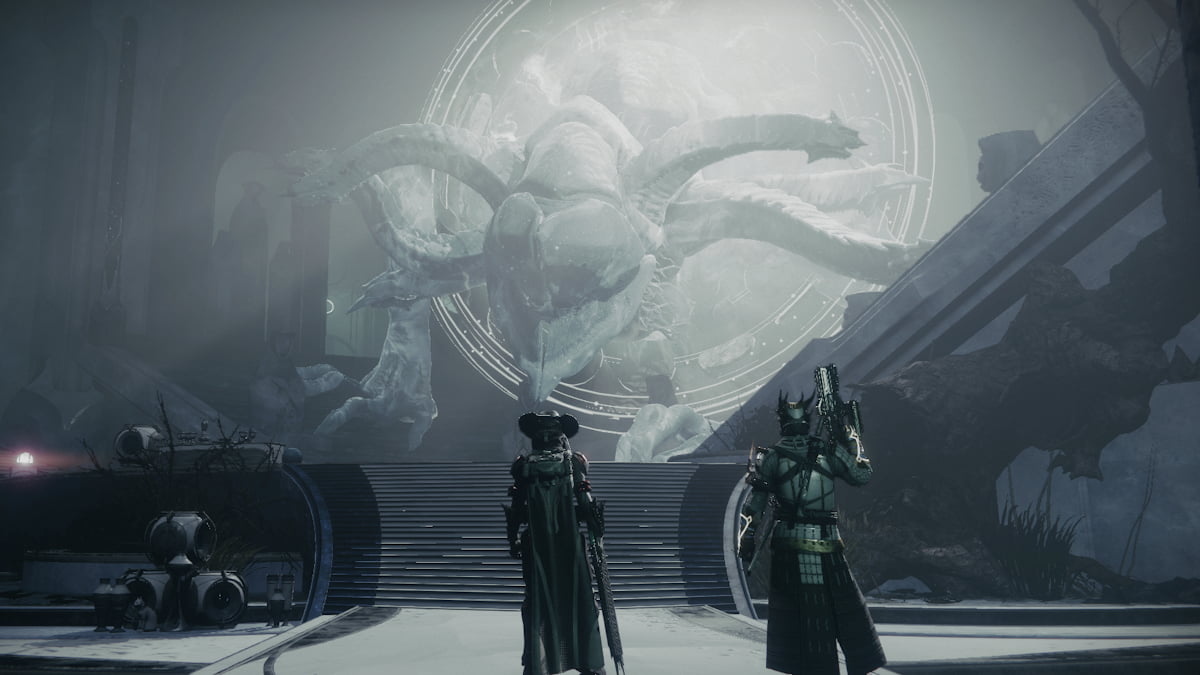
Enter The Scorn Hideout – Fight The Hangman
Follow the marker, cross the giant fans type structure. You will face The Hangman there. This is not a boss fight, you will be dealing with him for some time. He will block your path with fire, stay away from his range of attack. Once you spot him dodge left as he releases a fire attack with shockwave. He will disappear and then there will be some small enemy around. Kill them and go further, a few more enemies will be in your path. Cross the metal stairs and walk right. There is a path on the extreme right end, you will have to jump in between the moving fan type structure and destroy the fire drones. After crossing this part you will reach a room that has a shield over it. It is the Hollowed Lair. You will fac ea boss here.
Defeat the Scorn Of the Fanatic:
He is the leader of Barons, and he one of the 8 barons who killed Cayde. He is a pretty strong opponent, but there are certain things you can do to kill him fast. First thing stays at a distance where you can have a good cover, from his direct attack. he can just shoot multiple projectiles on you which can cause a high health damage. If you have something to hide you can dodge easily. You can stun him with a powerful attack, and throw some bombs on his. He can also summon firebombs and shield around him. You have to dodge the attacks.
After defeating him, you will see him standing behind a shield. Once he is gone the mission is over. There will be a cutscene, that will give you details about all the left Barons you will be facing ahead. Spider will give you details on all the 8 Barons and their strength. This where the mission ends. Talk to him and then Petra. A new Adventure is added that takes you on a journey to hunt down all the Barons one by one except the leader who will appear in the end. On the map you will see the Baron’s location, you can pick them randomly.
You can read our next walkthrough where we begin the Baron Hunt Quest. You can find tips on defeating three of them they are The Rider, The Hangman and The Mad Bomber. For more update and similar guide on the game also refer our Destiny 2 Wiki guide.


Published: Sep 6, 2018 10:07 am