The Divinity exotic weapon is one of the most potent weapons in Destiny 2. It’s a Raid weapon, and it can be earned from an exotic quest that requires you to complete a Raid with a whole fire team of six players. It also benefits from Arc 3.0 because it’s an Exotic Arc Trace rifle. This guide will explain how to get the Divinity Exotic weapon in Destiny 2.
Related: All Arc 3.0 Aspects and Fragments in Destiny 2 and how to get them
How to start and complete the Divinity Exotic Quest in Destiny 2
The Divinity is an Exotic Arc Trace rifle with one of the game’s best perks. Judgment is a trait that allows the weapon to envelop a target in a massive bubble and stuns them. Any other player can get guaranteed critical hits by shooting the bubble. This weapon is considered a required meta weapon for Raids and Dungeons by the Destiny 2 community, and the quest to earn it is the longest in the game.
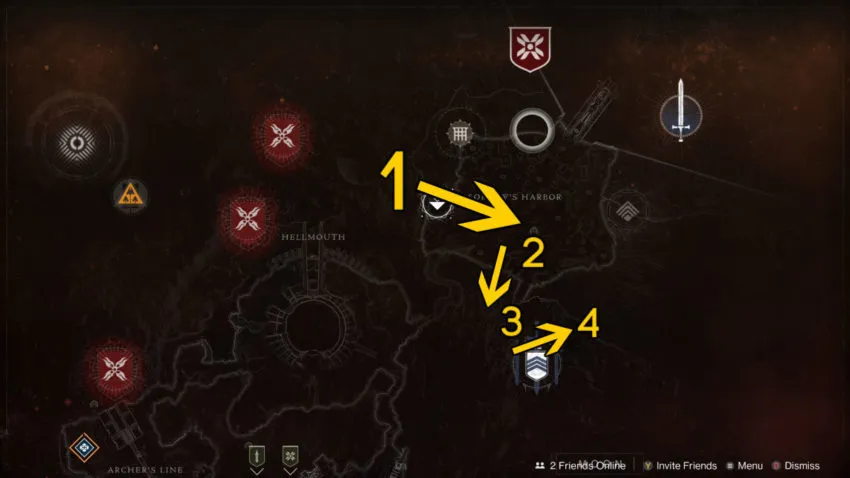
- To start the quest, you must find the Raid entrance while patrolling the Moon. To do this, you must begin with the Sorrow’s Harbor landing zone on the Moon.
- Travel along the cliff wall when you teleport in, until you reach a red bridge at marker number two on the map above.
- Travel across the bridge until you reach a group of enemies and a clearing. At this point, you will vanish from the in-game map.
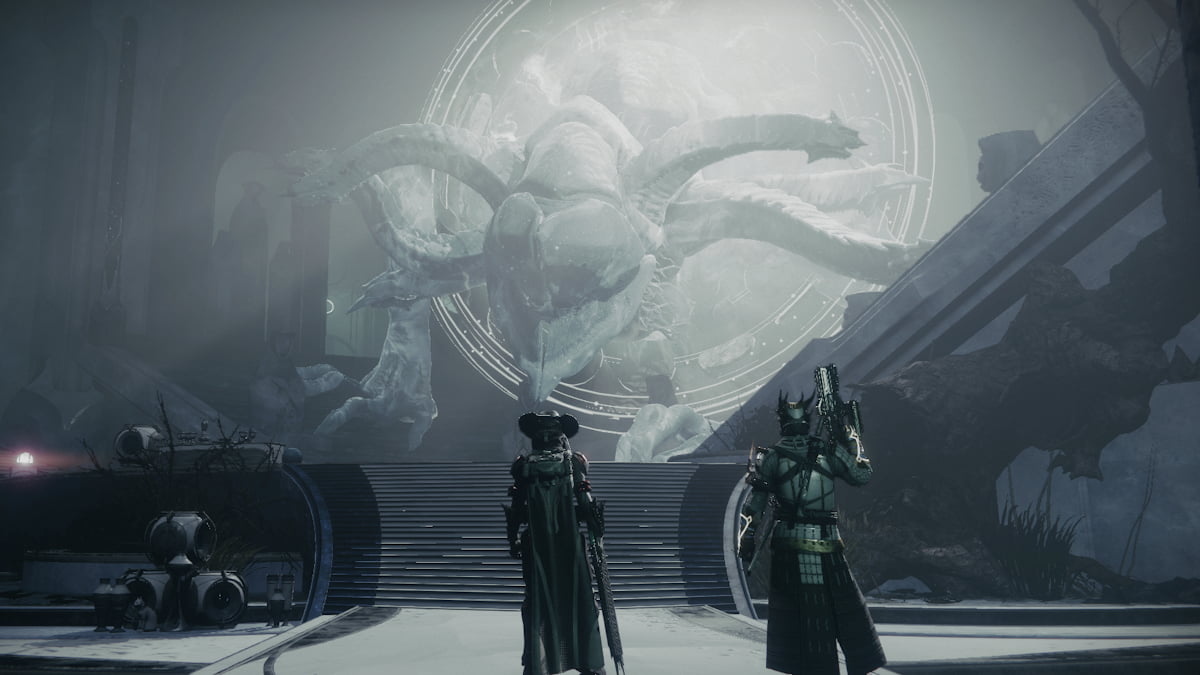
- Take a left after the bridge and travel into a large cave. You will reach the giant Vex Gate from the start of the Raid. You will need to wipe out three waves of enemies that come through, then take out the boss who also shows up. After you defeat all the enemies and the boss, an exotic engram will drop and grant you the exotic quest called “What’s This… What’s This?” This will kick off the next part of the quest in earnest, and you will have multiple steps to complete in Nessus to proceed.
The Nessus Lost Sectors
Step 1: The Orrery Lost Sector
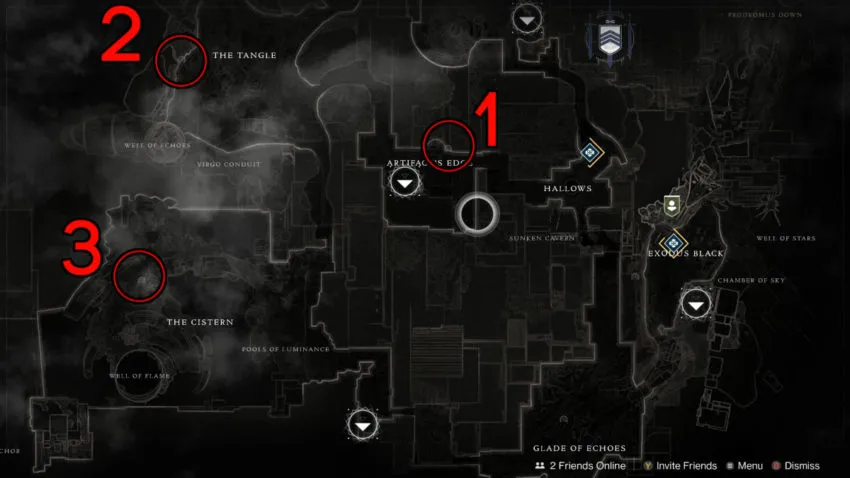
Head to Nessus and travel to Artifact’s Edge. Drop down into the Orrery Lost sector pictured above. Inside this Lost Sector, proceed inside and defeat all Vex enemies standing in your way. Getting rid of them makes finding the hidden alcove easier, as they won’t be pelting you with shots as you’re exploring.
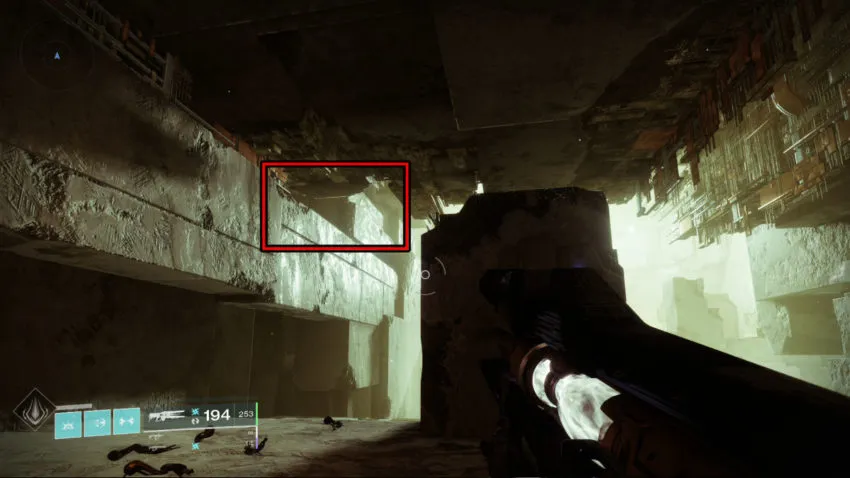
While facing the end of the tunnel where the boss spawns, look to the upper left area above the raised ledge. There is a recess you can jump into. Inside this recess is a hallway that will lead you to a Vex Core you can analyze. Scan it, then proceed to the next step. Use the image above as a reference to this location.
Step 2 – Ancient’s Haunt Lost Sector
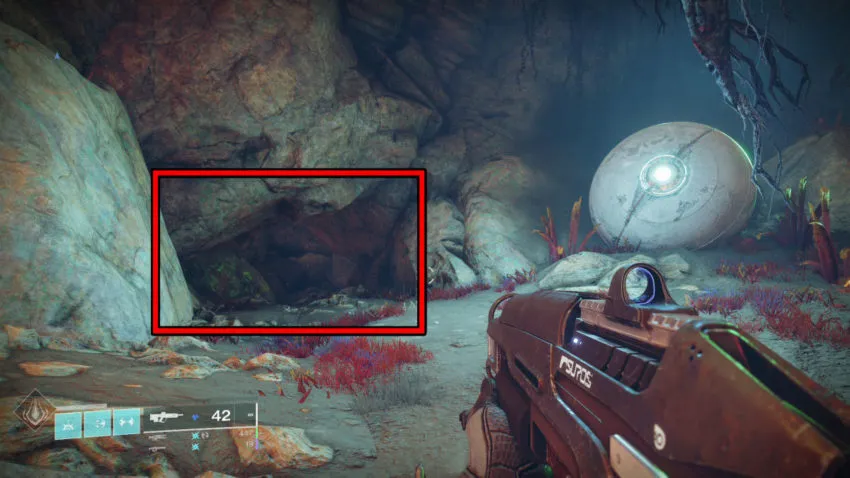
Head for Ancients Haunt in the Tangle. After you meet Pakrion, the Wanted escapee, you will see a small cave on the left. Head inside the cave and analyze the following Vex Core.
After scanning the Vex Core, proceed south of the Tangle and to the Conflux Lost Sector.
Step 3 – The Conflux Lost Sector
When you get into the Lost Sector, clear the Cabal across the gap you’re standing on. After you take them out, look up and to the right. You will be able to small a small, recessed room. Look at the image below as a reference.
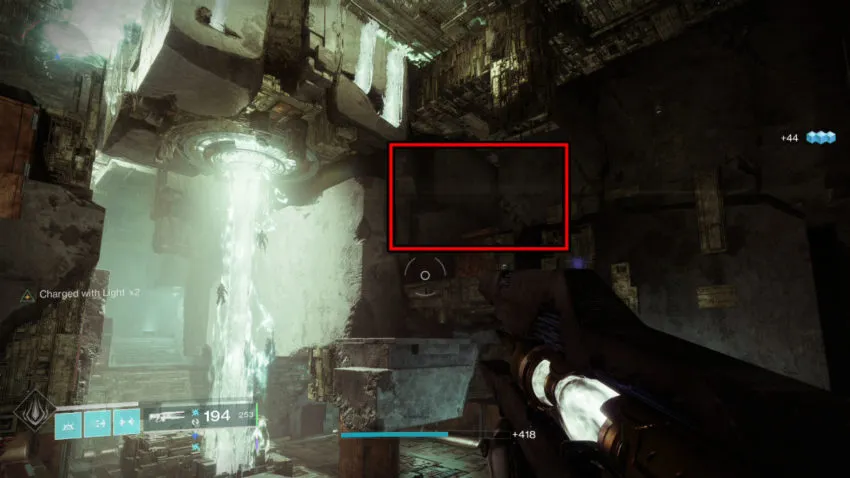
Jump up to it, and you will find the final Vex Core. Activate it, then fight the wave of Vex that spawn in. After analyzing it, you’re done with Nessus and must venture back to the Moon.
Step 4 – Sol Divisive Parts
You will need to earn 120 Sol Divisive Parts for the next step. Each Vex you defeat on the Moon will give you one of these fragments. Head to the Moon, and head to where you began this quest. The massive Vex portal from the first step of this guide is the best place to farm Vex. Destroy every Vex, then fast travel to Sorrow’s Harbor and repeat the trip, and this step should be complete.
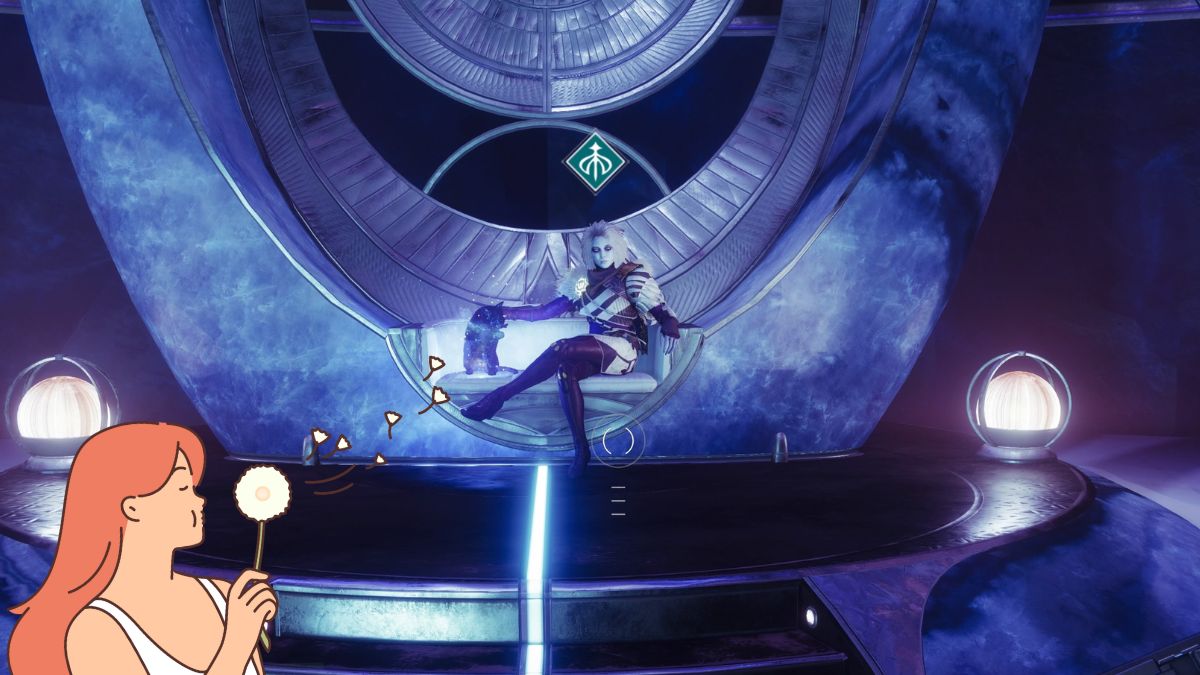
Step 5 – Visit Eris Morn on the Moon
You must purchase the Empowered Core from the Lectern of Enchantment for 30 Phantasmal Fragments. If you need Phantasmal Essence, you can farm the Nightmares during the Altar of Sorrow public event to quickly earn the necessary materials.
After completing all these steps, you will have one monumental task placed in front of you. You must gather a team of five like-minded players and find and complete the secret puzzles in the Garden of Salvation raid.
The Garden of Salvation Raid Puzzle solution
To attempt the Garden of Salvation, you must purchase the Shadowkeep expansion. Once you own Shadowkeep and have assembled a team of six players, you can begin the Garden of Salvation Raid. This Raid is located on the Moon section of the Destination tab. You and your team will have to complete seven different tether puzzles to complete this quest.
Each puzzle requires all six players to form a chain that a tether can link. One player will activate a node, and the node will attach a tether to the closest player. The tether will attempt to connect to each consecutive player. If all six players position themselves, the node will complete, and that puzzle will be solved. You have as long as you need to complete these puzzles, don’t feel the need to rush. You must complete all seven puzzles and finish the Raid in a single sitting for the completion to count.
Garden of Salvation Raid Puzzle #1 solution
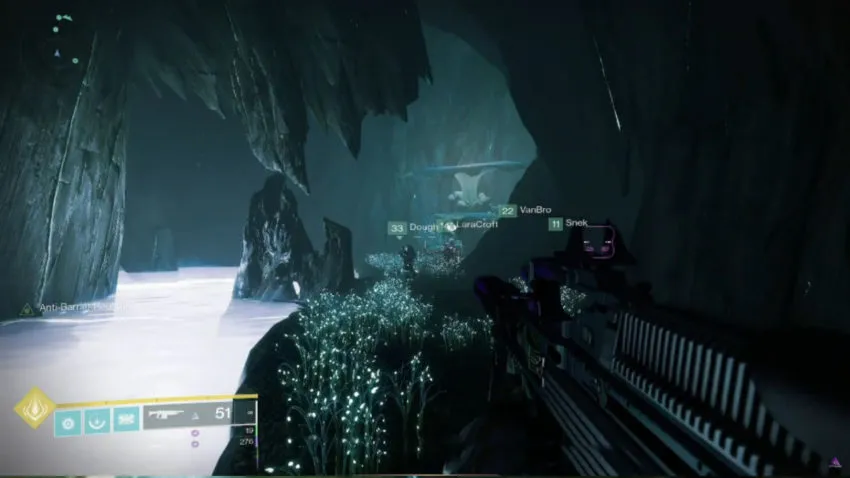
The first puzzle is directly behind your team once the Raid begins. Jump off the cliff behind you and enter a cave below. Each puzzle requires all six players to form a chain that a tether can link. One player will activate a node, and the node will attach a tether to the closest player.

Situate each team member so the tether is climbing out of the cave, and this puzzle will be completed.
Garden of Salvation Raid Puzzle #2 solution
After completing the first encounter, turn back after obtaining the chest with the very cliff edge on your right side. Run back until you find a pink tree. Crouch and fall down the hole near the tree to find the second node and tether puzzle.
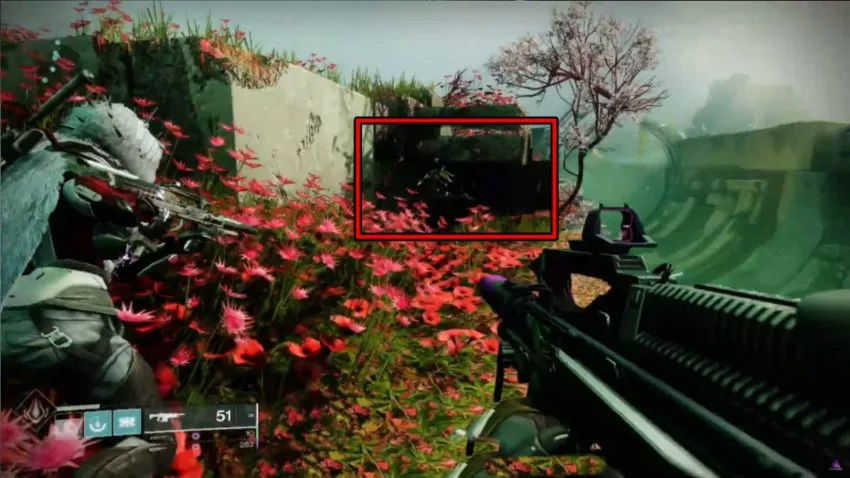
Create a chain with your team and connect the node to the other end to complete this step.
Garden of Salvation Raid Puzzle #3 solution
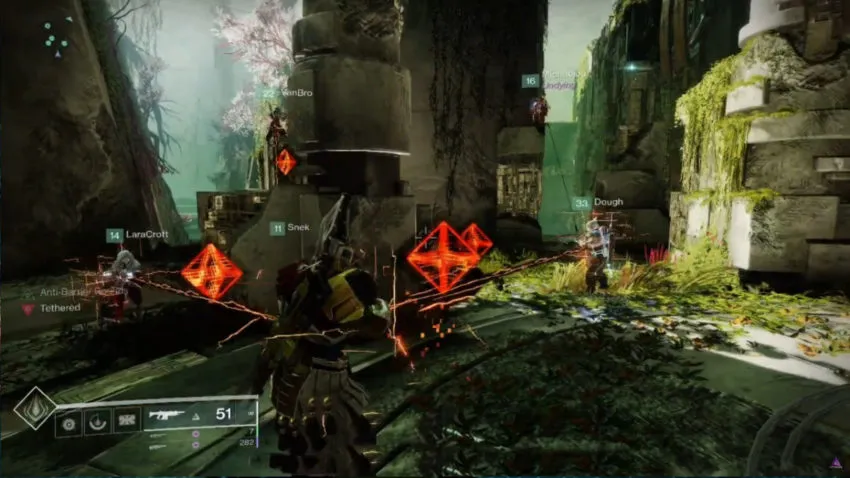
On your way to the second encounter, climb up through the massive cavern forest until you reach the area with multiple Lily pads. Travel up to an area containing six floating diamonds. Activate the node near the tree and position all six players, so the chain runs through all six diamonds.
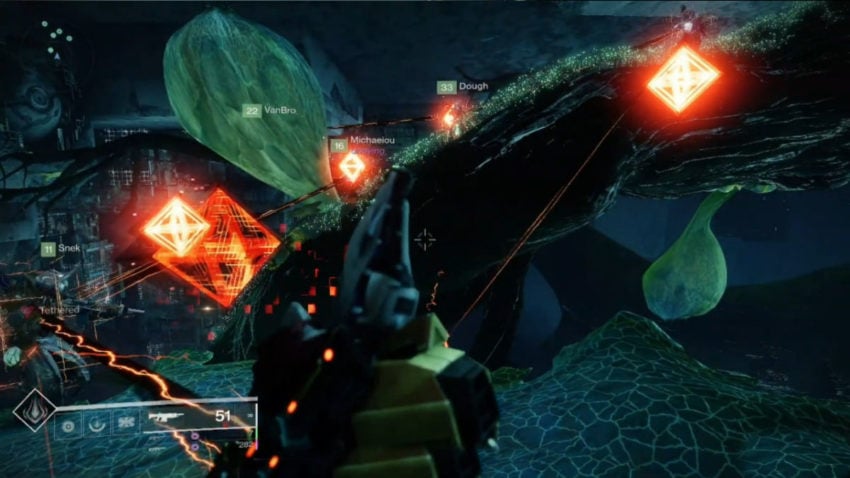
After all six diamonds are activated, they will vanish and complete this step.
Garden of Salvation Raid Puzzle #4 solution
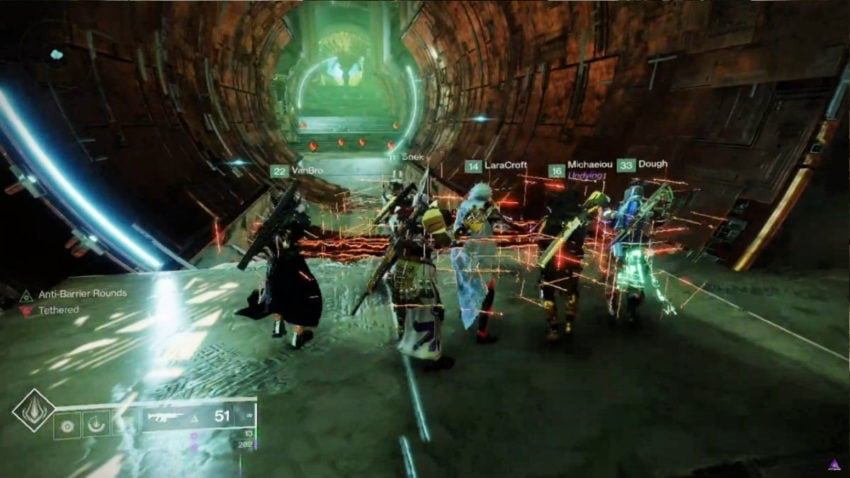
The fourth puzzle can begin once you’ve completed this Raid’s third and fourth encounters. After you grab the chest from the fourth encounter, the puzzle node will be situated above the ledge in the main chamber. Activate it and align your team through six diamonds as you did in the forest puzzle.
After this puzzle is complete, you will remain in this area to complete the next puzzle.
Garden of Salvation Raid Puzzle #5 solution
To begin the fifth puzzle, you will start the tether from the same node as the last tether. When the whole team is tethered, you must travel to the left hallway and enter the entrance. Vex will begin arriving in waves to take you out.
Deal with them and jump across the chasm as a group to complete the chain link to finish this step.
Garden of Salvation Raid Puzzle #6 solution
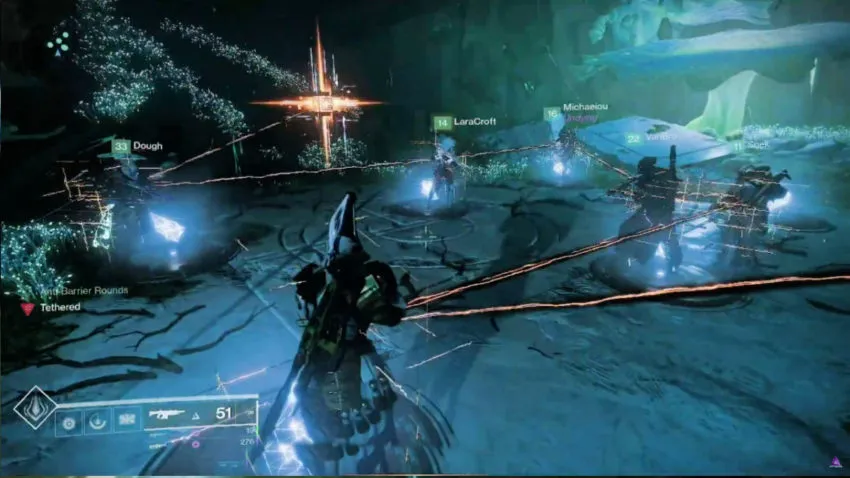
The sixth puzzle can be found after completing the platforming sequence involving the massive windmill. It will take you to a large clearing with waterfalls nearby. Between the waterfalls is a cave entrance with a node and six diamonds on the floor. Ignore these diamonds for now.
Activate the tether, then link all players following the Vex river to the other end.
Garden of Salvation Raid Puzzle #7 solution
After completing the previous puzzle, return to the room with the six diamonds on the floor. You will need to track which player is tethered and number them one through six. Players one through six have to step on these diamonds in the order they received the tether.
Activate the tether, then link all players together through the diamonds in multiple configurations. Once this step is complete, you have completed all seven puzzles necessary for the Divinity exotic quest.
After completing all seven puzzles, you must complete the Raid itself. If everything is done correctly, a second chest will appear on the statue’s right side. Walk up and open this chest to procure your shiny Divinity Exotic Trace Rifle. This is one of the best weapons in Destiny 2, and it goes great paired alongside Arc 3.0 builds.


Published: Sep 26, 2022 09:02 pm