
The fifth chapter is the longest and most difficult in Trek to Yomi by this point in your playthrough. It introduces additional enemy types through its various spirits, along with the first real puzzles. This might make it more difficult to keep track of collectibles, but we have you covered.
Our guide below details all eight Artifacts in Trek to Yomi’s fifth chapter.
All Trek to Yomi chapter 5 Artifact locations

The first artifact, the Great Thunder, is impossible to miss. It’s lying on the ground to your left along the critical path mere moments after the chapter begins.
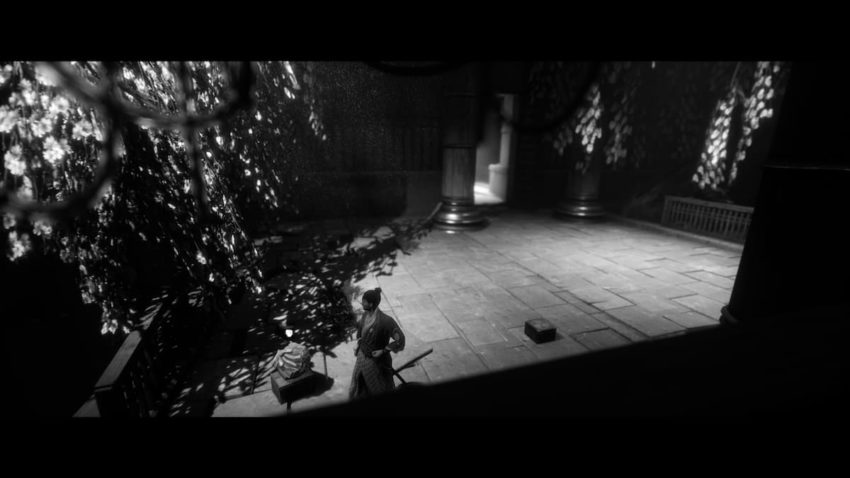
A dialogue sequence will introduce your first spirit enemy. After defeating it, move on to the next room. Instead of continuing to your right, turn left. The Cleaving Thunder is sitting on top of a box near the bottom left corner of the screen by some flowers. The box across from it holds ammo for your ozutsu.
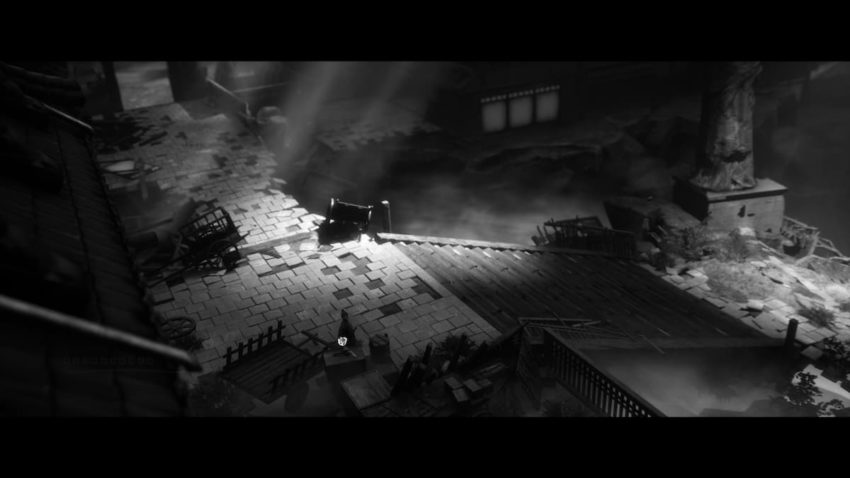
After completing the second puzzle that involves aligning symbols, you’ll have to fight a wave of enemies, which includes one wraith. Once the enemies are slain, climb up the ledge along your right side, enabling the next screen transition. The Earth Thunder is on this screen right by the cart at the height of the steps you must descend in order to progress.

Along the critical path, you’ll wind up fighting a wave of enemies in a room adorned with tons of lanterns and a single statue in the background with candles. Further along the path, after the enemies have been wiped, you’ll take notice of a door to the north that leads into a room with floor tiles that materialize as you walk over a deep pit. The walls on either end of the door feature what appears to be a painting of some sort of tree or plant life. Ignore the door and continue heading right, where you’ll find a sole vase on display. The Black Thunder is resting at the foot of the vase.
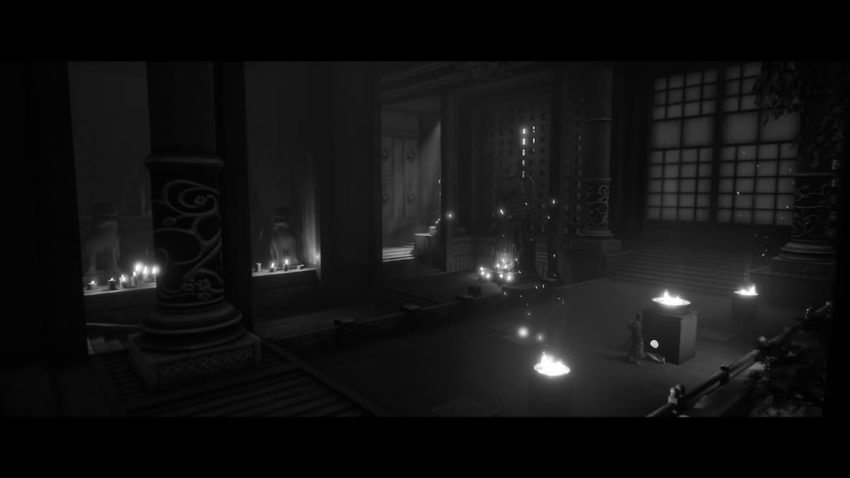
After grabbing the last Artifact, head back through the door you ignored earlier. Along the critical path, you’ll come across a spacious room filled with several statues, candles, and a shrine. The first flight of steps past the shrine houses one such statue overlooking the entrance. Once in front of this statue, move toward the direction of the player camera. These stairs lead to a platform with three braziers. The Couchant Thunder is on the floor resting against the middle brazier.
After the Sadatame boss fight, the following room features double doors that are half-opened. Just before the double doors, there’s a shrine off to the left partially hidden by a large pillar. Head into this space, which will lead to a new screen. From here, you can pick up the Roaring Thunder across from the shrine.
After completing the boat puzzle, you’ll walk up a few sets of stairs and be greeted by another puzzle that involves aligning symbols along a wheel. After matching the symbols, step onto the plate at the end of the existing path. Tiling now fills up the previously empty space. Now, move back to the spot where you interacted with the puzzle you had just completed.
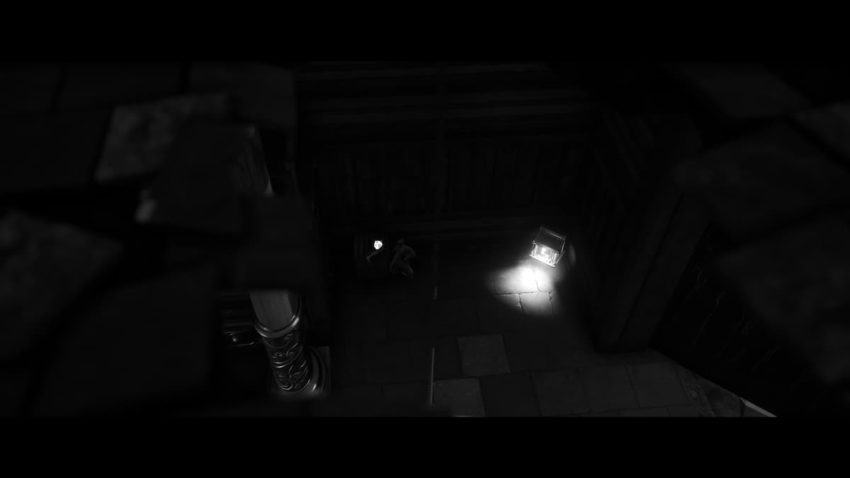
Notice the hovering dot along the right side of the screen past the obstacle that separates the Artifact from the critical path up the steps. You should have enough time to grab the Young Thunder from the ground before dying as long as you’re at the screen’s starting position. One of the symbols in the environment lights up, draining to indicate how much time you have before the floor collapses again. There is another floor switch nearby the Artifact, letting you return with ease after it’s been picked up.
This final Artifact is very difficult to miss. Along the critical path past the previous Artifact, you’ll fight a few enemies, including a wraith. Just past this encounter, you must walk up three large flights of stairs. The Fire Thunder is on the ground to the left at the foot of the third set of stairs.


Published: May 6, 2022 09:35 am