Floor 12 of the Spiral Abyss has reset for version 2.7, making it the most challenging series of fights in Genshin Impact to date. Even players with strong teams will struggle to clear the Spiral Abyss in one shot. If you aim to get all nine stars on this floor, you will likely have to run through Floor 12 more than once.
Each Spiral Abyss update grants a unique buff to help you out in your battles. This update is the Blessing of the Abyssal Moon: Closing Moon. This buff has the following effect:
“After the active character uses an Elemental Skill, Normal Attack DMG is increased by 16% for 8s. Max 3 stacks. Stacks are counted independently.”
Related: Genshin Impact Version 2.7: How to clear Floor 11 of the Spiral Abyss – tips and tricks

Characters to consider
Floor 12 of Version 2.7 is somewhat easier than previous Floor 12’s we’ve seen. This floor consists of a ton of bosses, so much of the challenge will be based on whether or not you can deal enough damage to begin with. That being said, there are characters that may be better than others for this floor.
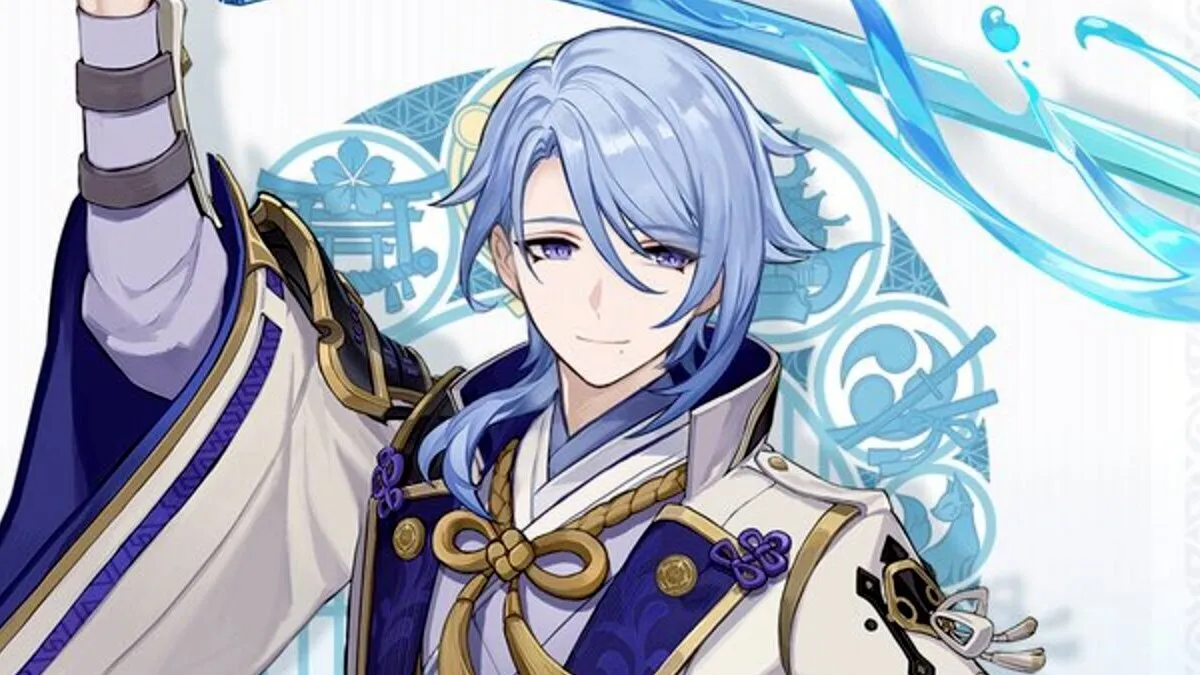
- Yoimiya: Single-target damage is highly valuable this floor, and the Blessing of the Abyssal Moon buff is almost tailor-made for her. Yoimiya’s main damage source is through her Normal Attacks, so she’s a perfect addition to your team. A free-to-play friendly alternative is Yanfei.
- Yunjin: Buff your Normal Attack DMG further with Yunjin. Yunjin is a 4-star DMG who buffs the strength of your Normal Attacks, which allows you to better take advantage of the Blessing of the Abyssal Moon.
- Xingqiu / Yelan: These two characters pair up with Yoimiya nicely, applying Hydro to increase the damage of Yoimiya’s Normal Attacks. You can also pair these two up with any Pyro DPS who will wipe the floor on the first half.
Floor 12: Chamber One – First Half

The first half of Chamber One on Floor 12 is a simple battle. You’ll fight this floor in three waves: two sets of Whopperflowers, and then two Geovishaps. The enemies are grouped up nicely with each other by default, and the main challenge to this floor is whether or not your characters can deal enough damage.
This floor might take some time due to a large number of enemies, but this floor is designed to let you take your time a bit. Don’t be worried if you take 90 seconds or longer to beat this floor.
Floor 12: Chamber One – Second Half
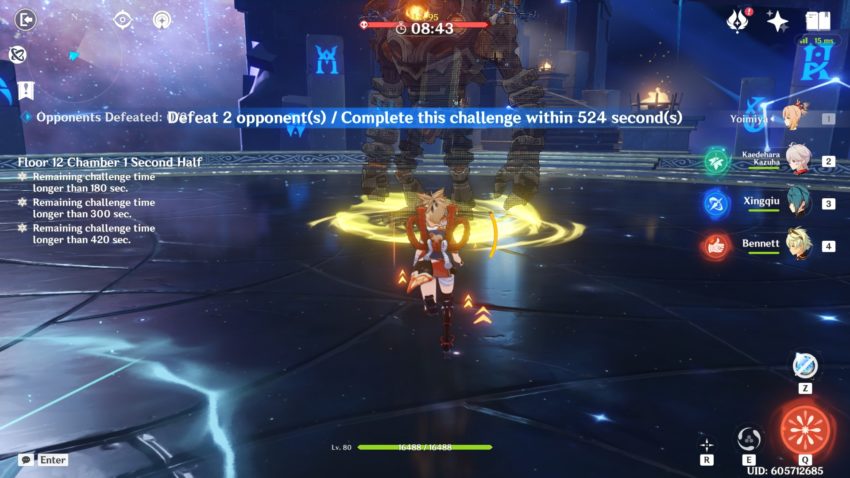
A very simple floor. You will first fight a Ruin Guard, and then a Ruin Grader. You fight them one at a time, so single-target damage is extremely strong here. Yoimiya thrives against environments like this, so try bringing her if you have one.
Floor 12: Chamber Two – First Half

This floor is very similar to Floor 11: Chamber Two — First Half. In this challenge, you will have to fight three Icewall Mitchaurls and two Cryo Slimes in the first wave. It’s pretty much the same Floor 11: Chamber Two, but with two Cryo Slimes added in.
After that, you will fight a Frostarm Lawachurl and Cryo Slime. Again, head to the Cryo Slime and let the Lawachurl naturally charge at you.
Floor 12: Chamber Two – Second Half
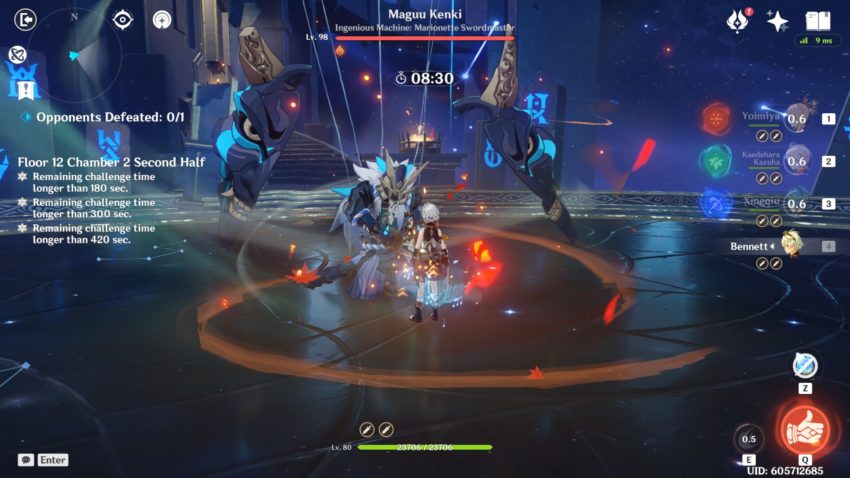
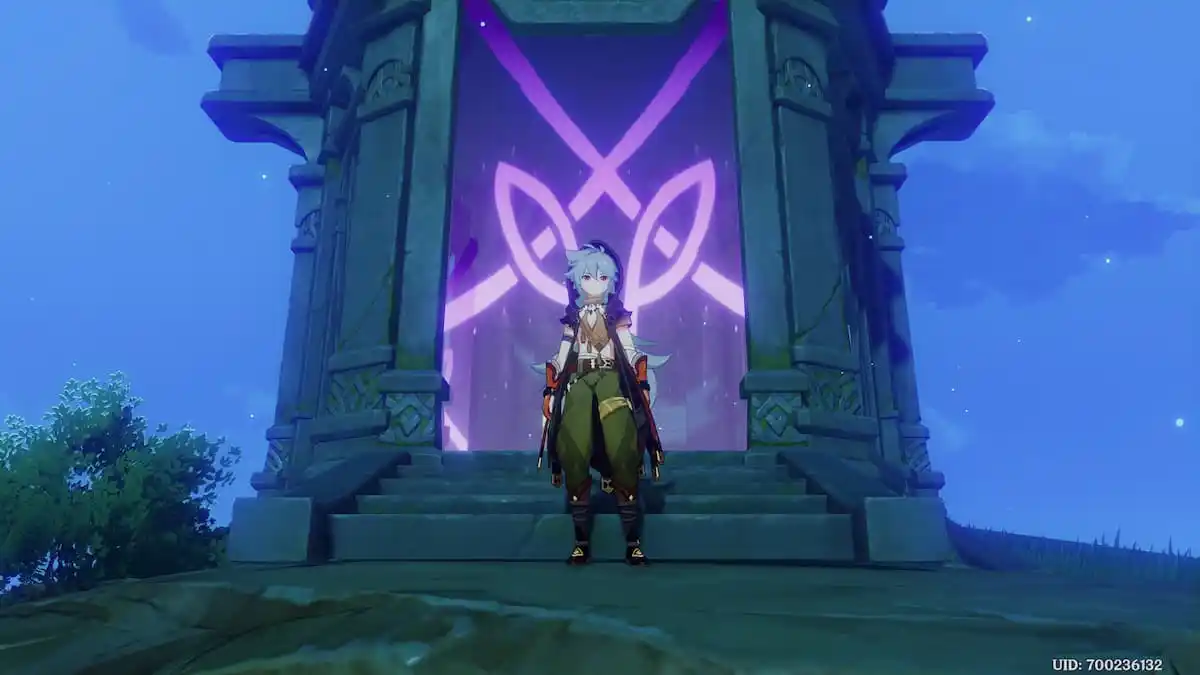
This chamber sees the return of the infamous Maguu Kenki. Like the other times the Maguu Kenki was featured, for the first ten seconds of the battle, while the boss charges up, he’s completely invulnerable.
You can use this phase to your advantage. You can see in the image above all my Elemental Bursts are down. But, by striking the boss in his invulnerable phase, you can generate energy particles to charge up your Elemental Bursts. This makes it so you can be a little less mindful of what Elemental Bursts you use in the previous chamber.
Follow this guide to learn the Maguu Kenki’s attack patterns.
Floor 12: Chamber Three – First Half

This is a very easy floor. The only enemies you’ll fight here are two Vishap Hatchlings. While this floor is very easy, you’ll have to defeat these enemies quickly if you want to beat the Primordial Mechanical Abyss.
Floor 12: Chamber Three – Second Half
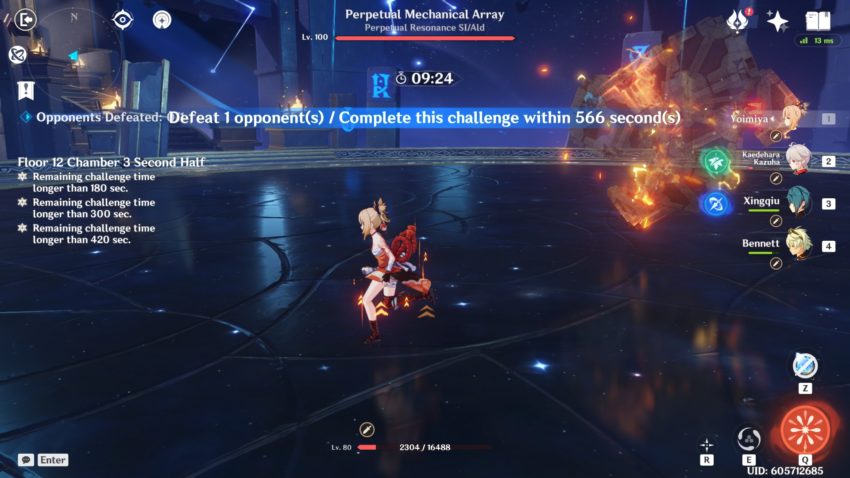
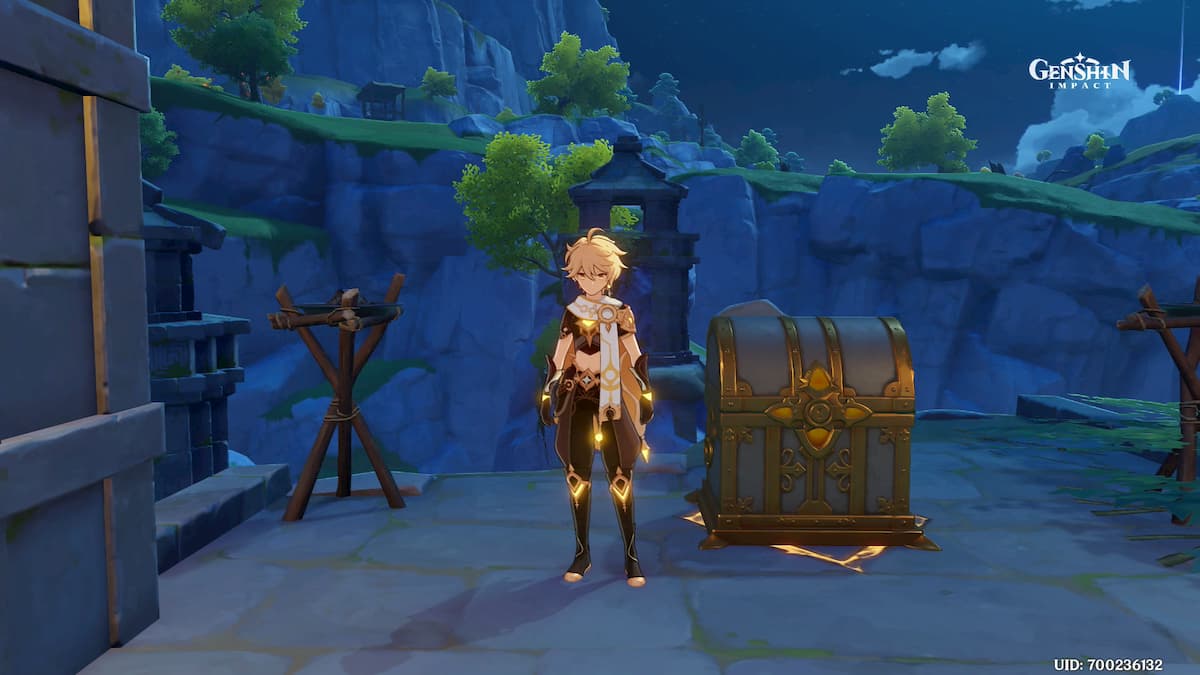
The Perpetual Mechanical Array has several phases. During the first phase, dodge its attacks and deal as much damage as possible. Once a certain amount of time passes or you deal a certain amount of damage, it will go into its second phase. Here, the actual enemy becomes invulnerable, and it spawns a number of minions. However, only one of these minions will take any damage. Look for the minion with a golden ring around it. Once you defeat that minion, the main boss will no longer be invulnerable.
Right after defeating the minion, the main boss will not move and take increased damage. This is when you need to dish out as much damage as possible. After a certain amount of time, the boss will re-enter its first phase for a while before he will repeat his second phase.
If you cleared this floor, congrats! You have finished the Spiral Abyss. You have plenty of time now to build up your characters for the next cycle, which is looking rather challenging to deal with.

Published: Jun 4, 2022 05:16 pm