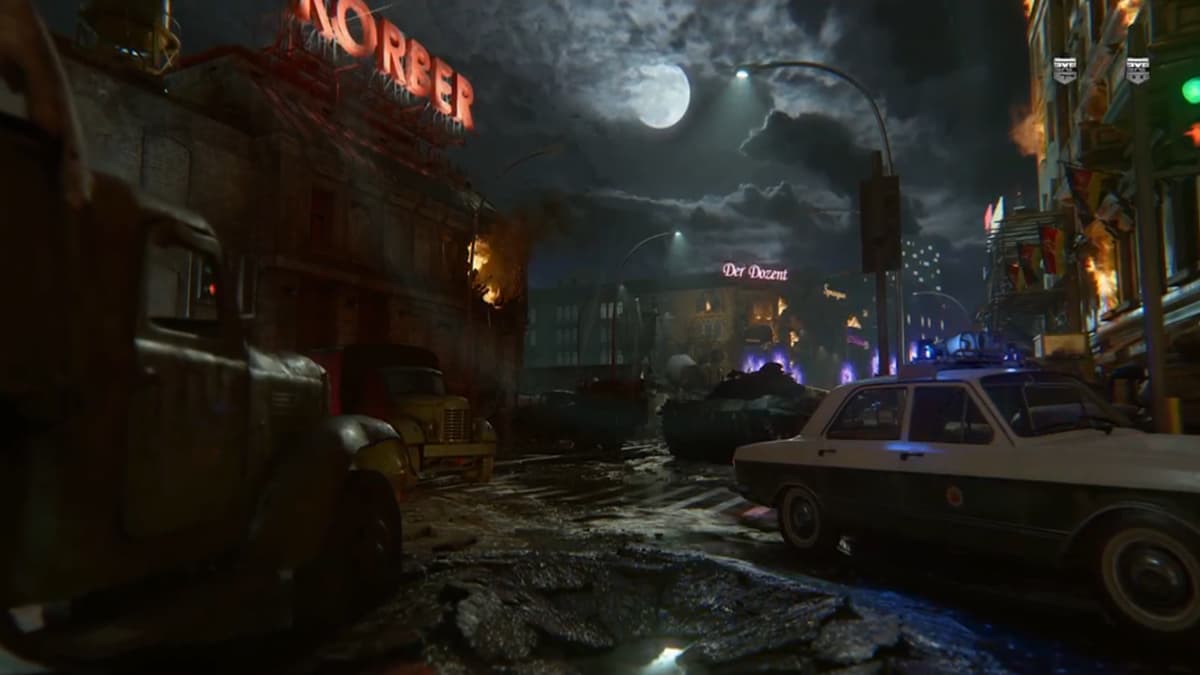
Mauer Der Toten sees Requiem agents forced into working with Omega to take down an Omega betrayer named Valentina. It turns out that she had family connections to the Nazi group at Endstation who started the outbreak of zombies, and she is looking to amass a massive undead army. Now that we know what is going on from a story standpoint, let’s get into how to complete the main Easter egg quest for Mauer Der Toten in Call of Duty: Black Ops Cold War.
How to complete the Mauer Der Toten Easter egg main quest
Before you begin
Use whatever class you are most comfortable with. There is not really much that you absolutely need to have for this main quest outside of the wonder weapon. We prefer the Gallo and Hauer shotguns, but if you prefer LMGs or assault rifles, they can get the job done too. As for Field Upgrades, we heavily recommend Ring of Fire for the boss fight, but it is not a necessity.
Turn on the power, Pack-a-Punch, and Klaus

Turning on the power, the Pack-a-Punch machine, and activating Klaus are the first things you absolutely have to do to start the main quest. The earliest you can get Klaus up and going is round ten after you kill a Panzer Soldat for the battery it is holding.
After Klaus is active, you can also start working on upgrading him. You only need to upgrade him once, so don’t worry about the floppy disk upgrades to make him even stronger unless you want to do it.
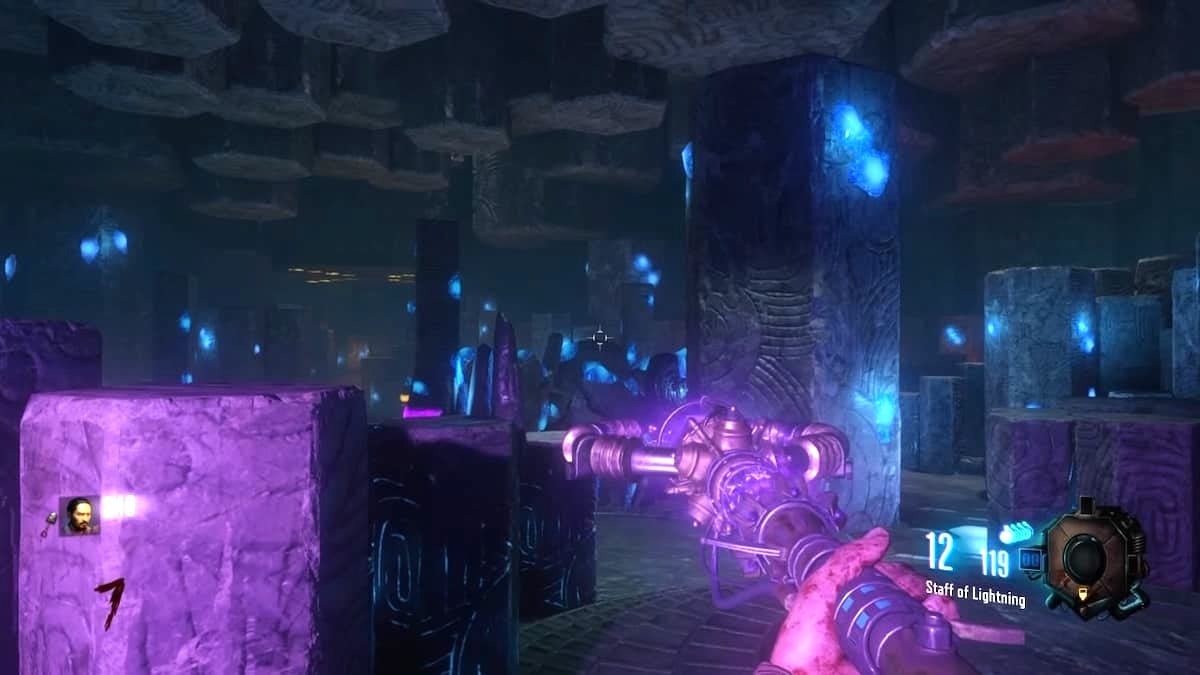
Get the CRBR-S
The CRBR-S is the wonder weapon for Mauer Der Toten, and there are a few different ways to get it. You could always get lucky and get it out of either the Mystery Box or as a legendary reward tier from the Trials Machine, but the only guaranteed way to get one is to use Klaus to get a blacklight and find safe codes for Hotel Room 305.
Build the Hacking Helm
This step can be done later, but it is easier to just have it over with as soon as you get the wonder weapon. When you have the CRBR-S, there are three things you need to shoot with it to get some items.
Go to the beginning spawn area in Apartment Rooftop. Shoot the radio tower with the wonder weapon to make it drop an Antenna for you to pick up.

Now go to Ghost Station. There is a metal box sitting above the ticket station. Shoot it with the CRBR-S to get Electronic Boards.

Finally, go to Electronics Store. There are three radios scattered around the area that you need to shoot with the CRBR-S. Eventually, one of them will drop the Transistor.

Now that you have all three parts, go to Klaus while he is sitting in his chair recharging. Interact with his head, and you will give him the Hacking Helm.

Breakthrough the wall into Valentina’s lab
Take Klaus to Sewer Access. Using his remote, tell Klaus to stand in front of the wall in the screenshot below. He will punch it down, revealing another wall behind it he cannot damage.

To get through this wall, you need to pick up the Blazer Mod Kit for the CRBR-S. It randomly drops from enemies you kill with the CRBR-S and completely changes your gun to have a different firing pattern and effect. Shoot into the wall to melt it away.
Fill the canisters
When you are in Valentina’s lab, you will notice some fiery domes. Advance a round, and they will go away and allow you to pick up three canisters. Before you leave the lab, have someone with a CRBR-S shoot the nearby machine to dispense an Essence Lure. You need to deliver those canisters to three Essence Harvesters around the map. There are quite a few different spawns for these, so be sure to do some exploring to find your three locations.


Place a canister inside the harvester and then throw an Essence Lure near the harvester as well. This will cause three Tempests to spawn that you need to kill near the harvesters. If you are playing solo, only one round of doing this per harvester is necessary. In cooperative, you need to do this multiple times at each harvester, and every person can only grab one Essence Trap per round. You will know when you are done when the canister turns purple, and then you can pick it up.

When you pick up each filled canister, you will be slowed and have a new special ability that puts out a shockwave to knock nearby zombies down like in Outbreak. You need to deliver all three canisters back to the machine you originally got them from in Valentina’s lab with zombies endlessly spawning on you. Take your time and prioritize staying alive. The only true area of concern should be the entrance to the lab where Manglers tend to spawn and can trap you in a corner if you are not careful.

Have Klaus stop the train
If you have not yet upgraded Klaus at least one time, you need to do so now.
When you have him upgraded, bring him to Ghost Station and tell him to stand on the tracks farther away from the Mule Kick machine. When he says something sarcastic about stopping a train, go into the Switch Control Room and flip the Railway Switch. Soon a fiery train will race up and Klaus will stop it.

Quickly go into the train. There are two items you need to grab: a Bomb and Rico’s Keycard. Both are near the middle of the first cart. Make sure you grab the keycard and not just an intel item that is close to it.

Playing with Uranium
If you have not yet given Klaus the Hacking Helm, do so now.
Go to Safe House or the green tent at West Berlin Street, and you will find a computer that you can put your new keycard into. There will be a few screens you can look through, but watch out for when you call in the satellite. When you press that, an HVT Megaton and a bunch of other enemies will spawn in front of the Pack-a-Punch machine. Focus on the smaller enemies first, then take out the Megaton and its two halves.


Each half of the Megaton will drop a Uranium Rock and a five-minute timer will start until the Uranium explodes and ends your game. Don’t worry too much; you have plenty of time, so don’t do something that will get you or your teammates killed.

Take that Uranium to the nearby Crafting Table on West Berlin Street under the green tent. There is also another table you can do this at in East Berlin Street behind the stairs to the subway. While you carry it, you will slowly lose health, so avoid zombies. Crafting the Uranium at the tables will change it into a Uranium Device. If you are playing in cooperative mode, a teammate can grab the other piece and do the same thing as you, but solo players need to return for the other Uranium piece.

You need to deliver both Uranium Devices to the zipline running between Destroyed Penthouse and the Korber Rooftop. Put one piece on both sides, and they will zip towards each other, colliding in the middle, and drop a Cleansed Rock on East Berlin Street to pick up.

Grab the new rock and put it in the device in the lab with the other items.
Get another Cleansed Rock
The next step is to do the previous step above again, but on the next round. The only difference will be that the HVT will spawn on one of the rooftops. When you call it in, just go outside and look for the energy flowing in the air to find where to go. Everything else is exactly the same.

Before you place the second Cleansed Rock in the device, though, be ready for a fight. This is the point of no return from the boss fight. Get all your weapons upgraded, your perks, and any equipment you want. If you need time, you can set the Cleansed Rock on the ground near the device. Just be sure not to put it on the device. When it is placed, all teammates will be teleported to the lab.
Boss fight against Valentina
The most powerful weapons against Valentina are the CRBR-S, LMGs, assault rifles, and the Machine Gun support streak. She will have a shield that you need to continuously fire into to break to get at her base health, and honestly, not a ton of zombies spawn at any time. Just take them out when they get close; otherwise, focus on Valentina.
She has three main moves to look out for. The first is a bunch of fire needles she shoots at you that will quickly destroy any armor you have. When she does this, place the Ring of Fire if you have that as your Field Upgrade, and it is upgraded. The needles will be destroyed as they hit the ring, do no damage to you, and give you a wide-open opportunity to attack her more.

The second attack will put ripples across your screen. Quickly get behind cover when you see this, or she will take you down in one hit. Ensure there is no way she can see you when it goes off, or you will need to be picked up.

Finally, she also will call in zombies that will float near her and give her more health if they are not killed fast enough. Shoot the zombies to stop this.

You will be bouncing between areas in the map for this fight, so as you travel between locations, be sure to grab any resources you need along the way, like armor from Armories or Pack-a-Punching weapons. If a teammate steps into the arena with Valentina, everyone will be teleported to the place. If you are ever running low on ammo, just grab some from the ammo boxes nearby in each location. The important thing is to remember always to make sure you stay up. Prioritize surviving. When she travels back to the lab, you are in the final stage of the fight. When she falls to the ground, interact with her for a quick cutscene.

Protect Klaus

With Valentina defeated, all that is left is for Klaus to deliver the nuke you gathered the items for into the portal. As he walks forward, kill all enemies, and you will have completed the Mauer Der Toten main Easter egg quest when he reaches the end. We hit a bug where he stopped moving for a good minute, but he finally made his way forward again after a while.
Related: Forsaken main Easter egg quest guide in Call of Duty: Black Ops Cold War Zombies


Published: May 17, 2022 12:21 am