Dead by Daylight’s roster of maps has grown with almost every new Chapter since the game was first released. As such, it’s now got so many that you probably don’t know all of them by name. Furthermore, some may not even have appeared for you yet, since players can make Offerings that sway which map a Trial takes place. This guide lists the 10 best maps for Survivors in the game, so you can make Offerings that will give you a better shot at winning.
What are the 10 best maps for Survivors in Dead by Daylight?
Here we’ve listed what we believe are the 10 best maps for Survivors based on how easy we find it to win on each. The best map for survivors is at the top, with each that follows being slightly more challenging for the Survivors.
Related: The 10 worst maps for Killers in Dead By Daylight
1. Coldwind Farm
Coldwind Farm is, in our opinion, the perfect map for Survivors. There are several reasons for this. First, the generators always seem to be spaced out well around the edge of the map, meaning you can walk around the perimeter repairing them without the Killer ever really getting close. While the hooks are always close to those generators, it’s hard for Killers to even spot Survivors here because of the short sight lines. There’s an obstacle wherever you look, be it a wall, a building, or rows of corn. This makes it particularly easy to run away from a Killer and hide just around the corner without them ever knowing.
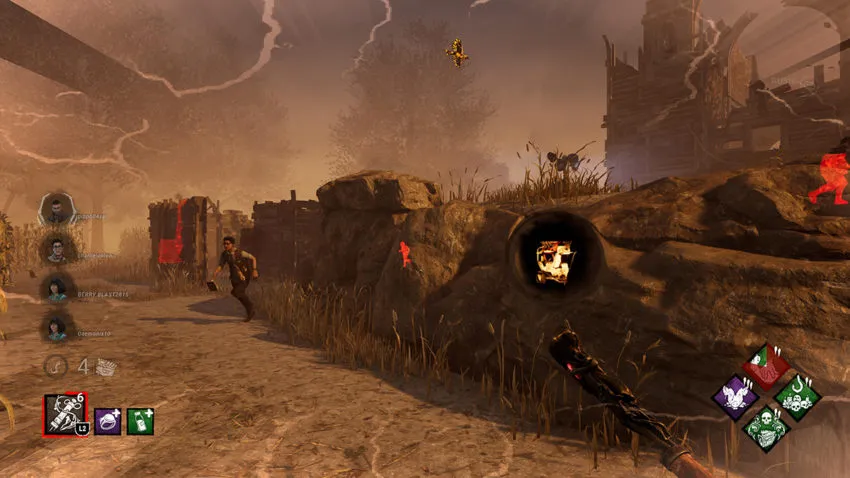
2. Red Forest
The Red Forest feels intimidating because it’s effectively a shrine to The Entity. However, it’s more of a series of obstacles that Survivors can use to hide from the Killer as soon as they hear that telltale heartbeat signaling their approach. This map’s generators aren’t placed well for Survivors, but that’s made up for by the easy runs a Survivor can make to escape the Killer and the large open spaces between hooks.
3. Blackwater Swamp
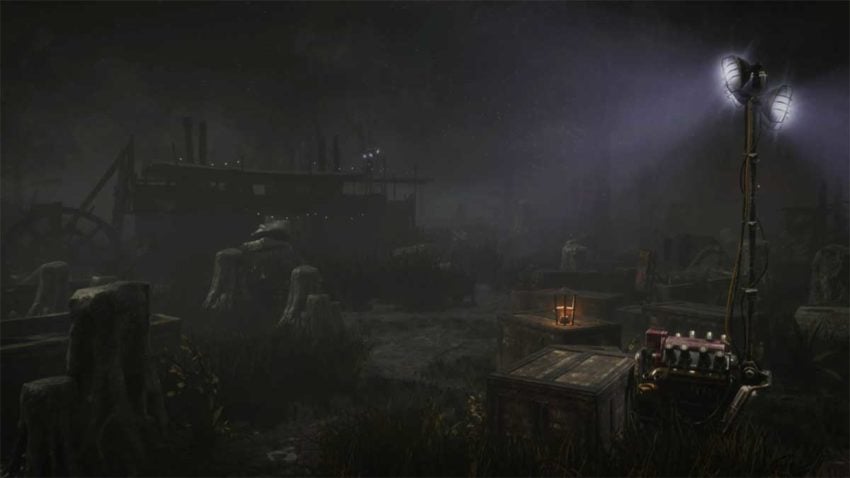
This is another absolutely terrifying map, but it’s very difficult to move around as a Killer. Unless you’re playing against The Dredge, no Killer is going to be able to keep the pressure on while you repair generators and slowly make your way toward a safe exit. It’s not so much the placement of generators in Blackwater Swamp. Instead, it’s more about the runs Survivors can make through buildings and how they have so many opportunities to stun the Killer.
4. Midwich Elementary School – Silent Hill
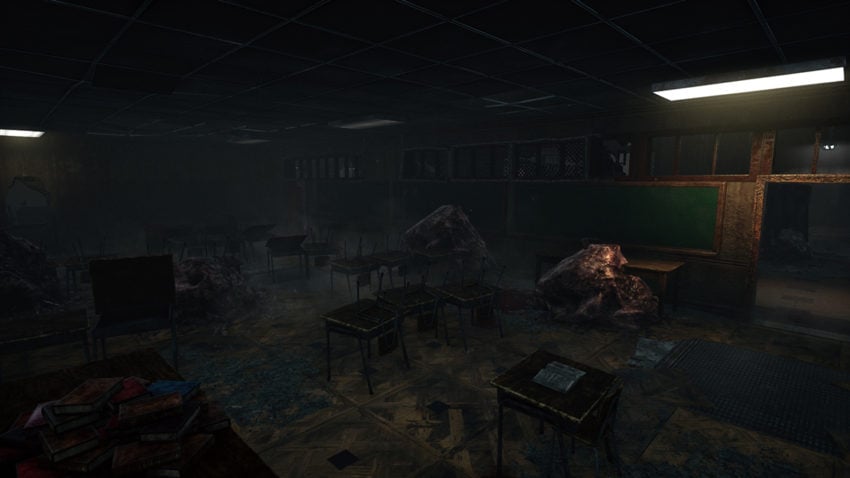
This map is a lot of players’ favorites simply because of the setting. However, it’s also quite a good map for Survivors. While it’s an enclosed map, which usually means it’s easier for Killers to hunt in, each room has two or three entrances and exits, making for the perfect layout to sneak through while the halls are being stalked. The only downside is the long corridors on both floors. But even there, it’s easy for a Survivor to hide and lose a Killer by ducking into one of the rooms.
5. Lampkin Lane – Haddonfield
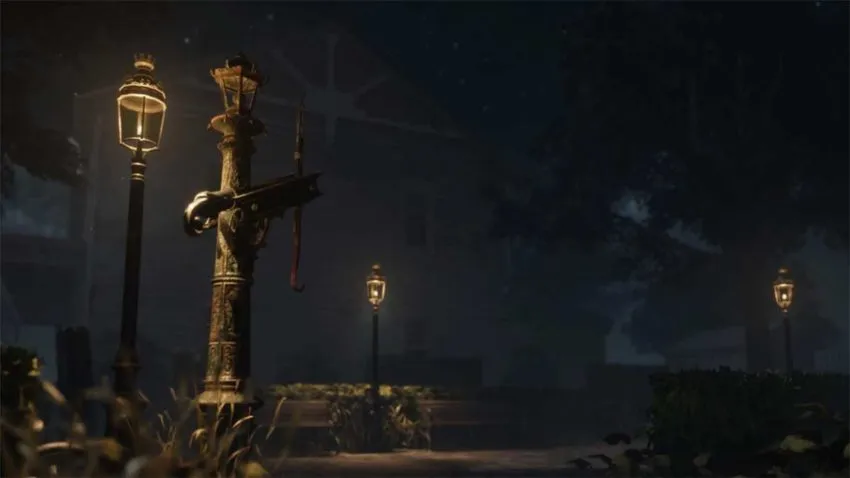
Lampkin Lane isn’t just an iconic location in horror, it’s a brilliant map for survivors. The generator placement on this map is fairly consistent, so Survivors know where to look when roaming and repairing generators. For Killers, it’s a bit of a nightmare because unless the Survivors are grouped together, there’s no way you’ll hook them all. Even Killers such as The Pig have a difficult time here because chases almost always end in getting stunned or losing the Survivor.
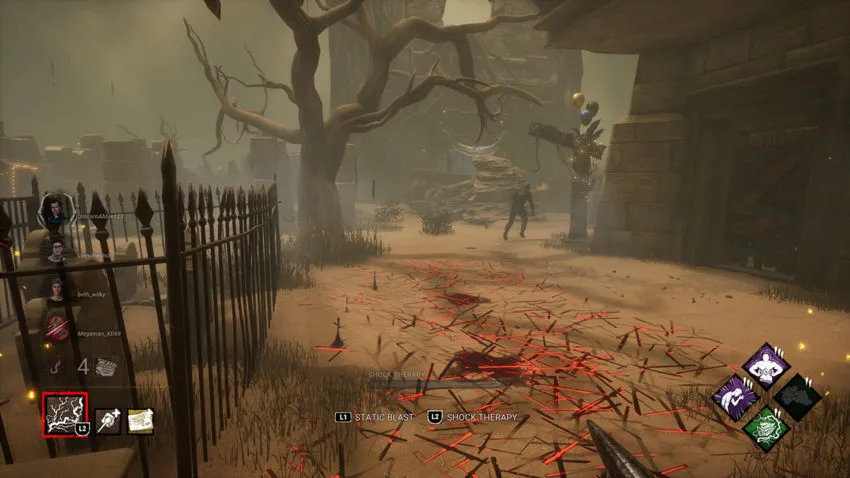
6. Crotus Prenn Asylum
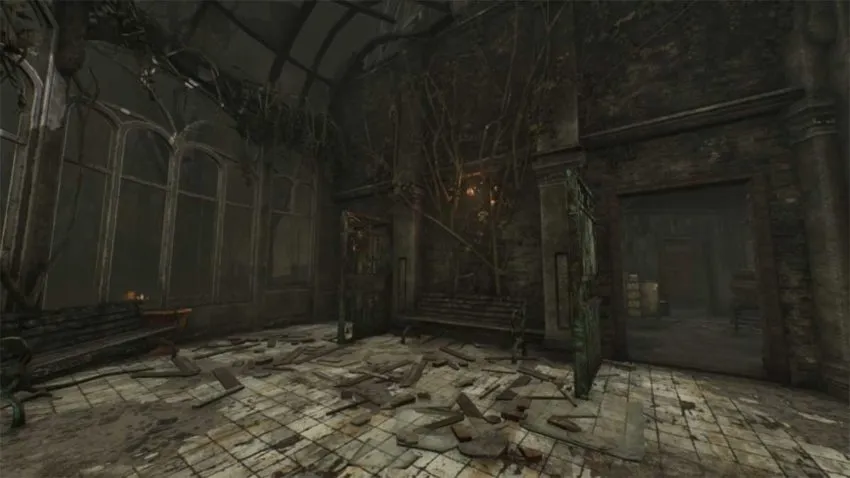
This map has its pros and cons for Survivors but we believe the advantage is still firmly on the Survivors’ part. The generator placement is easy to guess and it’s tough as a Killer to hook every Survivor. Sometimes even one can be a challenge. There’s a lot for Survivors to learn initially with this map but after a few Trials, you’ll be running rings around the Killer like they don’t know what they’re doing.
7. Eyrie of Crows
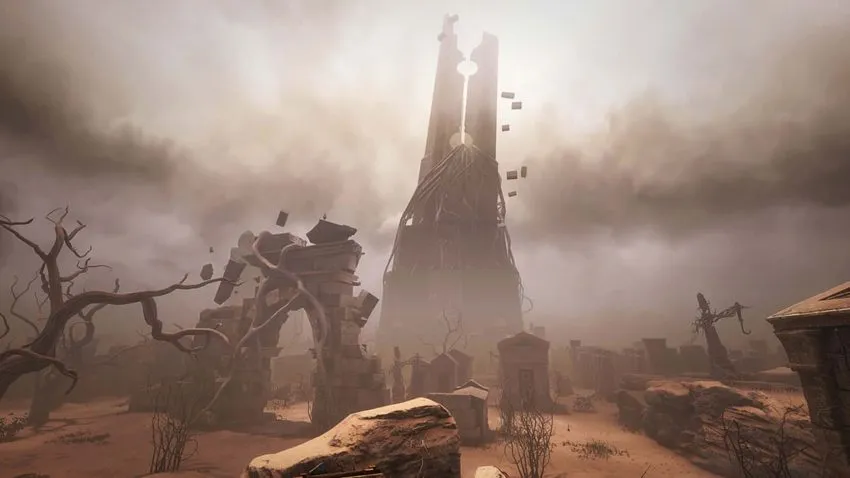
Yet another map with long sight lines that aren’t necessarily going to work for the Killer every time. Hooks are placed just so that the Killer will need to move quite far from them to get to the nearest generator, allowing you to unhook allies and escape without any repercussions. The only downside to this map is the central run that’s quite easy to get caught on. Even then though, you’ll likely struggle out of the Killer’s arms before being hooked.
8. Yamaoka Estate
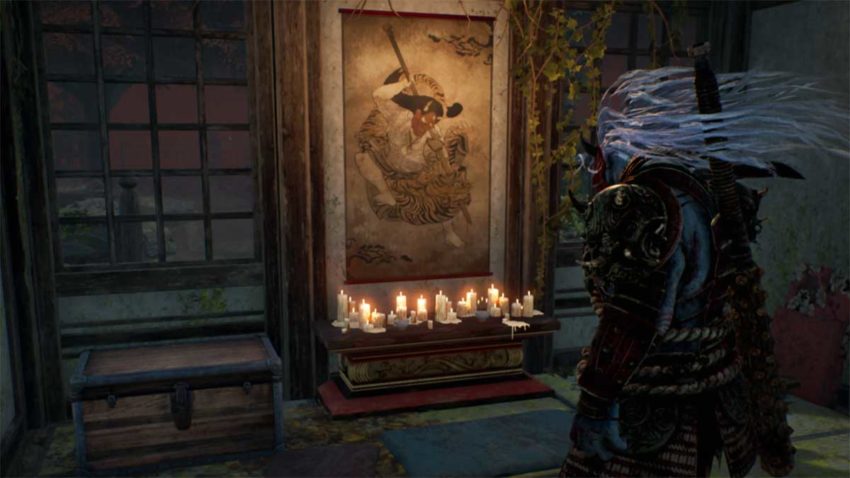
This map is vast and it’s easy to get caught by the Killer. However, it has some very good environmental blocks that allow you to hide in plain sight as a Survivor, and that’s so advantageous when trying to repair the generators. In this map, you’re going to spend more time repairing and hiding than you will anything else, but the Killer really has to work to find you. Everything else is geared toward the Killer, from the hooks to the poor chase runs you can make, but that’s outweighed by the potential for sneaking you have as a Survivor.
9. Dead Dawg Saloon
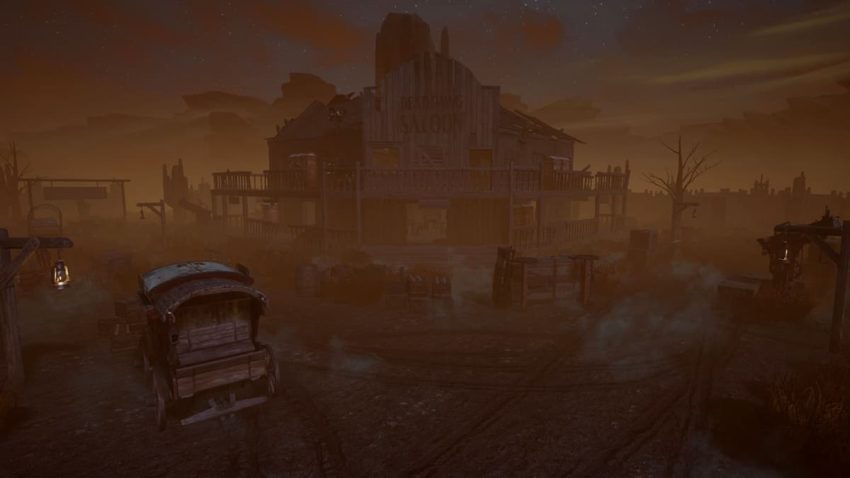
This map is not great for Survivors, but it depends on the Killer you’re being hunted by. The sight lines are designed for you to get caught by Killers with the best ranged attacks. However, if you’re up against something like The Doctor, then you needn’t worry. Most of the time, Survivors will thrive here, which is why it makes this list.
10. Raccoon City Police Station
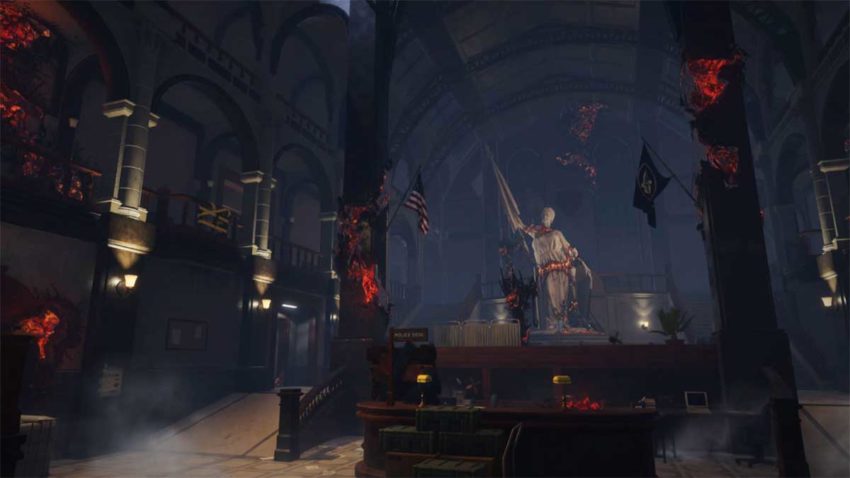
The final map on this list is a great franchise tie-in but doesn’t give Survivors the best opportunities to escape. In fact, most of the map is made up of choke points that have no exit, leaving Survivors to get caught by the Killer out of sheer desperation. Still, there are routes you can run to avoid the Killer, but that only comes with knowledge over time. Once you can run around and know where you’re going, you can use those same choke points to avoid the Killer, it just takes time.


Published: Jul 11, 2022 12:12 pm