
Of the four classes within Deep Rock Galactic, the Gunner is ostensibly responsible for ensuring that all manner of creepy crawlies don’t overrun the squad. The Gunner manages to step into this role with ease with the unlock of the second primary weapon, the Autocannon.
All Autocannons aren’t necessarily built the same, however, and this depends primarily on what Deep Rock Galactic perks, known as the build, you’ve opted for in the equipment screen. Here are the three best Autocannon builds, from worst to best, and when you should be using them to clean Hoxxes of its pesky pest problem.
Build concepts
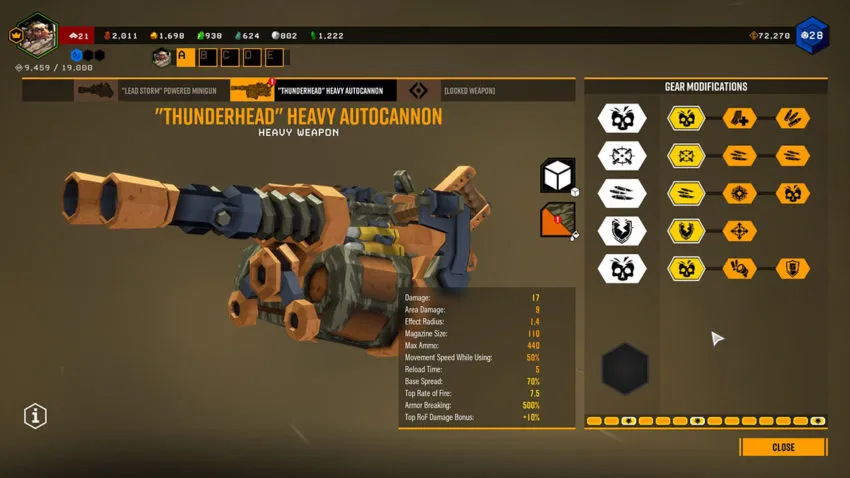
When discussing builds in Deep Rock Galactic for weaponry (or the Drone), the standard format lists numbers with backslashes in between, such as 1/3/2/3/2, for as many build parts as there for the specified weapon. The screenshot below notes a 1/1/1/1/1 build for the Autocannon, as the first perk is selected for each gear modifier.
The second thing to note is that there is not a ‘one size fits all’ approach to builds in Deep Rock Galactic. Players may find themselves against multiple armored enemies or airborne creatures, which could mitigate certain gear selections. While many players will find a singular strong build that they will keep throughout their time in Hoxxes, others prefer to mix and match depending on map modifiers and difficulty level.

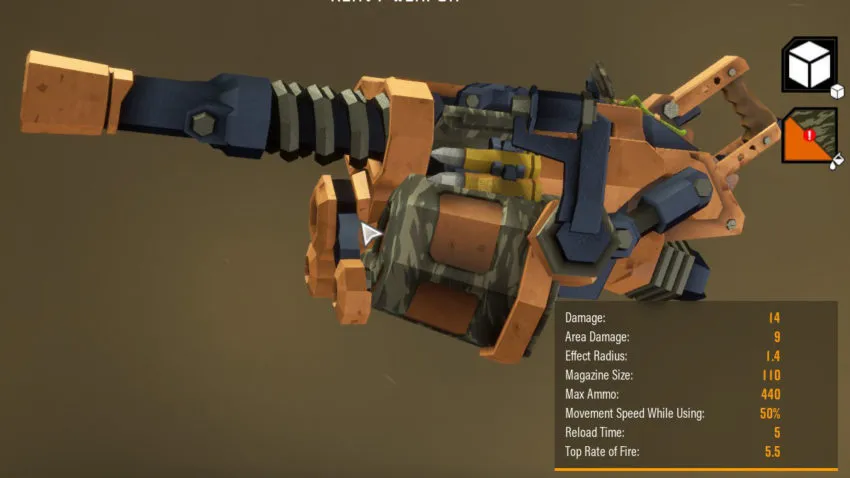
The Autocannon itself is a unique weapon, marrying the rapid-fire speed of the Minigun with AoE damage. With a five-second reload speed matching well with its relatively deep drum size, the default Autocannon is a strong pick for any Gunner unless an air-heavy map is on deck.
The Spray and Pray
The first build worth a look is built for sending large amounts of ammunition down-range. Ideal when players find themselves in a target-rich environment, the Spray and Pray build relies on firepower superiority to end any existing threat. For this build, we opt for a 3/2/2/2/2, which gives us the benefits of firing faster, which is matched with increased AoE radius and damage, helping clear out massive swarms with ease.
Be mindful of friendly fire with this monster, or you’ll lose friends quick.
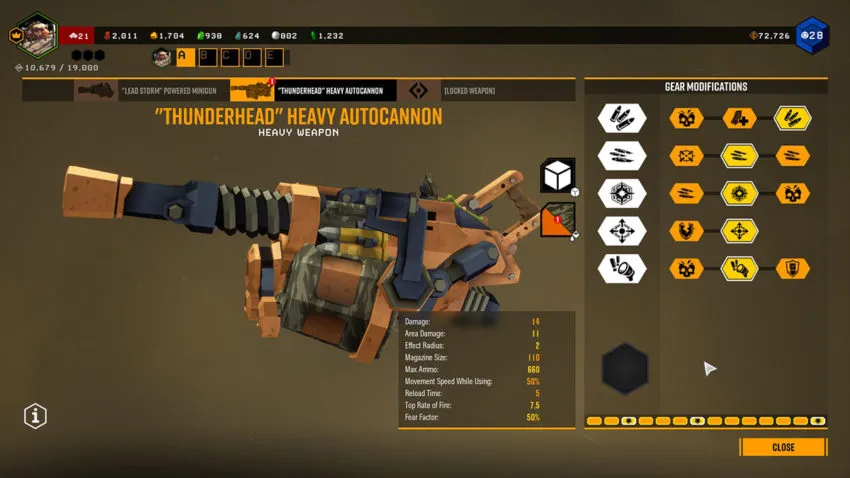
Variations are workable with this build: our third gear modification could use the third perk for increased damage, sacrificing splash damage for greater direct hit DPS. The fourth gear modification could also be shifted to the first to help split armor from heavy enemies. By doing so, however, you’re limiting the 30% AoE increase that the fourth perk brings.
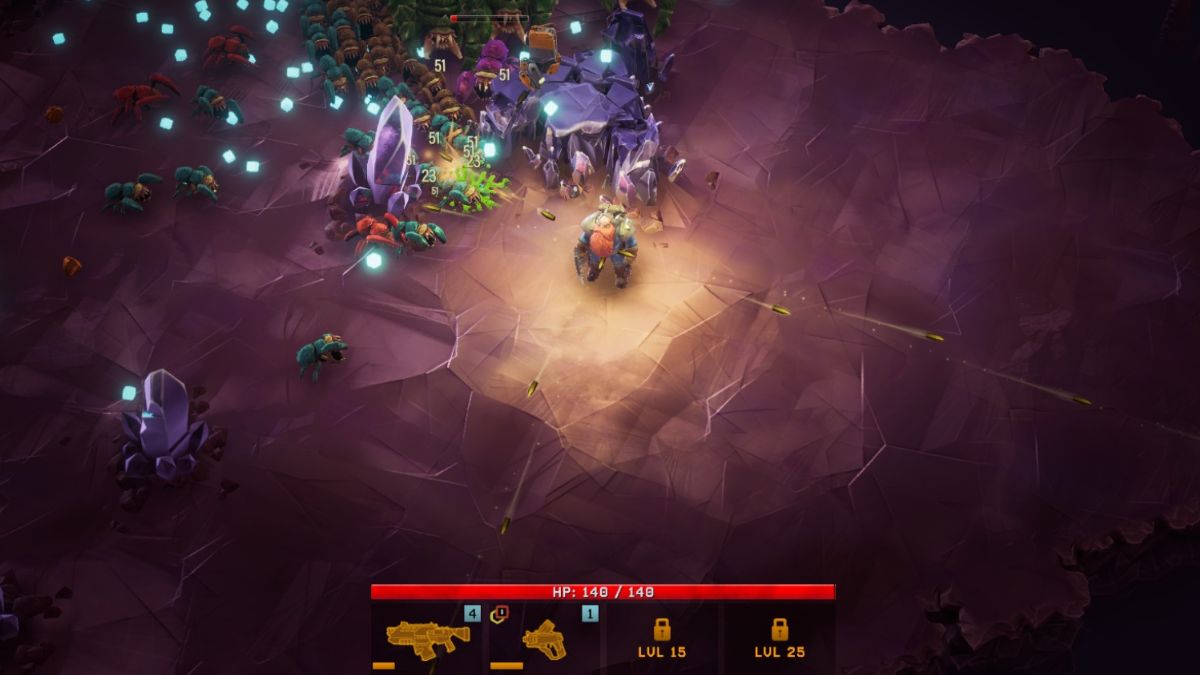
This build is helpful when the map has a Swarm danger, as the Gunner can easily remove the entire threat with two-dozen well-placed rounds. The deeper ammo bags from the first modification also allows the Gunner to be a bit less reliant on resupplies, although don’t expect to push past two waves without calling one in.
The fifth modification allows the Gunner breathing room by frightening enemies, which helps mitigate the five-second reload. Opting for the first or third perk of the fifth modification can be helpful, but the time needed to spin up means that Gunner’s have already expended a bit of their drum. Even with the larger drum available in the first perk, Gunner’s will need to reload eventually. How you reload can determine whether the crew lives or dies.
The deeper DPS
We can lighten the reliance on deeper magazines and shift to a DPS-centric build. This relies on picking all increased damage perks within our gear modifications, leaving us with a 1/x/3/x/x. We finish this build with 1/1/3/2/2, as we’ll need increased accuracy with the Autocannon and still want to pick up the additional blast radius to help thin swarms.

If you’re going through Hoxxes by your lonesome, this build could be your bread and butter. While it lacks in the armor-stripping ability of our third build, the damage lobbed out by this build is almost obscene. We’re still increasing our AoE radius with our fourth modifier and able to shred almost every carapace that errantly crosses our path with raw damage output.
Dreadnoughts can be an issue with this build, for nothing else save their insane armor. Players can shift the fourth modification to armor-stripping, offering huge results, but it can be difficult to capitalize on the weakness in solo play. With our fifth modifier, we are again avoiding the first and second perk due to the time it takes the Autocannon to reach top-speed without additional mods.
The tank-buster
Armor can be annoying deep within Hoxxes, watching as your allies rounds helplessly plink off the face of Dreadnought #5 as they’re flung about the map. With the tank-buster build, the Autocannon trivializes almost every enemy of the game. This is where the Gunner steps through and shines the brightest, removing the armor of every enemy before other players even realize they’re under attack.

For this build, we’re picking 1/3/2/1/1. Picking up the first DPS buff means we can dodge the third, and the third perk on the second modifier lets the Autocannon get to top-speed far faster. This speed increase opens the fifth modifier’s first and third perks. The first increases our damage yet again, allowing us to take advantage of stripping armors with the second perk. The third perk of the fifth modifier allows us to take 2/3’s damage when the cannon is at top speed, but in practice, it can be difficult to rely on.

Our third modifier allows this build to shine, married well with the fourth. The third increases our splash damage, ensuring that we don’t need direct hits to shred armor or lay waste to whatever enemies confront the expedition. The fourth allows us to shred the armor of everything: even grunts will be running around without their carapaces on the Lethal difficulty.
This build will trivialize the enemies, but note that it works best when paired with at least one other prospector. A Scout works well for speed, as they can quickly maneuver to reach the recently-exposed flesh from your weapon, but any ally is great when enemies can no longer rely on their armor.


Published: Apr 11, 2022 10:07 pm