
In Final Fantasy XIV, Level 3 Limit Breaks, commonly known as Limit Break 3 or LB3, are on a whole other level — breathtaking not only in terms of visuals but also in potency, compared to their Level 1 and 2 counterparts. Though Limit Break usage is entirely dependent on the encounter and your party, we are here to give you an idea of when you should be using that LB3, when you should hold onto it, and when you should let someone else use it instead.
Related: All job adjustments in Final Fantasy XIV Patch 6.21 answered
Level 3 Limit Breaks in Final Fantasy XIV explained
Because each archetype is a bit different, we’ll break each of them down, starting with the ever-popular Healer archetype.
Healer Limit Break

Healer Limit Breaks are the most commonly used Limit Breaks, both in general and high-end content. Limit Break 3 not only heals all nearby party members to 100% HP and MP, but it also raises all fallen party members with 100% HP and MP and grants them a few seconds of transcendence like a regular Raise. Revived players will also not get the usual Weakness or Brink of Death status applied to them unless they already had it before they died.
Many parties use them to push through what may seem like an unsalvageable pull, or even to cheese mechanics that require a lot of healing resources (eg. Life’s Agonies in the Savage version of Asphodelos: The Third Circle). For example, if you only have one healer alive and there are 3 or more other party members dead, it is simply more economical to use the Healer LB3 instead of raising them one by one. Similarly, if a mechanic that requires the whole party is coming up, just use that LB3. One thing to keep in mind is that party members will raise on the spot they died — so if your party member died in a death wall, make sure you have a Swiftcast ready.
Tank Limit Break
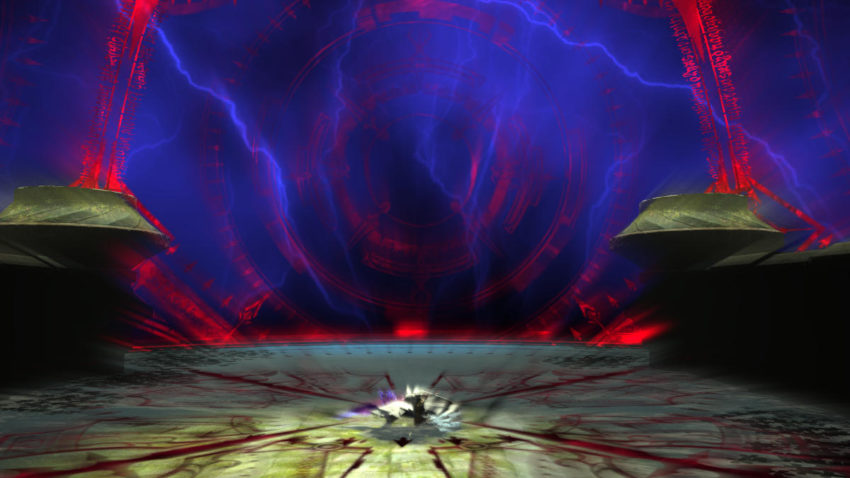
Tank Limit Break 3 is a powerful party-wide 80% damage reduction, lasting for 8 seconds. It is usually used in encounters when specific mechanics require it. An example of this would be the Seat of Sacrifice trial, which requires tanks to use LB3 at a specific point in the encounter, and failing to do so will result in an instant wipe.
However, Tank Limit Break 3 does occasionally see some non-mechanic use in general content. Let’s say the healers are dead and you want to protect your squishy Red Mage or Summoner as they clutch raise the healers, pop the Limit Break and let them do their thing. Or if you’re about to take massive damage due to a failed mechanic that will kill every party member except a tank, slap that button and keep pushing forward.
Melee DPS Limit Break
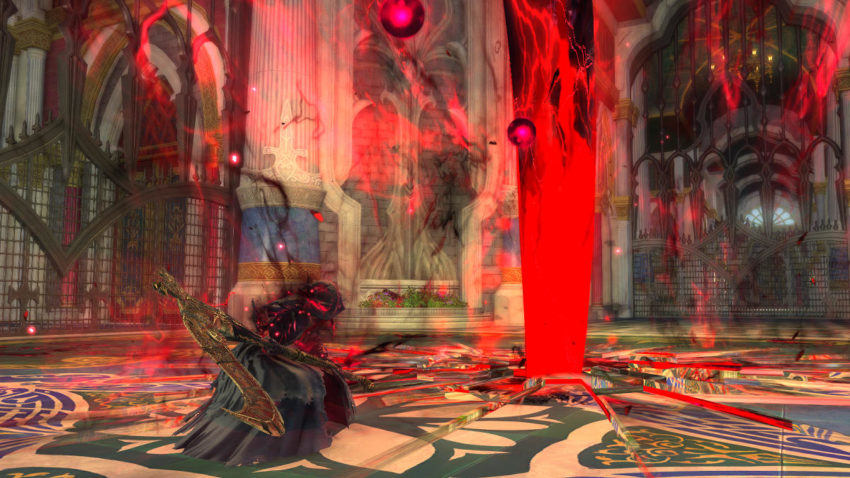
The Melee DPS Limit Break 3 deals massive, single-target damage to an enemy, and has the highest single-target damage potency of all the DPS Limit Breaks. It is often used as the final push to finish off an encounter, dealing 3.5x the damage of Braver, the level 1 version of the Melee DPS Limit Break.
As a result, Melee DPS will often use be the one using the Limit Break 3. It is highly advisable to wait until the boss or enemy reaches the last few percentages of its HP before using it, just in case something unexpected happens and the Tanks/Healers need to use the LB3 instead.
Caster/Magical Ranged DPS Limit Break
Casters, or Magical Ranged DPS, have a huge, circular target area for their Limit Break 3, with all enemies within that area taking damage. It is often used on adds or multiple enemies that are bunched up in a tight group. Though it lacks the potency of a Melee DPS LB3 and the range of a Physical Ranged DPS LB3, it is actually second in terms of damage. As such, it can also be used in place of a Melee DPS LB3 in an encounter where no Melee DPS is present.
Physical Ranged DPS Limit Break

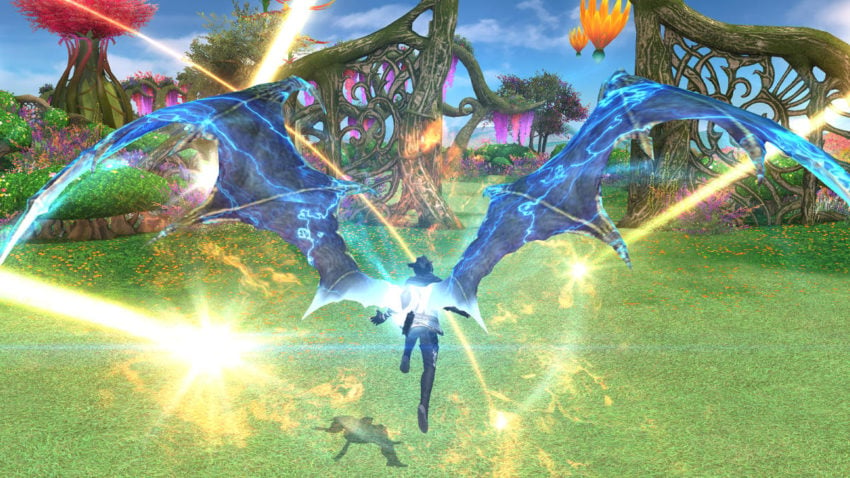
Last but not least, we have the Physical Ranged DPS. Their Limit Break 3 is a long, 30×16 yalm line that deals damage to all enemies caught inside. It is most commonly used to burn down multiple adds or to melt trash pulls. While it lacks the damage of a Magical Ranged DPS LB3 (1.89x the damage of Braver compared to Caster’s 2.1x), it has a longer reach, making it favorable in situations where a Caster LB3 will not reach all the enemies.
An interesting point of note is that prior to the Heavensward expansion, the Physical Ranged DPS LB3 had the same effect as a Healer LB3, meaning that Bards — the only Physical Ranged DPS at that time, would have been able to Raise their party members.


Published: Oct 27, 2022 03:17 pm