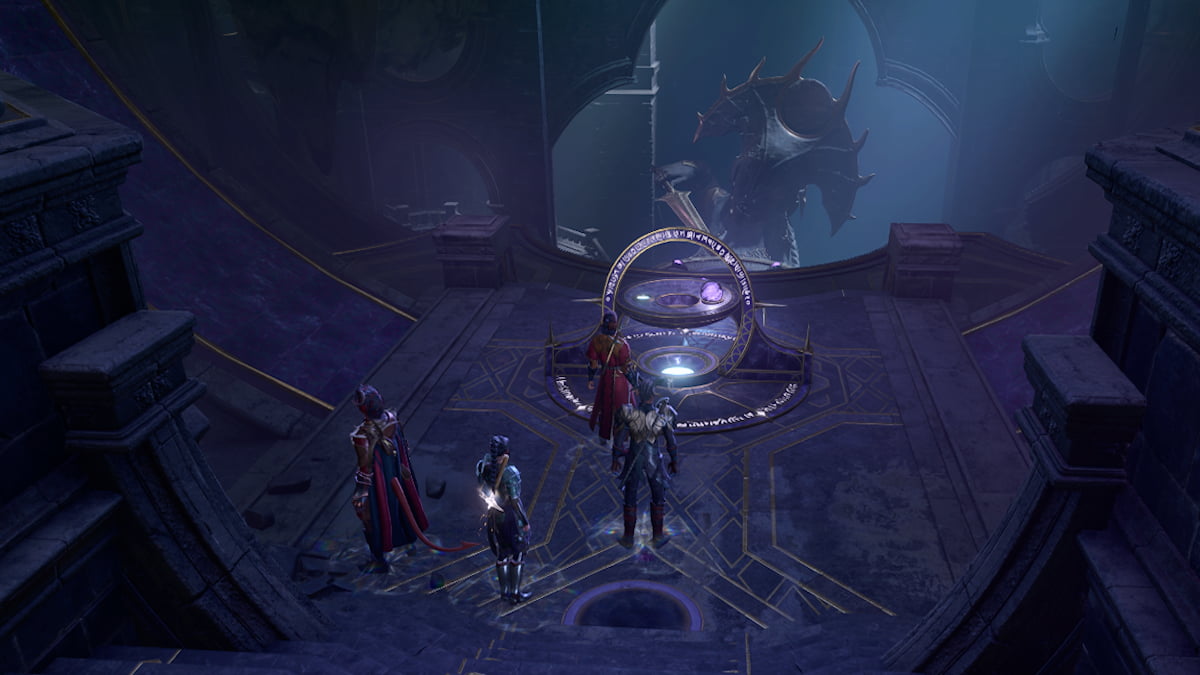
The Gauntlet of Shar is a harrowing dungeon in the Underdark of Baldur’s Gate 3. It’s a sacred location where believers of Shar could test their worthiness.
The Gauntlet of Shar requires some preparation to get through, and the right party. Here’s how to complete the Gauntlet of Shar in BG3.
Related: 5 Best Detect Thoughts Moments in Baldur’s Gate 3
How to Start the Gauntlet of Shar Quest in BG3
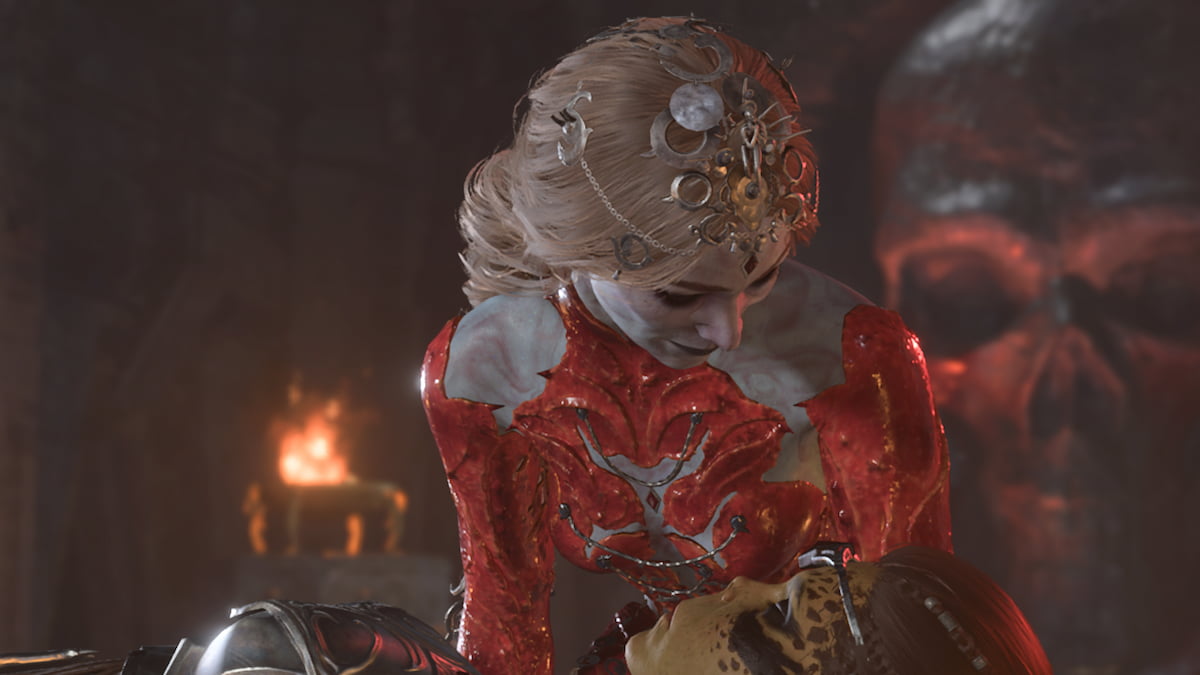
The Gauntlet of Shar is the single most important event in Shadowheart’s companion questline Daughters of Darkness. You’ll automatically initiate this quest once you’ve recruited Shadowheart. She’ll talk about her troubles over time and give you side quests to complete. You’ll get the chance to explore the Gauntlet of Shar once you get to Act Two, as it’ll be the big dungeon of that area.
Where to Find the Gauntlet of Shar in BG3

The Gauntlet of Shar will appear close to the start of Act 2 in Baldur’s Gate 3. You can find it across the river west of the Last Light Inn. The entrance to the location is called Thorm Mausoleum, and the starting area of it features a journey that Ketheric Thorm, the leader of the Absolute Cultists at Moonrise Tower, took and wants you to follow in his footsteps.
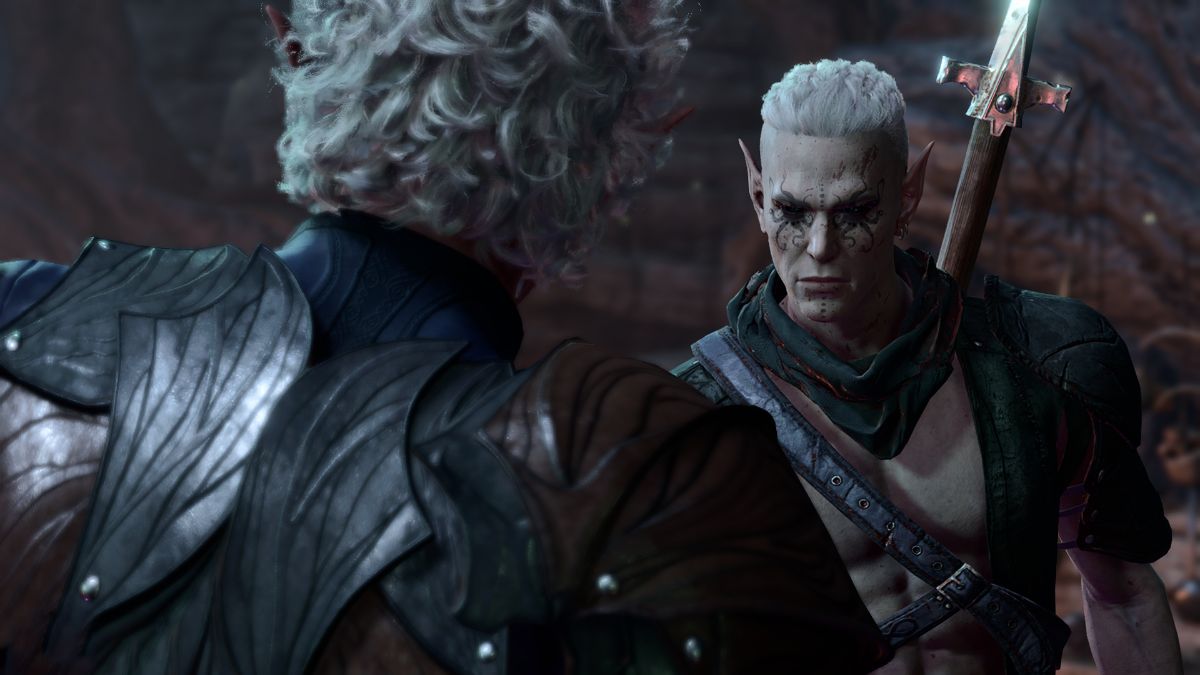
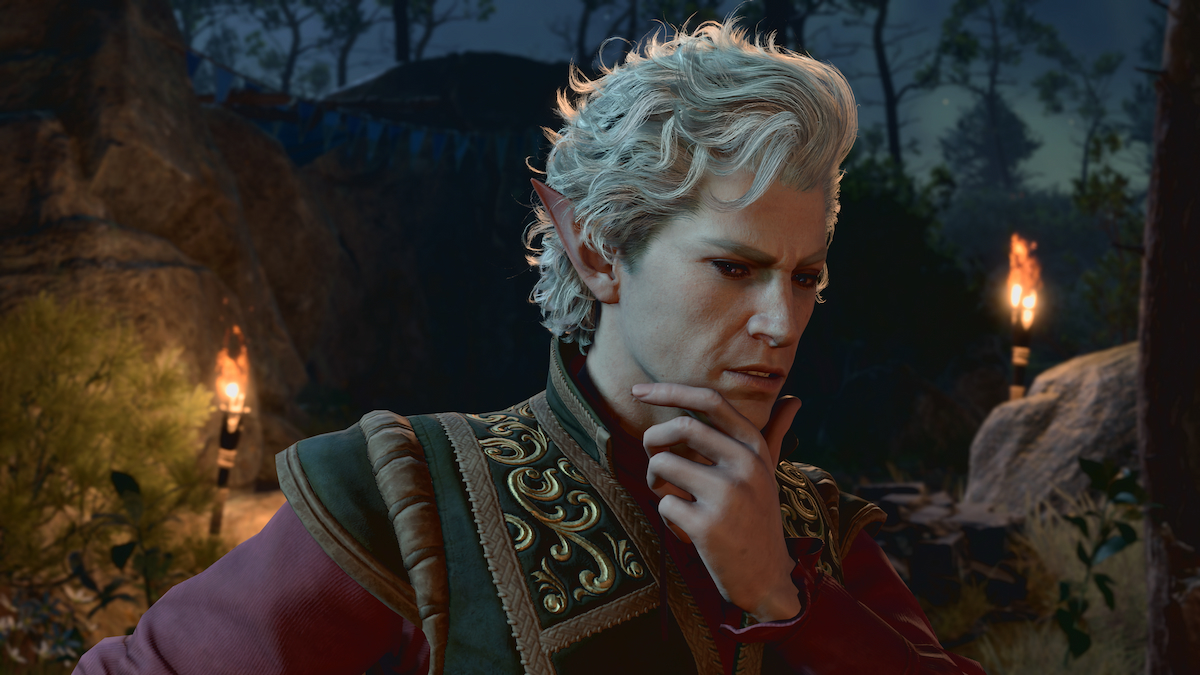
To prepare for the journey through the Gauntlet of Shar and to begin solving the puzzles, I recommend taking Astarion and Shadowheart with you. These two characters are key to certain parts of the puzzle, and Raphael, the devil whom you met in Act 1, will be waiting outside, and Astarion will wish to speak with him during your campaign. Bringing these two with you is not required, but it certainly helps.
I also recommend making sure you prepare several short rests for your BG3 party as I found it extremely helpful to take them several times as I progressed through the Gauntlet of Shar. There are several encounters that I had to overcome, and they were taxing on my group. However, you’ll always have the option to return to the main camp for a Long Rest.
How to Solve Thorm Mausoleum Painting Puzzle in BG3
When you arrive on the first floor of the Thorm Mausoleum, the location will be rather barren and covered with decay. When I arrived, I poked my nose into every location I could uncover, the many books and journals Thorm left behind detailing his journey and how he lost his wife. These are key details to recognize, and you’ll be using them in the next room, full of traps and three distinct paintings.
There are three paintings in this dining room area, and any characters with high Perception will point out that there are buttons underneath these paintings. You need to activate them in a specific order, and if you get it wrong, darkness will fill the room, partially blinding your Baldur’s Gate 3 party. Here is the specific order you need to activate these paintings.
- Moonrise Towers
- Grief
- General
After you click the General, a secret entrance behind the General painting will reveal itself, unlocking the Gauntlet of Shar dungeon. The first puzzle will appear in the Statue room, where you must rely on your teammates to spread out and bring about darkness.
How to Complete Gauntlet of Shar Statue Puzzle in BG3
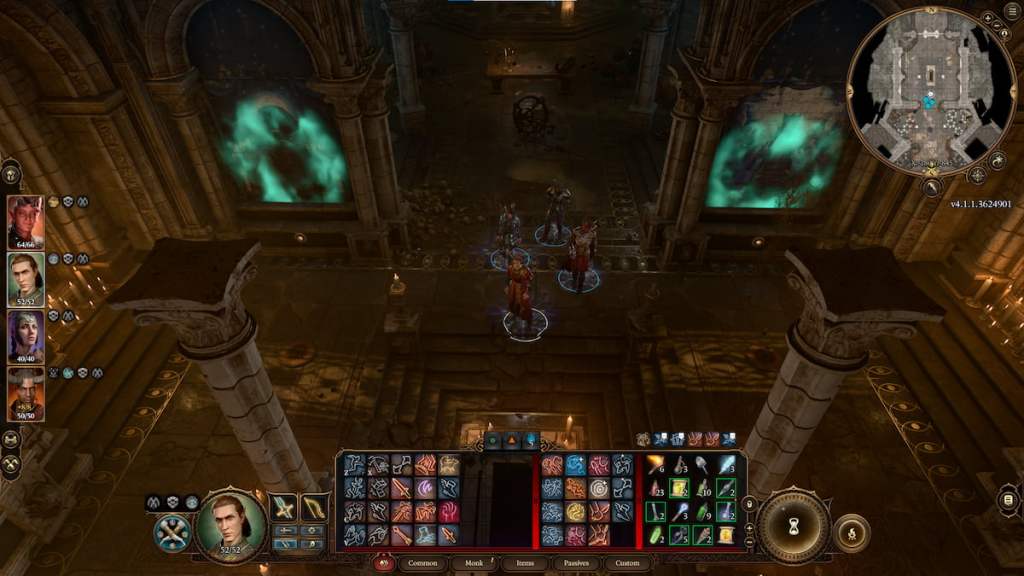
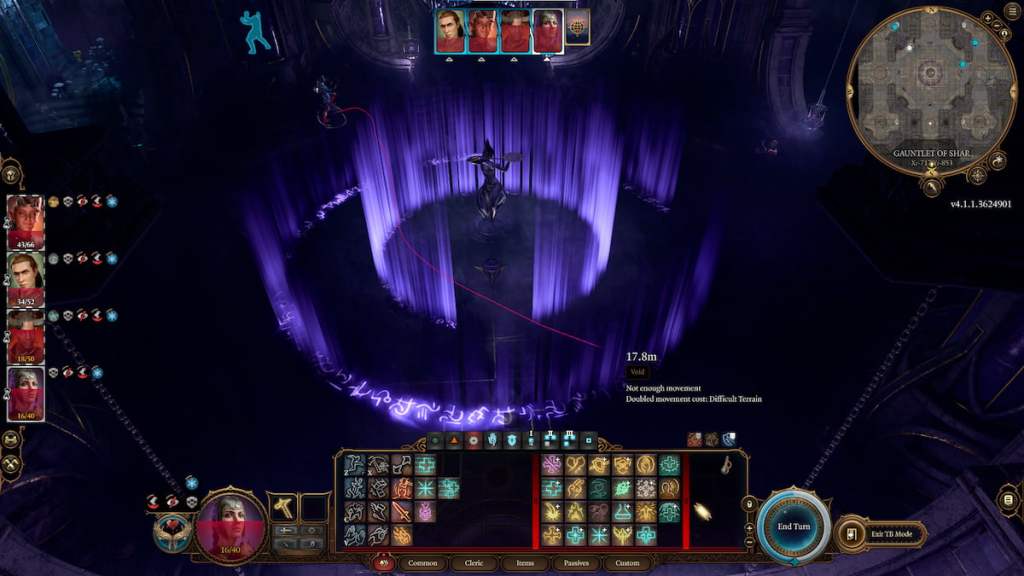
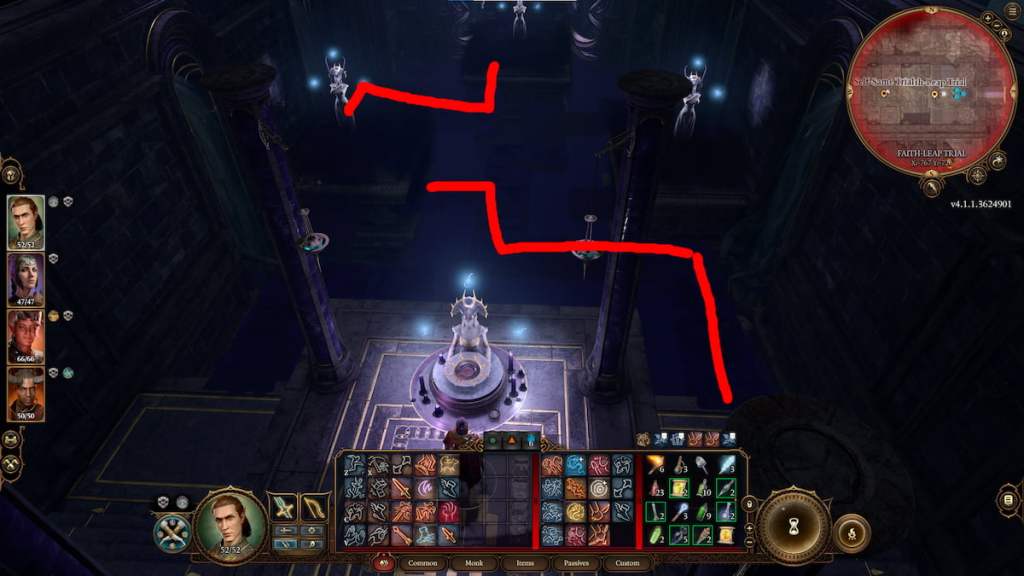
The first puzzle in the Gauntlet of Shar temple features a large statue at the center of the room. It will have distinct glowing runes surrounding it, and if you have any of your characters attempt to approach it, they will be thrown away. This puzzle aims to lower the four braziers in the four corners of the rooms and remove their lights. Unfortunately, if you activate any of the traps in the room, darkness will fill it, and your party members will take 2 to 16 Cold damage each turn.
There is a lever in the four separate rooms to the left and the right of the Shar Statue. When darkness shrouded the room, I separated my party members and spread them out, going to one of the four locations. They were in turn-based mode, so I made sure they had Dash each time to make it easier to reach these locations. Some of my Baldur’s Gate 3 party members got the levers before the other ones did, and the one who made it out first interacted with the braziers that fell and put out their lights.
When the lights go out, the Shar Statue at the center reveals a second glowing circle, surrounding the first one. You need to bring one of your party members through the second circle to reach the center and activate the brazier.
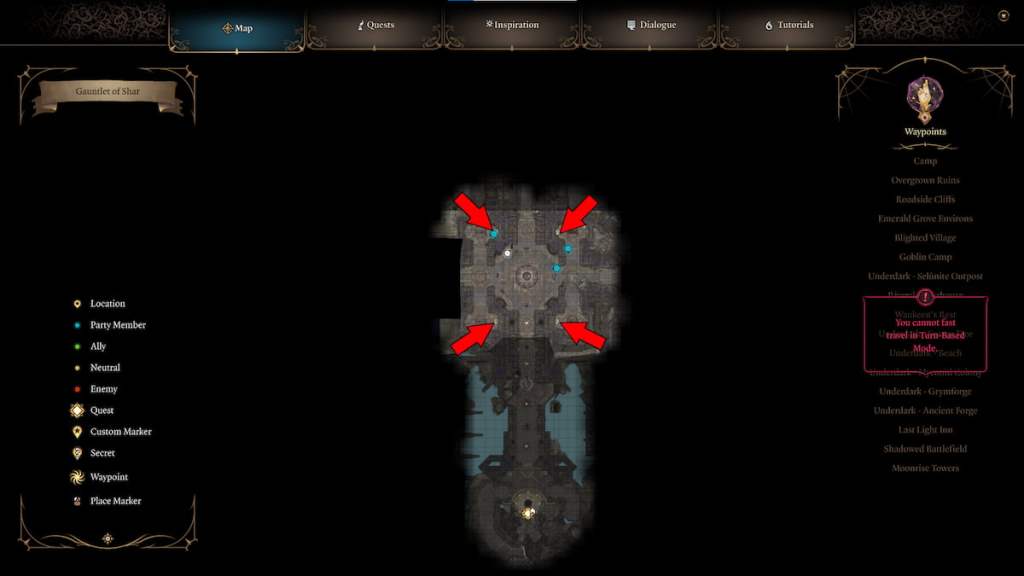
Alternatively, you can try to follow the path outlined in the picture we have above. Doing so will allow you to complete the puzzle without attempting to navigate the puzzle, and your party won’t take any damage during your BG3 playthrough. You’ll still want to look out for the various traps, and I recommend bringing a character with high Perception to make sure they can point them all out.
After you complete this point, the next task will have you focused on taking down a combat-focused encounter. These are relatively straightforward, where you’ll be fighting against Undead Justiciars and blackholes that appear. Take out the umbral energies in this encounter to prevent the Justifciars from continuing the spawn in your game.
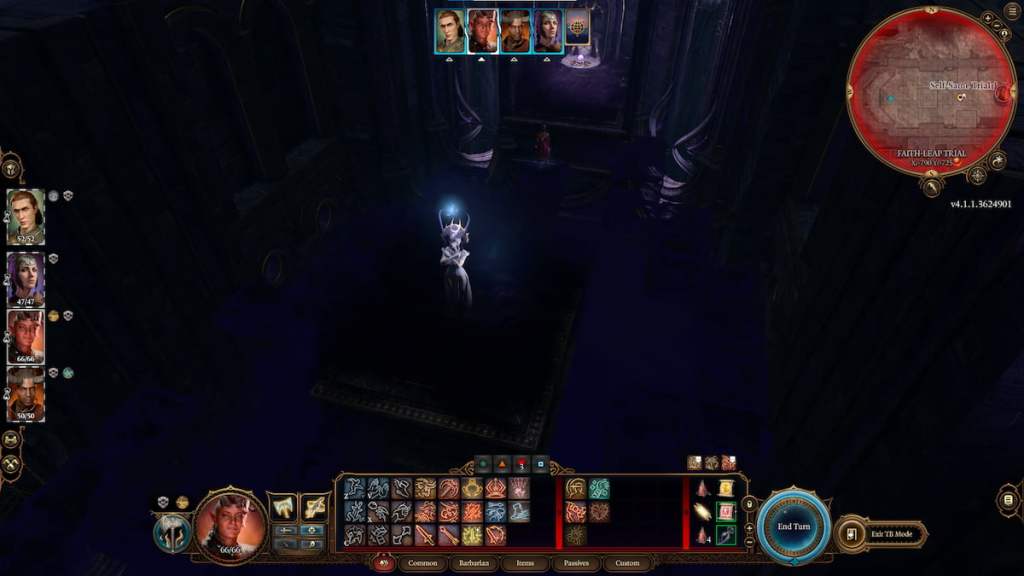
The main focus for opening up the rest of Baldur’s Gate 3‘s Gauntlet of Shar consists of three trials you need to complete: Faith-Leap Trial, Soft-Step Trial, & Self-Same Trial. You can complete these trials in any order you want, and I did find it better to complete the Faith-Leap trial last as it was the most complicated.
How to Complete the Faith-Leap Trial in BG3
The Faith-Leap Trial in the Gauntlet of Shar dungeon is easily the toughest of the three trials. You can find it on the bottom floor, on the left side. When you arrive, like the other trials, have Shadowheart provide a small cut of blood at the ceremonial bowl and begin the trial.
When you begin, there will be a small outline of the path you need to take through the darkness. You need to follow this pathway to reach the end. However, as you get close to the edge, your Baldur’s Gate 3 party will no longer see the path, and they’ll need to move the darkness, carefully, the reach the other side. I believe taking a screenshot of this area to navigate the darkness successfully will be the best way to reach the large platforms and light up the room.
A good way to bypass this puzzle if you’re continuing to struggle with it is to give a character the Fly spell or potion. With Fly, you’ll be able to navigate every part of this location without your character falling below, causing them to perish. Multiple players struggle with this puzzle because of the way it works, but using Fly is a good way to work around it.
How to Complete the Soft-Step Trial in BG3
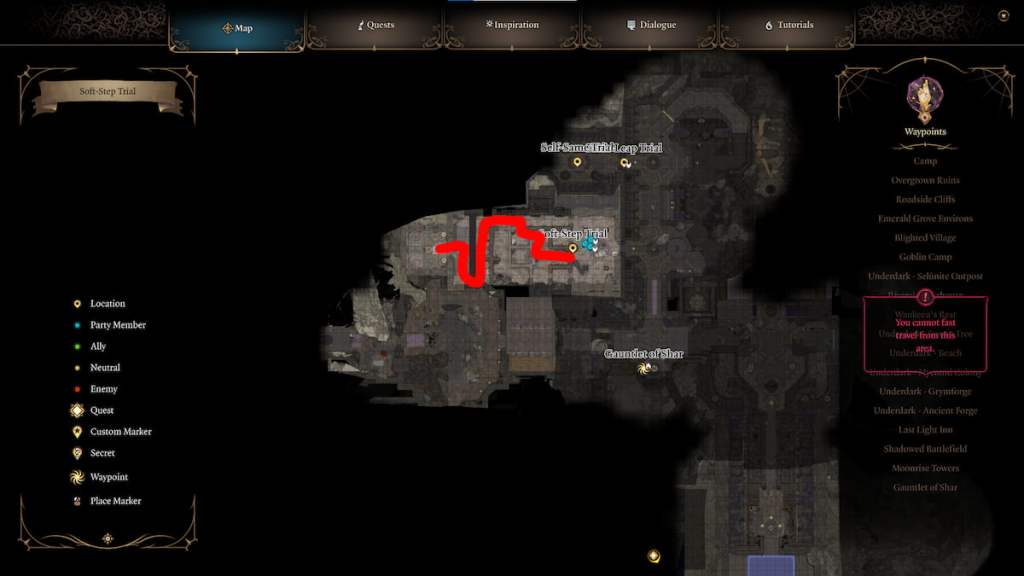
The Soft-Step trial is a straightforward encounter in the Gauntlet of Shar. You’ll want to pick a character with the highest Sleight of Hand and Stealth checks in your party. They’ll be able to bypass the various shadows patrolling the area and unlock all Lockpicking checks. If any shadows catch you, they will teleport you to the start, and you’ll need to start from the game.
How to Complete the Self-Same Trial in BG3
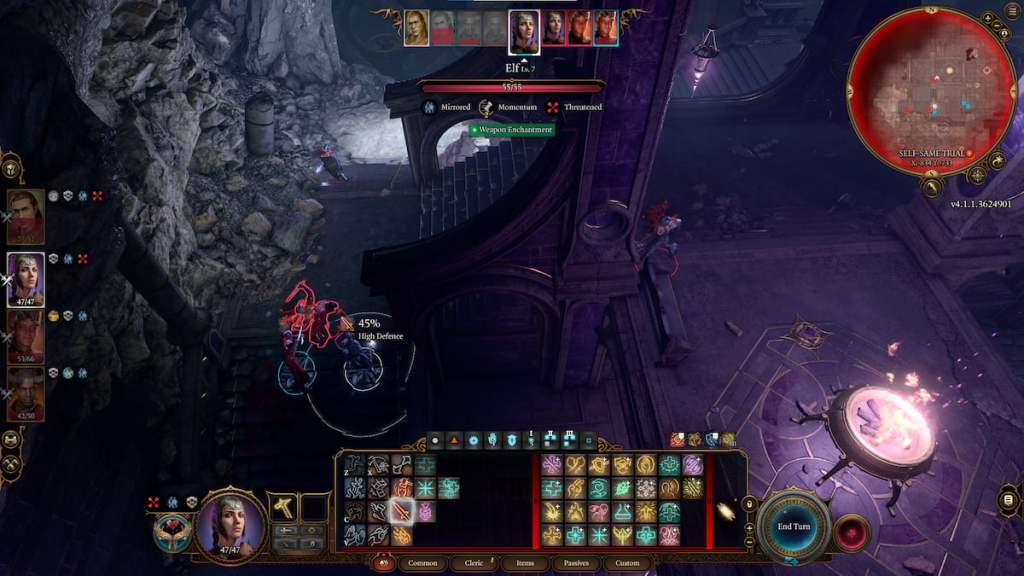
The Self-Same trial can be difficult in Baldur’s Gate 3, but there’s nothing too tricky about it. It’s an encounter where you and your party face off against mirrored images of themselves. You’ll want to consider the best way to tackle your party. In my experience, your party members’ “mirrored” versions take additional damage from any “Radiant” damage. Make sure to have a few party members that can do these types of attacks for the encounter, and you have a short rest before it starts to have the highest chance of success.
After you’ve completed the three trials in the Gauntlet of Shar, you can return to the front of the dungeon to turn in each of the Umbral Gems you recovered by completing the trials. You’ll need them to progress through this region, or you can remain on the lower floors, next to the Faith-Leap trial, and work through the Silent Library. Not only do you still need to complete the Silent Library, but you need to defeat Orthon.
How to Solve Silent Library Riddle in Baldur’s Gate 3
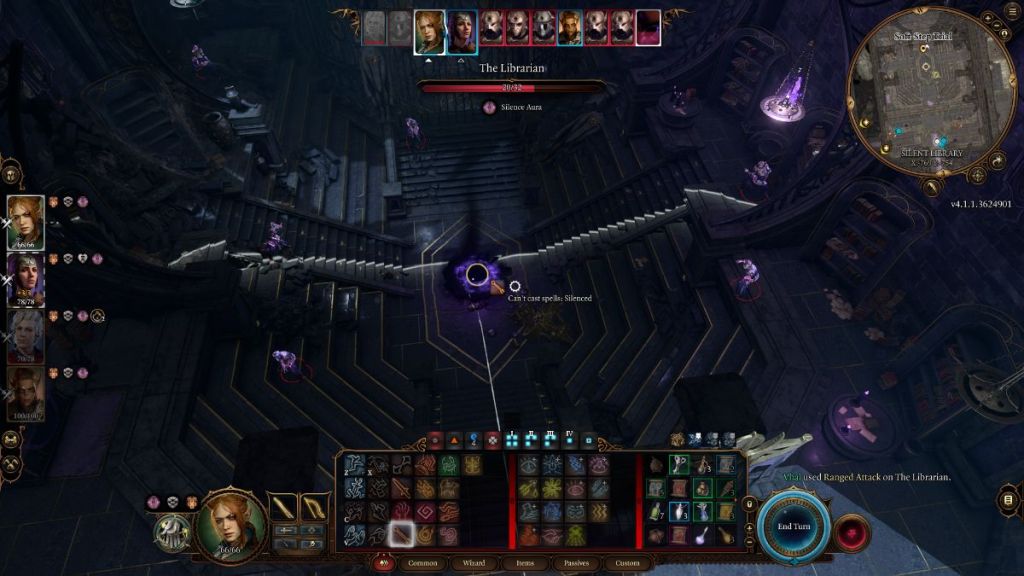
When you reach the Silent Library on the bottom floor of the Gauntlet of Shar, you’ll encounter several Dark Justicars, and a black orb in the middle of the room. To remove the silence from this area, destroy the Orb, and the rest of the encounter should be relatively straightforward.
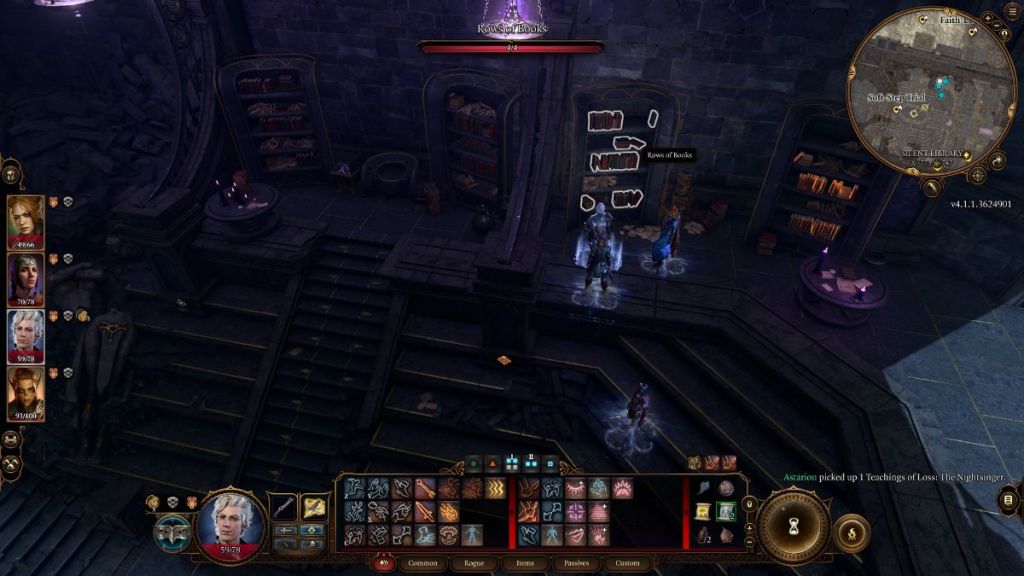
However, there is a riddle to advance to the hidden room in the Silent Library. The answer to this riddle is in one of the bookshelves, and you need to find the book called, “Teachings of Loss: The Nightsinger Book.” It should be on the bookshelf on the north side of the room, on the right side. Bring this to the center pedestal, and you can complete this portion of the Gauntlet of Shar.
Finally, the last thing you need to do in this area is proceed to the east side of the dungeon and defeat Orthon. This Baldur’s Gate 3 encounter can be tough, but you might be able to outwit him to defeat his guards, and potentially himself if you want to avoid a direct fight.
This is easily one of the hardest challenges in the earlier part of the game and one that players will want to be fully prepared for. Ensure that your party members are all leveled, and outfitted with needed items and that weapons have been upgraded.
Need more advice? Check out Gamepur’s complete Baldur’s Gate 3 guide for battle strategies, story tips, and BG3 gameplay breakdowns.


Published: Jan 17, 2024 03:59 pm