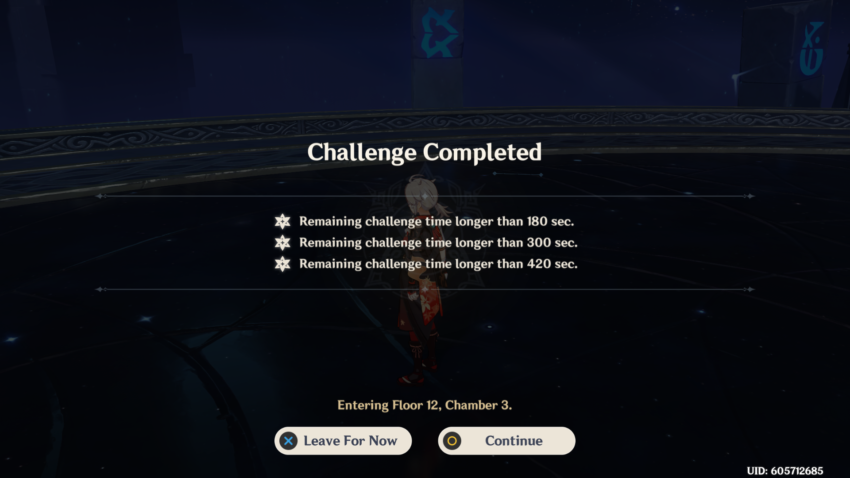
Floor 12 of the Spiral Abyss has reset, making the most challenging series of fights in Genshin Impact to date. Even players with strong teams will struggle to clear the Spiral Abyss in one shot. If you aim to get all 9-stars on this floor, you will likely have to run through Floor 12 more than once.
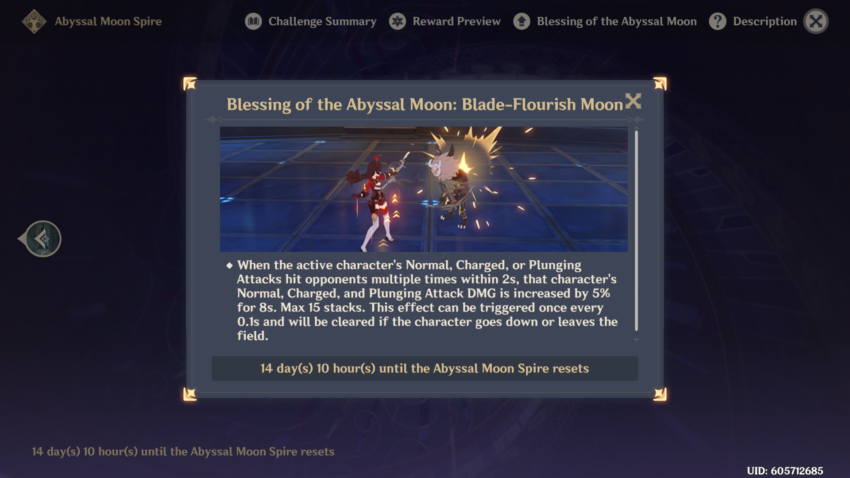
Each Spiral Abyss update grants a unique buff to help you out on your battles. This update is the Blessing of the Abyssal Moon: Blade-Flourish Moon. This buff has the following effect:
When the active character’s Normal, Charged, or Plunging Attacks hit opponents multiple times within 2 seconds, that character’s Normal, Charged, and Plunging Attack DMG is increased by 5% for 8 seconds. Max 15 stacks. This effect can be triggered once every 0.1 seconds and will be cleared if the character goes down or leaves the field.
Floor 12’s Leyline Disorder is a little more complicated than Floor 11’s. If you aren’t diligent, you might find yourself dealing less damage than normal. This is the Leyline Disorder for Floor 12 of the Spiral Abyss:
“Certain opponents in this challenge possess the Honed Spirit effect, which grants them 10% Physical and All Elemental RES. When opponents with Honed Spirit take hits from attacks that are considered Normal Attack DMG, they will lose 3% Physical and All Elemental RES. A maximum of 30% of each may be lost this way. The RES lost this way will be reset every 20 seconds.”
When drafting teams for Floor 12 of the Spiral Abyss, you’ll notice something tricky. Floors 12-1-2 and 12-2-2 lend greatly to freeze teams and AoE damage, but Floor 12-3-2 doesn’t and requires high single-target damage. This is a trait many freeze teams lack. As a result, if you aim for 9-star completion, you will likely have to run through the Abyss more than once.
You can earn 8-stars, for example, by failing to meet the condition of a certain floor. However, if you run through the Abyss again and meet the condition of that floor with a different team, you will gain 9-stars, as the stars you gain are cumulative.
Recommended Characters

Teams are tricky to draft in this phase due to the different needs required for every chamber. Some chambers here require high amounts of single-target damage, some require a shielder, some require Hydro characters, some require freeze teams, etc.
As a result, it’s difficult to recommend certain characters as usual compared to different Abyss cycles. Most Abyss cycles often let you run through the entire Abyss in a single run, but not this time. You may find yourself running through this floor more than once.
- Ganyu / Ayaka / Freeze team: Freeze teams are important for floors 12-1-2 and 12-2-2. On Floor-1-2, bringing a Freeze team is viable as you will always bring a Hydro character, and a Hydro character is pretty much required on this floor due to the Pyro Lector. Floor 12-2-2 sees two Hydro Lectors, which can be permafrozen and easily dispatched of. You may need to swap off a Freeze team for floor 12-3-2 if your single-target damage is not high enough.
- Arataki Itto / Noelle / Geo team: While a popular strategy this Abyss cycle is to alternate between a Freeze team and another for your second team, it was possible for me to 9-star this Abyss using a Geo team. Itto, in particular, has high single-target damage, and using Zhongli or Noelle can help you easily deal with the Primo Geovishap.
- Tartaglia / Xiangling / Bennett: If you don’t have a good Freeze team, it’s possible to vaporize the Hydro Lectors’ shields rather than freezing them. This method is more difficult due to how mobile the enemies are, but it’s certainly a viable alternative.
- Hu Tao: Single-target damage is valuable this floor, and Hu Tao is the queen of single-target damage.
Floor 12: Chamber 1 – First Half
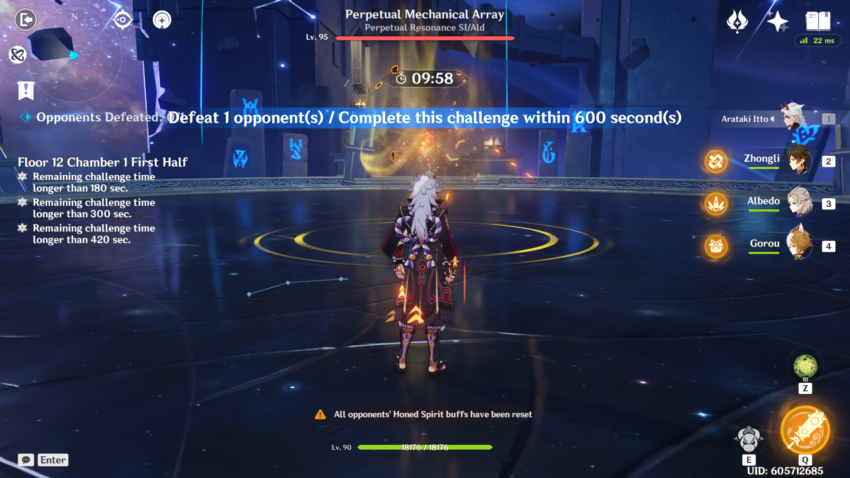
We’re starting in an overwhelming fashion. The Perpetual Mechanical Array once made waves of controversy as it previously made an appearance in the Abyss before. Now, it’s back. And it’s literally the first battle. For attack patterns, you can follow this guide here.
It’s worth noting the boss seems to enter its second phase later than usual. You can wipe out most of the Perpetual Mechanical Array’s health while it’s in its first phase. Unfortunately, aside from memorizing attack patterns and some luck, this is a DPS check. If your characters are not built strong enough, you likely won’t be able to 9-star this floor. There are some ways to ensure you get a perfect clear, though.
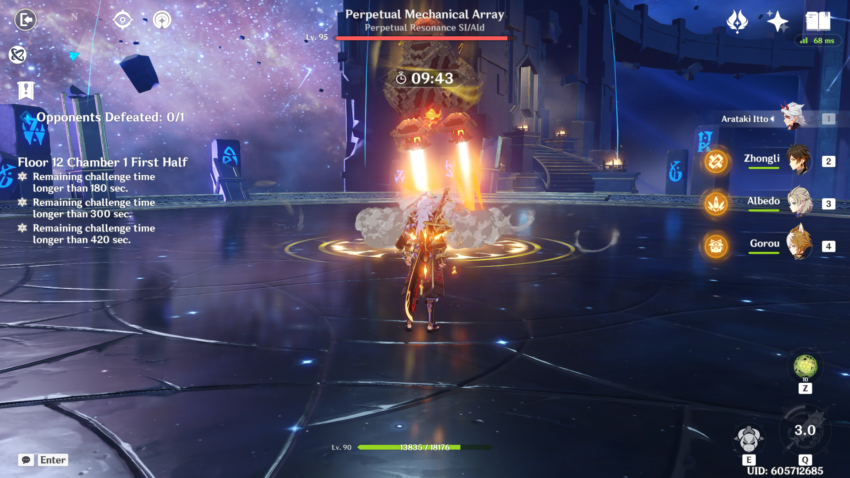
The Perpetual Mechanical Array may often fly up in the air. If this is the PMA’s first attack, you may lose some time. Consider resetting the match until you get a more favorable attack pattern.
Floor 12: Chamber 1 – Second Half

This floor has two waves of different enemies. The first wave is a group of Rockhound Whelps, which aren’t too difficult to deal with. Be careful of the Corrosion mechanic, as they can whittle your health down before you know it. Once you defeat the Whelps, the more challenging part of the chamber presents itself.
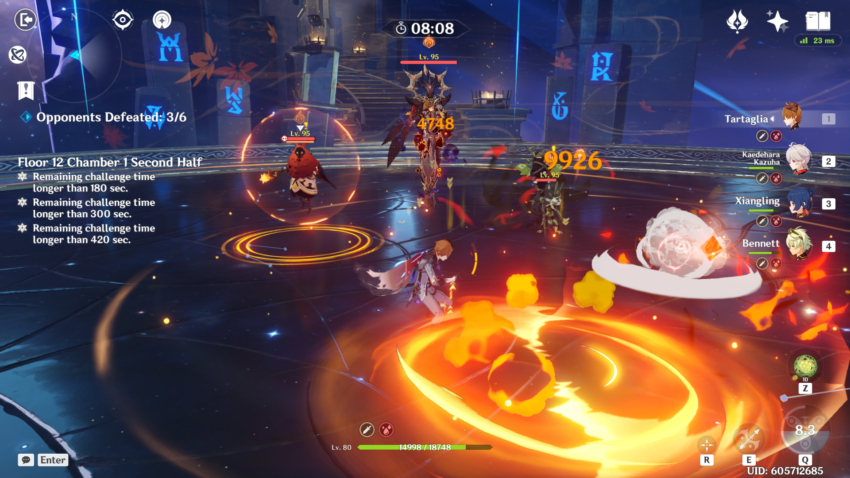
A Dendro Samachurl, Pyro Abyss Mage, and Pyro Lector will challenge you next. This is why you’ll need a Hydro character. There are two sources of heavy Pyro shielding here that quickly goes down to Hydro attacks: the Pyro Abyss Mage and the Pyro Lector’s second phase.
The Pyro Lector will gain a huge Pyro shield that Hydro damage is effective towards. This phase occurs once you deal about 80% of its HP. It’s recommended you attack the enemies in this order: the Dendro Samachurl, the Pyro Abyss Mage’s shield, and then the Abyss Mage + Pyro Lector at the same time with AoE damage.
Whittle down the shield with Hydro damage and then move on to the next floor. The next chamber is also a challenge, but not too bad if you know what you’re doing.
Floor 12: Chamber Two – First Half
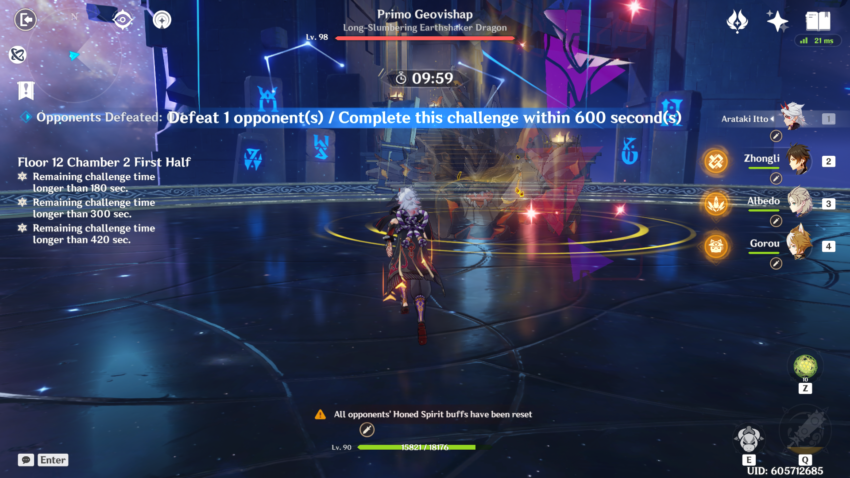
Shockingly, the next challenge is another World Boss: the Primo Geovishap. While this can be an intimidating fight, it’s actually trivialized if you have high single-target damage and Zhongli. (If you don’t have Zhongli, he’s, fortunately, getting a re-run very soon.)
The Primo Geovishap will use attacks that can be countered with the usage of shields. This accounts for a ton of damage. Supplemented with high single-target damage of your own, it’s actually not a big challenge.
If you have Zhongli, many of its attacks are pretty trivial and don’t do much to dent his massive shield. But otherwise, you can study up his attack patterns with this guide here.
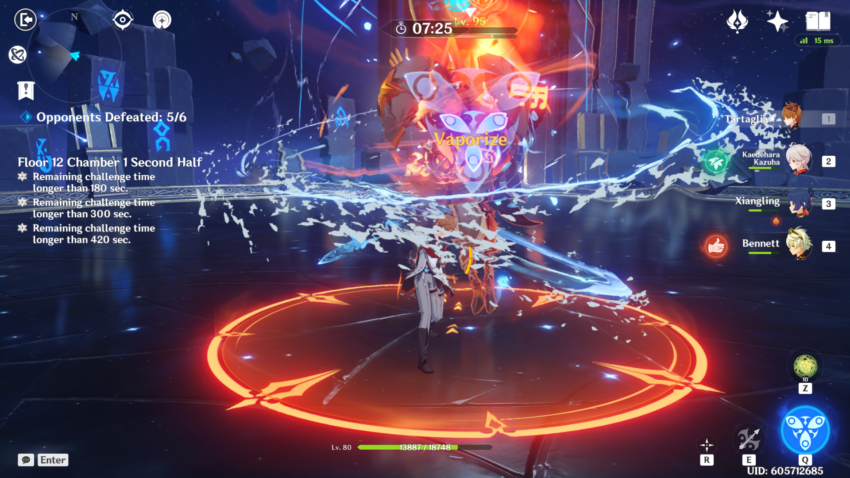
Floor 12: Chamber Two – Second Half
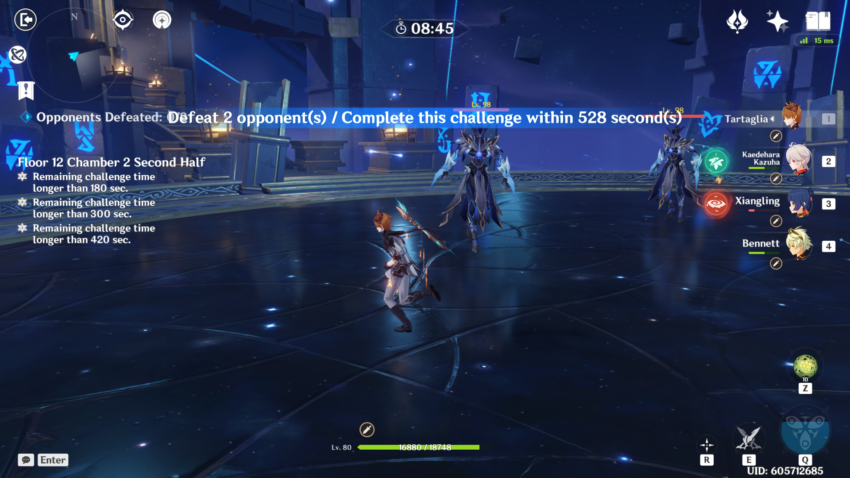
This floor is pretty straightforward. Two Hydro Lectors that spawn Hydro shields once you wipe out most of its HP. If you have Cryo characters, like Ganyu, Ayaka, or Chongyun, this fight becomes a breeze. You can freeze them permanently once they spawn their Hydro shields, so it’s no problem.
As a result, this chamber is actually not that difficult if you use a Freeze team. However, be mindful: on the next chamber, you’ll have to fight the Maguu Kenki. Most Freeze teams struggle a bit against this boss, as he requires lots of single target damage.
Therefore, I opted to use a standard Childe International team consisting of Tartaglia, Kazuha, Xiangling, and Bennett. (You can swap out Kazuha for Sucrose.) The vaporize from the two Pyro characters was just enough to wipe out the Hydro Lectors’ shields in time. However, I was able to take out the Primo Geovishap in about a minute, meaning it took me a sizable amount of time to defeat these enemies. Be mindful that using Pyro characters may require you to defeat the Primo Geovishap quickly.
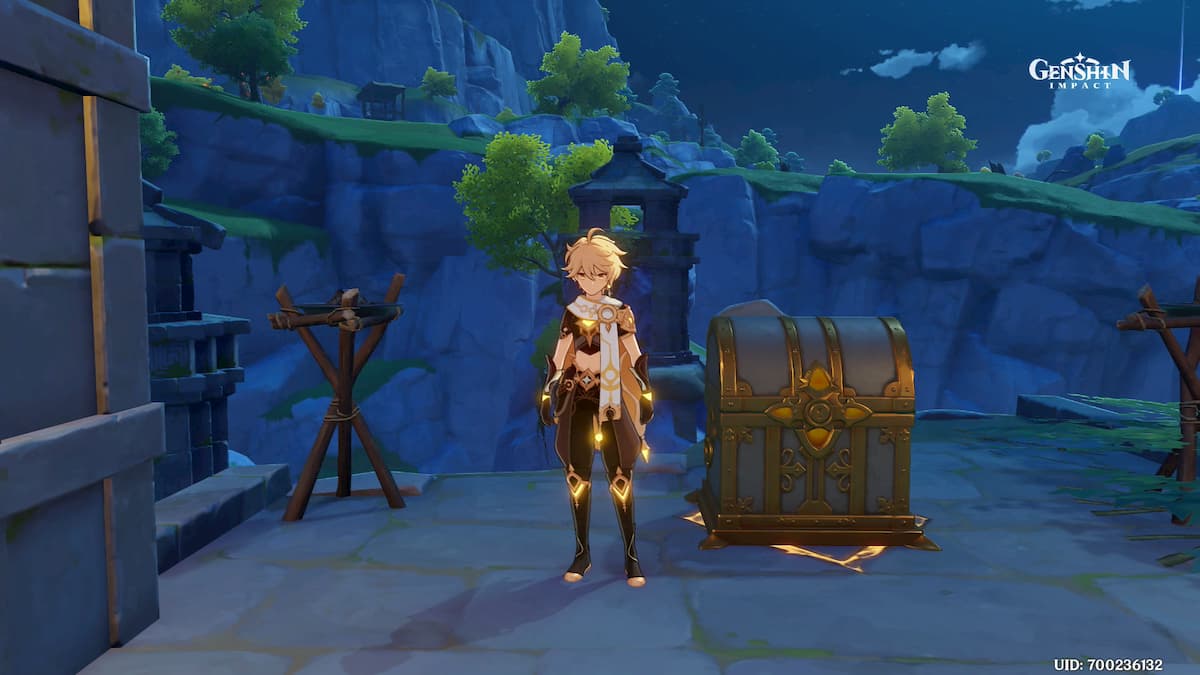
Floor 12: Chamber Three – First Half
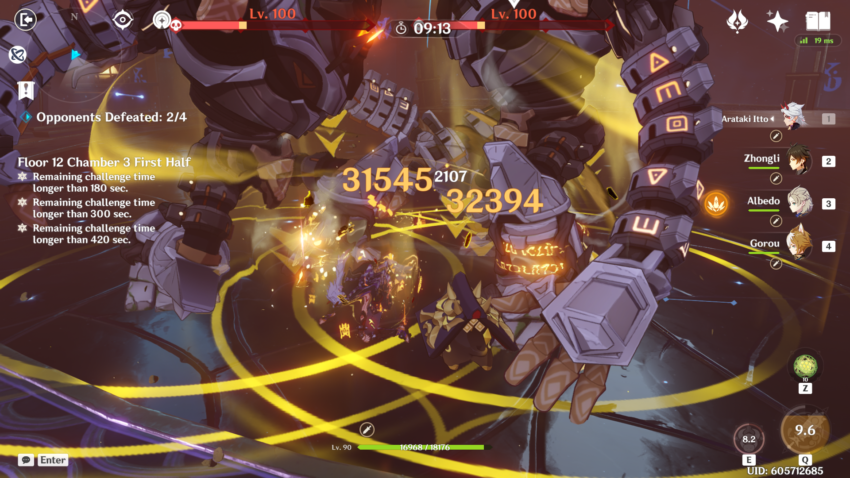
Chamber Three is actually the easiest chamber on Floor 12 if you bring the right teams. The first half is incredibly standard. The game will start with two Ruin Guards. Once you defeat those two (it’s not hard to group them up, they often will naturally), you’ll then have to defeat two Ruin Graders.
While this fight was a little easy, you need to deal tons of damage at once. Arataki Itto does strong AoE and single-target damage, which is why he was my DPS of choice for my first team. With such high numbers, this floor was not a problem. You may struggle with characters like Yoimiya or Hu Tao simply due to the high health of these enemies.
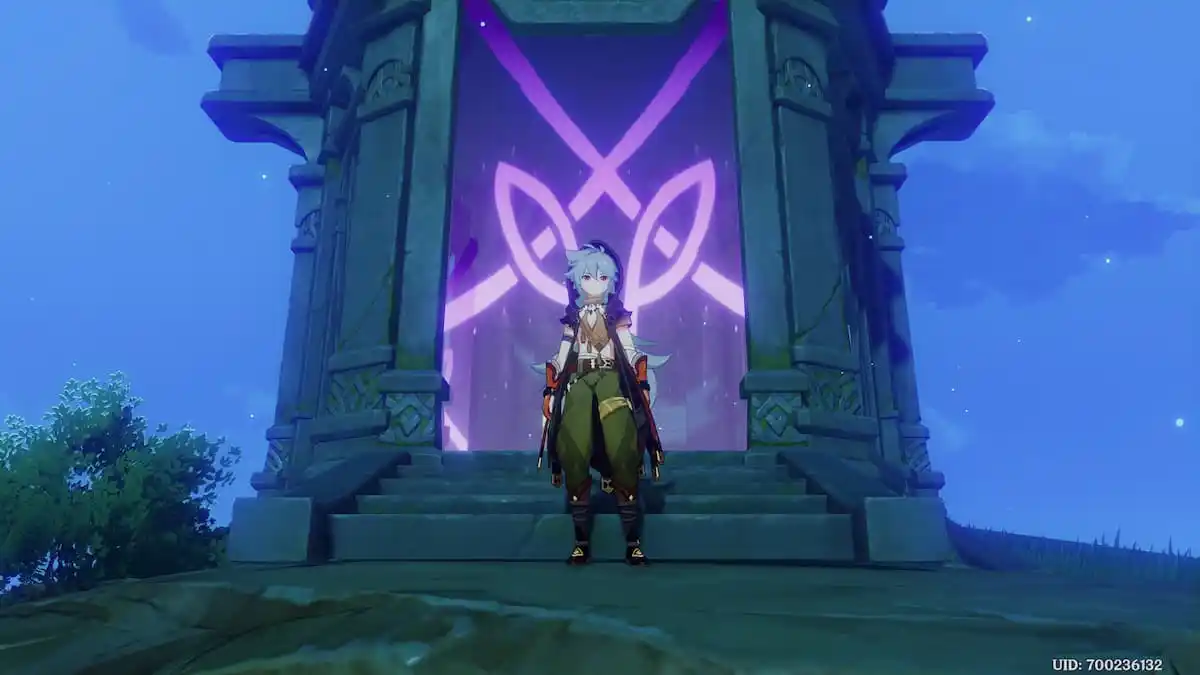
Floor 12: Chamber Three – Second Half
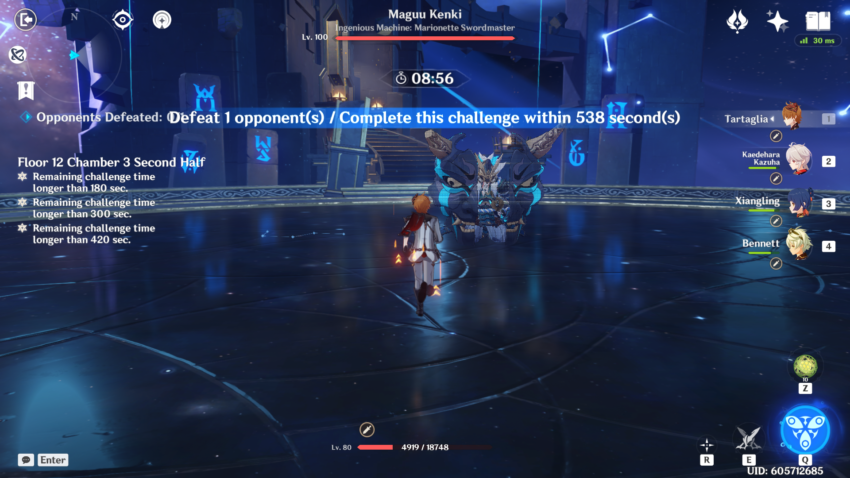
This chamber sees the return of the infamous Maguu Kenki. I actually find this boss pretty easy, but he’s controversial in the Abyss due to one mechanic: for the first ten seconds of the battle, while the boss charges up, he’s completely invulnerable.
You can use this phase to your advantage. You can see in the image above all my Elemental Bursts are down. But, by striking the boss in his invulnerable phase, you can generate energy particles to charge up your Elemental Bursts. This makes it so you can be a little less mindful of what Elemental Bursts you use in the previous chamber.
You can learn the Maguu Kenki’s attack patterns.
If you cleared this floor, congrats! You have finished the Spiral Abyss. You have plenty of time now to build up your characters for the next cycle, which is looking rather challenging to deal with.


Published: Jan 17, 2022 11:05 pm