Mayamats Shrine is one of the 152 shrines scattered throughout The Legend of Zelda: Tears of the Kingdom. Situated in the Gerudo Highlands, locating the shrine itself is relatively straightforward. However, the true challenge lies within the unique puzzles found inside.
Successfully navigating and completing this shrine demands the proficient utilization of several of Link’s special abilities. Here’s a comprehensive guide on how to locate and solve the Mayamats Shrine (A Route for a Ball) in Tears of the Kingdom.
Related: Tears of the Kingdom – Shrine Locations & Strategies
Mayamats Shrine location in TotK (A Route for a Ball)
To locate the Mayamats Shrine in The Legend of Zelda: Tears of the Kingdom, make your way to the Gerudo Highlands Skyview Tower, located at coordinates (-3959, -1313, 0422) in the Gerudo Highlands. From there, launch yourself into the air and glide westward towards Rutimala Hill, a cliff situated near the skyview tower’s own location on Meadela’s Mantle.
It is important to equip yourself with cold resistance gear to safely navigate towards the shrine. As you glide from the Skyview Tower, the Mayamats Shrine will be clearly visible on the cliff at coordinates (-4637, -1514, 0452). While it is possible to reach the shrine on foot, gliding provides a much easier and more convenient option.
Related: Tears of the Kingdom – All Armor Set Locations & Best Early Options
Mayamats Shrine Walkthrough in TotK (A Route for a Ball)
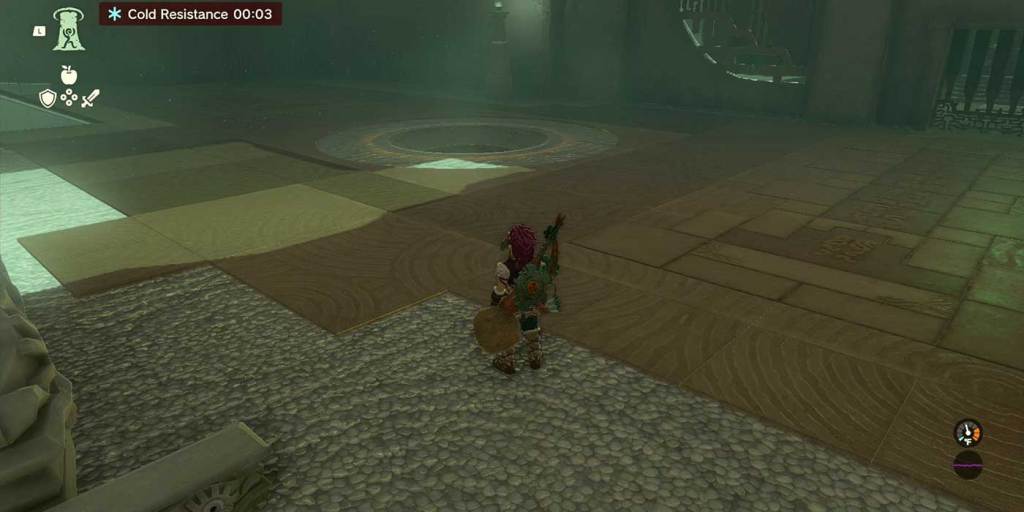
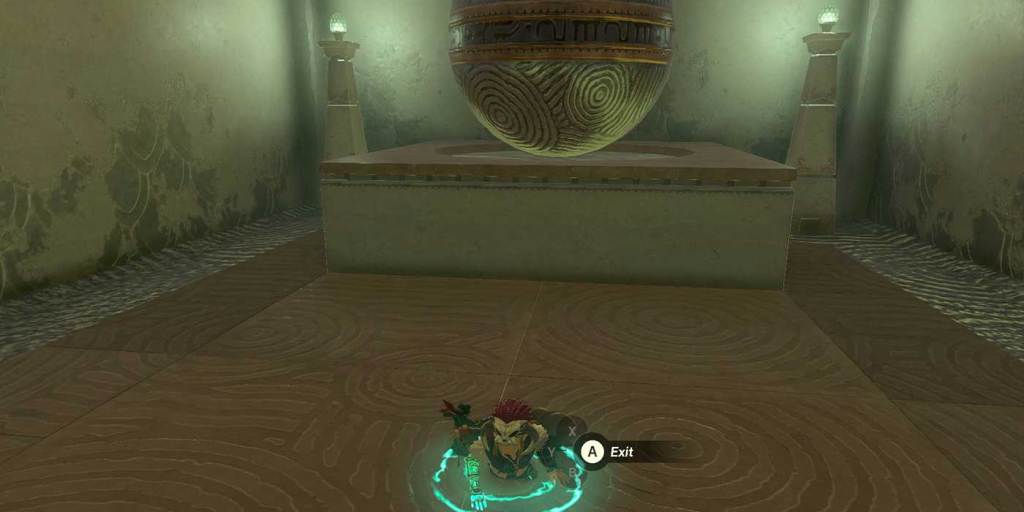
Upon entering the Mayamats Shrine, you will find yourself in a spacious room with the shrine exit located behind a locked gate. Directly to your left, there is a circular opening in the floor, which is a switch requiring activation using a ball.
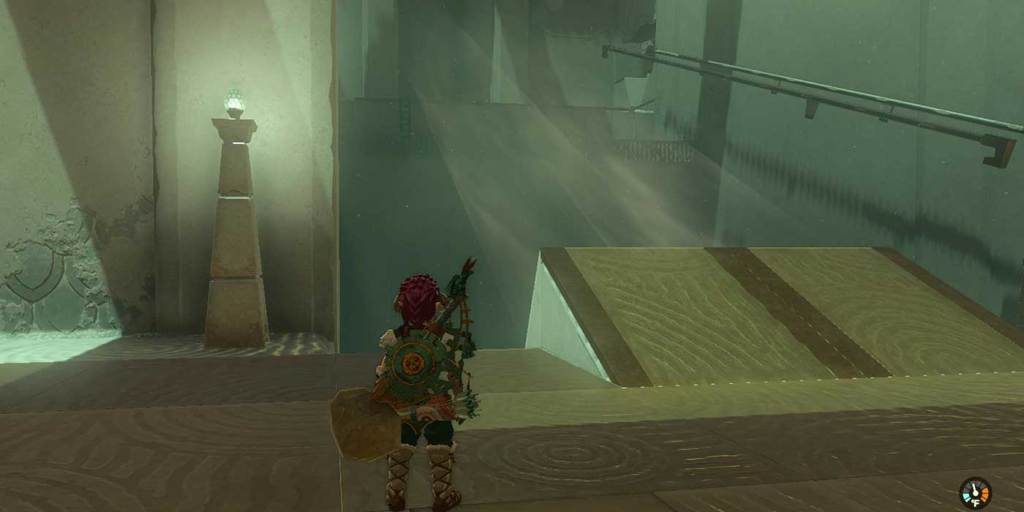
To the right, there is a sizable opening with two powerful fans generating an upward gust alongside a double rail. Climb onto the fan structure and take a leap into the gust, deploying the paraglider to ascend to a ledge above.
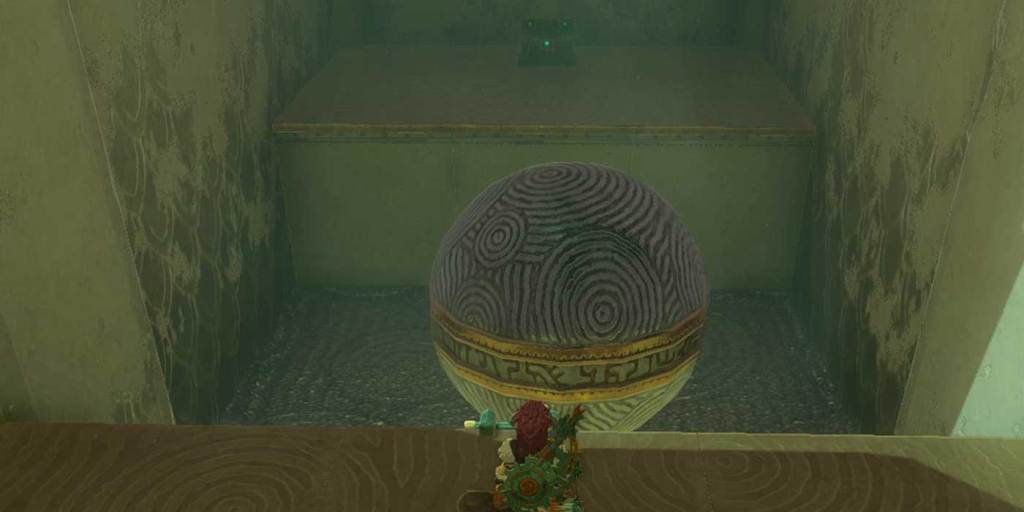
On this newly reached platform, you will notice a large ball positioned on a ledge to your left, as well as a chest on a ledge directly in front of you. To the right, there is a funnel-shaped structure in the wall along with two ball dispensers. Note that these ball dispensers will only become operational if you happen to lose the balls after bringing them back to this platform.
To acquire the large ball on the left ledge, proceed towards the insert in the wall on the front of the ledge. Utilize the Ascend ability to reach the top, then employ the Ultrahand to grab the ball and place it on the ground floor of the room. Jump down to return to the main floor.
Related: Tears of the Kingdom – All Construct Materials & Where to Find Them
Proceed by utilizing the large ball to access the chest positioned directly in front of you. Place the ball using the Ultrahand in the middle of the chamber in front of the chest platform. Next, navigate from platform to ball to platform, allowing you to reach the chest and obtain the Large Zonai Charge it contains.
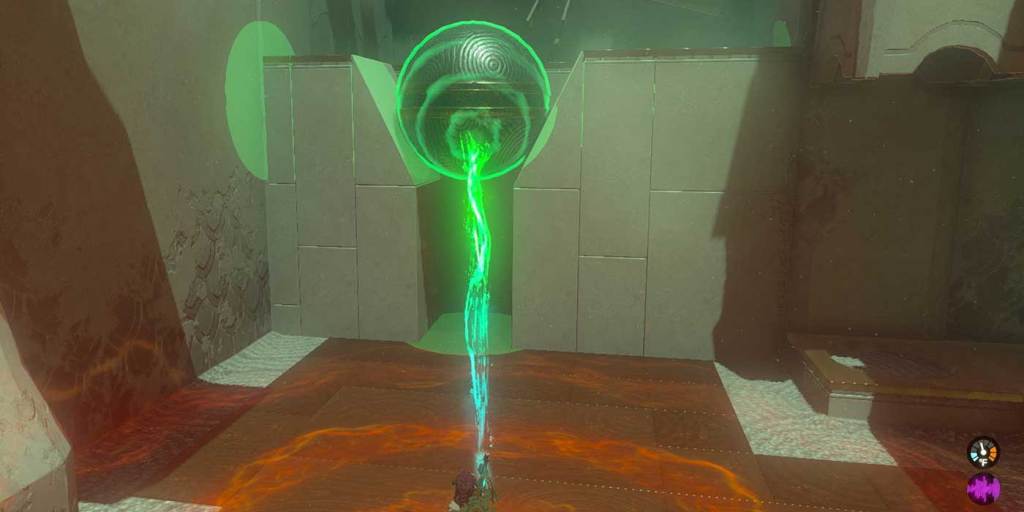
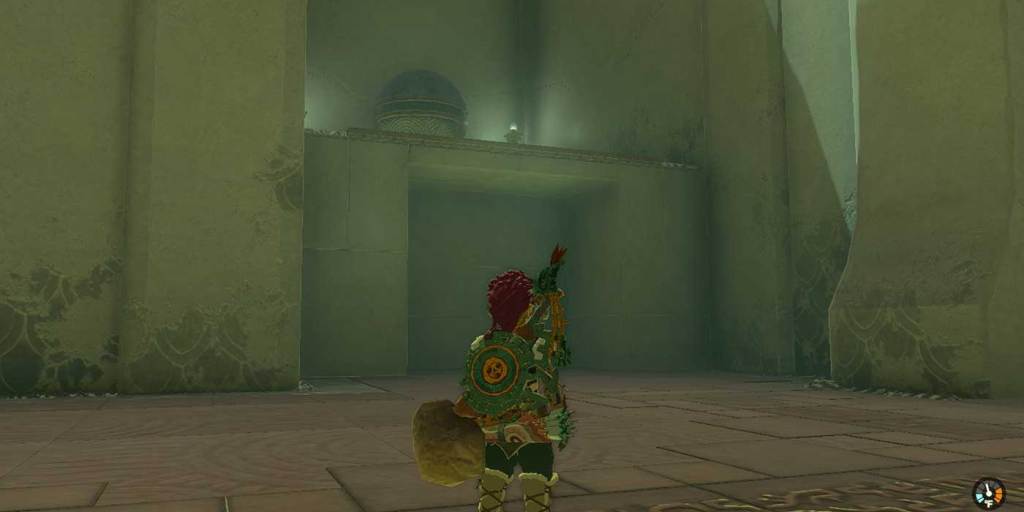
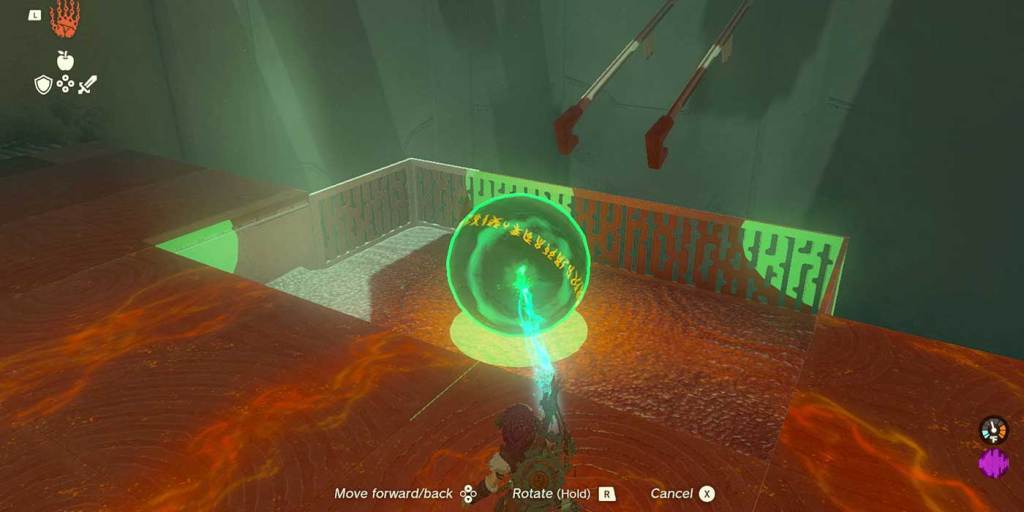
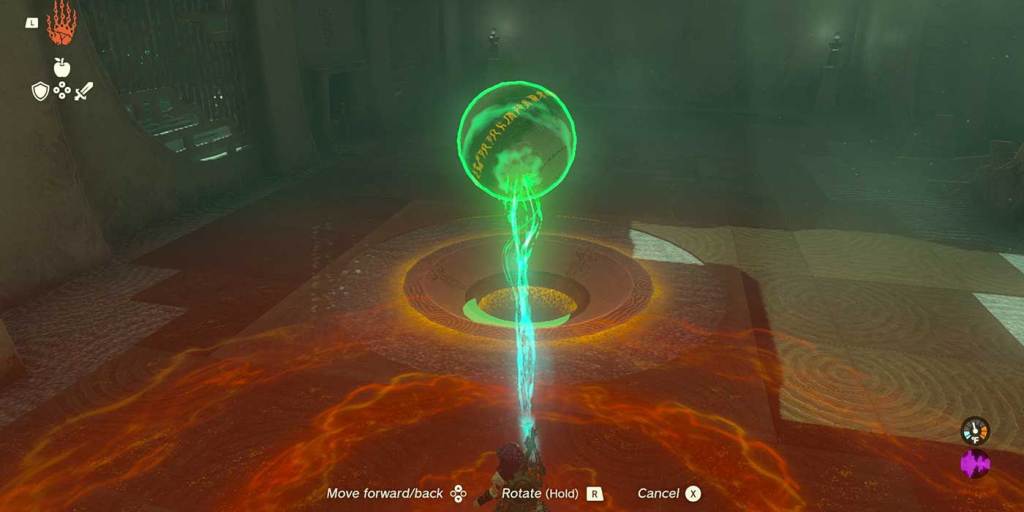
Upon returning to the main room, retrieve the large ball once again using the Ultrahand. Position it inside the funnel-shaped structure on the right wall. Position yourself underneath the ball and use the Ascend ability to travel through the large ball and enter a new room.
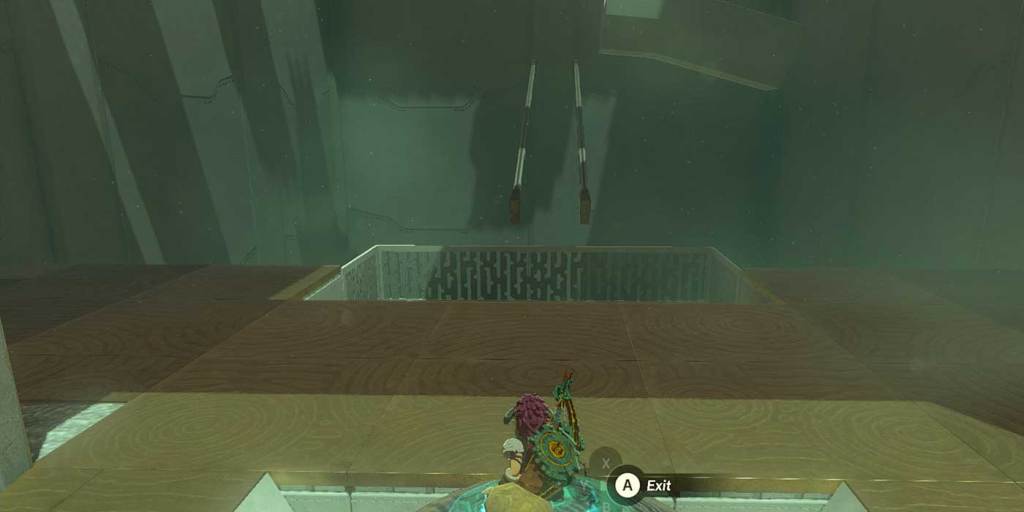
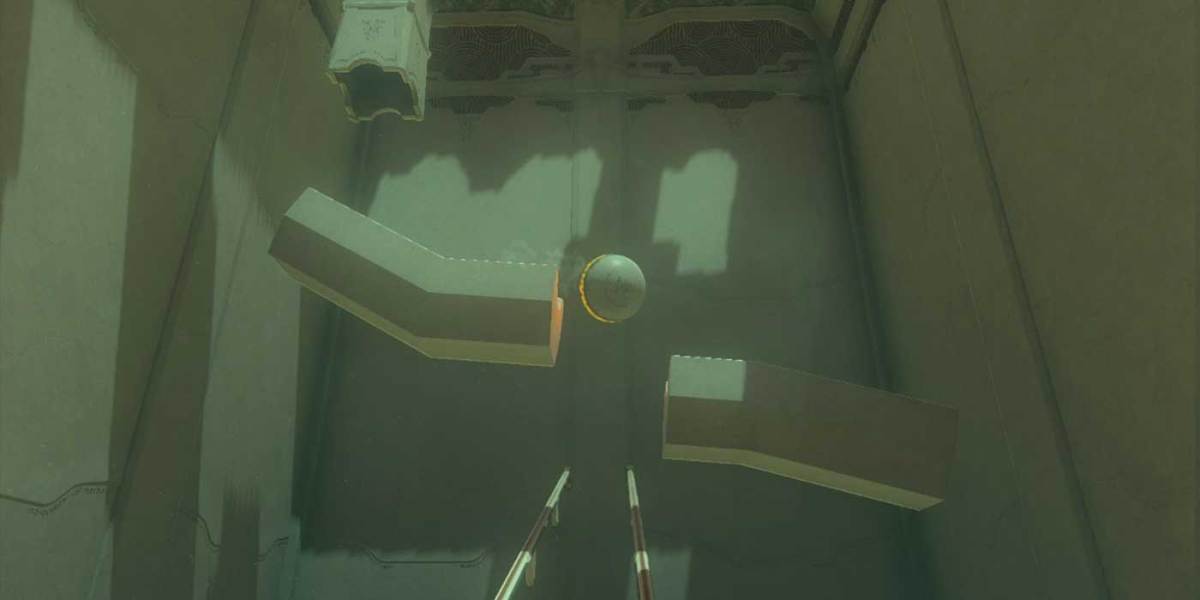
In this new area, you’ll see a ball dispenser in the top left corner of the room. The dispenser drops a small ball, which then rolls down a track and off the edge. This is the small ball crucial for activating the switch in the main room. Unfortunately, it’s too far away for Link to grasp it using the Ultrahand.
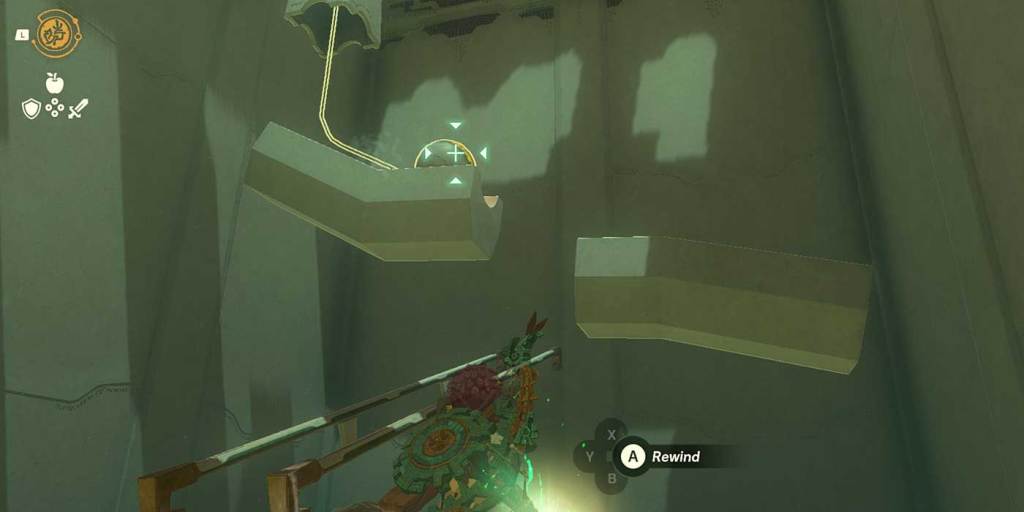
To prevent the ball from rolling over the gap between the two rails, causing it to fall onto the center rail and into the chamber in front of you, use the Recall ability. Briefly stop the ball above the rails and then release it, causing it to lose momentum and fall onto the track. Another approach is to slightly rewind the ball’s momentum on the first track, which will also cause it to fall onto the middle track.
Once you have the ball in the secured chamber before you, grab it with the Ultrahand and head back to the previous room. When you’re back in the room with both the large and small balls, you’ll need to get the small ball back to the initial room to activate the switch. However, the track to the right of the fan gust is too wide for just the small ball.
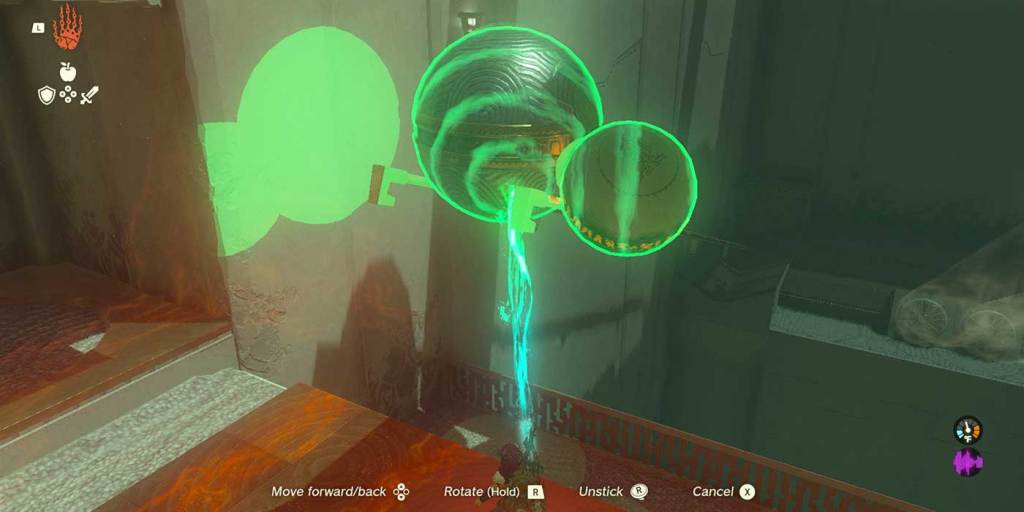
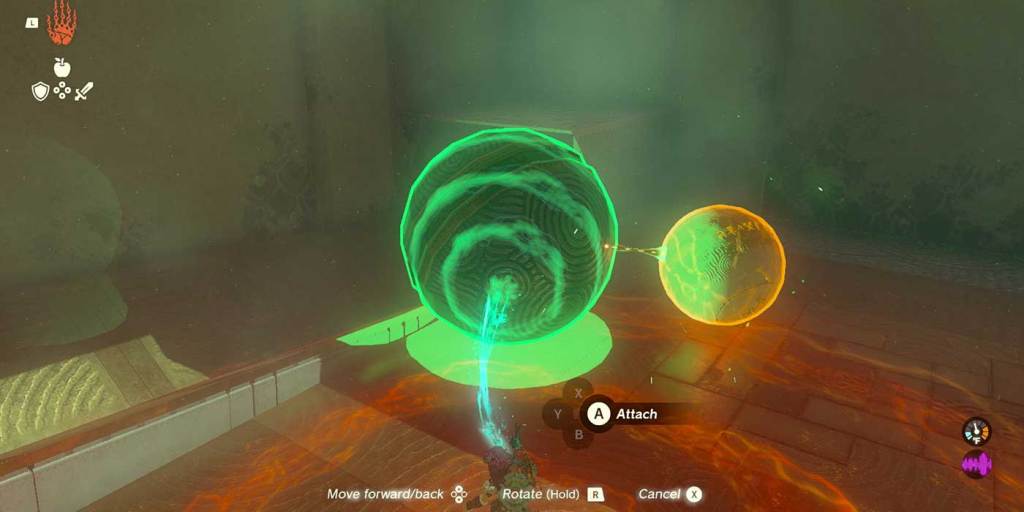
You will need to remove the large ball from where you had previously placed it in the wall, then attach it to the small ball using Ultrahand. Use the Ultrahand to lift and place the large ball onto the rail track causing it to roll, with the small ball in tow, back to the main room.
Use the paraglider to head back down to the first room, then use the Ultrahand to separate the small ball from the larger one.
Place the small ball into the hole in the ground which will activate the switch and open the door so Link can claim the Light of Blessing and complete the Mayamats Shrine.


Published: Jun 4, 2023 07:09 pm