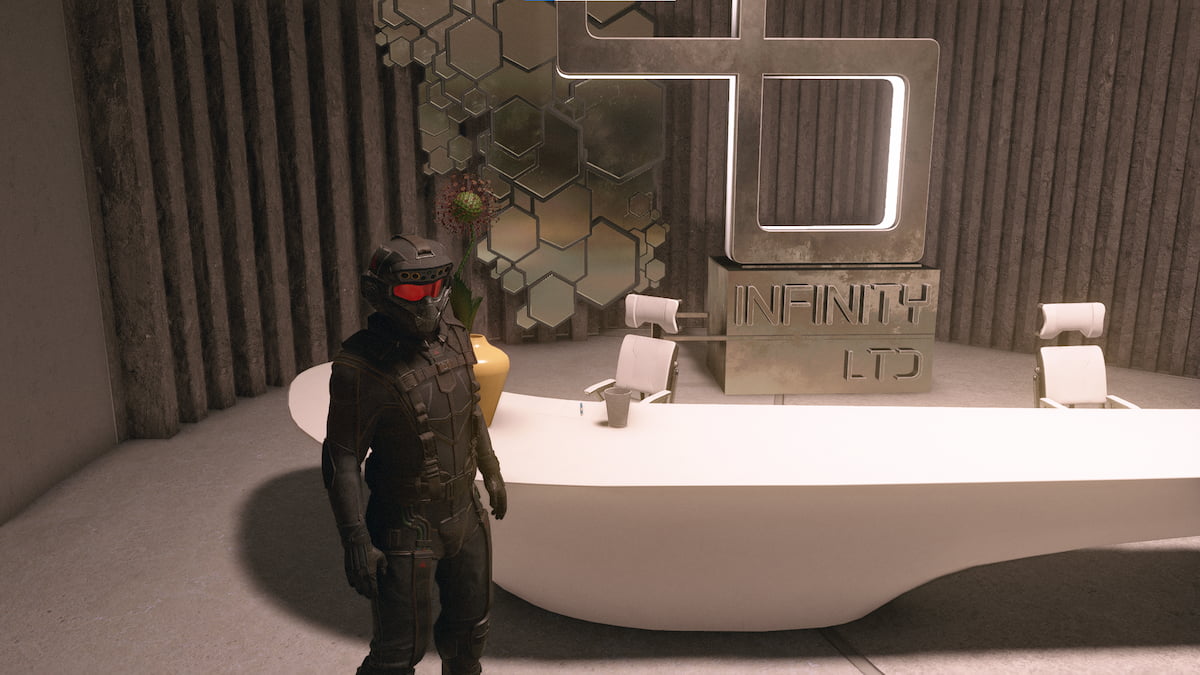
The Sabotage mission in Starfield is one of the final times you get to complete working for Ryujin. Here, you’ll be planting the evidence to share all the dirty details about the Infinity LTD CEO, exposing everything they’ve done to blame them for everything and keep Ryujin Protected.
You have two ways to approach this mission, regardless of whether you plan to try usurping Masako with Ularu. The overall mission is the same, so you shouldn’t expect anything different. Here’s what you need to know about how to complete Sabotage in Starfield.
Related: Starfield: Best Weapon & Gun Mods
All Ways to Complete Sabotage in Starfield
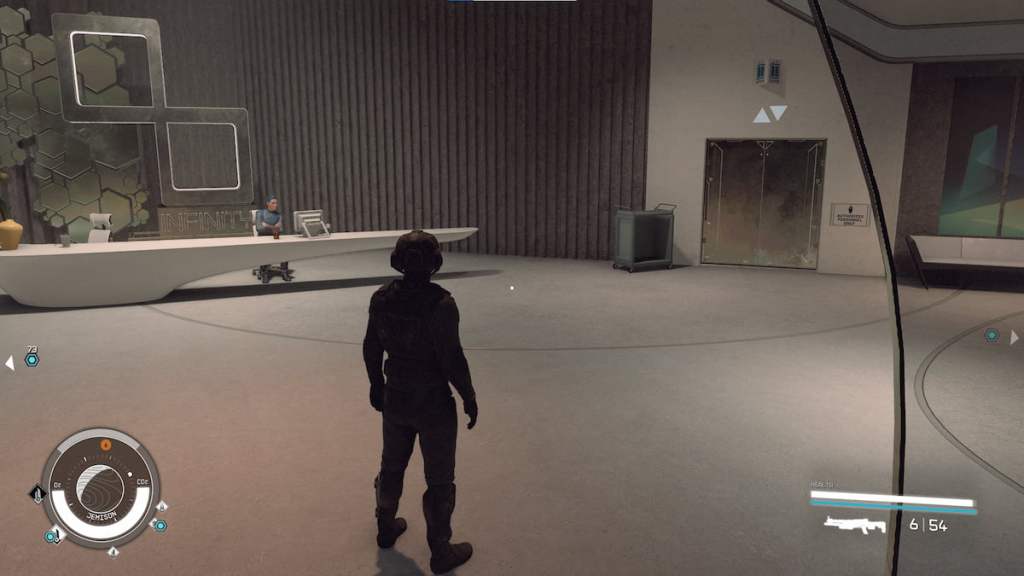
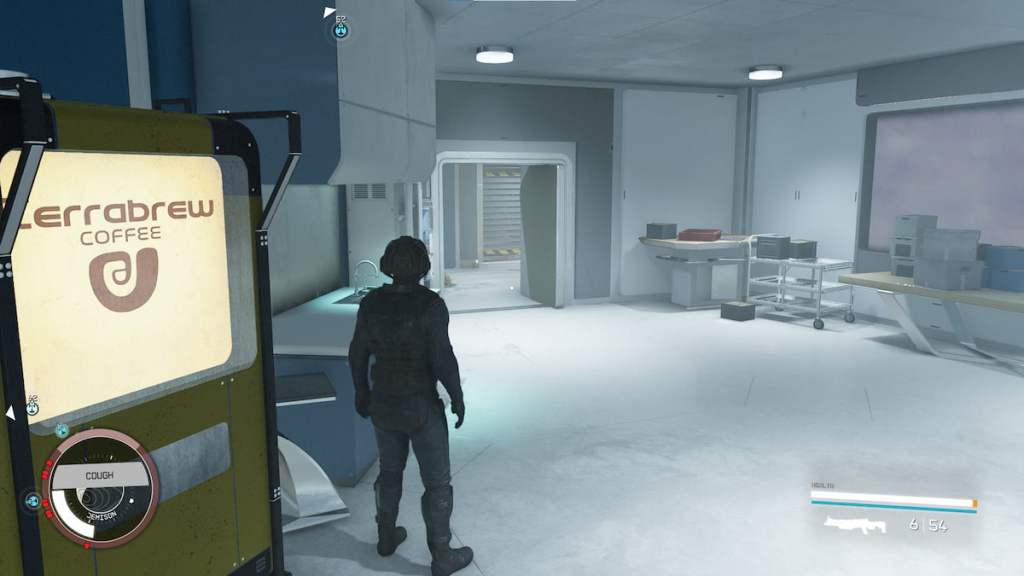
You have two ways to approach the Sabotage mission when you reach New Atlantis. Your character can take the Roof Access at the Infinity LTD building, or they can check in at the front desk and use the false identity Ryujin gave them to sneak into the building. These two choices come down to your Starfield character, and how they prefer tackling these situations. For those who like to sneak more, using the Roof Access is a good idea, and those who want to use Persuasion can speak with the front desk to start the mission.
Your choices will also be reflected based on your decisions from the Guilty Parties missions, by siding with Imogene or Ularu.
How to Sneak Into Infinity LTD in Starfield – Roof Access
When you select the Roof Access option for the Sabotage mission, remove your character’s Spacesuit and replace your gear with the Operative Suit in the Apparel section and the Operative Helmet. These are both in the Apparel section. Once these are on your Starfield character, proceed to the elevator in the lobby, and make your way to the Roof Access. Take a right when you reach the top, and move through the vent.
Here, you’ll be faced with your first task to use the neural amplifier to manipulate the guard into turning off the fan. You’ll need to open up your scanner, target the guard, and influence them to hit the switch, turning off the fan so you can make your way through the air shaft with your Starfield character. When you land, you’ll want to proceed to the right. However, to the left, there is a maintenance computer you can interact with to use the code you received from Simon, an informant from the previous missions, and you can use his code to heat the building, causing multiple people to leave, clearing it up for you.

After you’ve done that, return to this area and go through the vent, following it through to the next area with your Starfield character.
Related: Starfield: How to Complete Entangled
The next area after you reach the end of the air shaft is a higher area, above a lobby. For those who used Simon’s codes on the maintenance computer, gas will be in multiple locations, making it difficult for others to see you and clear out the building. However, before you reach this point, you’ll want to turn around and make your way towards Lucas’ Computer. You can find how to navigate to Lucas’ computer further down, but this is a location you have to reach to complete the entire mission.
How to Get To Lucas’ Computer in Sabotage

When you make your to Lucas’ office, you can find it on the top floor from where you arrive from the vents. There will be a guard on the left, patrolling the area. I got tired of waiting for him to leave, used a silenced weapon to take him out, and then unlocked Lucas’ door with my Starfield character. Inside, I had to hack into Lucas’ computer to plant the virus, before continuing to reach Infinity’s Research and Development floor.
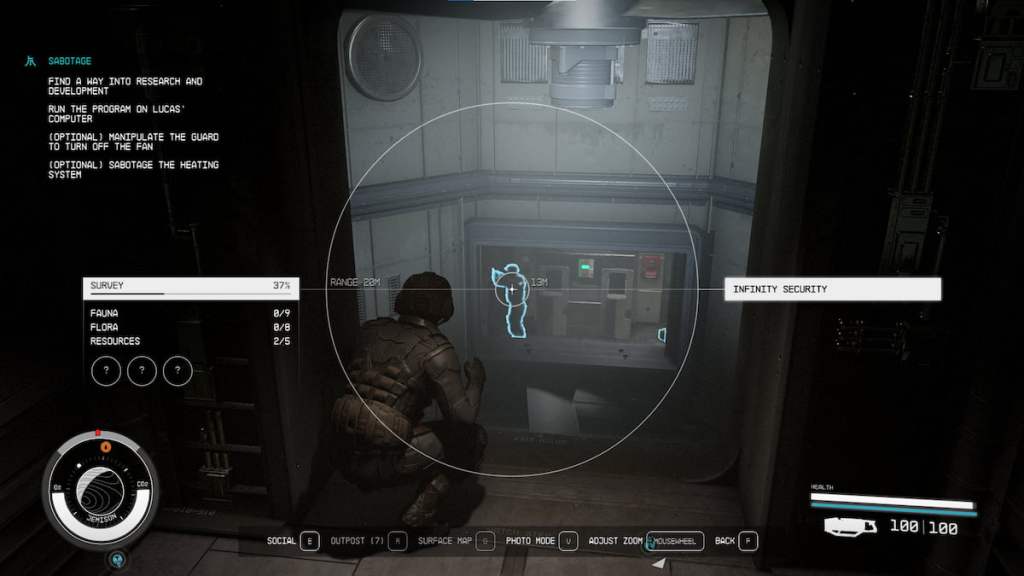
How to Get Into Research and Development in Starfield’s Sabotage
Now, make your way back to the path you were on, and you’ll need to reach the lower area, where you can find Infinity’s Research & Development area. When you land in the upper area, head to the right where the next ventilation shaft is and follow it through to the other side.
You’ll need to do a short jump, but there is a second vent you can reach, bypassing this entire area full of guards. You’ll follow the path downward and find yourself inside a bathroom, but you want to be careful before stepping out into this area with your Starfield character.

There is a pair of guards that regularly patrol this area. I have tried multiple times to bypass them, and instead have been caught each time, reloading this to get another perfect infiltration. I struggled with this so much, that I gave up and instead dashed down the hall, heading to the Research and Development area with my Starfield character. You want to keep to the hallway’s left and go down. It is important to note that if you do choose this method, avoid killing any guards.

This is a strict rule for the mission in Starfield, but it does not feel to be enforced. However, Masako will comment at the end of the mission that you were supposed to avoid a body count. To avoid the overall frustration of this mission, I didn’t care. It’s far easier to take out the handful of guards on this level, and then a few later, to quickly make short work of this mission in Starfield.
Run down the hallway, and then take another left when you go through the door. You should see a ventilation entrance when you reach the other side, and that will be the path you want to take downstairs to Research and Development in the Infinity building.
Follow the pathway through the vents, and you’ll eventually find yourself on the upper pathway of another floor. Like the last one, you’ll need to navigate the walkways with your Starfield character, avoiding the guards below. It is possible to avoid these guards, even if you were caught or the alarm is going on from the previous floor.

You must follow the pathway, avoiding the erupting gas if that’s happening in your playthrough, and proceed to the end. When you arrive, on the left will be a vent that will take you down an elevator shaft, and you’ll research the Research and Development floor for this Starfield mission, bringing you one step closer to the end.

How to Get To Fayes’ Computer in Sabotage in Starfield
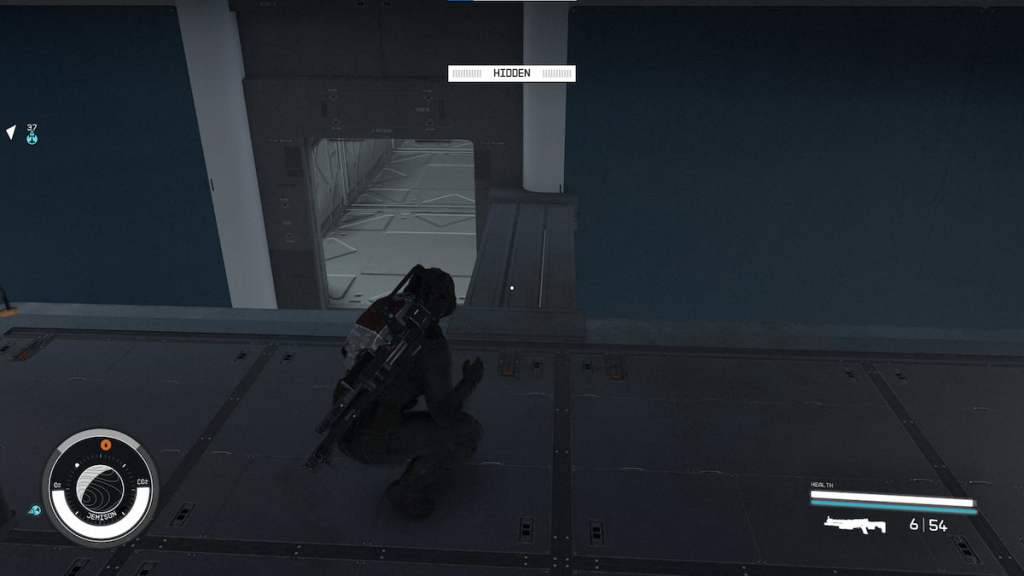
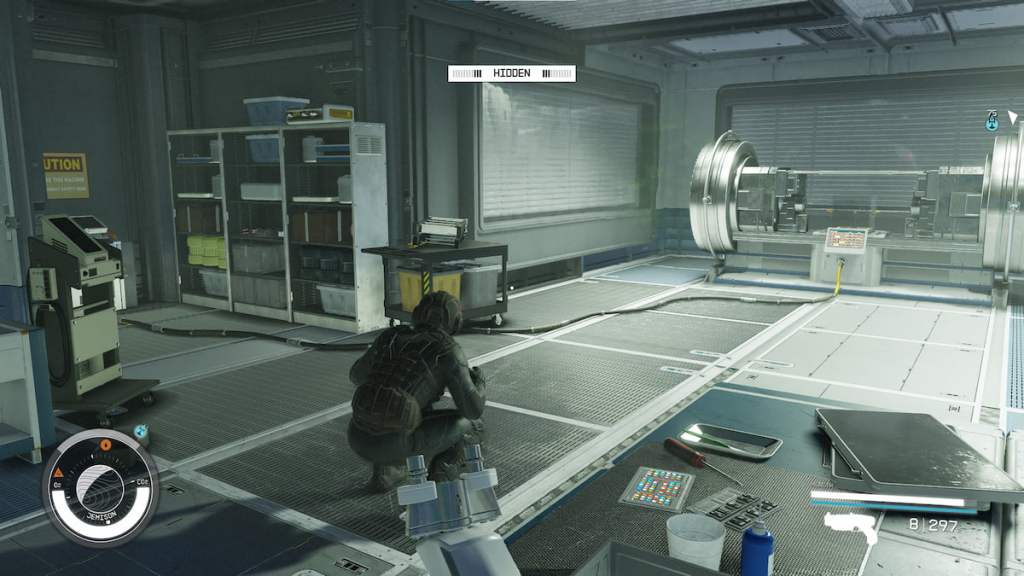
When you arrive at the bottom of the elevator shaft, there is another vent you need to open. However, be careful, there’s typically a guard standing outside it. Have your Starfield character jump onto the vent and fall to the right. Continue moving this way until they can use their boost pack to reach the top of the pipes, pull themselves up, hug the right wall to avoid the guard, and enter the Research and Development area.

Hug the right side of the wall and go down this path until you reach a room with a turret and a single guard. I could shoot the guard using my silenced weapon, and then the computer the guard was protecting could be hacked to turn off all turrets on this level.

With the turrets removed, jump onto the ground floor and take a left. You’ll enter a guarded area, but you’ll want to continue hugging the right wall and up a ramp where your Starfield character will discover an office, and it will have Faye’s Computer.

You can interact with Faye’s computer to upload the virus, similar to how you handled Lucas’. Now, you can prepare to grab the final piece of the puzzle: the Neuroamp Prototype, which is on the same level you are right now.

How to Obtain the Neuroamp Prototype in Sabotage in Starfield
Before you go over the Neuroamp Prototype, grab the R&D card to the left of Faye’s computer. You’ll need it to access the area protecting the device, and you’ll need it to sneak out of here.

Your Starfield character needs to return to where they turned off the turret controls. In that room, the bottom floor has a security door you can access using the R&D card you picked up from Faye’s office.

When you enter this research lab, go to the right of the room, next to the case that contains the Neuroamp, and close the shutters. This will prevent guards from peeking inside the room to see what you’re doing. After that, have your character go to the left side of the room and slice into the security panel, preventing the alarm from going off when you unlock the Neuroamp from its protecting casing, giving you a better advantage when you finish this Starfield mission.
The next task you’ll receive in your Starfield quest journal is to run the program on Faye’s computer. Thankfully, because of the previous step, you should know where to find Faye’s computer, and the guards won’t be any wiser than you were there.
You must go the way you came, head to the elevator to the left of the elevator shaft, and return to the lobby. You can now go to David at the SSNN to report everything, completing this portion of the mission, and you can now see the aftermath at Ryujin.


Published: Sep 11, 2023 06:10 pm