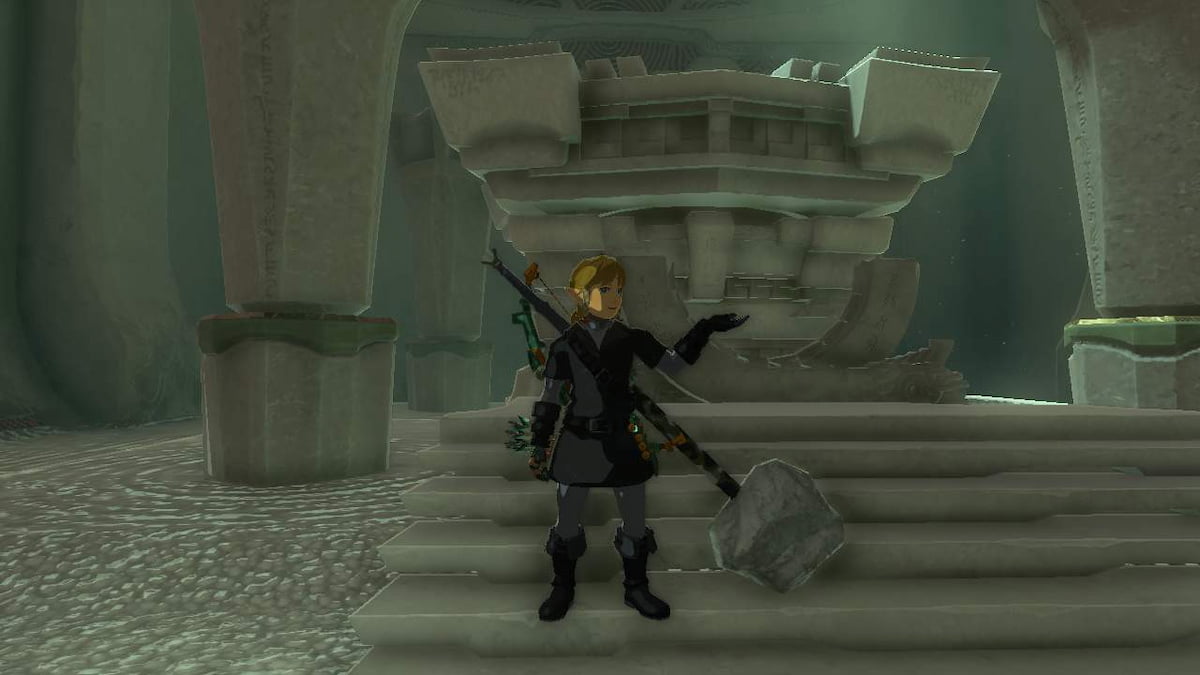
Riogok Shrine is one of the more difficult Shrine challenges we’ve encountered in The Legend of Zelda: Tears of the Kingdom. The theme for this Shrine is a focus on Force Transfer, and you’ll need to be a little creative with how you complete it.
It took us several attempts to work through the Riogok Shrine, trying to piece together the delicate techniques put together with this Shrine. Overall, we did our best with how the developers potentially wanted us to complete Riogok Shrine, but we had to get a little creative with our answers. Tears of the Kingdom is all about thinking outside the box, and how you finish the Riogok Shrine is up to you, so long as you complete it.
Where to Find Riogok Shrine in Tears of the Kingdom
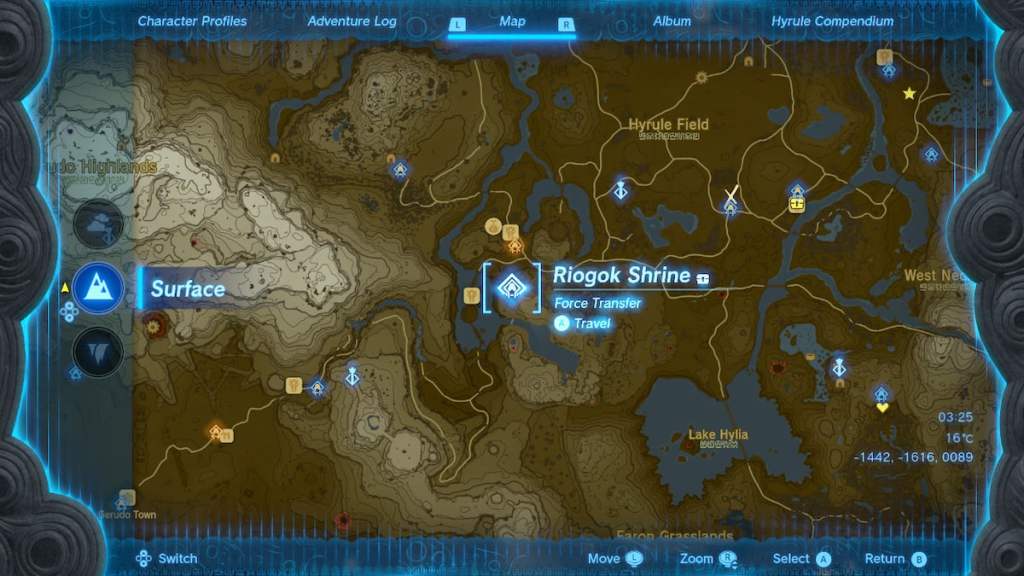
The Riogok Shrine is to the south of the Outskirt Stable, on top of the hill in TotK. You’ll need to explore south of Aquame Lake and make your way to the Forest of Spirits, and further west of this area, past Hopper Pond. You’ll find Riogok Shrine on top of the hill in TotK, and you’ll be able try your hand at completing this trial.
All Riogok Shrine Puzzle Solutions in Tears of the Kingdom

At the entrance of the Riogok Shrine in TotK, we’re greeted by a locked door and a massive wheel with a missing pole to connect the two gears at the center of the room. When hitting the glowing yellow icon on the right side, you’ll activate these gears, and because they’re not connected, the left side won’t move. The way to solve this puzzle is by connecting these two gears but feel free to get creative in Tears of the Kingdom.

Thankfully, there’s a distinct pole on the ground that you can grab, and hook between them. When we did it, we attached it to the left side, and waited until the right gear was at an ideal spot, and the two began to move together, opening the door. We don’t recommend starting the gear until after you’ve put the piece between the gears, but it won’t mess things up if you do it earlier.
In the next room, your goal is on the left side of the room, with the two concrete walls. However, if you want the chest on the right side of the room, you can reach it by unlocking the locked door on the right side. We attached the broken pole on the floor in the room to the lever and pulled it to the left, opening the locked door.

Now, we were able to remove the pole we just used from the lever and attached it to the second pole revealed by the door, and put them underneath the chest. When you’re finished with the chest, remove one of those poles, and bring it with you to the left side of the room, to the real puzzle.

The goal here is to reach the top, and this is where our expertise with the Ascend ability comes into play. We used the Ascend ability to reach the first platform and then used our Ultrahand on the pole we brought with us and place it on the next platform. After that, we put used Ascend once again and reached the second platform.

From here, we had enough of an angle to grab the pole from the first platform using Ultrahand, and brought it with use to the second level. This is where we placed it against the wall, and climbed up to reach the final room, completing the Shrine in Tears of the Kingdom. We used the same logic from grabbing the chest that we did for this final Shrine puzzle, which helped us out quite a bit.
There are other solutions to the puzzle. We’ve seen other players put their hands together to grab all three of the poles and use them to push the final platform up to reach the top. Both methods work, so long as the Shrine is completed in Tears of the Kingdom.

And that’s it! Check out our other The Legend of Zelda: Tears of the Kingdom guides below to help with crafting, exploring, and tackling challenges across Hyrule.
Tears of the Kingdom Complete Guide | Every Ability & How To Unlock Them | How to Get The Paraglider | How to Get & Use The Travel Medallion | All Armor Locations & Where to Find Them | All Construct Materials & Where to Find Them | All Shrine Locations & Strategies | How to Get More Heart Containers


Published: May 17, 2023 03:48 pm