Are you looking to get all the armor and Shrines in The Legend of Zelda: Tears of the Kingdom? Then you’ll need to complete the Lomei Labyrinth Island Prophecy side quest, which takes you through three separate mazes, each filled with different challenges and hazards. The rewards are well worth the time and effort invested but don’t expect to complete the quest, or the puzzles it requires, without some preparation. We’ll cover all three parts of the quest in this guide.
How to Complete The Lomei Labyrinth Island Prophecy Side Quest in Tears of the Kingdom
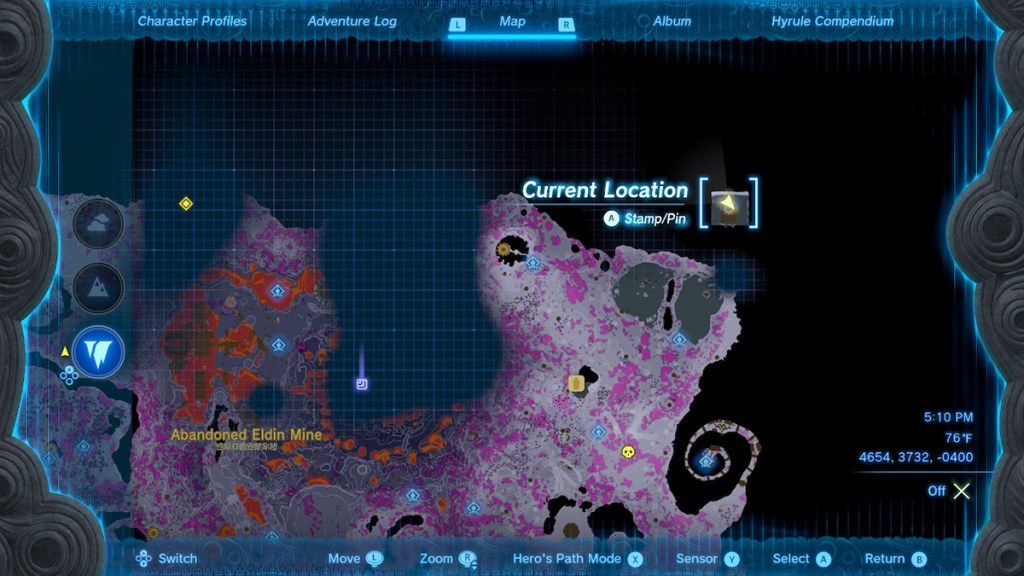
To complete the Lomei Labyrinth Island Prophecy side quest, you need to first overcome three different Labyrinth cubes in the sky, on the surface, and in the Depths. Your journey officially starts in the North Lomei Labyrinth in the northeast of the Hebra region. The fastest way to get there is to head to the Akkala Ancient Tech Lab or northeast of the East Akkala Stable, then glide to the Labyrinth from the northeastern cliffs.
How to Complete Lomei Labyrinth Island

Completing this Labyrinth requires quite a bit of traversal, but like the other land-based mazes, a Zonai researcher has left a trail of acorns for you to follow, though there are quite a few areas of deep water you’ll need to cross. To better ensure you don’t get lost, I recommend following the actions and not picking any of them up so if you need to come back for some reason, you don’t lose the path. You can, of course, simply climb up the side of the Labyrinth and drop down on the southwestern side of the central structure.
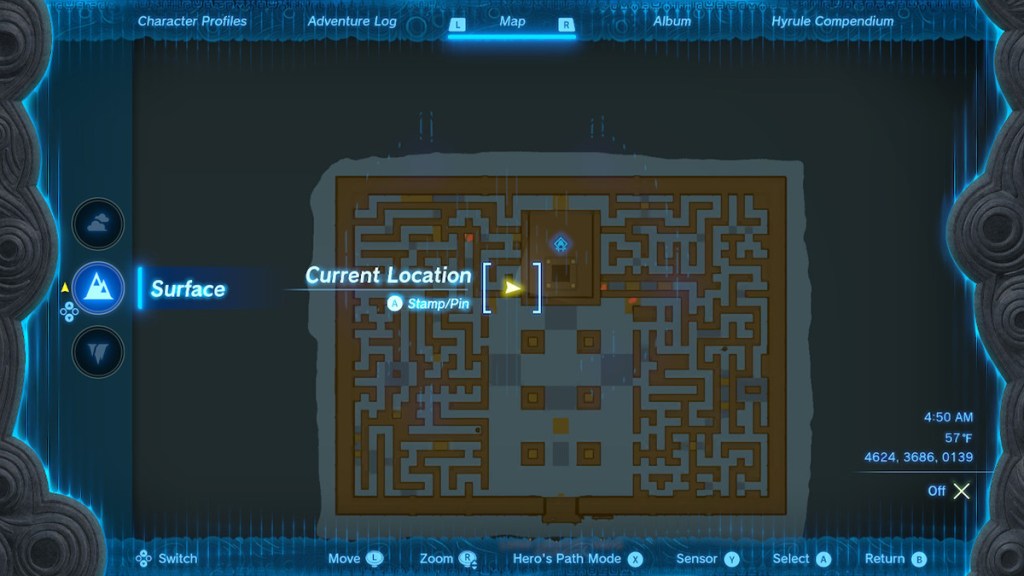
Here, however, is the acorn-laden path to the Lomei Labyrinth Island center.
- From the entrance, turn left and keep to the far-left wall and the opening into the hallways.
- Keep right and head through the hole in the wall, swimming through the deep water just beyond it, then head right past a set of logs.
- Go past the logs, through the water, and follow the path left. It’s a one-way route for a while with several deep-water sections. You’ll pass several floating logs and eventually reach an intersection.
- Head straight to the end of the short hall and turn left, and when you reach the set of three floating logs, head left again.
- When you reach another intersection, head left, right, right, then left, and then left again at the intersection. At the fork in the road, take one more left and head through the opening in the wall on the right.
- Turn around once through the opening and follow the one-way path for a while. At the next intersection, go straight across the raised platform and keep left.
- Follow the path all the way around the left until you reach another intersection, and take the first left. Keep right at the next three-way path.
- Continue until you see a large metal block on your right. Use Ultrahand to move it out of the way, and continue down the path it was blocking.
- Follow the one-way path and keep left at the next intersection, then take a right at the camp.
- Continue right, and the one-way path should lead to a ladder.
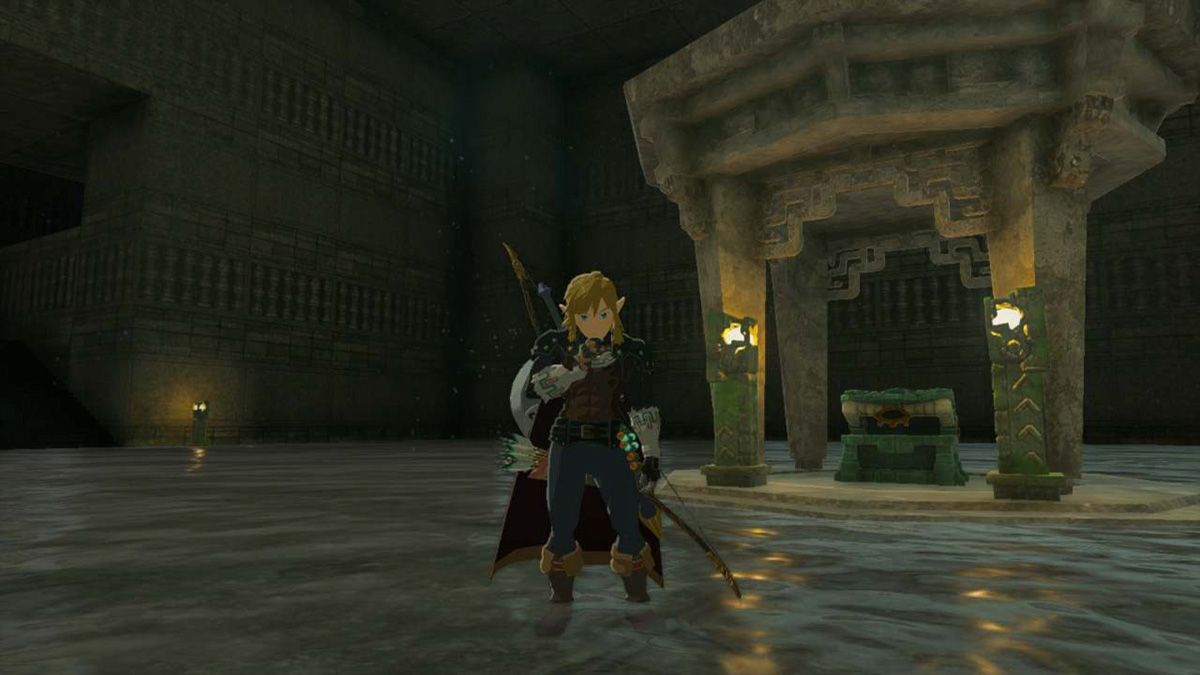
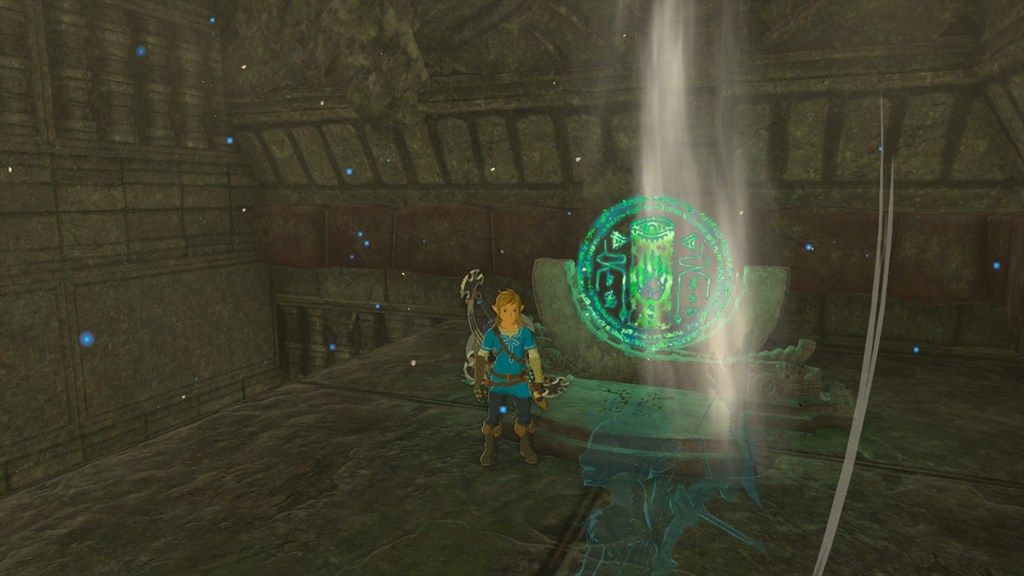
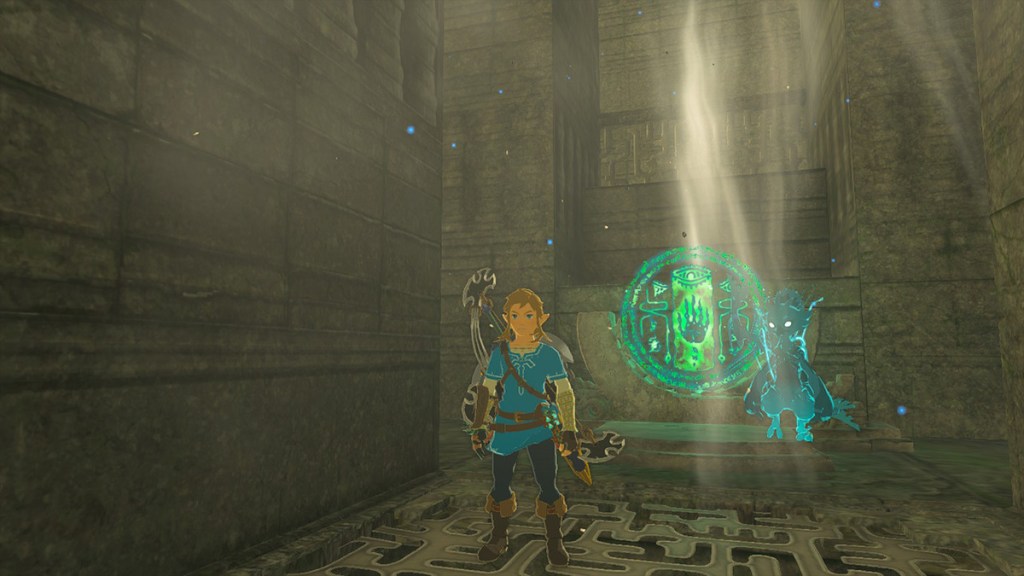
Up the ladder and down the hall is your destination. You can burn the brambles on your right and climb up for a Strong Zonai Longsword, but the Shrine and terminal are up the stairs straight ahead.
How to Complete Lomei Sky Labyrinth
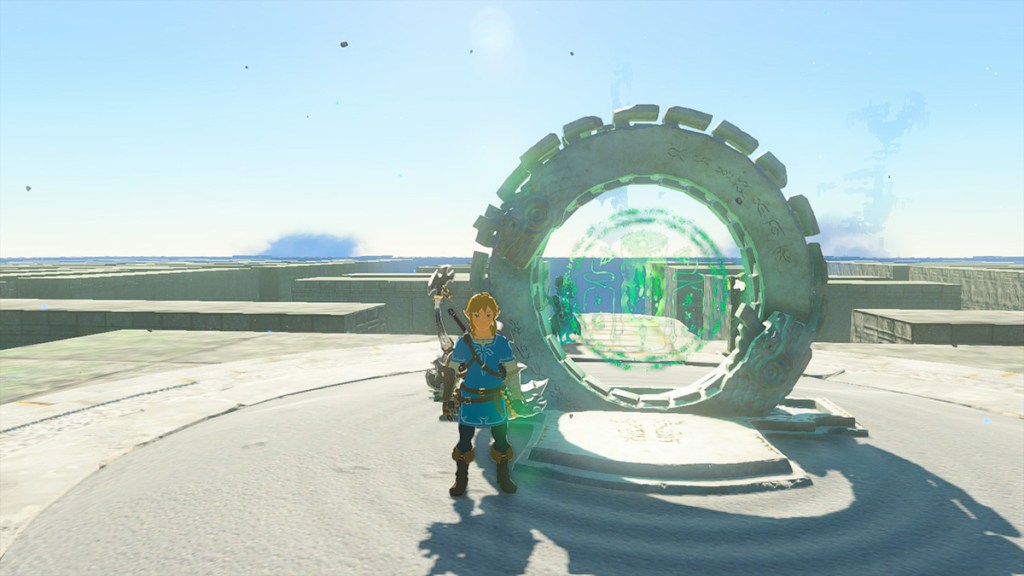
Before you can even start the Lomei Sky Labyrinth, the second part of the side quest, you have to get there. You’ll need to cobble together a flying Zonai device, whether that’s as simple as the air bike or as complex as an airship. However you do it, you have a long way to go, so enough bring Zonai charges to ensure you get there, and grab the Shrine at the maze’s south entrance if you need to return later.

You’ll be directed to find four more terminals in the maze itself, one close right and another far right, with the same basic concept for the left. Our directions will all be from the central elevated platform.
Close Left Terminal
To get to the close-left terminal, start by taking the opening in the leftmost wall of the central chamber, then:
- Take the first right, then go straight, past all the intersections.
- At the end of the hallway, turn right and drop onto the green-covered stone platform below you.
Far Left Terminal
To reach the far left terminal:
- Glide through the large opening at the back of the central chamber, then take an immediate right.
- Go around the outside of the treasure chest room wall until you see an opening to your left. Go through and make another left.
- Continue until you can see some platforms to land on, head around their corner, go across the gap to the other wall, turn left, and take the straightaway all the way to the terminal.
Close Right Terminal
To get to the close right terminal:
- Go to the end of the main chamber and take the opening on the right hand wall and take the hallway to the end, then turn right.
- Continue until you can turn to the left, do so, then go immediately right until you reach another wall.
- Turn left and follow the one-way path to the terminal. Don’t go all the way to the end of the one-way hall, however. Instead, set down on the lower platforms and let the air current carry you all the way up so you can land on a higher platform to reach beyond the bars.
Far Right Terminal
To reach the far right terminal:
- Glide through the large opening at the end fo the central chamber, and take the immediate right path.
- Go all the way to the end of the long hallway, turn right, then make a fast left and keep left until you hit a T intersection.
- Turn left at the T and go all the way to the end of the hall. You’ll see some bars on your left. Fall until you can catch the wind current, then ride it above the barriers and take a right at the end of that hallway.
- Head straight down this hall, then turn left at its end. You’ll find the final terminal just below you.
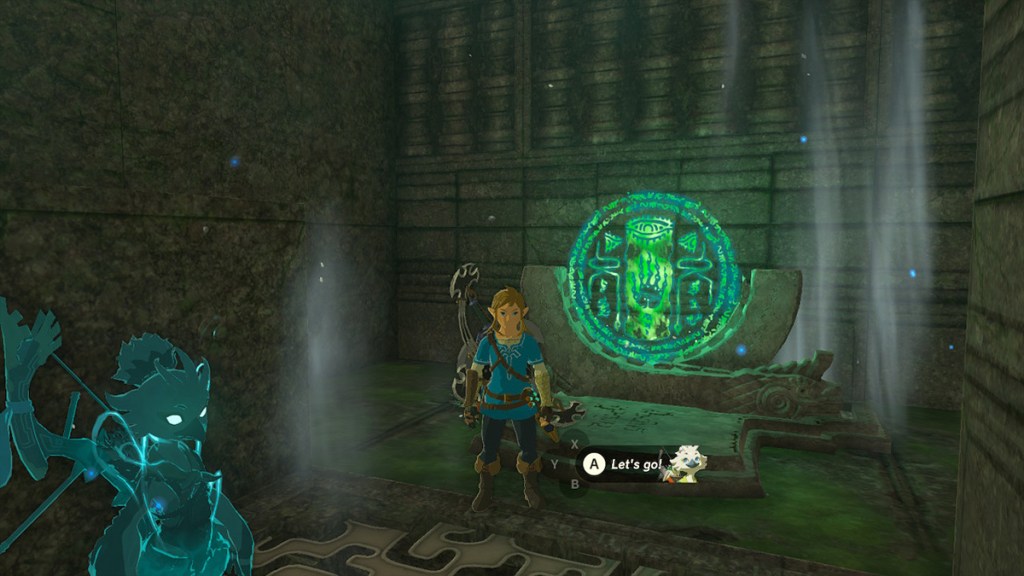
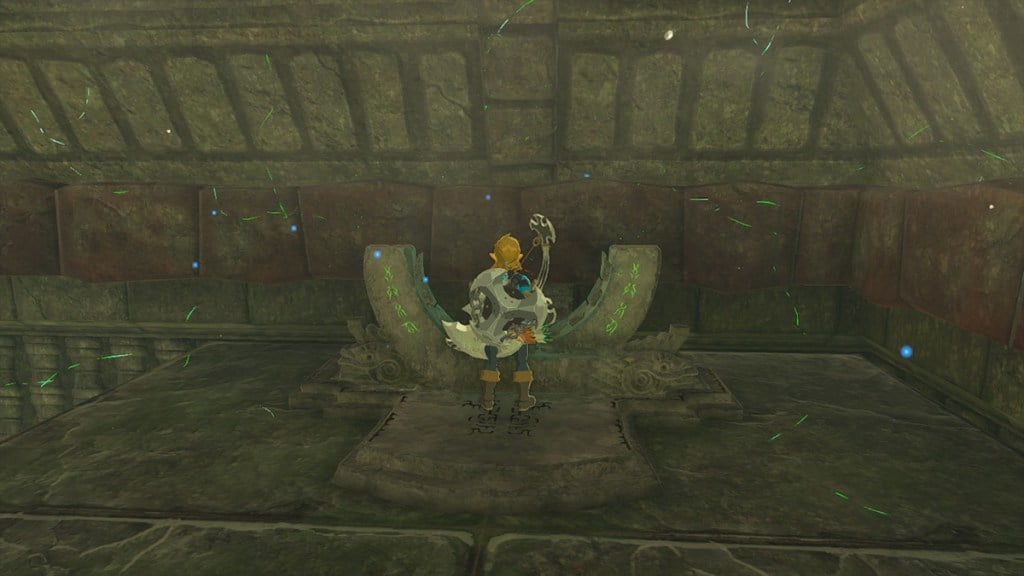
With all the terminals active, a fifth will appear on the roof of the Labyrinth and the air currents will become strong enough to take you up top. Activate the terminal, then jump down into the Depths from on high.
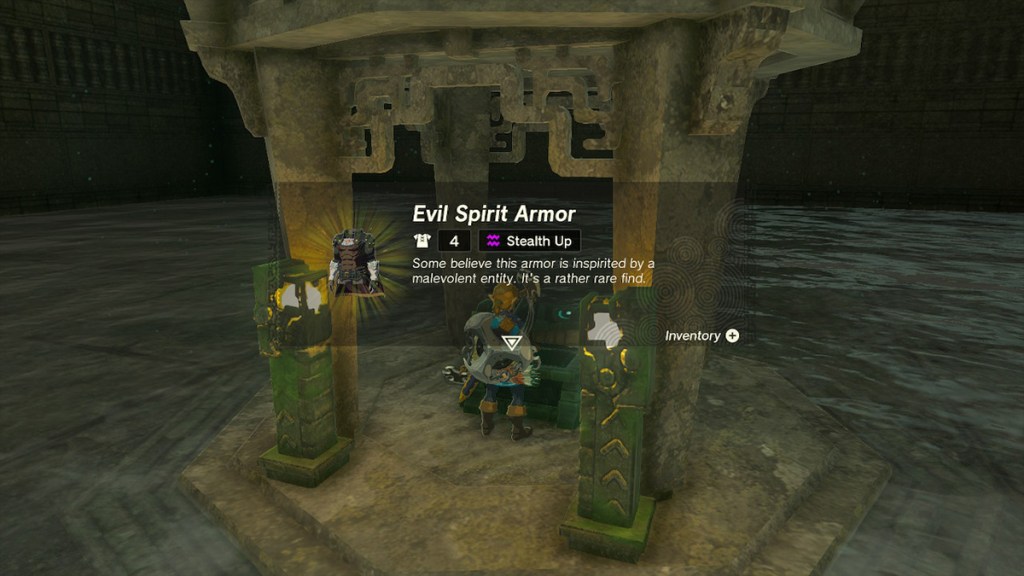
It’s a fairly straight shot from the sky Labyrinth, but you’ll need to do a little adjusting so you don’t splat on anything. Head down into the lowermost chamber and take out a Flux Construct III, and the chest containing the Evil Spirit Armor is yours.
You’ll also complete the Lomei Labyrinth Island Prophecy side quest. Be sure to head up the stairs at the back of the Construct boss arena and up the ladders outside to pick up the Lightroot, as well.
And that’s it! Check out our other The Legend of Zelda: Tears of the Kingdom guides below to help with crafting, exploring, and tackling challenges across Hyrule.
Tears of the Kingdom Complete Guide | Every Ability & How To Unlock Them | How to Get The Paraglider | How to Get & Use The Travel Medallion | All Armor Locations & Where to Find Them | All Construct Materials & Where to Find Them | All Shrine Locations & Strategies | How to Get More Heart Containers


Published: Jul 7, 2023 03:36 pm