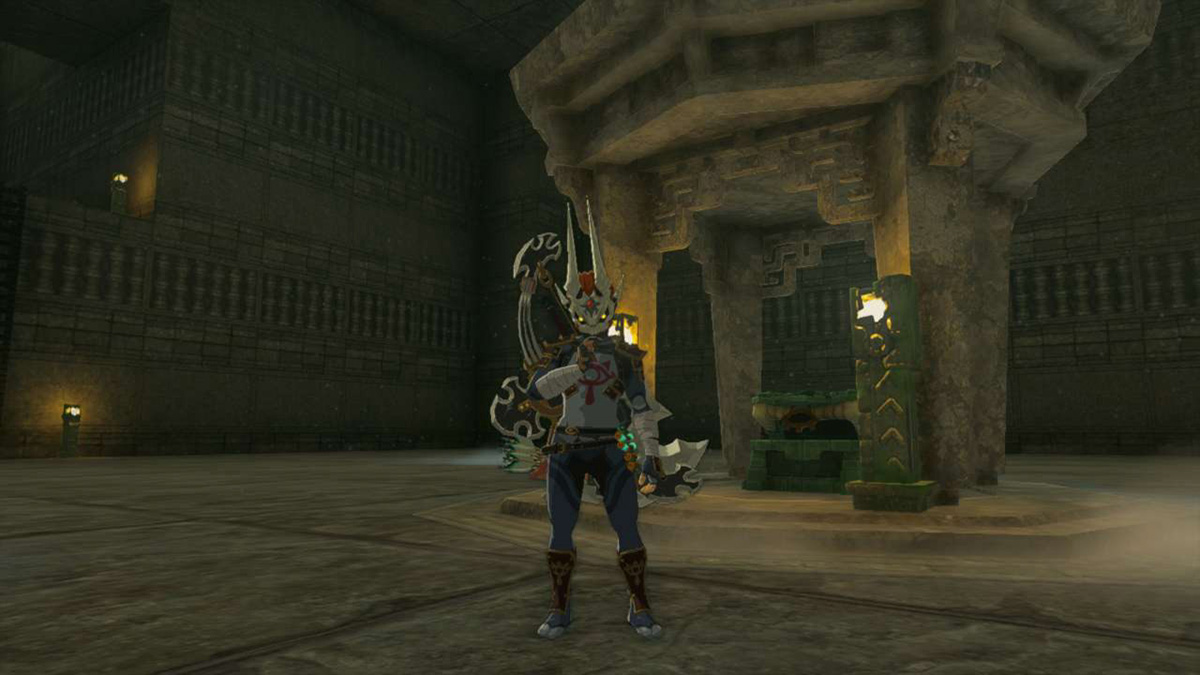
If you’ve explored a lot in The Legend of Zelda: Tears of the Kingdom, you’ve no doubt seen the huge cubes high in the Sky, and even scattered about Hyrule Kingdom. These are the Lomai Labyrinths, and solving them not only awards Blessings of Light and more than a few Shrine completions, there are also boss fights with powerful Fuse materials and incredibly rare rewards to be had. Solving the South Lomai Prophecy Side quest will see you complete all three Labyrinths in the southwest of Hyrule around the Gerudo Desert. Here’s how.
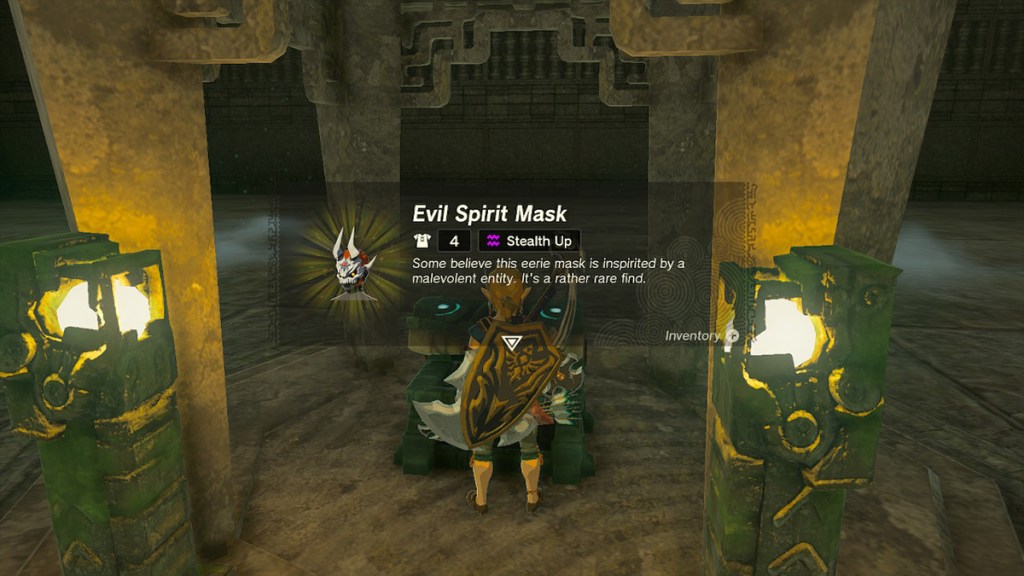
Related: Tears of the Kingdom – How To Get the Evil Spirit Armor Set
How to Complete the South Lomei Prophecy Side Quest
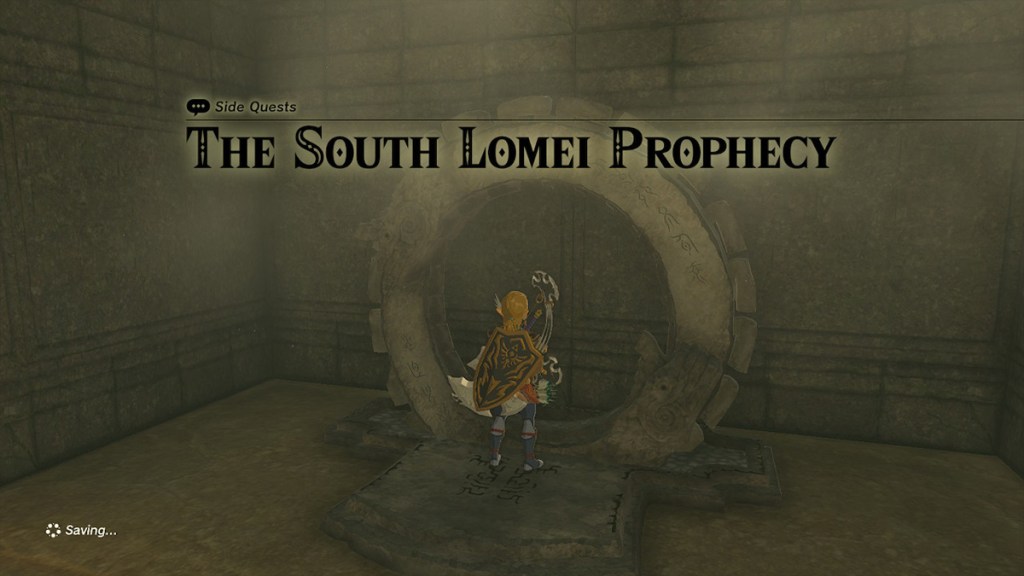
The South Lomei Prophecy requires you to complete all three Labyrinths in the southwest of the game world, and you need to start with the South Lomei Labyrinth, which is on mainland Hyrule.
How to Solve the South Lomei Labyrinth
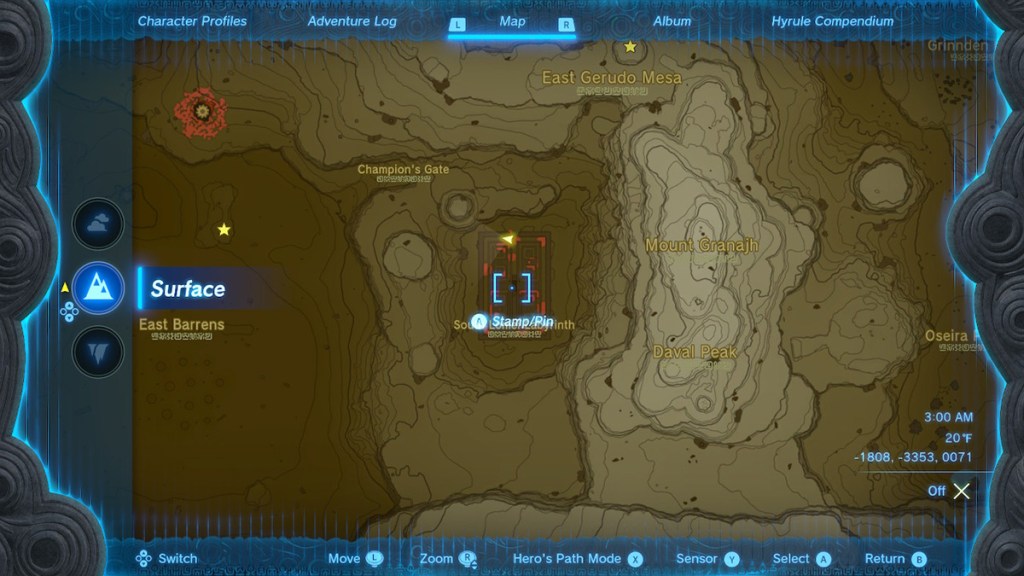
Start at the northern edge of the Labyrinth, and you’ll see a campground near a stone slab. The journal on the small bench there says the researcher left a trail of acorns during their exploration. Following the acorns, and the campgrounds they lead to, will take you straight to the solution, but we’ll cover the turns you need to make here as well. From the start:
- Turn right and go to the end of the hall.
- Turn left and head to the second camp.
- Turn left and go up the stairs, take a left down the stairs, and go straight.
- Past the gloom patch down the long hallway is a path to your right. Take it.
- Take an immediate left, then an immediate right, then right again up the stairs.
- Turn left at the bars, then make an immediate right over the hill and down to the hall’s end.
- Go up the stairs, turn right, then head left, and keep slightly left at the fork.
- Go to the bars at the end of the hall and turn right, then turn 180 degrees up the stairs.
- Head directly across the platform and down the steps, then turn right at the camp.
- At the end of the hall, turn left at the hill, drop down past the lights, and turn left at the gloom-covered hallway.
- Go all the way down to the hallway’s end, turn left, then turn right midway down the hall.
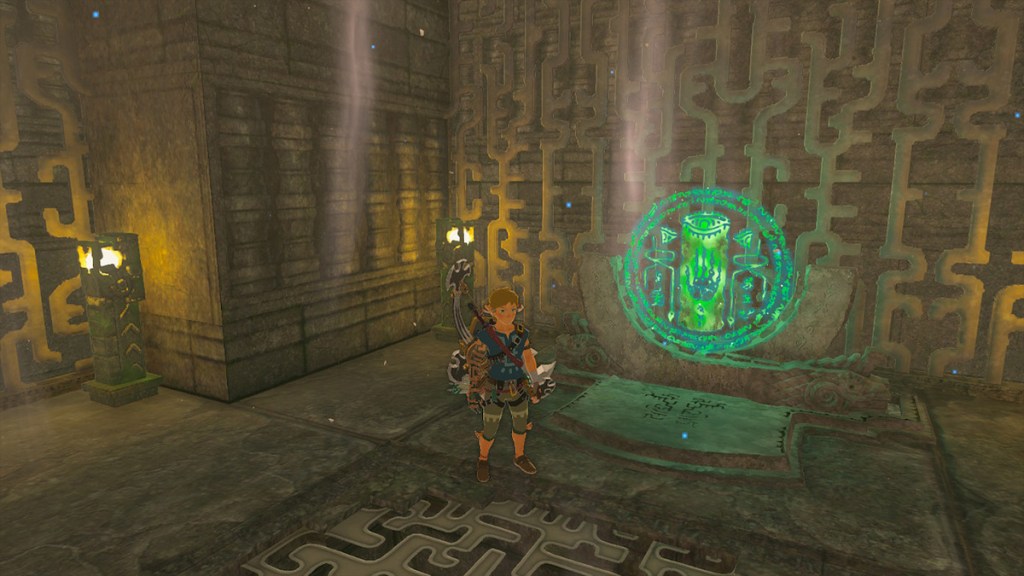
- Turn left at the camp and drop down to activate both the Shrine and the Zonai device.
Once you activate the Zonai energy ring in the South Lomei Labyrinth, you need to head into the sky to the South Lomei Castle Top Floor.
How to Solve the South Lomei Castle Top Floor
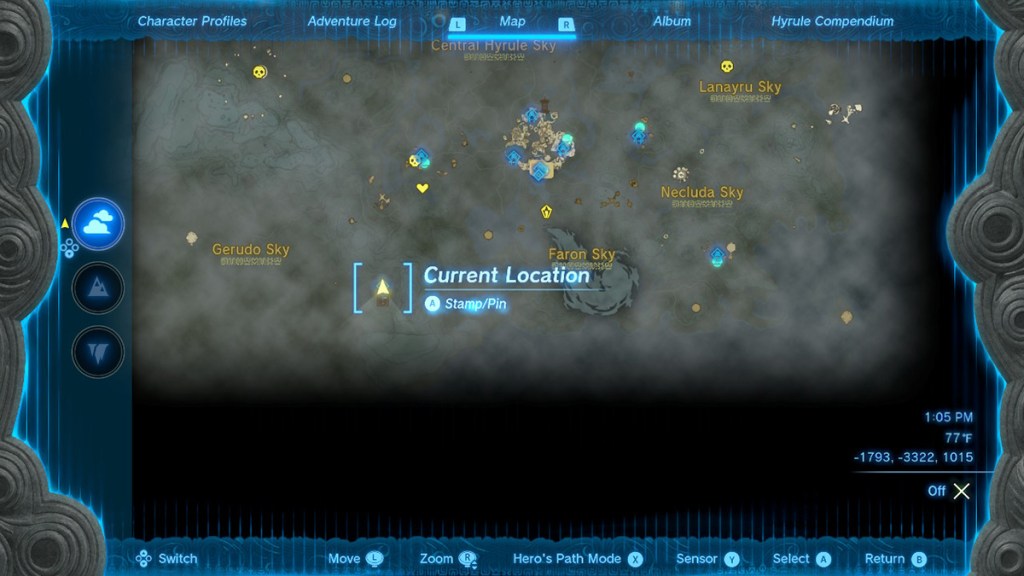
If you’ve not yet unlocked the South Lomei Castle Top Floor, head to the Gerudo Canyon Skyview Tower, then go southeast from the apex of the jump. You should be able to see the Shrine at the north end of the Castle, and you can make it by gliding all the way there, but having Tulin’s Sage power and some Stamina recovery food will definitely help.
The task at this Labyrinth is to find and activate four terminals. We’ll be discussing the path starting from the Siyamotsus Shrine at the area’s northern edge. Bear in mind that you can climb the outermost walls of the Labyrinth and drop down, though without the Climbing Gear armor set, you’ll probably need some Stamina recovery food.
Top-right Terminal

- Take an immediate left and ride the air current all the way up, turning right at the end of the hall.
- Turn right and glide above the two barriers, then turn right at the opening, landing at the staircase at the opening’s bottom.
- Take an immediate right and ride the air current all the way to its apex, take the first left, then right, then head into the opening on the right wall.
- Head left, and you should see a grate in the wall. You need to get into the room beyond it.
- Take a right, then a left, and let the air current carry you to the opening on the left wall. Use the far lower platform for a more powerful air current if necessary.
Activate the terminal, and you can head back to the northern entrance to the Labyrinth.
Top-left Terminal
- Take a right, then a left, and head into the opening on the left-hand wall.
- Take the stairs down and glide across the gap on your right, then drop down to the platform below you to the left.
- Ride the air current all the way to its top and head north past the barrier, taking the opening on the left wall.
- At the intersection, turn right, then head to the end of the hall and turn left. You’ll see the cage again with the terminal inside. Circle around until you can enter the chamber to activate it.
Bottom-left Terminal
To reach this terminal, take the path toward the top-left one, but when you reach the inspection with the floor and stairs beneath you, instead of turning left, turn right, then right again to enter a larger chamber leading to another maze entrance. Head through the opening and ride the air current all the way up:
- Take the left path (there will be a treasure chest on your right) all the way to the end of the hallway, then right, but don’t drop to the floor, as you need the height to reach the terminal.
- Head to the end of the hall, turn right, then take the opening to the left, then the immediate left opening beyond that. You’ll see the bars, and you can circle around to the opening to the terminal.
Bottom-right Terminal
- Take the path to the top-right terminal, but instead of going north at the large chamber, turn south (left).
- Turn left, then right, then into the first opening on the right.
- At the first intersection, turn left, go to the end of the hall, and take a right.
- Head to the end of the next hall, turn left, then left again.
- At the opening you encounter on your right, you’ll see the bars to the terminal chamber. Circle around to the opening and activate it.
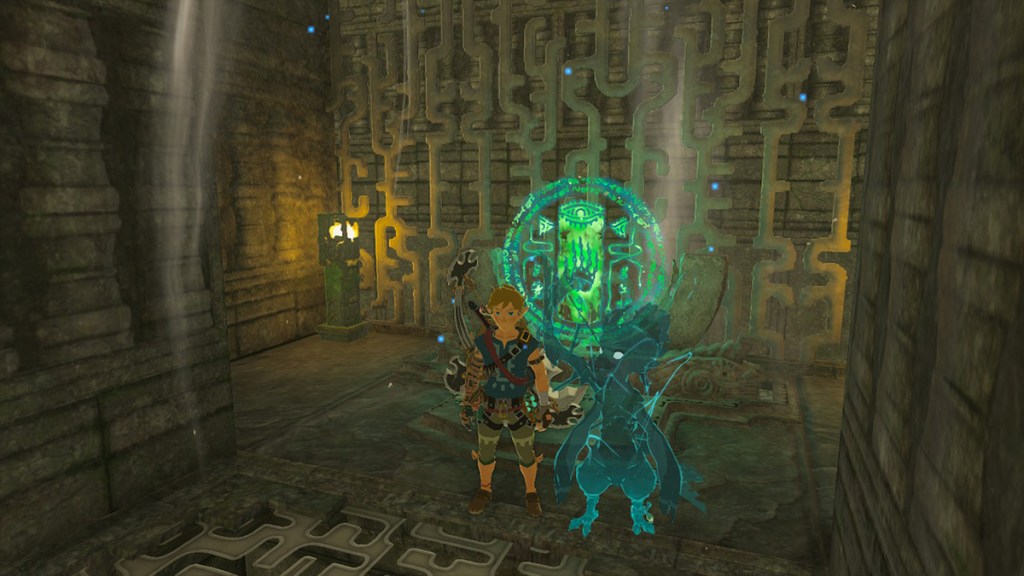
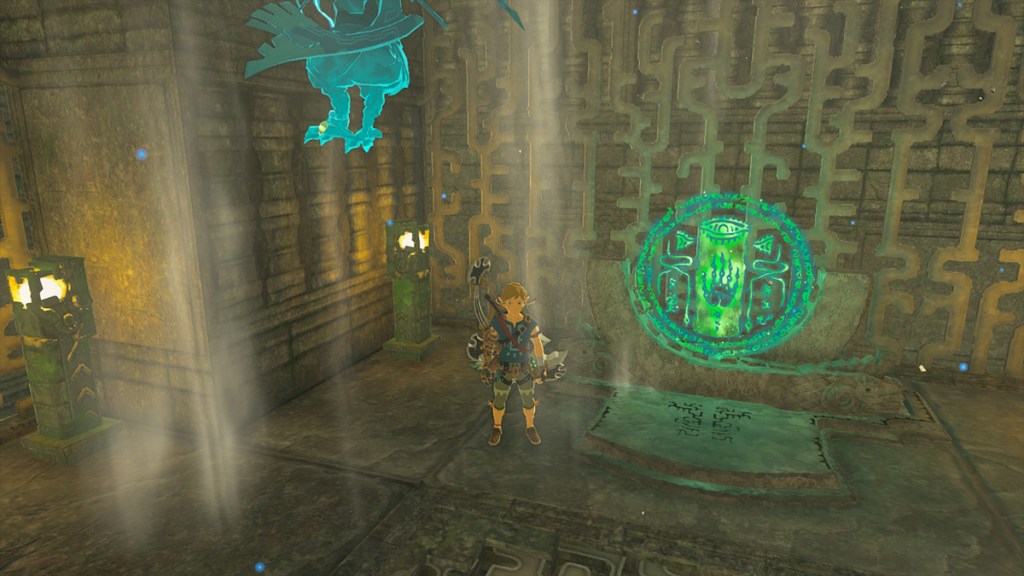
Once the last terminal is on, one more will appear on the roof of the Labyrinth, and the air currents within the space will get stronger, allowing them to carry you all the way up. Activate this last terminal, then dive off the platform near it and all the way through the chasm far below into the Depths.
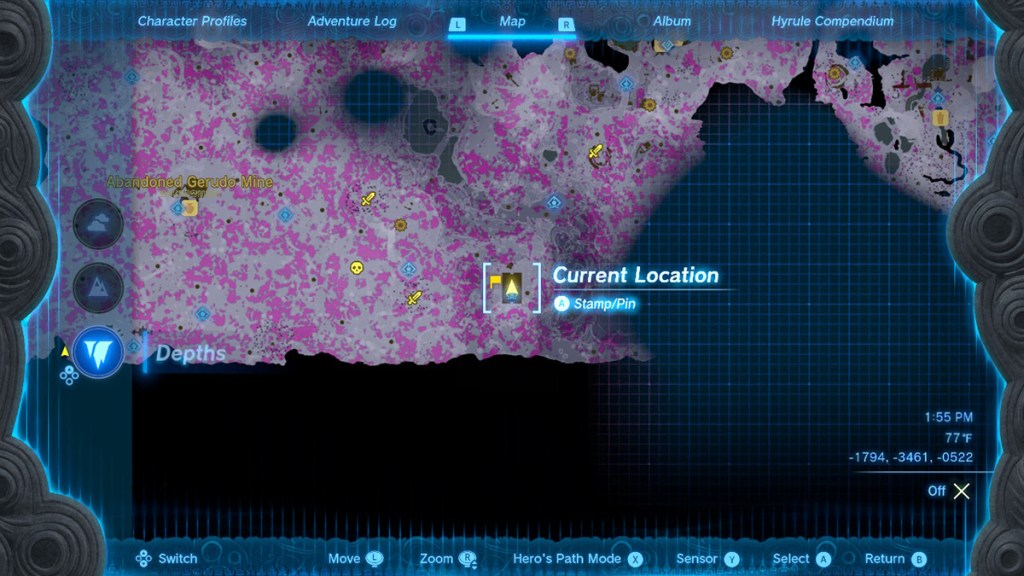
At the bottom of the South Lomei Chasm, head down the stairs, turn around, and be ready to fight a Flux Construct III. Defeat it, activate one final Terminal and the Evil Spirit Mask is yours.
And that’s it! Check out our other The Legend of Zelda: Tears of the Kingdom guides below to help with crafting, exploring, and tackling challenges across Hyrule.
Tears of the Kingdom Complete Guide | Every Ability & How To Unlock Them | How to Get The Paraglider | How to Get & Use The Travel Medallion | All Armor Locations & Where to Find Them | All Construct Materials & Where to Find Them | All Shrine Locations & Strategies | How to Get More Heart Containers


Published: Jul 7, 2023 12:02 pm