
Burenia is Planet ZDR’s underwater zone, and Samus Aran’s first visit there can be a challenge – the deep water greatly slows down her movement and reduces her jump height. Luckily, you can return to the zone with new weapons and items later in the game and sail right through what were once quite tricky rooms.
Like the rest the areas in Metroid Dread, Burenia is hiding a bunch of collectibles in its waters – Energy Tanks, Missile Expansions, and Power Bomb Tanks, to be exact. If you want to go diving and find them all beneath the waves, we’ve got you covered.
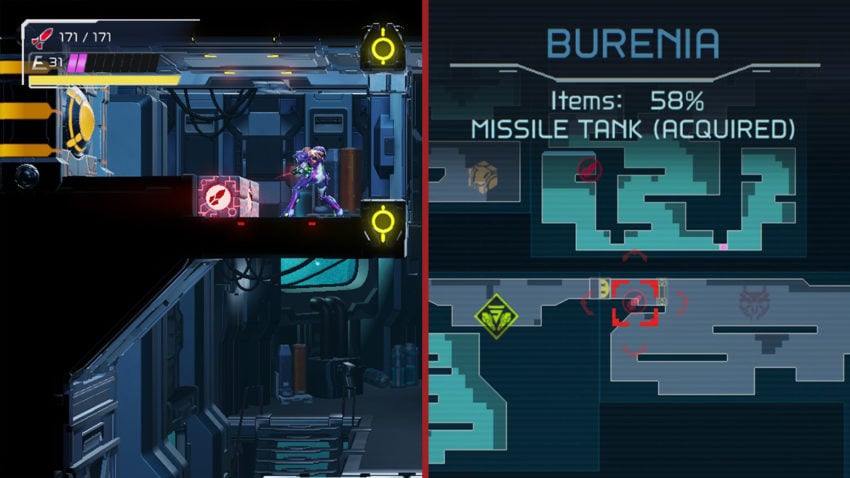
Missile Tank #1 [+2] | Requirements: Spider Magnet, Morph Ball
This Missile Tank is easier to grab once you have the Cross Bomb ability, but you don’t technically need it. When you reach a flooded room with a snaking magnetic ceiling, shimmy along it with the Spider Magnet and drop down at the top of the sloped ledge. Some Beam Blocks block the path to the Tank, but you can actually jump up and shoot through the opening to ping them from a distance. Then quickly grab the ledge to tuck into your Morph Ball and roll on through to the prize.
Missile Tank #2 [+10] | Requirements: None
You’ll find this in the first fully underwater chamber in the low part of the zone. As you sink down past the fish enemies, bear left to land on a small platform that holds the Missile Tank.
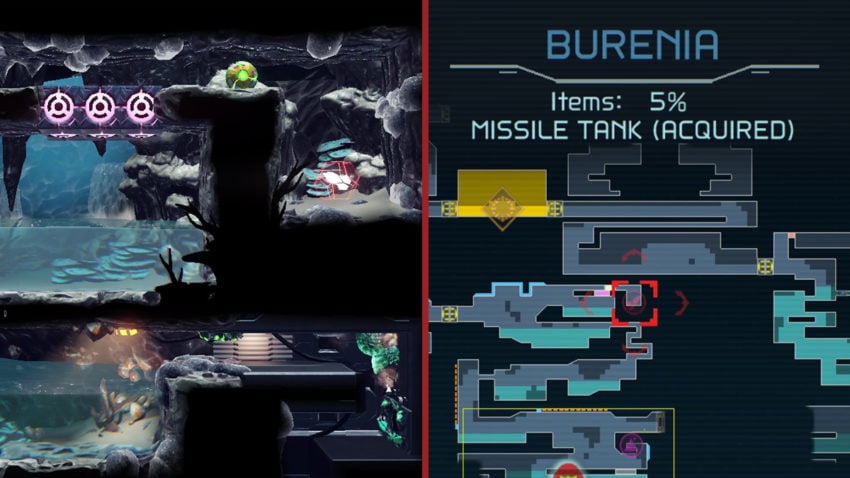
Missile Tank #3 [+2] | Requirements: None

You don’t any special gear to find this Missile Tank, but you do need to wait until you meet Quiet Robe in Ferenia – he’ll open up a new path back in Burenia. Return here and climb the right side of the newly opened room. There’s a Missile Block at the top you can shoot out to find a Tank inside it.
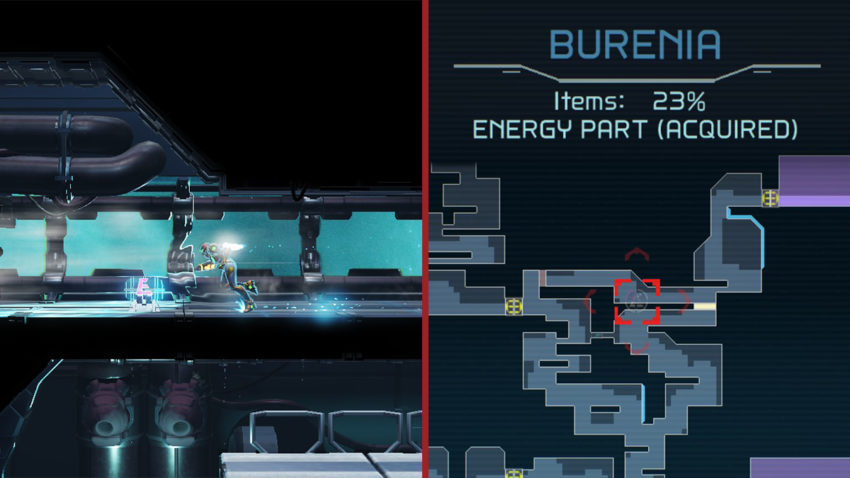
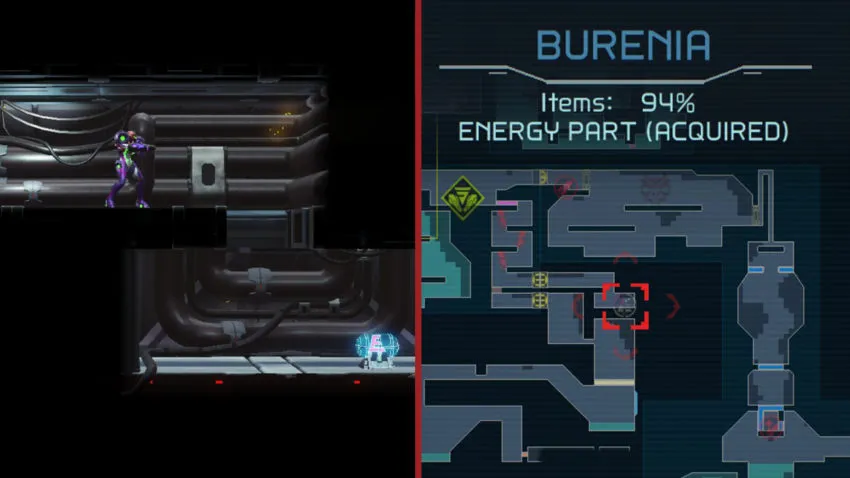
Energy Part #1 | Requirements: Spider Magnet, Flash Shift
Once you have the Flash Shift ability, you’ll start making your way up from the underwater room at the base of Burenia. You probably saw this Energy Part on the way down, but the breakaway part of the floor prevented you from reaching it. With the Flash Shift, you can zip right over those blocks, cling to the magnetic wall via the Spider Magnet, and reach the Part above.
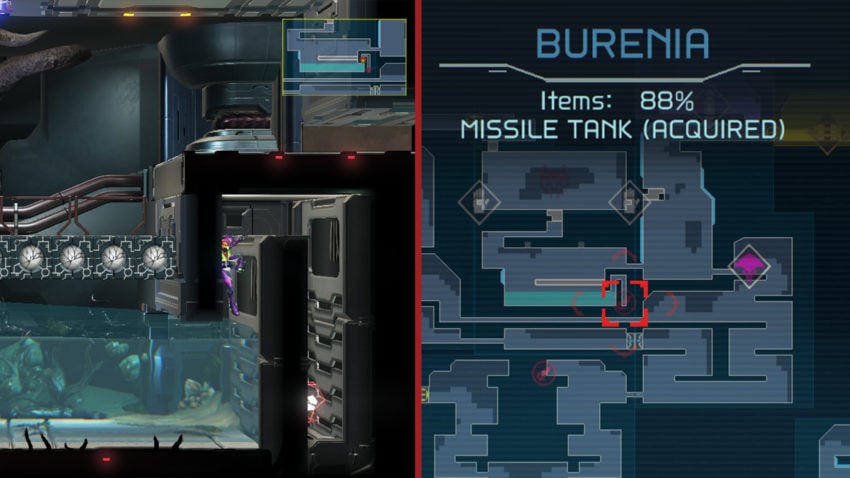
Missile Tank #4 [+10] | Requirements: Spider Magnet, Morph Ball, Flash Shift

Start from the Burenia Map Station and make your way up the rainy adjacent room on the left. Cling to the magnetic wall at the top and aim across the gap to blow away a Missile Block. Quickly use a double dash from the Flash Shift ability to clear the pressure plate and reach the ledge. Then you can tuck into your Morph Ball and drop down to the Missile Tank.
Energy Part #2 | Requirements: Speed Booster
Between the two trams from Dairon is a hallway with a powerful fan. Charge up your Speed Booster while running against the wind to break through and reach the Part.
Missile Tank #5 [+2] | Requirements: Screw Attack

Right next to the elevator to Artaria is a set of Screw Attack Blocks. Once you have that ability, you can hop right through them and grab another Missile Tank.
Missile Tank #6 [+10] | Requirements: Screw Attack

Just west of the previous Expansion, in the room after the Network Station, there’s another Missile Tank above the water. Use the Screw Attack to break through the blocks that surround it.
Missile Tank #7 [+2] | Requirements: None
You technically don’t need anything to get this Missile Tank, but you do need the Space Jump and Screw Attack to make your way to it. From the previous Expansion, Space Jump up the chasm. That path will lead to a large room with fight against twin Robot Chozo Soldiers. Once they’re down, check for a Missile Block near the exit door – it has a Tank inside.
Missile Tank #8 [+2] | Requirements: Space Jump
This is found in the flooded room above the path that Quiet Robe opens up. One the right side is a ledge you can reach once you have the Space Jump, as that’ll get you high enough out of the water to clamber over the corner ledge to reach the Tank.
Missile Tank #9 [+2] | Requirements: Speed Booster, Gravity Suit

Once you have the Gravity Suit, you can freely use the Speed Booster in water. Head to the large, central underwater chamber in Ferenia. Charge up a Shinespark by sprinting along the bottom, then launch straight up into the middle of the ceiling to break through to this Missile Tank.
Missile Tank #10 [+2] | Requirements: Space Jump, Gravity Suit

This Tank is in the vertical chamber just northeast of the lower Save Station. With the Space Jump and Gravity Suit, you’ll be able to reach the high ledge holding it.
Missile Tank #11 [+2] | Requirements: Diffusion Beam, Space Jump, Gravity Suit

When you make your way to the lower tram to Dairon the first time, you’ll use your Diffusion Beam to change the water level in a room with some floats. Return here with the Gravity Suit and Space Jump to leap up the left-side ledges and reach the Missile Tank above.
Energy Part #3 | Requirements: Morph Ball, Bombs, Ice Missile
There’s a hidden path through the floor by the Green Teleportal – drop some Bombs to its right to find it. The passage below is guarded by some Enky, so use your Ice Missile to destroy them. You’ll find one more Energy Part beyond the door.
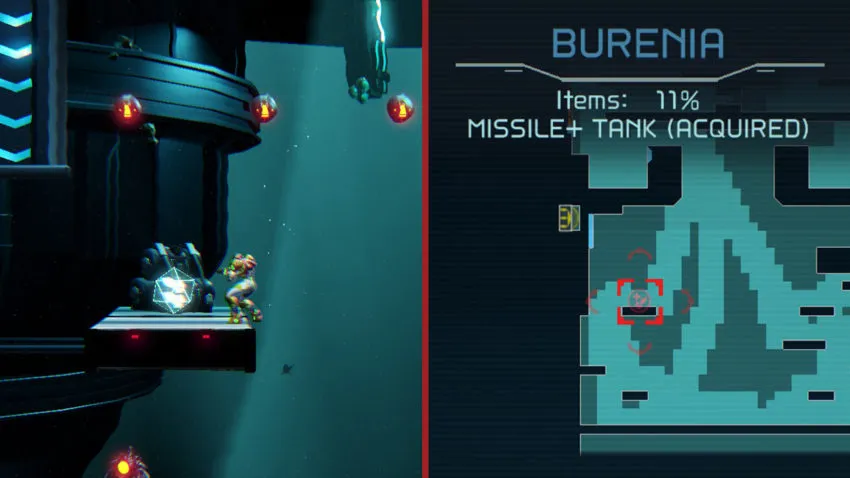
Missile Tank #12 [+10] | Requirements: Morph Ball, Bombs, Speed Booster, Ice Missile
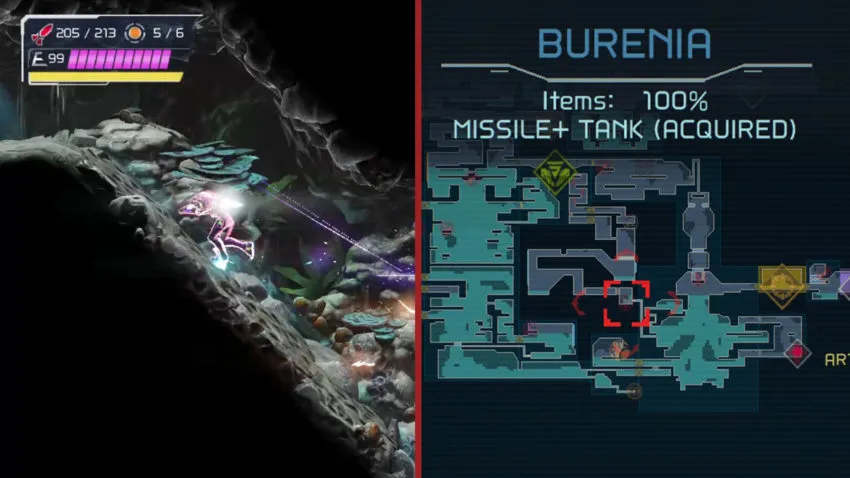
There’s another prize in this same area. The floor on the left of that door is made of Speed Booster blocks. To destroy them, run from the other side of the door and Shinespark straight down. Now for the real test: that was just the start to one of the game’s most involved Speed Boost puzzles. Now you need to charge up, drop through the hole, and book it to the right through the next door. Slide through the opening, shoot the Beam Blocks in your path on the way down, and Shinespark in midair straight to the left – hitting the slope will keep your momentum going. Now run left and slide under the walls, stopping to store your Shinespark again. Drop down the next passage and launch right, into another hill. Store your Shinespark one last time at the top of that, then drop and launch to the right to finally break through the last set of walls. Your well-earned Missile+ Tank is on the other side.
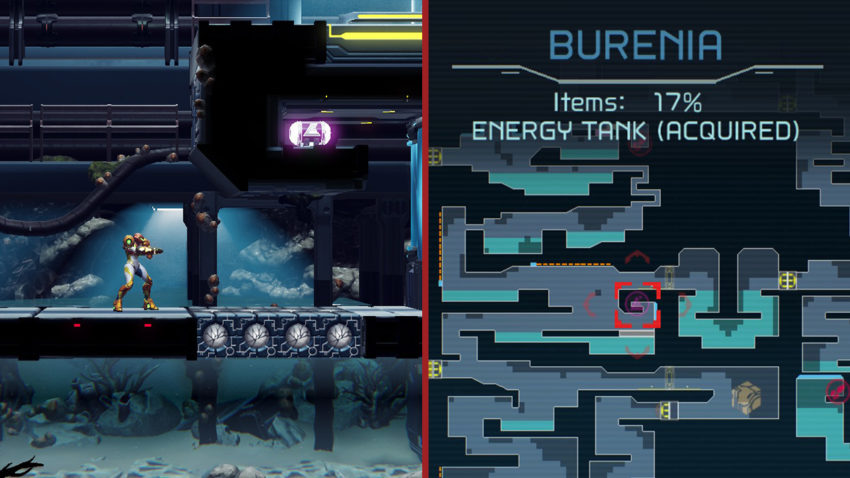
Energy Tank | Requirements: Spider Magnet, Grapple Beam, Storm Missile, Space Jump

Start from the southernmost Save Station and head east, dropping down into the large underwater chamber. Across the gap is a Grapple Beam Block. Pull it out then Space Jump across the gap – watch out for a school of small fish enemies that will come straight at you. Shoot them ahead of time or hold a charged shot while jumping to slice through them. The Energy Tank is in the next room. To reach it, first use the Storm Missiles to activate all five green targets in the room. Hop onto the magnetic wall to emerge from the water and Space Jump over to the ledge to snag the upgrade.
Power Bomb Tank | Requirements: Morph Ball, Speed Booster, Gravity Suit, Power Bomb
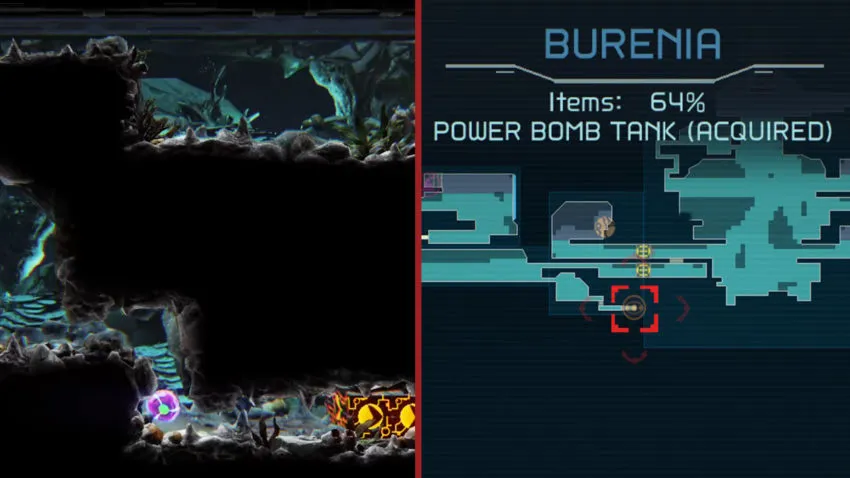
In the lowest part of the map is a small tunnel gated by a Power Bomb Block. Destroy that and roll through to reach a tunnel that’s also blocked – this time by a Speed Booster Block. Backtrack to the big chamber and clear the enemies to give yourself a runway, then sprint forward (the Gravity Suit lets you run full speed underwater), sliding through into the smaller chamber. Hit your Shinespark before you reach the next tunnel, then slide through that too. Once you round the corner by the Speed Booster Blocks, launch right into them to rocket your way to a Power Bomb Tank.


Published: Oct 16, 2021 05:10 pm