Star Wars Jedi: Survivor will have you exploring multiple locations, and in these, there will be numerous collectibles to track down. These collectibles are insightful databank entries, teaching you the lore of the game and what’s happened on Koboh, or they might contain cosmetic choices that you can add to your collection, giving you a chance to customize Cal Kestis or BD-1.
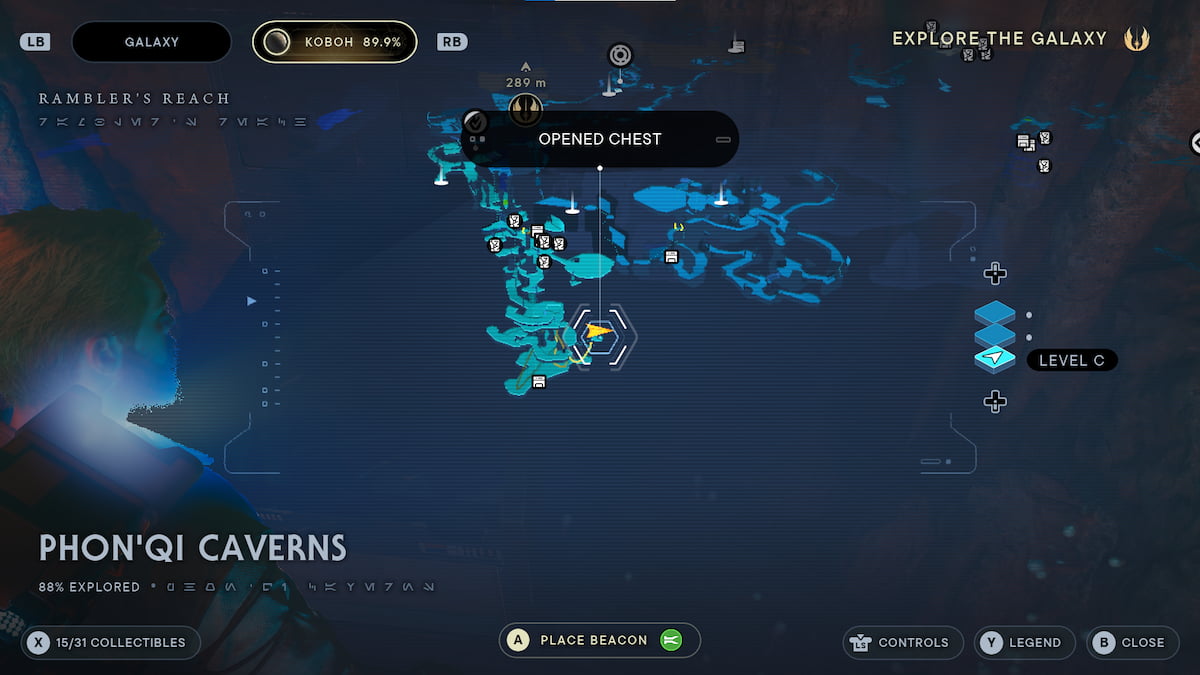
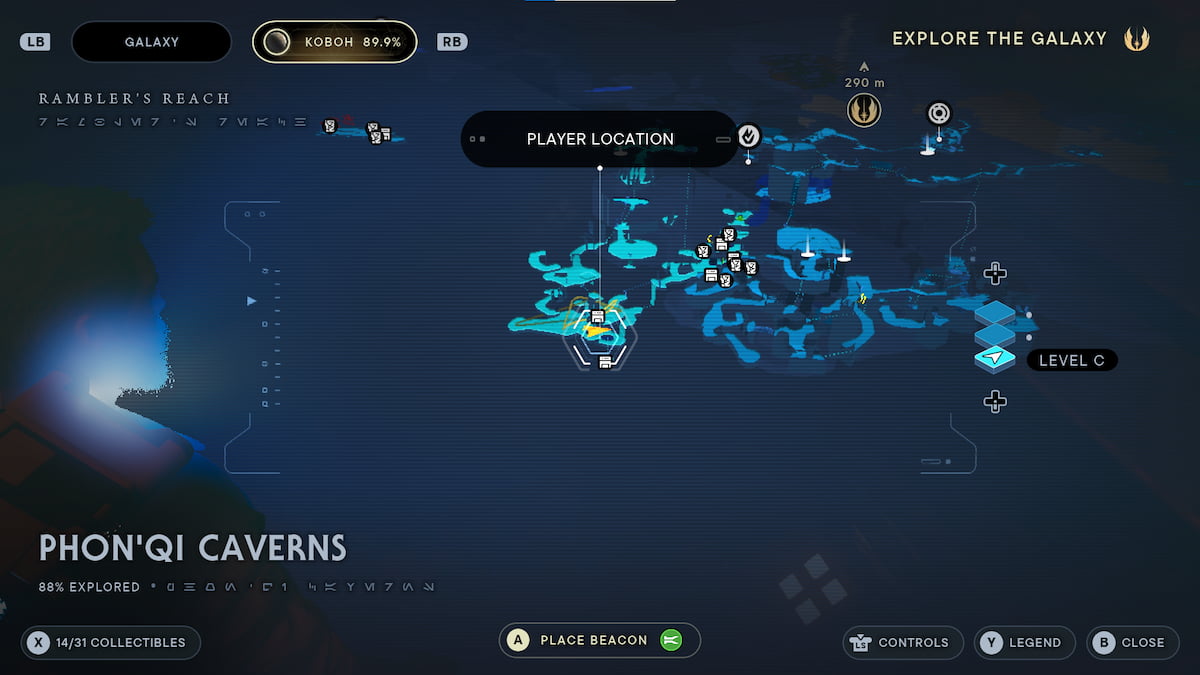
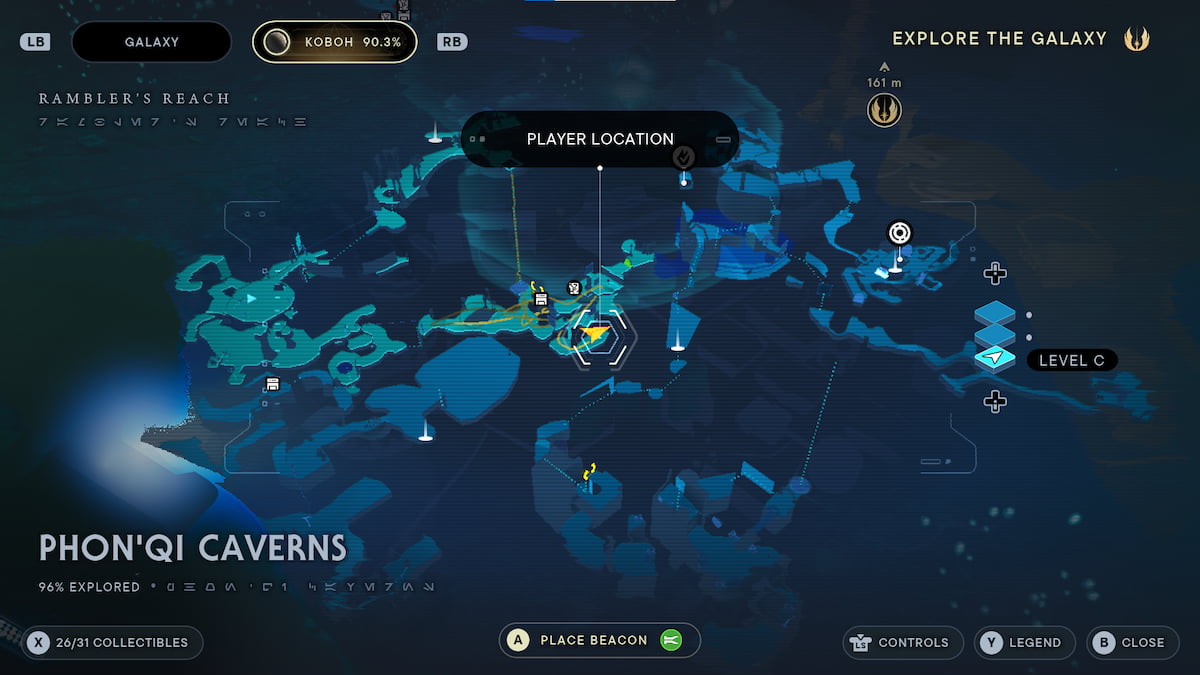
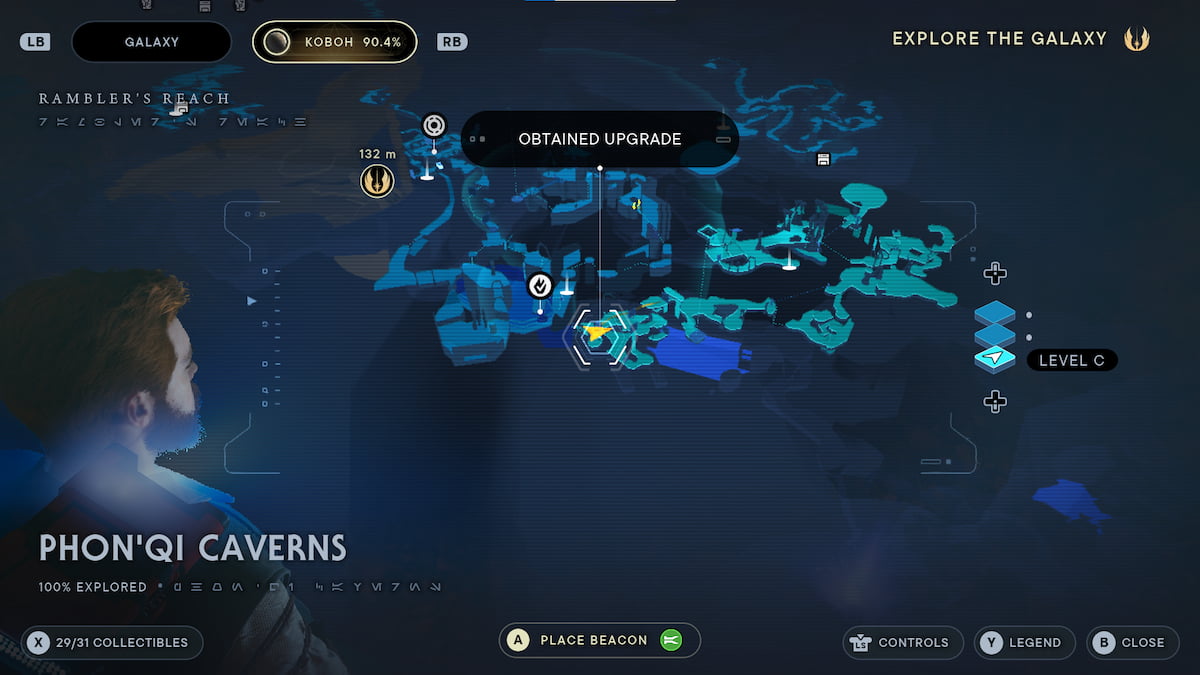
One of the larger locations you can explore is the Phon’Qi Caverns. You can find this area close to the bottom of Koboh, and it’s a dangerous location. We do not recommend exploring this area unless you are well-equipped. Here’s what you need to know about finding all Collectibles in the Phon’Qi Caverns in Jedi: Survivor.
Related: Star Wars Jedi: Survivor – How to Find All Bounty Hunters
Every Phon’Qi Caverns Collectible and How to Get Them in Jedi: Survivor
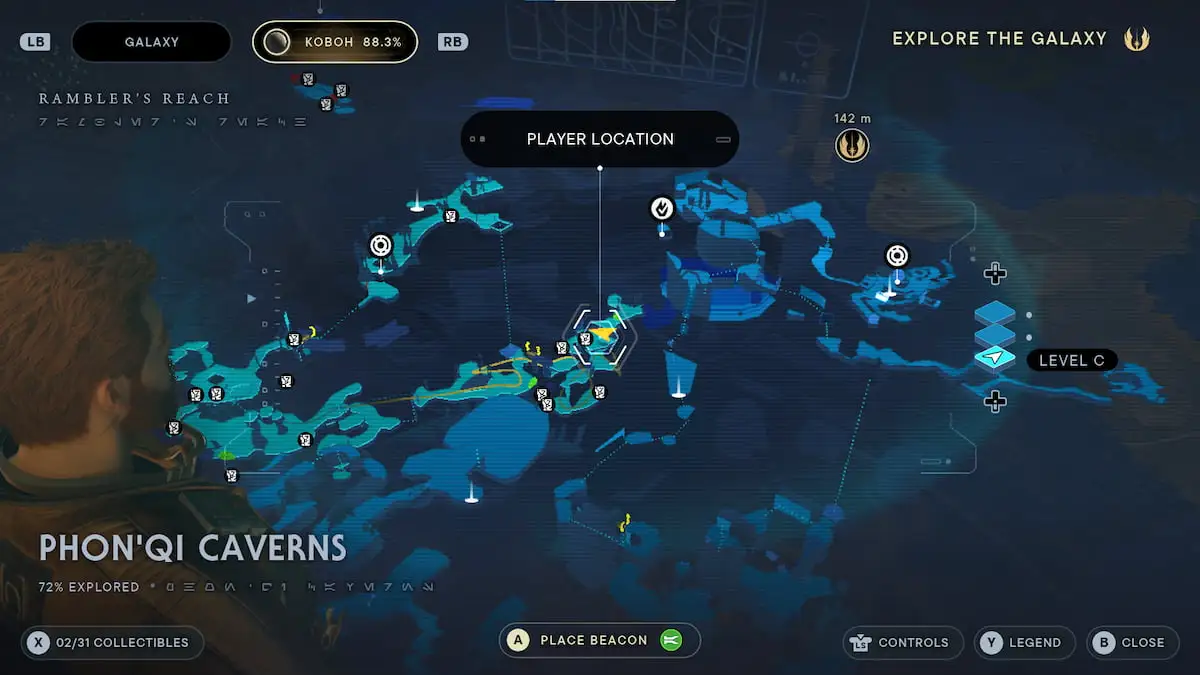
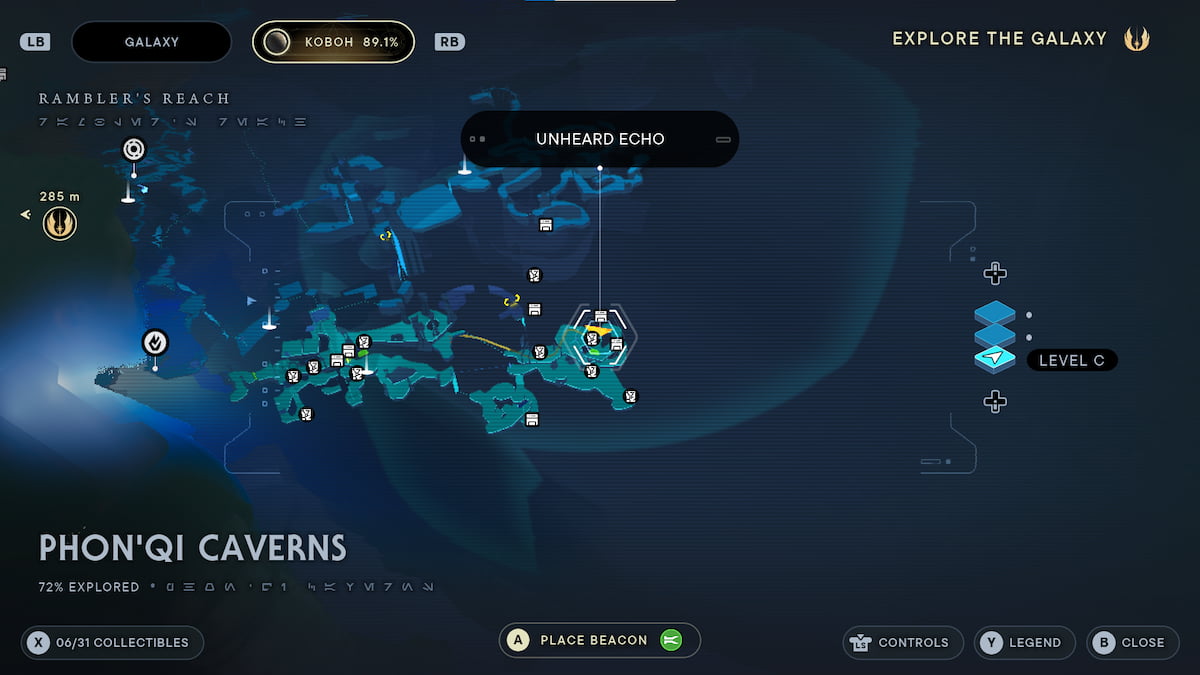
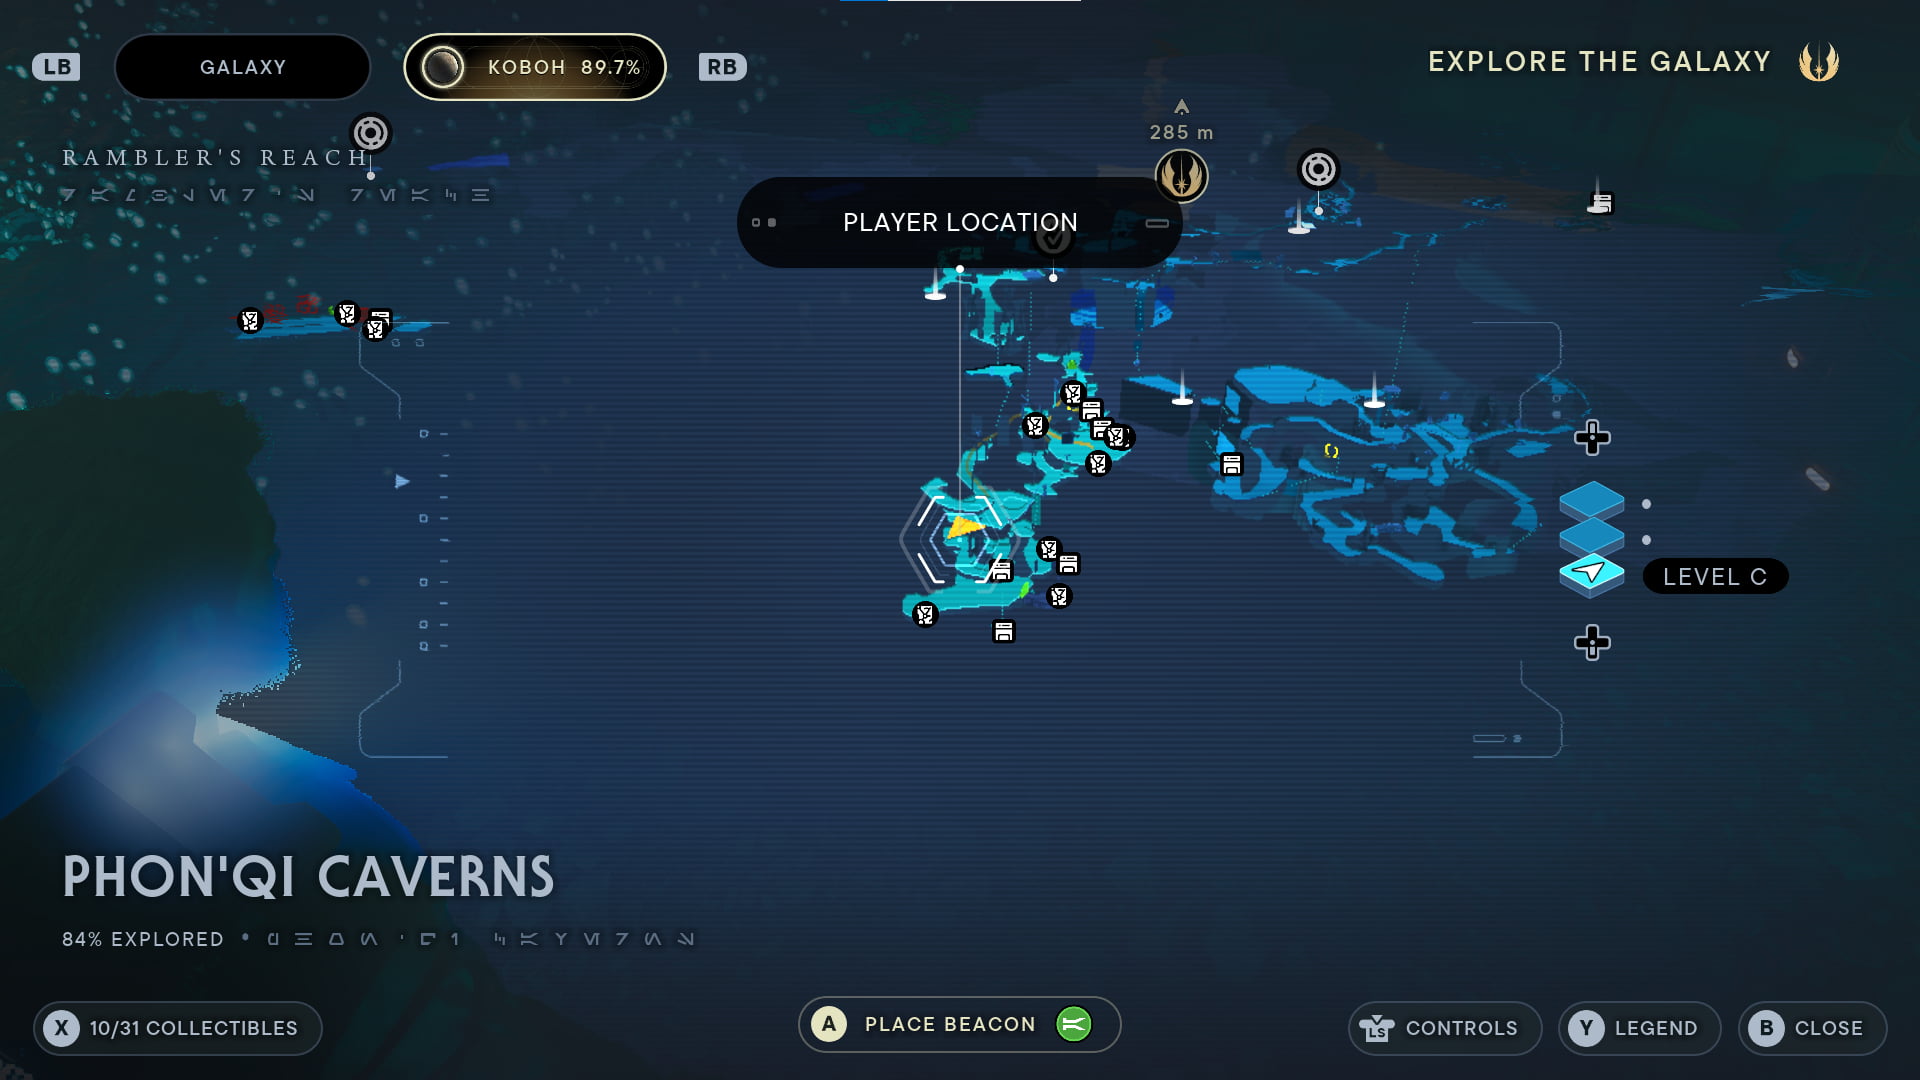
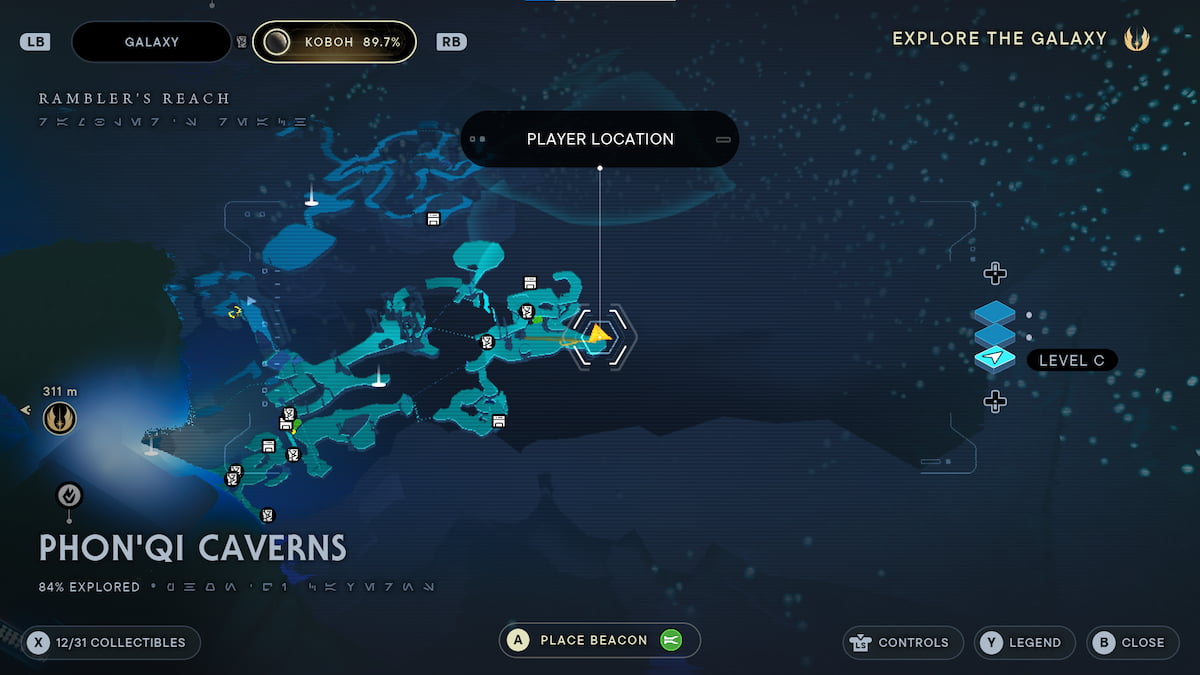
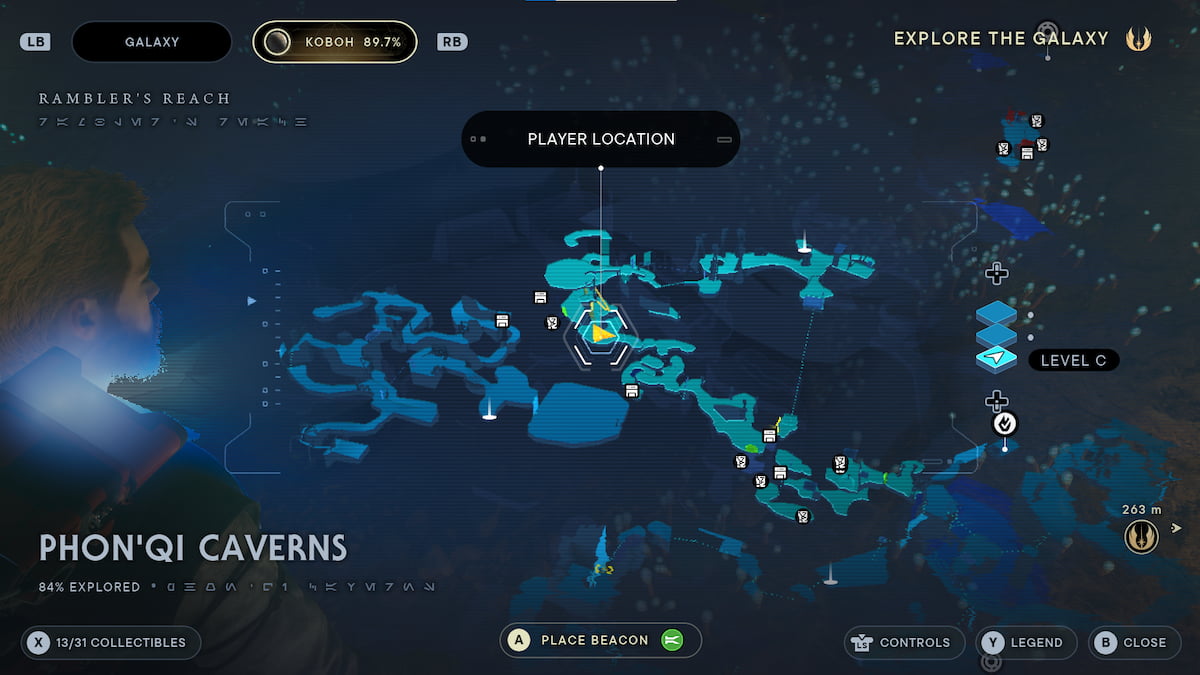
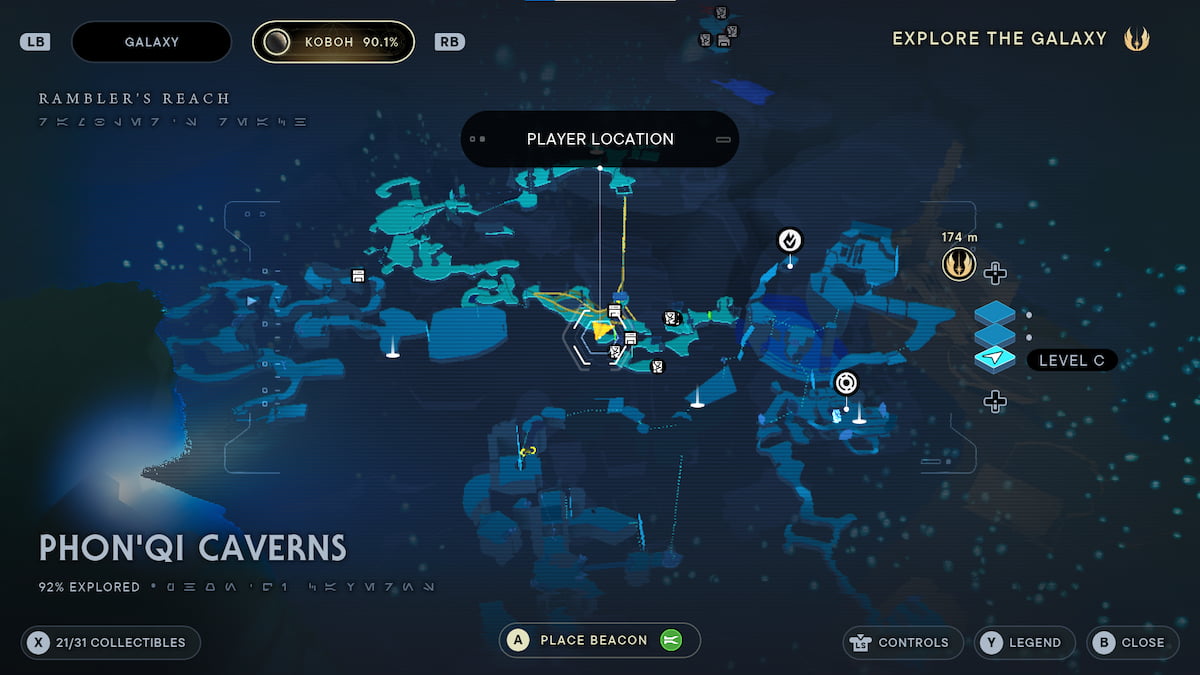
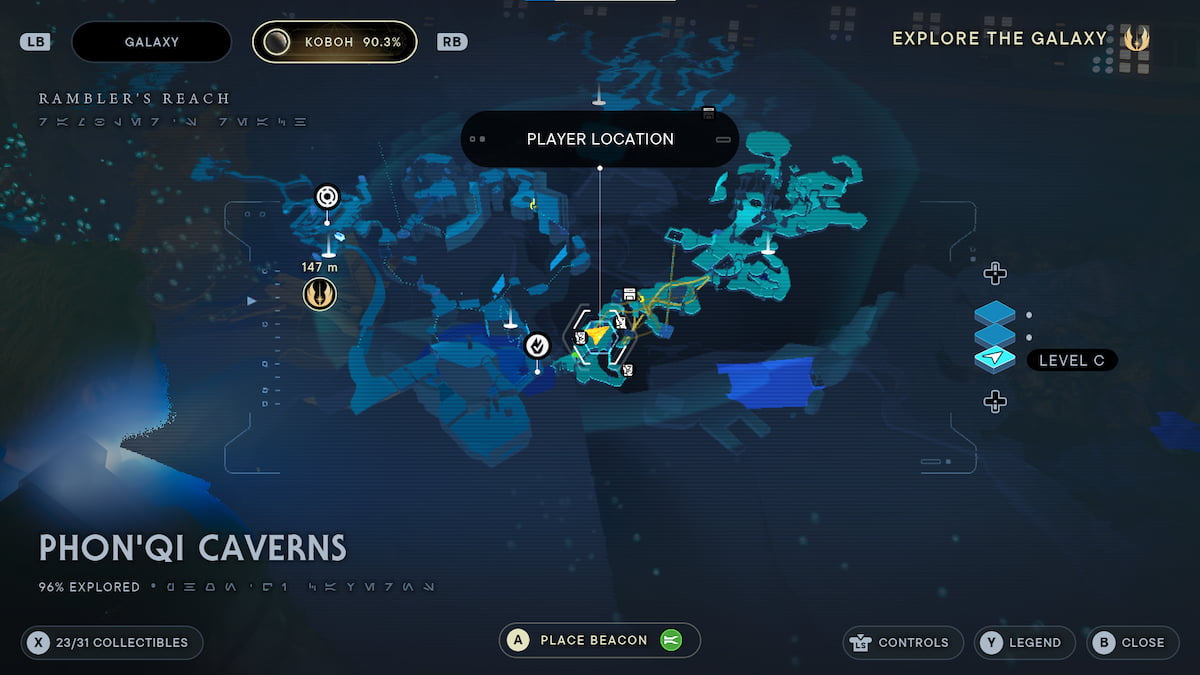
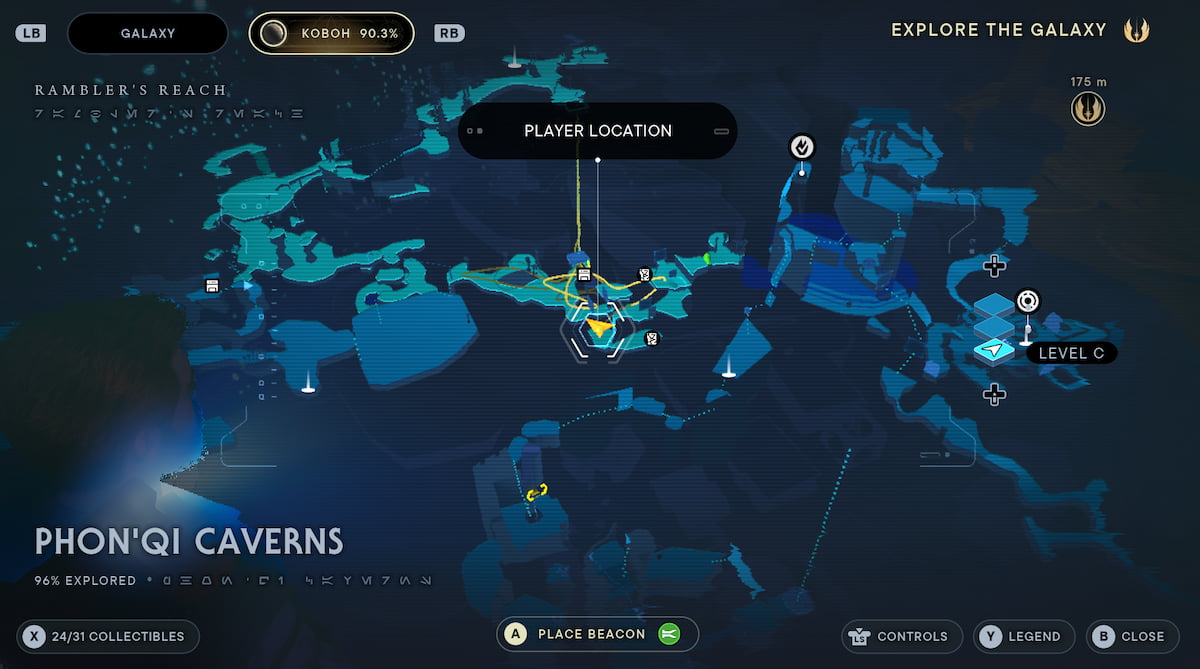
There are 31 Collectibles in the Phon’Qi Caverns in Jedi: Survivor. This is a location you can find on Koboh, underneath the larger plains, close to Rambler’s Reach and the Smuggler’s Tunnels. This is one of the larger areas to explore and find collectibles in the game, but not as large as Derelict Dam, one of the earlier areas.
You can track down four categories of collectibles in Phon’Qi Caverns. You will find: Chests, Databank entries, Force Essences, and multiple Treasures while searching in this region.
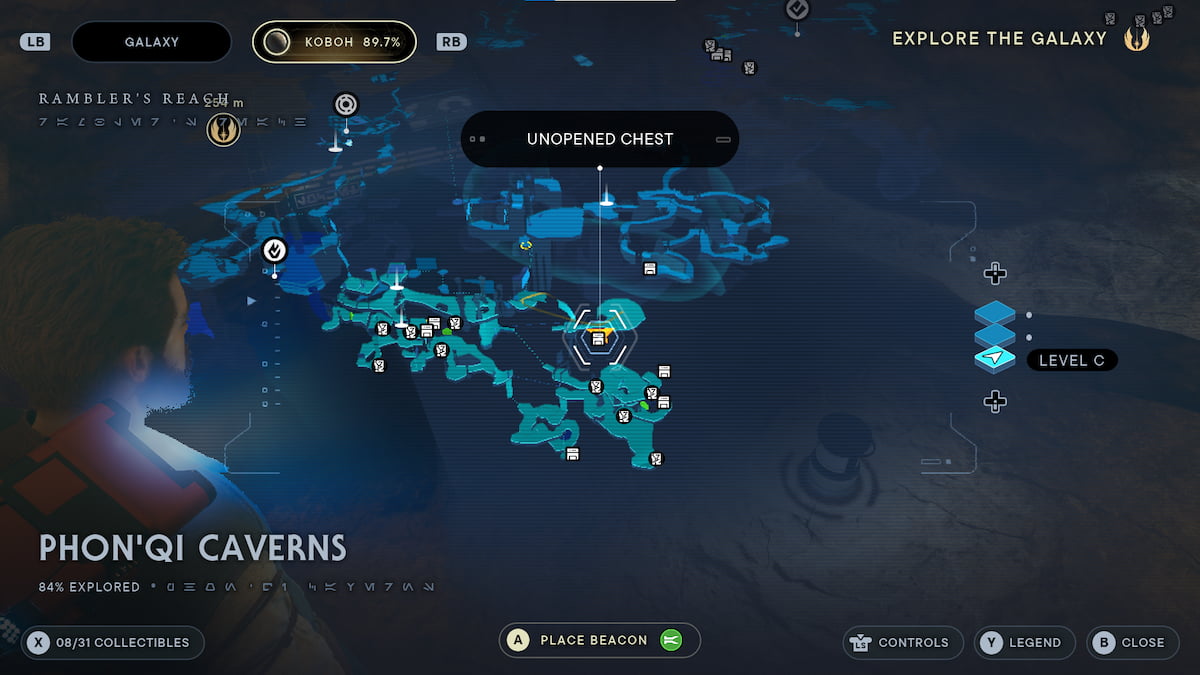
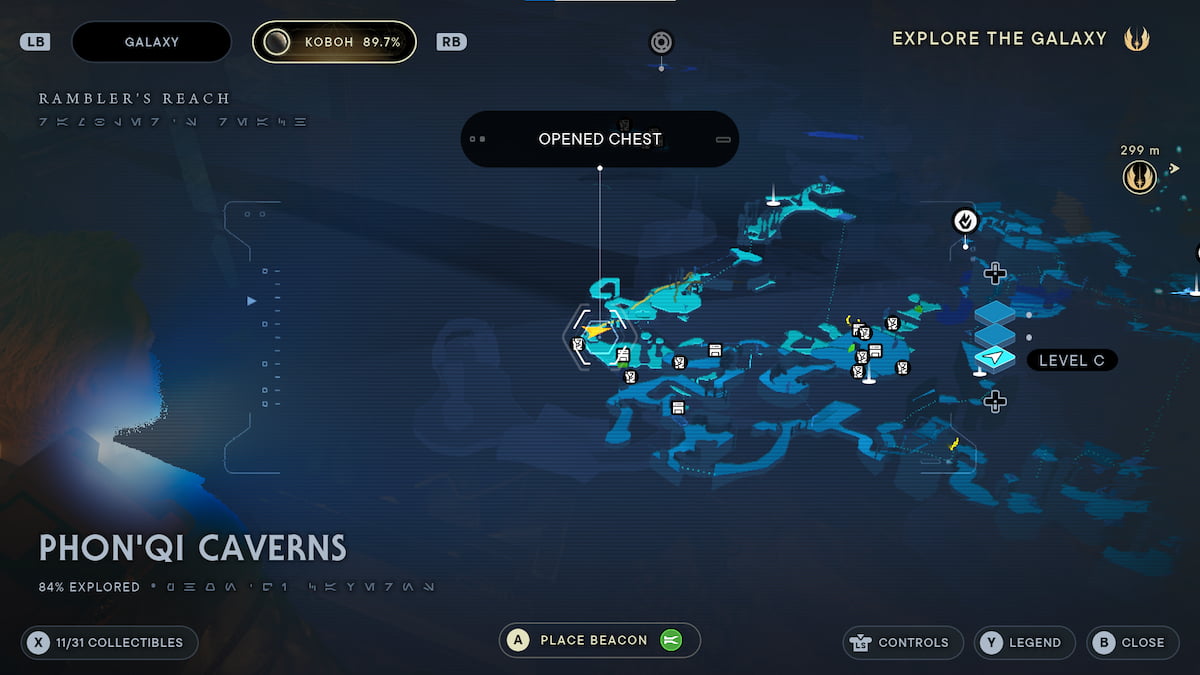
All Phon’Qi Caverns Chest Locations in Jedi: Survivor
You need to track down seven chests in Phon’Qi Caverns in Jedi: Survivor.
| Chest Location | Chest Collection | Description | Reward |
 | Chest Location 1 | Inside the first major gap in Phon’Qi Caverns, reach the second level, and melt the electrical door. In the next room, there will be several large rocks on the ceiling you can pull down, creating holes in the floor. There will be a chest at the bottom of the one closest to the room’s entrance. | Lightsaber Emitter, Duelist |
 | Chest Location 2 | There will be a chest to the left of Databank location 6 before you jump down to the next area. | Bomber Jacket Material colors |
 | Chest Location 3 | Behind an electrical door, you can find this one at the bottom of the Rancor cave. It will be above Databank location 9, and you can reach it using the grappling hook. | Lightsaber Switch, Duelist |
 | Chest Location 4 | At the bottom of the cavern outside of the Rancor cave, you can find this chest by diving into the water. There will be multiple B1 Battle Droids with grenades waiting for you as you descend through this area. | Lightsaber Pommel, Duelist |
 | Chest Location 5 | To the left of Databank location 10 is a green shield door. Dash through it to unlock the chest on the other side. | Lightsaber Grip, Duelist |
 | Chest Location 6 | Before entering the trap in the Phon’Qi caverns, you can climb up the wall in the Magnaguard room to unlock a BD-1 upgrade, giving BD-1 the chance to slice Magnaguards in future encounters. | Slice Magnaguards |
 | Chest Location 7 | The final chest is at the end of the Phon’Qi Caverns trap, where you can unlock the map upgrade to detect all chest locations using your holo map. | Map Upgrade: Chest location |
All Phon’Qi Caverns Databank Locations in Jedi: Survivor
There are 14 Databank entries that you need to find in Phon’Qi Caverns in Jedi: Survivor.
| Databank Location | Databank Collection | Description |
 | Databank Location 1 | You can find this inside the basement of the Abandoned Shack before you speak with T-1N8. |
 | Databank Location 2 | You can find this one at the top of the caverns after rescuing T-1N8. |
 | Databank Location 3 | After using the Force Lift ability to enter Phon’Qi Caverns, there will be a fungus on the wall across a gap that BD-1 wants to scan. |
 | Databank Location 4 | Following the cavern pathway from the third Databank, there will be a cave with several Mine and Commando Droids. There will be a pile of broken droids in the corner with a Force Echo containing the next Databank entry. |
 | Databank Location 5 | Return to the first major gap, and use the grappling hook to reach the second level. Once up there, follow the running wall to the first Force Essence, and grab one of the orange fungus balls from the wall. Toss it across the gap to the electrical door, melting it. There will be a door on the other side for BD-1 to scan. |
| Databank Location 6 | Returning to the room with the droids, jump down to the next level, and a computer console BD-1 can scan for the next databank entry. |
 | Databank Location 7 | Down below will be a battle against a Rancor. After defeating the Rancor, check the location where it started, and there’s a pile of bones for BD-1 to scan for this Databank entry. |
 | Databank Location 8 | On the other side of the Rancor cavern is a Force Echo, retelling the story of how others were trapped by the Rancor. |
 | Databank Location 9 | There is a Databank entry behind the electrical door. You can melt it by using the orange fungus outside of the Rancor cave and destroying the door. |
 | Databank Location 10 | There is a Databank entry behind the electrical door with the Magnaguards protecting this. Take the elevator to the upper level, and bring down one of the orange fungus plants to melt the door, giving you the chance to interact with the Force Echo on the other side. |
 | Databank Location 11 | You can find this in the final room, with the last chest in the Phon’Qi Caverns. It will be the computers embedded in the walls, where BD-1 can scan them. |
 | Databank Location 12 | After burning your way through the lower levels, after being trapped in the Phon’Qi Caverns, there is a dead Jedi Padawan with a Force Echo on them, revealing their fate. |
 | Databank Location 13 | While in the middle of the trap in Phon’Qi Caverns, there is another dead Jedi Padawan that BD-1 can scan on the ground. |
 | Databank Location 14 | There will be a final force echo before leaving the trapped area, revealing Rayvis had been the one killing Jedi in the caverns, searching for Dagan. |
All Phon’Qi Caverns Force Essence Locations in Jedi: Survivor
The Phon’Qi Caverns has three Force Essences for you to find in Jedi: Survivor.
| Force Essence Location | Force Essence Collection | Description | Reward |
 | Force Essence Location 1 | Before going too deep into the caverns, there’s a grapple above the first gap. Use it, and jump over to the left side, where you can activate a BD-1 slice grapple, and then run jump across another area, jumping onto a ledge where you can obtain this Force Essence. | Skill Point |
 | Force Essence Location 2 | Shortly after defeating the Magnaguard room, there will be a ledge with a green shield in a lower cavern. Jump down, and dash through the shield to enter the area, finding the Force Essence. | Skill Point |
 | Force Essence Location 3 | After completing the Phon’Qi Caverns, and finishing the trap, take the shortcut through the Map Upgrade room with the final chest, and there will be a Force Essence on the other side. | Maximum Force Increase |
All Phon’Qi Caverns Treasure Locations in Jedi: Survivor
There are seven treasures for you to find in the Jedi: Survivor’s Phon’Qi Caverns. One is automatically unlocked when you enter this region and does not register to the total.
| Treasure Location | Treasure Collection | Description | Reward |
 | Treasure Location 1 | You can find this treasure deep in the Phon’Qi Caverns. It will be shortly after the Rancor portion of the cave, and it is protected by several Magnaguards. You can find it by destroying a pot. | Datadisk |
| Treasure Location 2 | There is a second Treasure in the exact location, inside of the pots. Destroy them in this area with the Magnaguards to find it. | Datadisk |
 | Treasure Location 3 | There is a third Treasure in this same location with the Magnaguards, closer to the ledge, leaving the area. | Datadisk |
| Treasure Location 4 | There is a fourth and final Treasure in the location with the Magnaguards. Make sure to destroy all of the pots to find it. | Datadisk |
| Treasure Location 5 | While exploring the trapped area, and next to Databank location 13 in Phon’Qi Caverns, there is a Treasure on the ground. | Datadisk |
 | Treasure Location 6 | You can find one on the outside cavern where you fight the Rancor. | Datadisk |
And that’s it! Check out our other Star Wars Jedi: Survivor guides below so you don’t miss any hidden secrets on your journey.
Jedi: Survivor Walkthrough | All Koboh Collectibles & Where to Find Them | All Abilities & How to Unlock Them | All Lightsaber Stances & How They Work | How Players Can Customize Lightsabers | How to Find T-1N8 | How to Help the Pit Droid with its Stuck Ship | All Chests & Rewards Players Can Find with T-1N8


Published: May 31, 2023 04:41 pm