The collectibles and side content in Star Wars Jedi: Survivor is one of the major components of the game. Even though the credits may have rolled, there are plenty of things for you to do, and you might be working on many before you complete the game, such as unlocking the Garden and opening up the plots.
There are four plots in the garden above Pyloon’s Saloon that you can use to plant your seeds. You start off with one, and when you recruit the Gardener, the others will unlock, but it’s not entirely straightforward how you do this. Here’s what you need to know about how to unlock all Garden Plots in Star Wars Jedi: Survivor.
Related: Star Wars Jedi: Survivor – All Stim Upgrade Canister locations
How to Get All Garden Plots in Jedi: Survivor
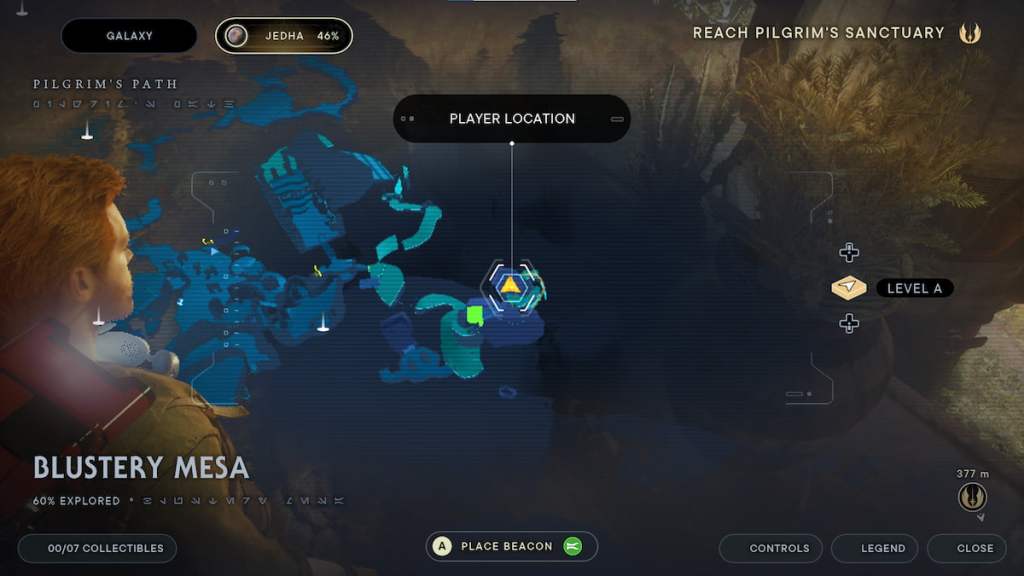
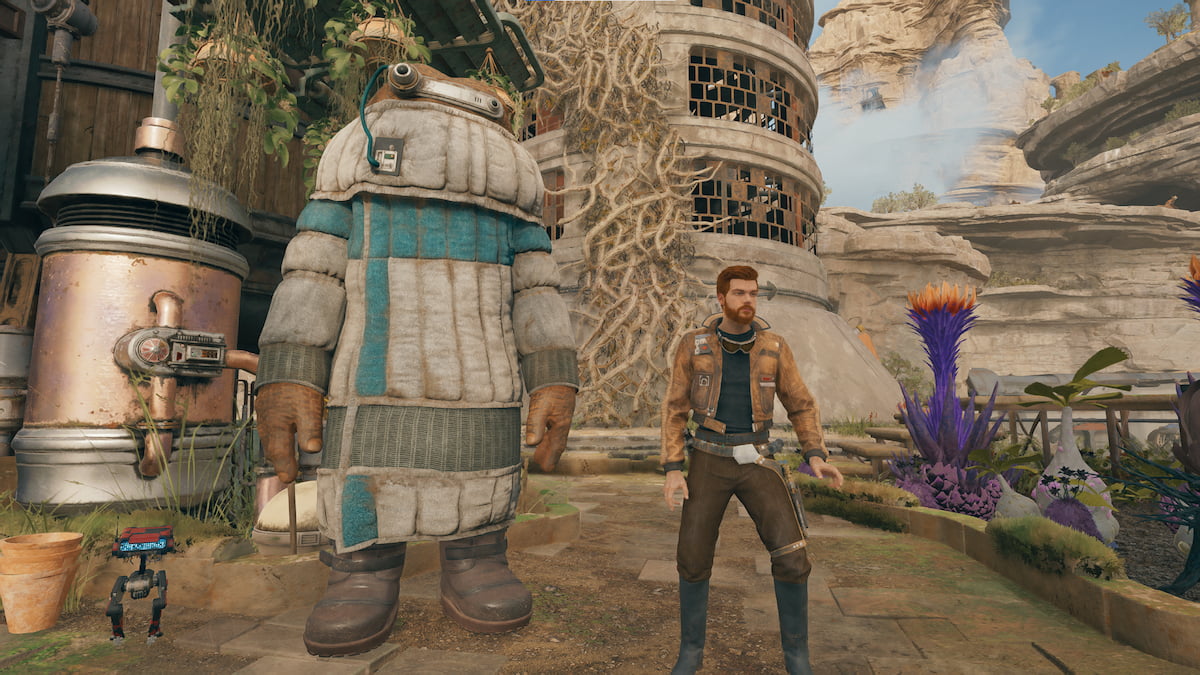
The first thing to do is recruit the Gardener. Their name is Pili, and you can find them on Jedha during the Jedi: Survivor campaign. You’ll need to work your way through the main story, and when you’re working alongside Merrin to fight against the Imperials that are attacking the Jedha temple, you can find Pili before you enter the temple. They will be in the Blustery Mesa on Jedha.
Now that you have the Gardener, speak with them at the top of Pyloon’s Saloon, and they will begin expanding your Garden Plots. You’ll get the second plot for unlocking them, and the final two plots are the toughest to start using in Jedi: Survivor.
The only way to unlock more Garden Plots is by finding at least one Seed Pod from the plant species that you can plant in the garden. There are 10 Plant Species you can find in Jedi: Survivor, and they appear in different locations. Here’s the breakdown of where you can find each Seed Species during your campaign.
Tracking down these seeds can be difficult to find in Jedi: Survivor. Finding them naturally while we played the campaign was good, but we did have to go out of our way to track down specific seeds to make sure we completed these plots.
- Bluebell Squish: There is one on the south side of the Stables in Rambler’s Reach Outpost.
- Cactus Ball: This is also a seed you can find in the Gorge Crash Site.
- Crimson Jelly Spire: You can find this at the Devastated Settlement, close to the area’s starting Meditation Point.
- Fire Pineapple: You can find one in the tar pits in the Gorge Crash Site.
- Goldenlight Moss: This Seed Pod will appear in the Swindler’s Wash region.
- Koboh Spiker: This Seed Pod appears in the Mountain Ascent region at the entrance to Summit Ridge.
- Palm Fruit Shell: You can find this Seed Pod while exploring Harvest Ridge.
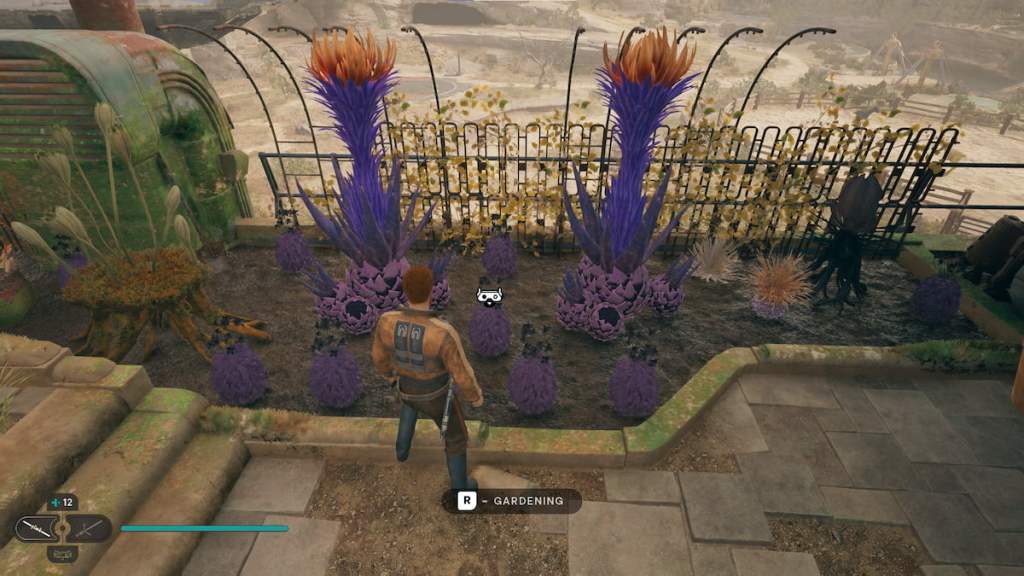
- Pine Fern: You can find one at the top of Pyloon’s Saloon.
- Spine Fluff: This Seed Pod appears in the Untamed Downs region.
- Tuber Maw: You can find a Seed Pod in the Southern Reach region.
After you collect at least one of every Plant species in Jedi: Survivor, return to the garden and plant them somewhere in one of the plots, and wait. They will need to fully grow for them to count and to add them to your Databank.
Once they are fully grown, the final Garden Plot will open for you in Jedi: Survivor, and a terminal is now available. This terminal upgrades your holo-map so you can now find any undiscovered Seed Pods you haven’t found during your playthrough.
And that’s it! Check out our other Star Wars Jedi: Survivor guides below so you don’t miss any hidden secrets on your journey.
Jedi: Survivor Walkthrough | All Koboh Collectibles & Where to Find Them | All Abilities & How to Unlock Them | All Lightsaber Stances & How They Work | How Players Can Customize Lightsabers | How to Find T-1N8 | How to Help the Pit Droid with its Stuck Ship | All Chests & Rewards Players Can Find with T-1N8


Published: Jun 9, 2023 02:27 pm