While exploring Rambler’s Reach Outpost in Star Wars Jedi: Survivor, many of the areas of this Outpost will open up to you as you progress through the game. These unlockables are fun additions to your gameplay, offering you additional appearance items and some beneficial upgrades to your stats.
There are a handful of collectibles that are stuck behind locked houses in this Outpost. There’s no direct way to unlock them, and you’ll have to do a bit of side content to gain access to these areas. Here’s what you need to know about how to unlock all locked houses in Rambler’s Reach Outpost in Star Wars Jedi: Survivor.
Related: Star Wars Jedi: Survivor – How to Unlock the Pyloon’s Saloon Locked Door
How to Unlock Every Locked House in Rambler’s Reach Outpost in Jedi: Survivor
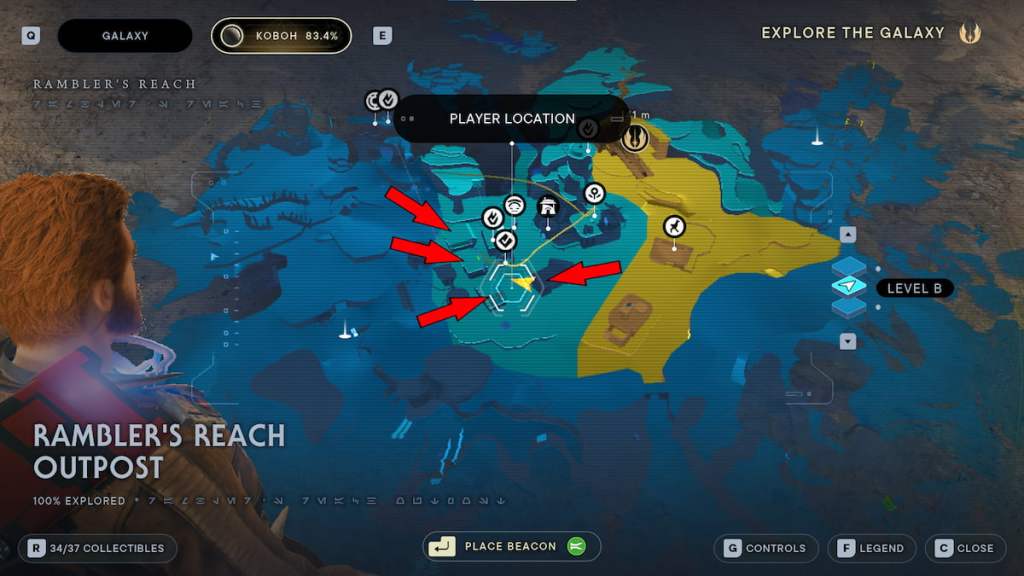
There are four locked houses in Rambler’s Reach Outpost on Koboh. Three of these houses are blocked behind side quests you can do at the end of the game, and one of them is locked out by story progression abilities. We find it better to wait until you complete the Jedi: Survivor campaign before unlocking these locations to make it easier.
I recommend tackling these locked houses as you progress the story and reach the end of the campaign in Jedi: Survivor. It was easier to track down each collectible at Rambler’s Reach Outpost, and once these doors unlock, the secrets within will be revealed.
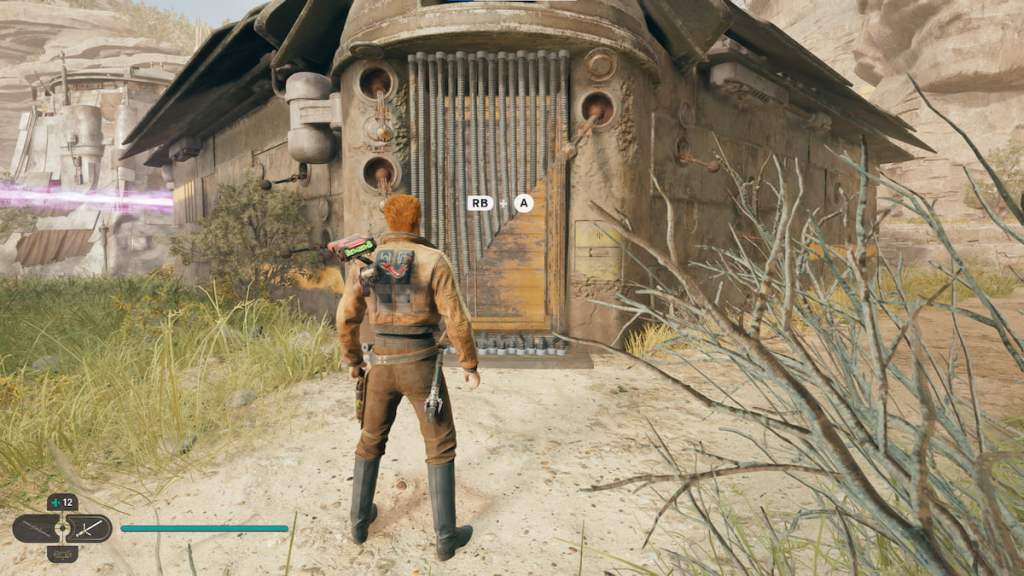
The first locked house you can enter is entirely blocked by story progression abilities. These include the Force Lift and Merrin’s Charm. Force Lift allows you to pull open the door, revealing the Green Shield Door. With Merrin’s Charm, you can use your Dash through the Green Shield Door and enter it. Again, you receive these abilities as you progress through the Jedi: Survivor main quest.
You can get the second house relatively early on in the game. You may hear a rumor about an Abandoned Shack in the Foothill Falls region. You can make your way over here anytime, so long as you have the Relter Tame ability while playing Jedi: Survivor.
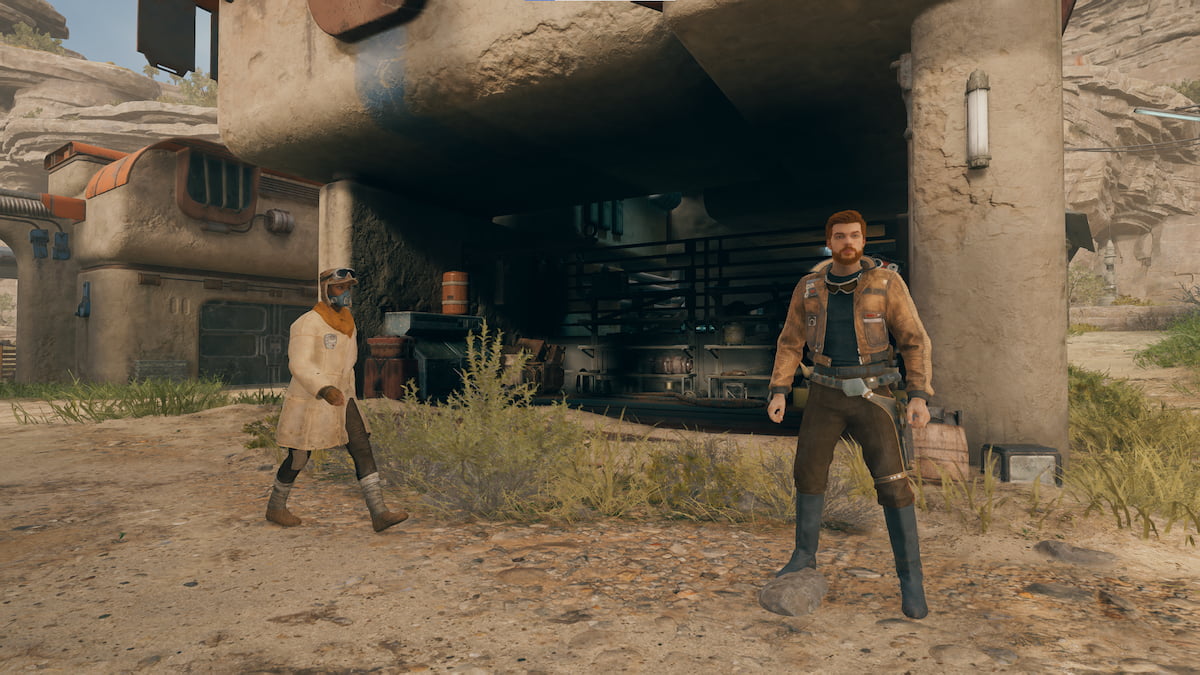
Once you do, you can use a Relter to reach the Abandoned Shack, and three Bedlam Raiders will guard the basement. Inside the basement is T-1N8. Speak with them, and Cal will offer to take care of them back at the Outpost, who turns out to be a helpful character for rewards in Jedi: Survivor.
Related: 5 Ways Star Wars Jedi: Survivor Could Be Even Better on Twinfinite
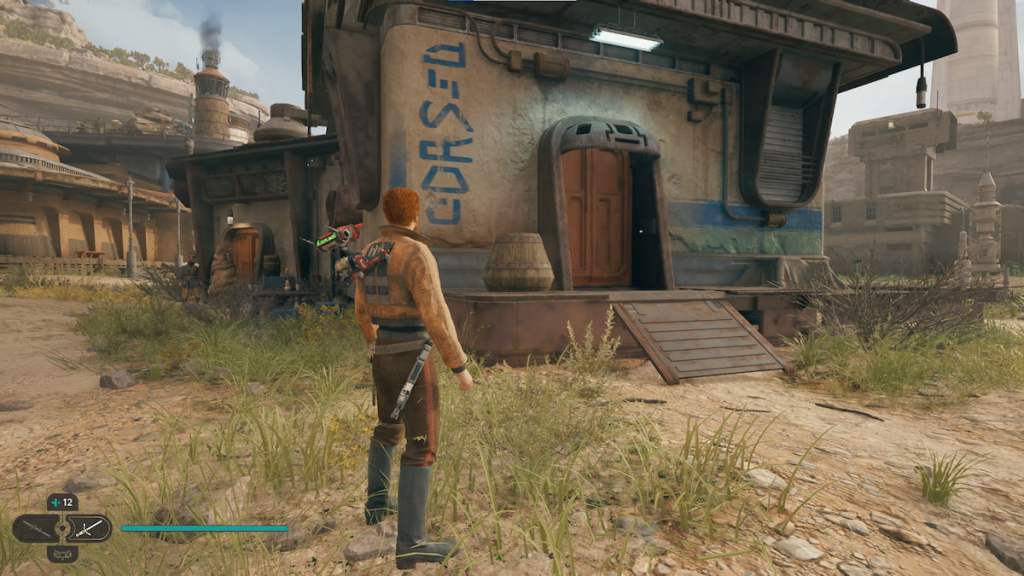
When you return to the Outpost, speak with T-1N8 again, and they’ll thank you for saving them. Then, they will unlock the door to the house closest to Pyloon’s Saloon, and you can obtain the chest inside the home.
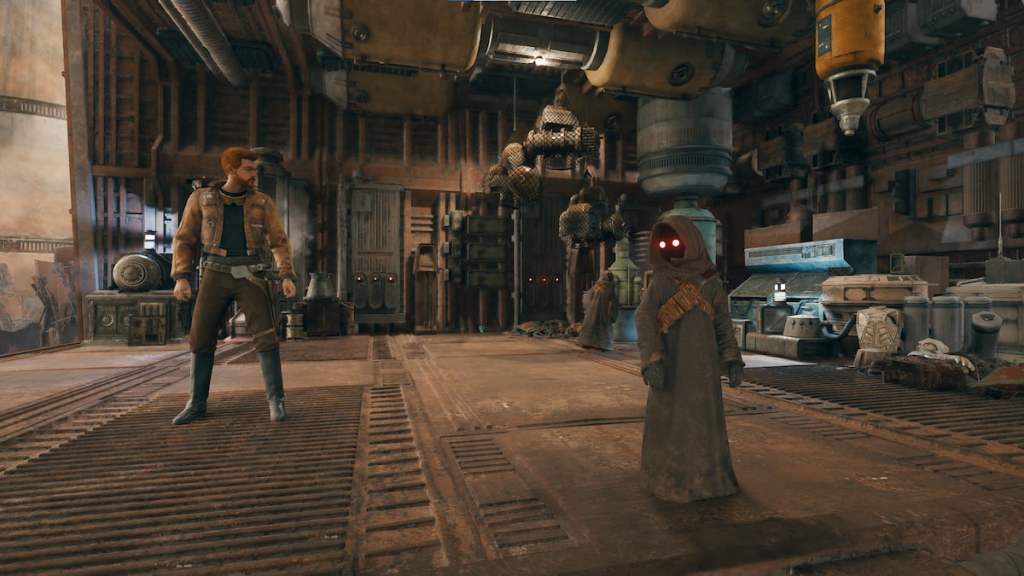
The last two houses are a bit more difficult. You’ll need to wait until you unlock BD-1’s Electro Dart ability, and you need to recruit the Jawas in Jedi: Survivor. You can find the Jawas in the Bygone Settlement, northeast of Rambler’s Reach Outpost. You’ll be able to visit them after you unlock the Dash ability, and you can bypass the fan in this area.
When you reach the end of the Bygone Settlement, you’ll save the Jawas from the Bedlam Raiders. After speaking with the Jawa Chief, he’ll agree to begin trading with the outpost, and one of the houses opens up, giving you access to a Blue Fuse Box. You can now activate this with BD-1 and turn on the power. This is a common endgame ability preventing you from advancing to certain locations in Jedi: Survivor.
On top of these two houses is a cable that connects to them. You will need to connect the cable to the house you want to enter. You can’t have them both open simultaneously, so check out one, then go to the roof to swap out the cable and give it to the other home. All of these houses contain collectibles, so make sure to thoroughly investigate them to acquire the rewards inside.
And that’s it! Check out our other Star Wars Jedi: Survivor guides below so you don’t miss any hidden secrets on your journey.
Jedi: Survivor Walkthrough | All Koboh Collectibles & Where to Find Them | All Abilities & How to Unlock Them | All Lightsaber Stances & How They Work | How Players Can Customize Lightsabers | How to Find T-1N8 | How to Help the Pit Droid with its Stuck Ship | All Chests & Rewards Players Can Find with T-1N8


Published: Jun 9, 2023 02:29 pm