Like many other entries in The Legend of Zelda series, Tears of the Kingdom features its version of the Fire Temple. This Fire Temple is all about mine carts wrapped around a broken building complex, with many of the puzzles involving working out where you need to go next, as you must ring five Gongs throughout the dungeon.
To enter the Fire Temple, complete the main Goron storyline until you reach the Depths with Yunobo. Follow the quest marker, and you will reach your destination. Before entering the Fire Temple, make sure you are stocked up on food, arrows, and metal weapons (as wooden ones will burn), are at full health, and are wearing Link’s Flamebreaker Armor, as it will be needed to resist the effects of the heat in the dungeon.
Related: Tears of the Kingdom – All Shrine Locations & Strategies
The Legend of Zelda: Tears of the Kingdom Fire Temple Guide
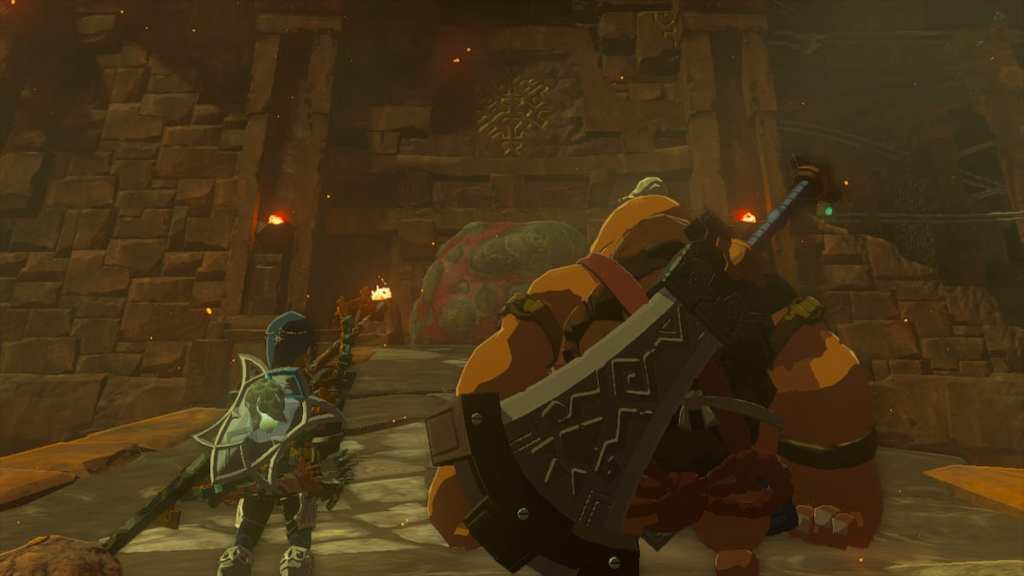
The main goal of the Fire Temple is to ring five Gongs spread around the dungeon that will unlock the five padlocks holding the door. Luckily, the developers showed mercy, and all five will appear on the map once you reach the first cutscene at the internal gate. Yunobo will be at your side the entire time, and his special move will allow you to fire Yunobo like a bullet in front of Link. You need to use this move to ring the Gongs and destroy red rocks that are in your path.
The Fire Temple consists of five floors. The dungeon’s gimmick is that mine carts and tracks are winding around the building, a few of which are in disrepair. Some switches need to be struck (usually by Yunobo’s power) to flip tracks along the way, to unlock new routes. Luckily, some official routes can be ignored if you have the stamina to glide to different parts of the Fire Temple.
All Fire Temple Gong Locations
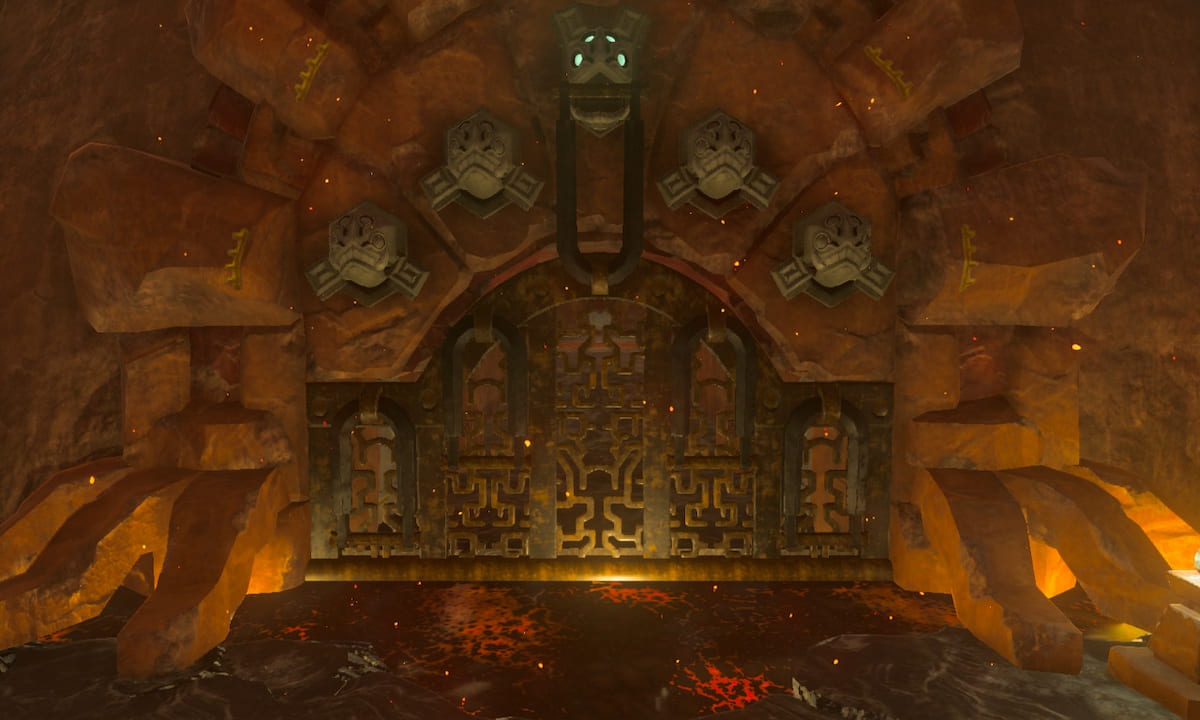
Once you reach the Fire Temple, use Yunobo’s power to shatter the rock blocking the front door. This will open up a long entrance hall with two antechambers on either side, and Yunobo will rush ahead. The chamber on the left has a Rusty Shield and a Traveler’s Sword, while the room on the right has a chest with ten arrows.
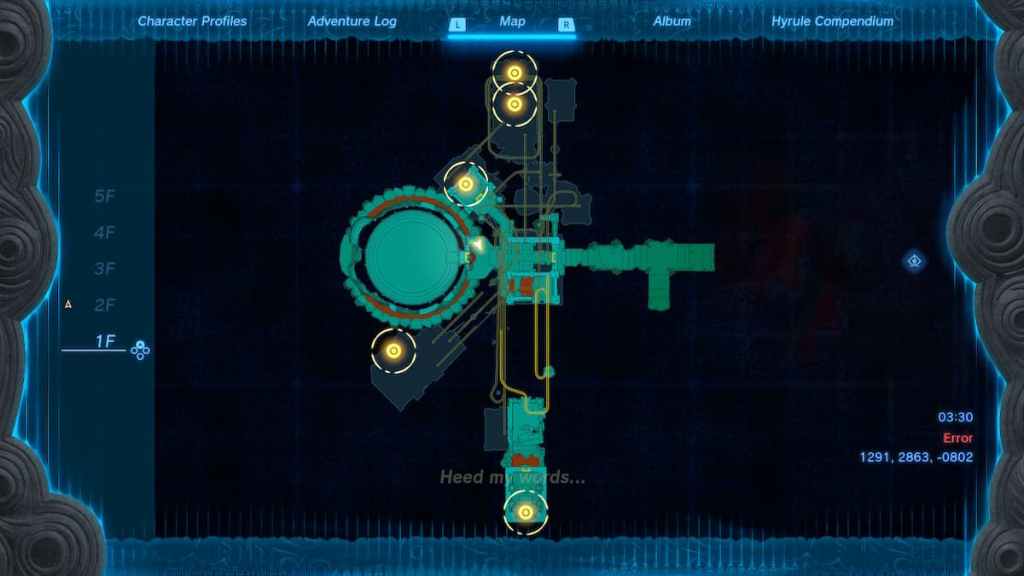
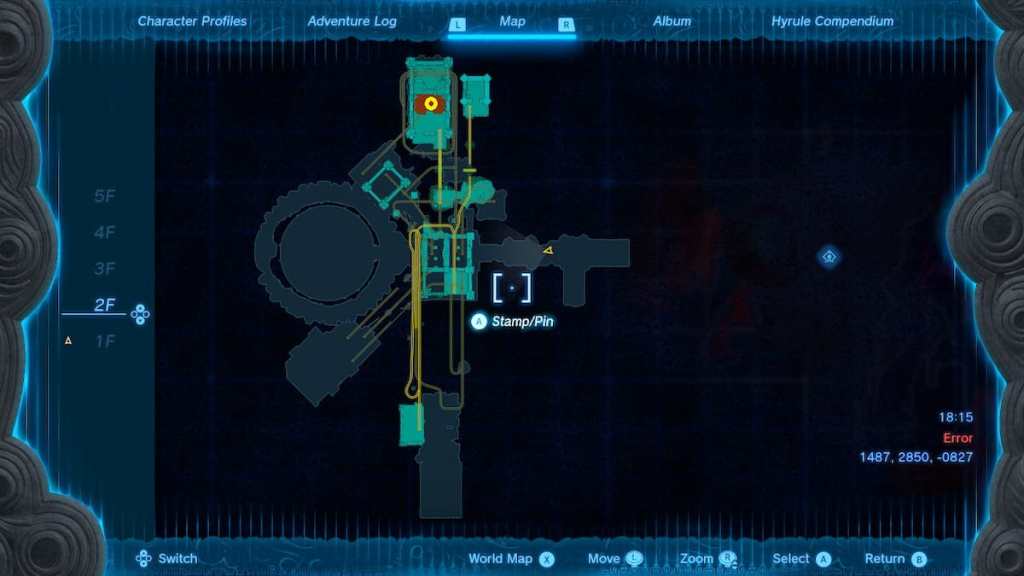
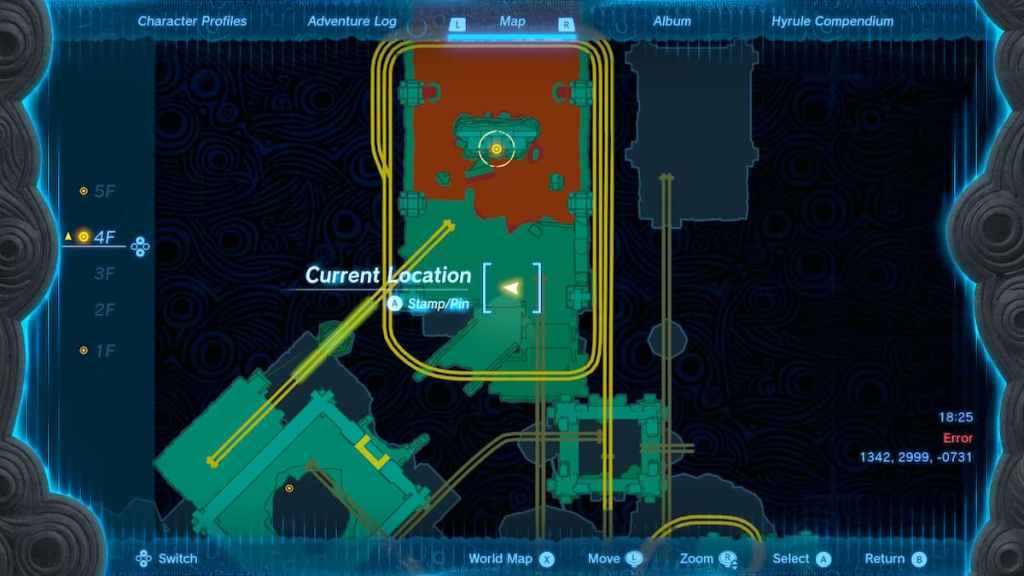
Follow Yunobo to see a cutscene where Princess Zelda seals herself into the ceiling with red stones and a metal gate slams down, preventing anyone from following her. Yunobo will rejoin Link at this point. To the right of this gate is a Zonai device, which you should try to activate. The gate will rattle but remains shut. Yunobo works out that there are five locks on the gate and that you have to find some way to break them. The five Gongs will then appear as quest markers on the map, as seen above.
Activating the device will also cause a blue circle to appear at the gate. This is a fast travel point that you can use to escape if you need to restock on health or items.
How to Unlock First Padlock
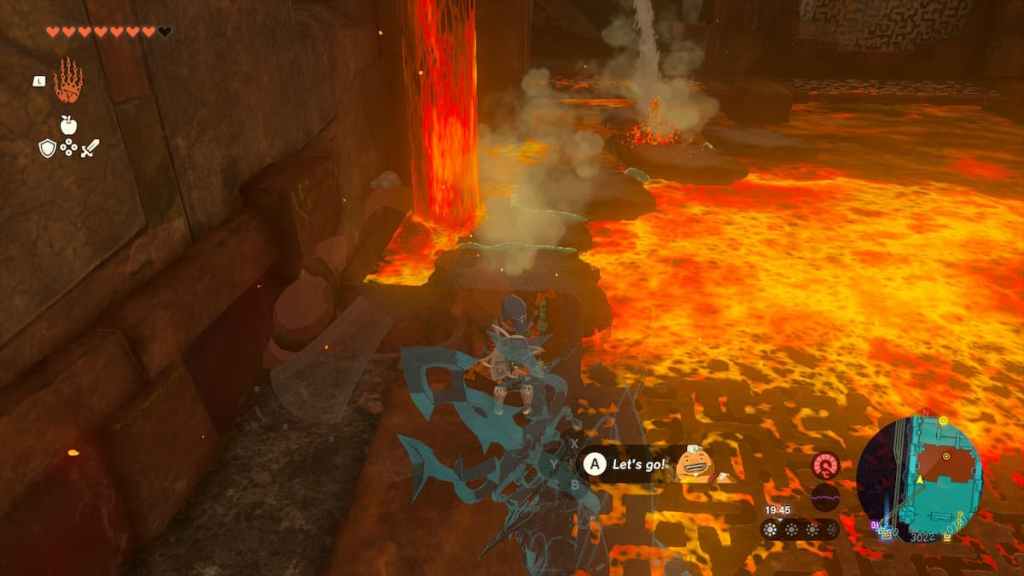
There is a left and a right path wrapping around the gate. Ignore the right path, as it won’t be relevant until the end of the dungeon. Instead, go left and kill the construct that’s in the way. You’ll come to an area with Zonai Hydrants and paths made of lava. Hit the Zonai Hydrants with a weapon, pick it up, and aim it at the lava. The water will cause the magma to harden, creating platforms for you to jump across.
In the next area, you will see minecarts and fans. You can attach fans to the back of carts to make them move across the tracks. There is also a lever that can be used to flip a cart, though you can also Ultrahand them to flip them around if necessary.
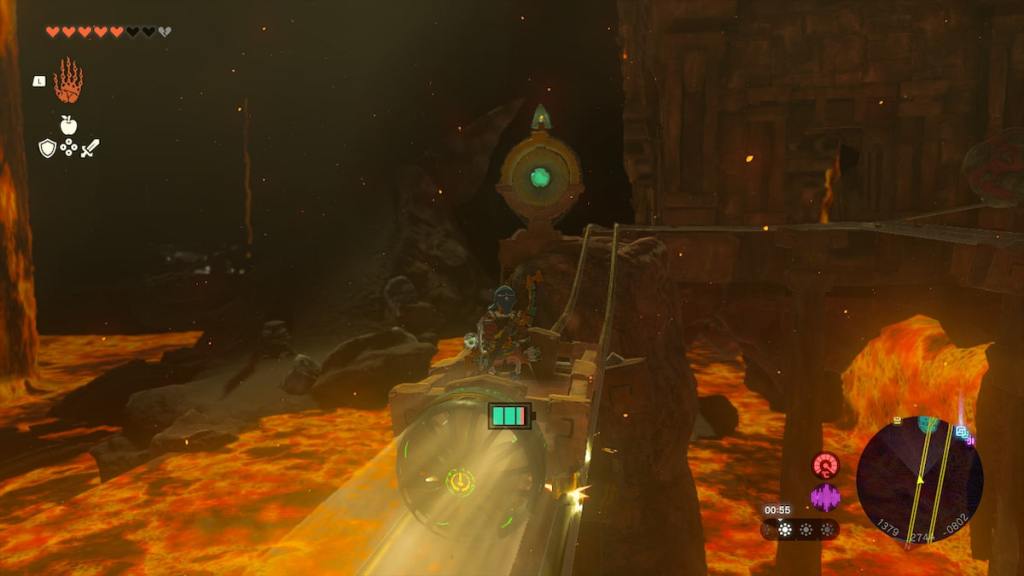
You’ll also notice a glowing sign with an arrow on it ahead of the tracks. This is used to switch the path of the tracks. You can hit it with an arrow or a melee weapon when you’re in range to change it. Once the cart starts moving, Yunobo will attach himself to the front, allowing you to use his power to fire him, which can also be used to hit the glowing signs.
The dungeon is filled with carts and fans; this area is no exception. This initial track will loop endlessly, so hit the glowing button to proceed to the next area. This location has a barricade with a switch next to it. Hit the switch to raise the barricade, but don’t proceed just yet: stay for the moment and explore.
To the left is a Fire Like, which will drop a chest with a Strong Construct Bow if killed. Press on, and you’ll come to a room with more Zonai Hydrants, Portable Zonai Hydrants lava, and an exit blocked by a red rock. Create a path out of the water and use it to create a bridge, so you can fire Yunobo at the red rock, giving you access to the room with the first Gong. Fire Yunobo and the Gong to break the first lock.
How to Unlock Second Padlock
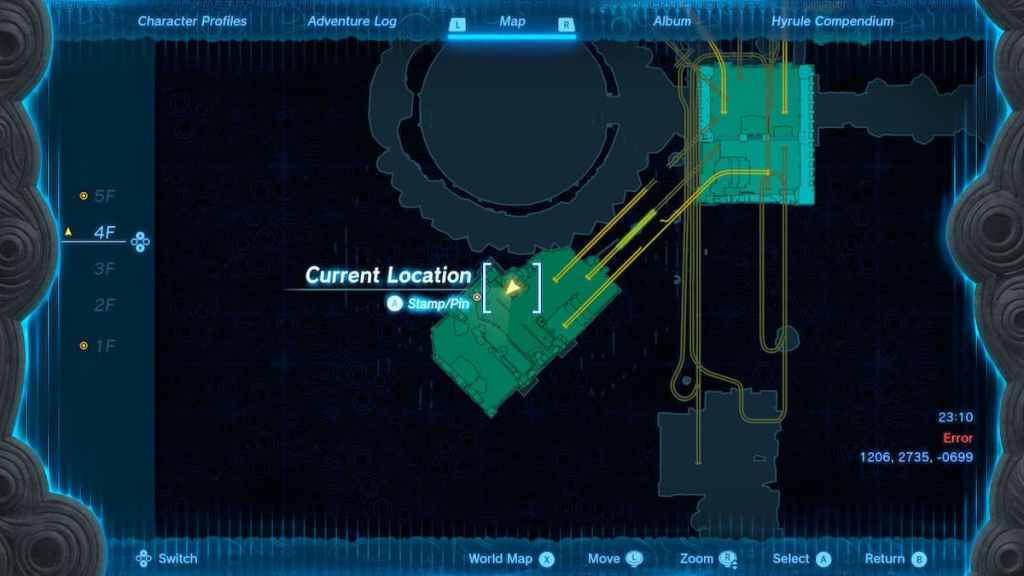
Return to the barricade from the previous area, raise it, and continue your journey, using Yunobo to break any red stones on your path. Follow the tracks until the end, and it will stop. Spin the cart and hit the glowing sign at the end of the tunnel with Yunobo to continue. Follow this path to reach another barricade, where two Mini Tallus creatures await.
You will come to a small area with two new sets of tracks and two switches. If you need arrows, head along the right set of tracks (as seen above) to come to an area with a construct and a chest containing ten arrows. Once you are ready to proceed, return to the set of tracks and use the switch to lower the left set of tracks, and enter the next area.
This room has a magma river moving in the opposite direction you want to go and a platform on the opposite side. There are also Zonai Hydrants in this room. There are several ways to complete this puzzle. Still, the method I used involves attaching as many platforms together with Ultrahand as possible and anchoring this bridge against the edge of the room, where the magma doesn’t exit. Once you’ve made it across, you will fight another construct and have the chance to destroy the second Gong.
The Legend of Zelda: Tears of the Kingdom Fire Temple Third Gong
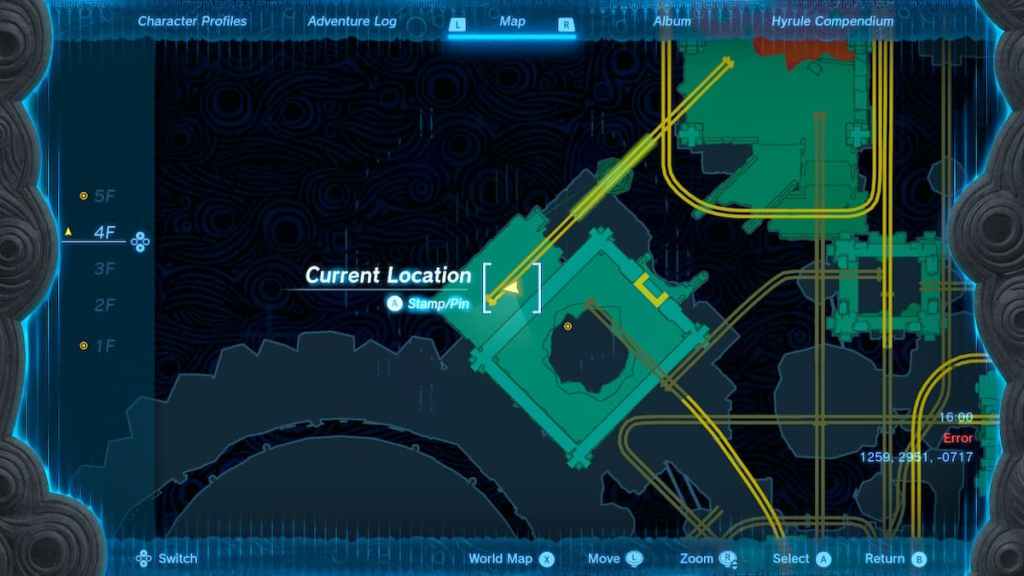
Return to the previous area and get back on the track. Once you start moving, hit the switch at the end of the track with Yunobo, causing the rails to rise up and giving you access to the third floor. You’ll come to a room with several switches, tracks, and some Zonai Rockets and arrows, though the items aren’t necessary for progression. There is also a switch that will create a lift down to the entrance, should you need it.
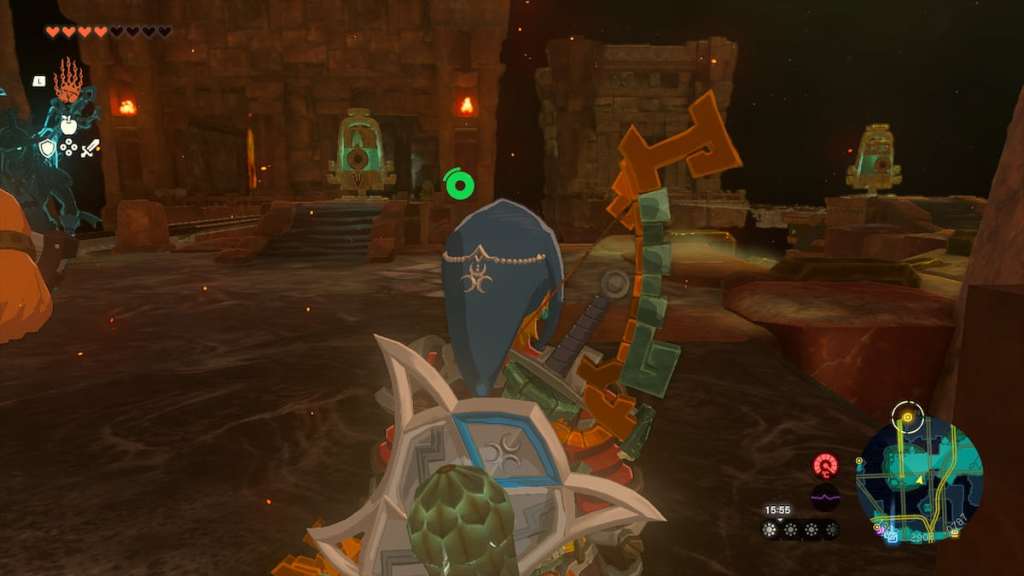
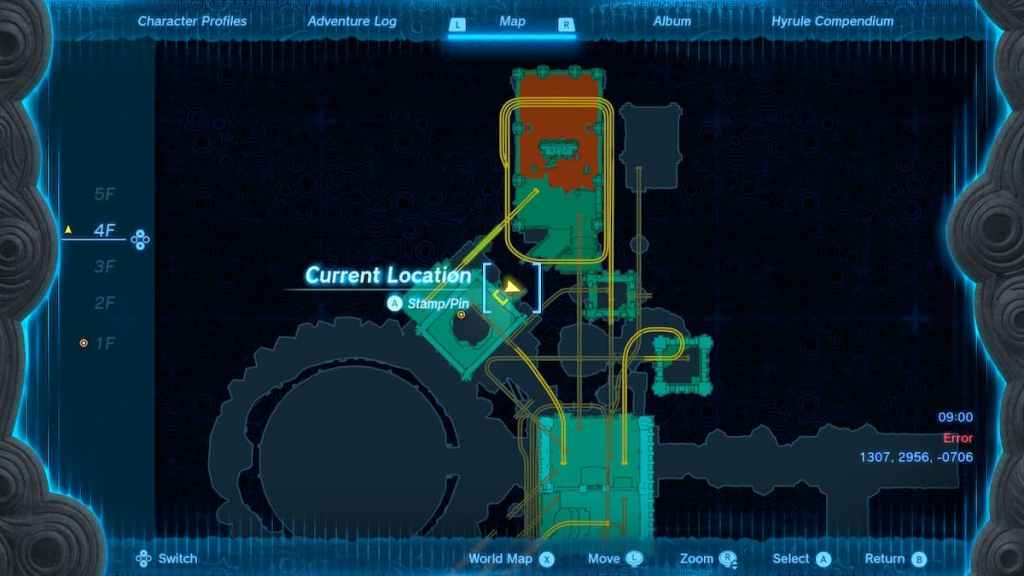
In this room, hit the switches to signal Right and Down, allowing the cart to go to the fourth floor on a track that keeps looping, so get ready to jump off into the central area. The cart can then enter a room with lava and the third gong on a high platform. Use Yonobo’s power on the ramp to destroy a red rock near the center of the room, causing water to shoot out and create platforms, which you’ll need soon. Then, move the ramp so that it’s facing left and towards the central platform, and fire Yunobo up it to strike the third Gong.
The Legend of Zelda: Tears of the Kingdom Fire Temple Fourth Gong
Take the black soot platforms the water/magma created and make a stack out of four of them with Ultrahand. Behind you, you’ll see a massive red rock sticking out of the building. Use the ramp and the stack to fire Yunobo into the red rock, creating an opening.
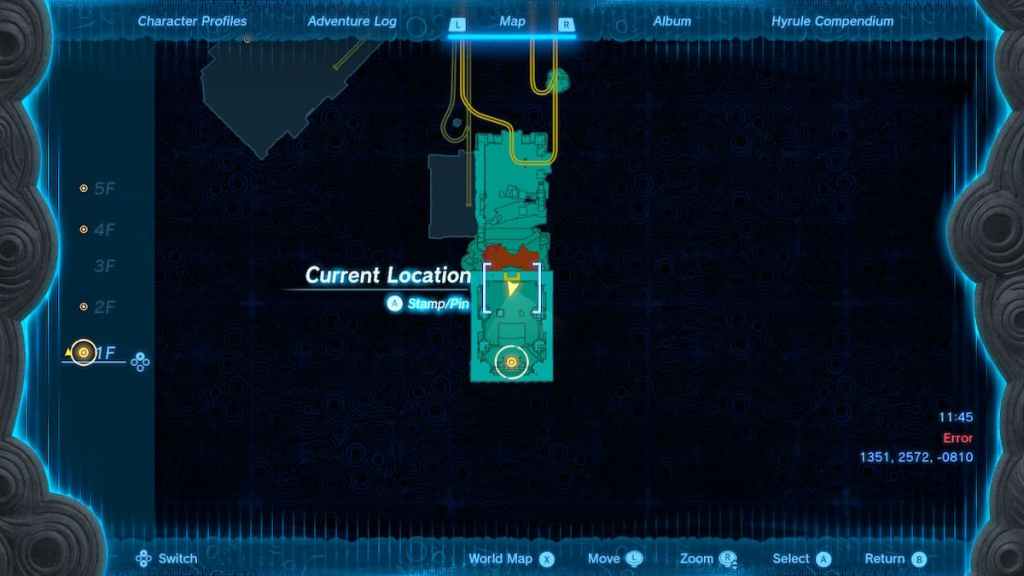
In this area, there is a second track separate from the looping one, leading to an area further up. Climb one of the pillars in the room and glide over. You’ll come to a new landmass, where you can use Ascend to reach the fifth floor, with the location noted in the map below.
This area has a wooden bridge and a construct for you to fight. Follow the path and you’ll come to a carriage behind a barricade, which you can lift over and continue along the track. This will lead to a new area with another construct for you to fight and a chest with ten arrows in it. From this vantage point, you can glide down into the building on the lower left of the map, which has yet another construct for you to fight.
Continue through this area and use Ultrahand to tilt the rope bridge to create a ramp, so that Yunobo can blow up the red rocks. Climb up this space to make it to 5F. Hit the gong and break the red rocks on the ground. Climb up to reach the fourth gong and hit it with Yunobo.
The Legend of Zelda: Tears of the Kingdom Fire Temple Fifth Gong
The last Gong is relatively simple to access – reach one of the high points in the dungeon with Ascend (one of the areas near the wooden bridge is a good starting point) and glide into the building that houses it. If you look at the fourth-floor map, you’ll see a yellow line on the east side of the building, depicting an opening. If you glide into the hole, you will be inside the building with the Gong. Just drop down to the bottom and hit it with Yunobo. There is also a button here that will open the door on the first floor, giving you easy access to the previously locked gate.
You can now return to the original locked gate room and face the boss of the Fire Temple.
Related: Tears of the Kingdom – How to Respec and Swap Hearts and Stamina
And that’s it! Check out our other The Legend of Zelda: Tears of the Kingdom guides below to help with crafting, exploring, and tackling challenges across Hyrule.
Tears of the Kingdom Complete Guide | Every Ability & How To Unlock Them | How to Get The Paraglider | How to Get & Use The Travel Medallion | All Armor Locations & Where to Find Them | All Construct Materials & Where to Find Them | All Shrine Locations & Strategies | How to Get More Heart Containers


Published: May 17, 2023 10:24 pm