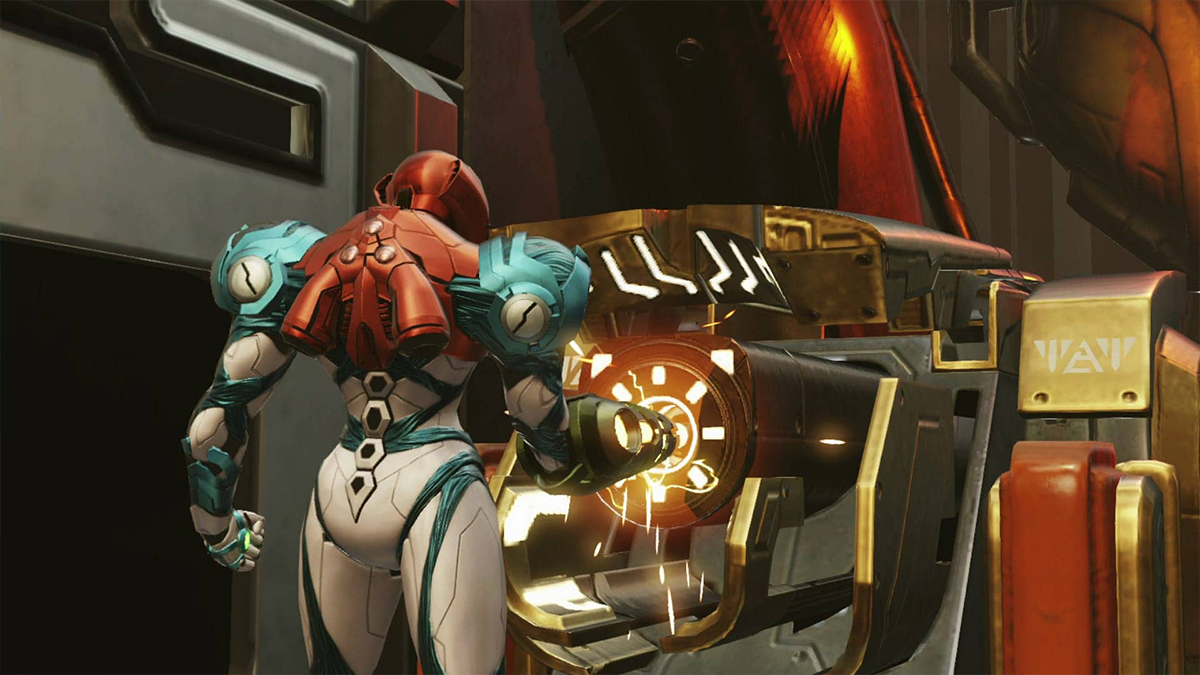
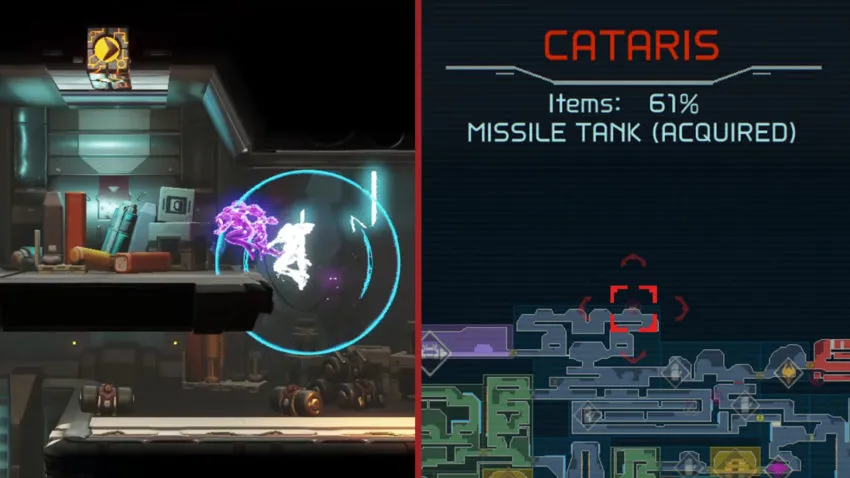
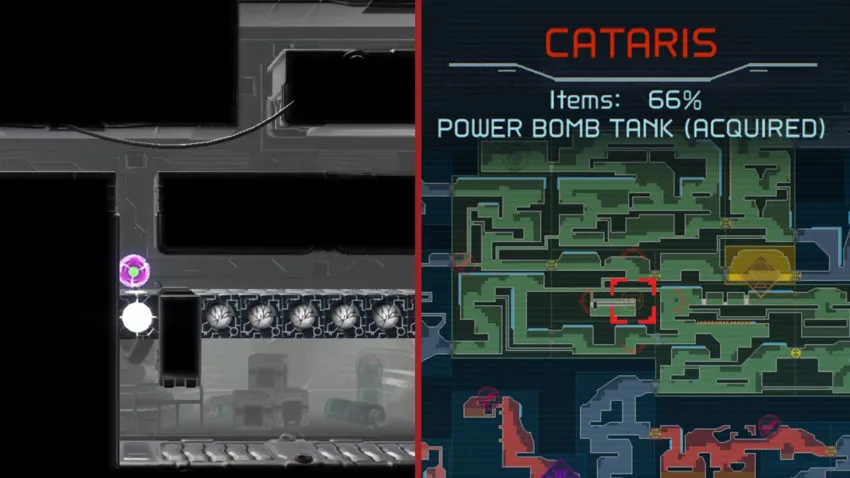
Planet ZDR has a variety of zones, and Cataris is the hottest one, with multiple super-hot volcanic chambers. If you can take the heat, you can find bunch of upgrades for Samus Aran’s weapons and items.
The most common collectibles in Metroid Dread are Energy Tanks, Missile Expansions, and Power Bomb Tanks, all of which increase various stats. You’ll find all of these throughout Cataris – here’s how to acquire them.
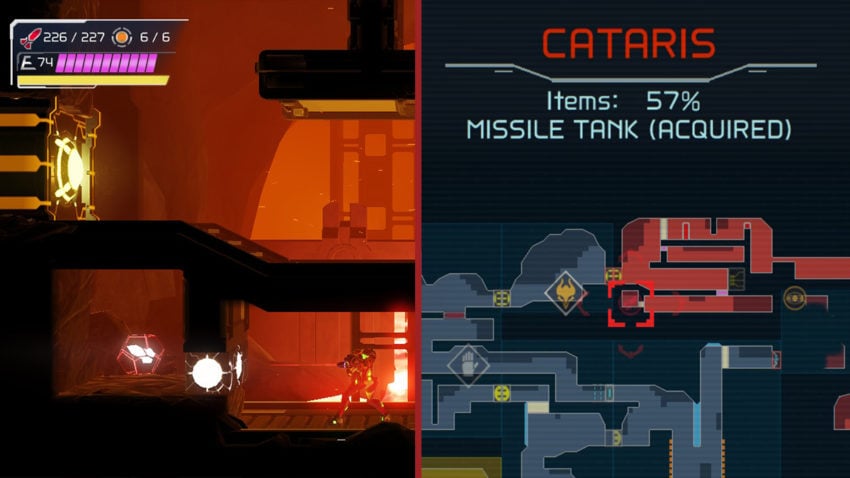
Missile Tank #1 [+2] | Requirements: Morph Ball
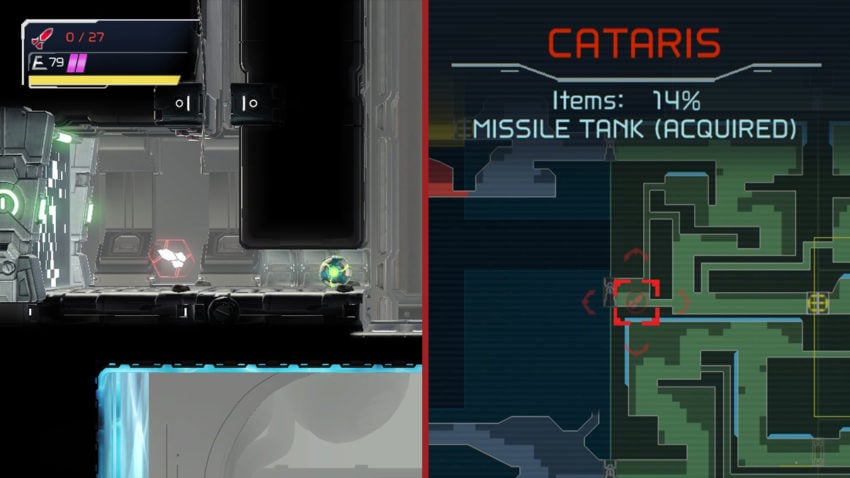
Once the EMMI has been neutralized, head to the center-left part of its patrol zone. There are some narrow tunnels over here, so use your newly acquired Morph Ball to tuck into the passage and reach the Missile Tank.
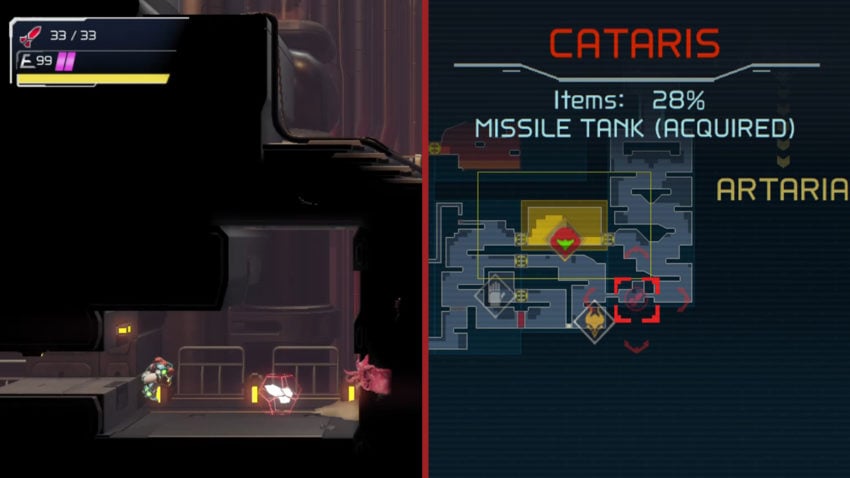
Missile Tank #2 [+2] | Requirements: Spider Magnet, Morph Ball
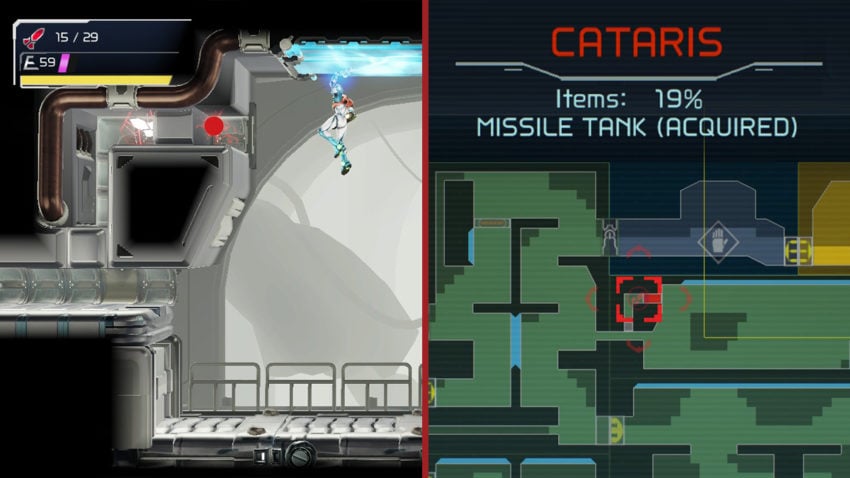
There’s another Missile Tank on the eastern side of the EMMI Zone, southwest of the Save Station. Look for a Morph Ball tunnel that’ll take you to an isolated room. Watch out – the robot enemy in here is extremely dangerous and can easily one-shot you. Ducking in the rear corner atop the platform seems to be the safest place to hide in between volleys of Missiles. Once it’s out of the way, move across the ceiling via Spider Magnet, and you’ll reach a hidden ledge plugged with Missile Blocks. Blow them away, drop to the ledge, and tuck into a ball to roll on over to the Tank.
Missile Tank #3 [+2] | Requirements: Charge Beam, Morph Ball
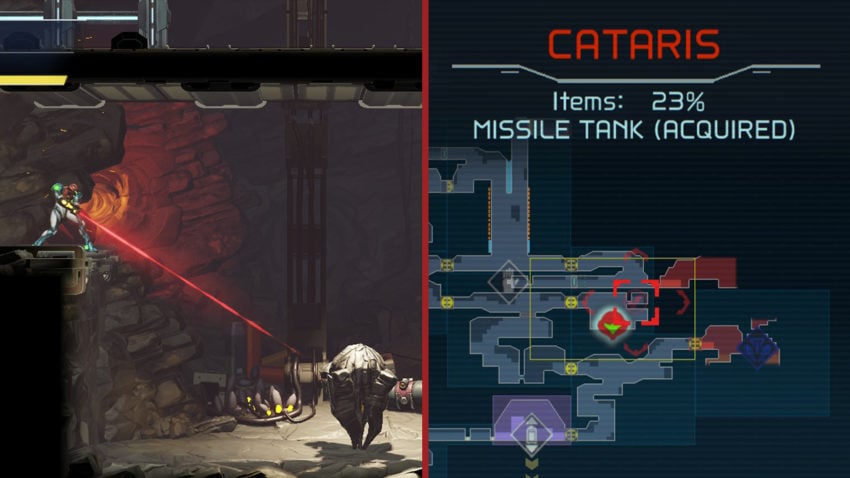
On the far eastern end of Cataris is a Charge Beam Door. Shoot through, then defeat or dodge the rock enemy on the other side. Jump to the ledge in the back corner and tuck into the alcove with your Morph Ball to reach another Missile Tank.
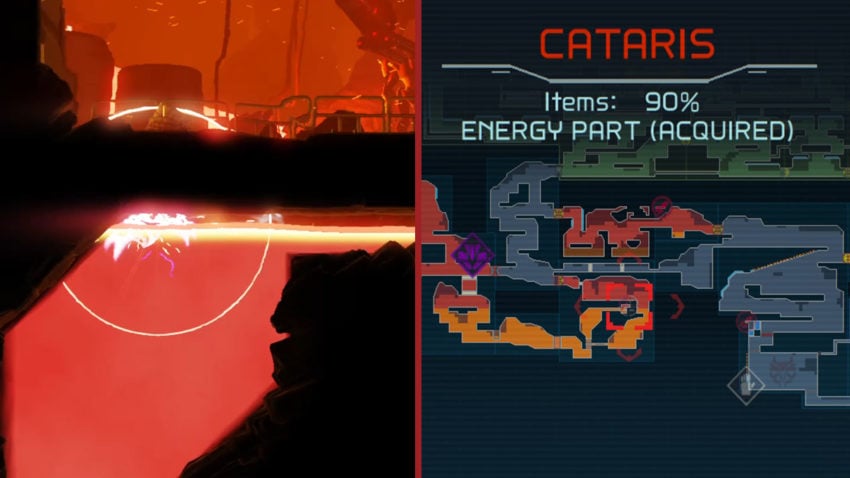
Energy Part #1 | Requirements: Charge Beam, Spider Magnet

You can get this part once you’ve drained the lava from the north-central section of the map. From the Save Station northeast of the EMMI Zone, head into the room on the right. Use the Spider Magnet ability to climb up and shoot the hidden blocks out of your way. Go through the Charge Beam door at the top to enter the area that used to be filled with lava. Follow the path as it loops around then slide through the narrow gap to grab the Energy Part you likely saw earlier when draining the lava.
Energy Tank | Requirements: Spider Magnet, Phantom Cloak

Don’t leave the area yet! On your way out, make sure you jump up to the Spider Magnet wall to pull down a platform that’s blocking the path above. Now exit the way you came and start following the path upwards. Use the Phantom Cloak ability to slip through the Sensor Door, and you’ll be in the passage with the now-accessible Energy Tank.
Missile Tank #4 [+2] | Requirements: Morph Ball
This Missile Tank is found in the vertical winding passage near the elevator from Artaria. Look for a Morph Ball tunnel between the Network Station and the Recharge Station. Roll through it to grab the Tank.
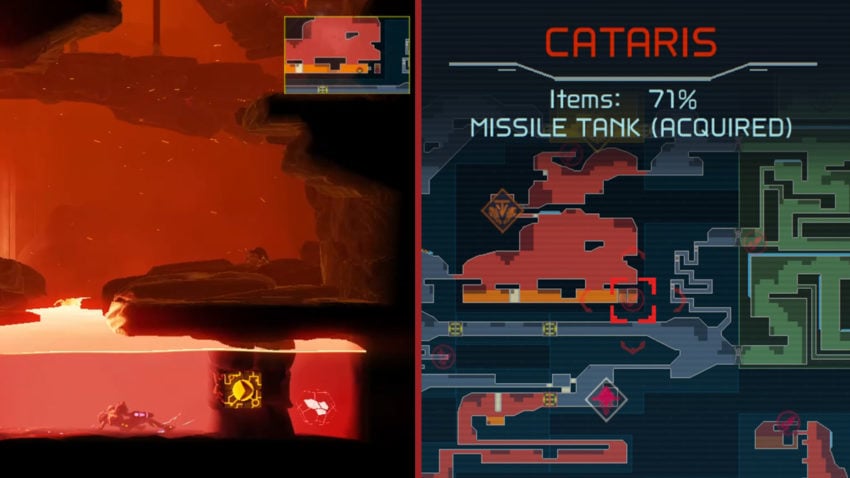
Missile Tank #5 [+10] | Requirements: Morph Ball
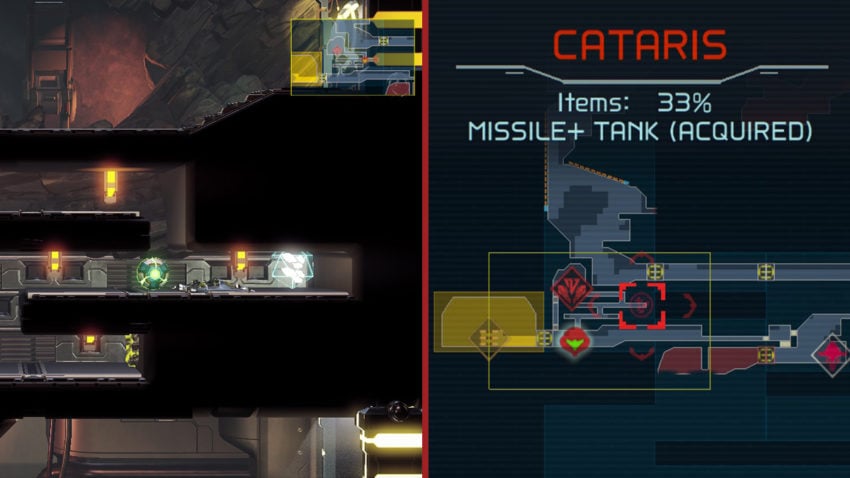
You can get your first Missile+ Expansion at the extreme western end of the map. Right by the Save Station is a series of narrow tunnels. Hop in there with your Morph Ball, and be mindful of the burrowing enemies that are also moving through with you. You can’t miss the Missile Tank though. It’s in plain sight, so roll right on over to grab it.
Missile Tank #6 [+2] | Requirements: Morph Ball, Varia Suit
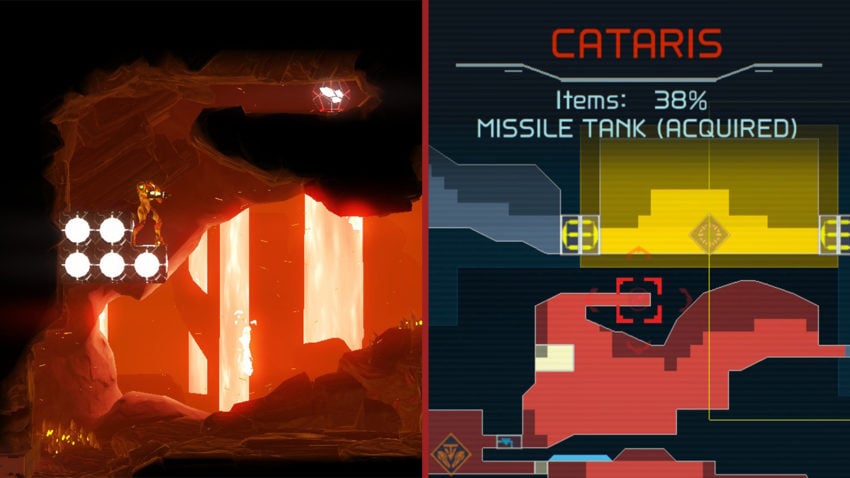
There’s a volcanic room under the Network Station in the northwest (the Varia Suit will keep you safe in the heat). Inside, you’ll find a group of Beam Blocks – shoot carefully to leave yourself a ledge to climb on. Then jump up to the outcropping and tuck into your Morph Ball to grab the Missile Tank there.
Missile Tank #7 [+2] | Requirements: Charge Beam, Varia Suit
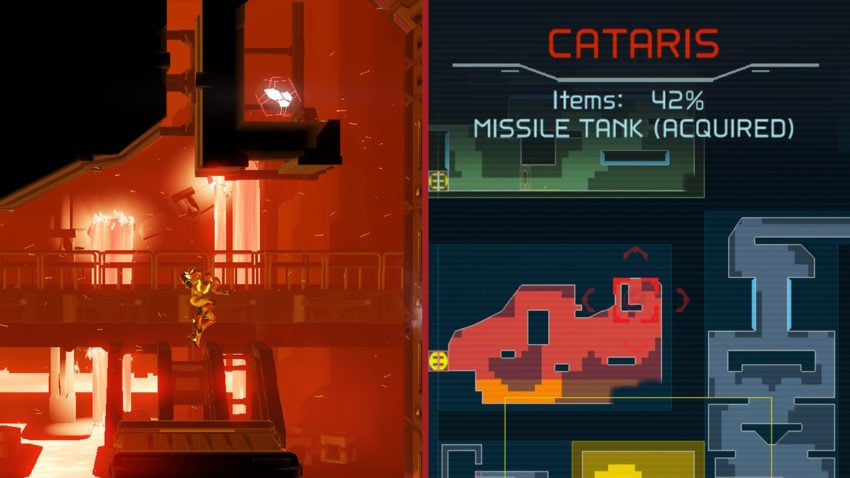
There’s an isolated volcanic room west of the elevator from Artaria, sandwiched between the EMMI Zone and a Network Station. Enter with your Charge Beam and maneuver over the platforms to the right side of the room. Take out the burrowing enemy in the wall or time your leap carefully to wall jump up to the Missile Expansion above.
Missile Tank #8 [+2] | Requirements: Morph Ball, Wide Beam, Bombs, Varia Suit
There’s a Missile Tank hiding in the top, winding room of the eastern volcanic section (where the rock enemies are boxed in). Shoot the Wide Beam Block out of the way and Bomb the spot where it was resting to break through the floor. You can shoot out a block on the left end of this passage to reach the Expansion.
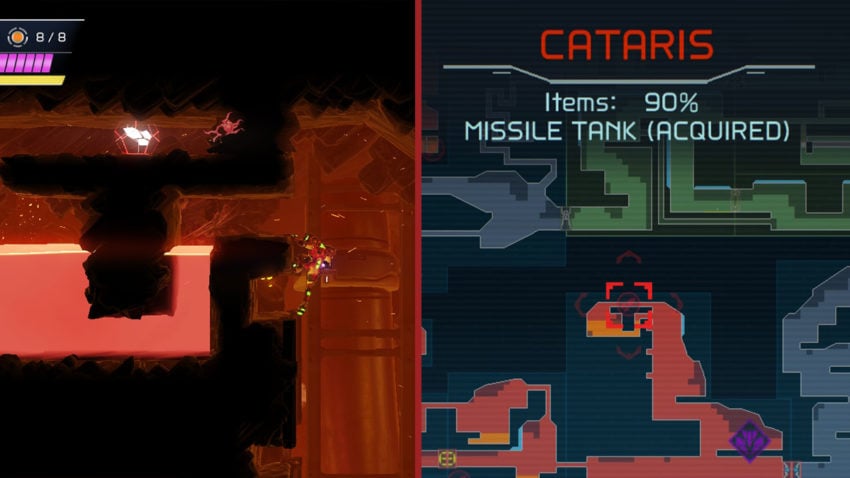
Missile Tank #9 [+2] | Requirements: Flash Shift, Speed Booster
There’s a Speed Booster puzzle in the passage near the tram to Dairon. Start from that side of the door, sprint through, shoot the low block on the other side, and store your Shinespark. Now you need to very quickly slide through the gap and wrap around to the right side of the ceiling – the Flash Shift will give you an extra kick along the way. Launch up into the ceiling to break into it and grab a Missile Tank.
Missile Tank #10 [+2] | Requirements: Spider Magnet, Grapple Beam, Varia Suit, Spin Boost, Diffusion Beam
This Missile Tank is just northwest of the Purple Teleportal. While it’s much easier to reach when you have the Space Jump and Gravity Suit, you can get it earlier using some well timed Spin Boost jumps in conjunction with the Spider Magnet and Grapple Beam. Then at the top of the cave, your Diffusion Beam will be able to reach the cracked rock and blow open the path to the Expansion.
Missile Tank #11 [+2] | Requirements: Morph Ball, Varia Suit, Spin Diffusion Beam
On the other side of the Purple Teleportal, you’ll find another Missile Tank in volcanic passage. You’ll know it when you see some cracked rocks in the ceiling. Your Diffusion Beam should be enough to open up the Morph Ball path forward, but you can return with the Wave Beam later if not.
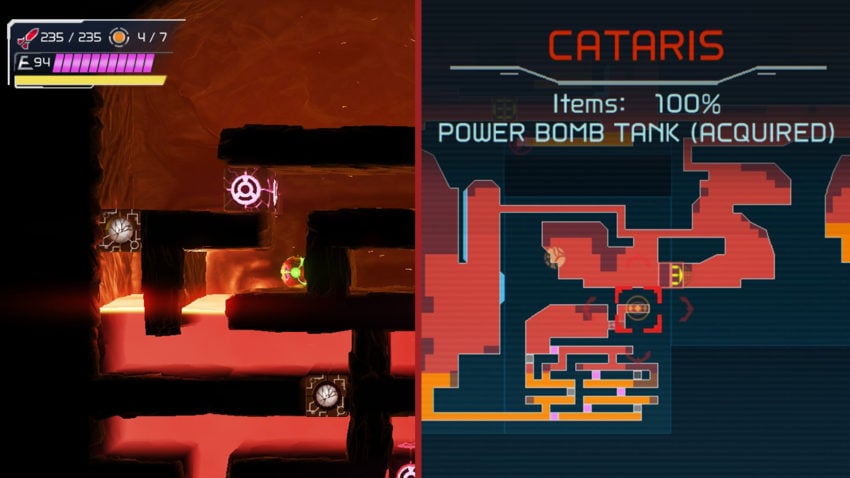
Power Bomb Tank #1 | Requirements: Spider Magnet, Morph Ball, Grapple Beam, Bombs, Varia Suit, Space Jump

Head to the tall room in the northeast with the Spider Magnet lifts – at the top of this chamber is a set of Beam Blocks in front of a Grapple Beam Door. Head through and Space Jump up to find a tricky set of blocks and another magnetic platform. Shoot the Beam Block, hop up into its space, and drop a Bomb. Now you need to quickly drop down and shoot the Missile Blocks, completely clearing the path for the magnetic platform. Then you can jump to it and pull it down, giving you access to the Tank above. This may take a few tries since the timing is tricky.
Missile Tank #13 [+2] | Requirements: Morph Ball, Bombs, Varia Suit, Space Jump

Head to the eastern volcano section once you have the Space Jump and leap all the way to the top of the tallest chamber. Move through the Morph Ball tunnels and drop some Bombs to follow the path back down to the isolated Missile Tank.
Missile Tank #12 [+2] | Requirements: Screw Attack

There’s a wall of Screw Attack blocks right above the Experiment Z-57 boss chamber. Leap through them to reveal a Missile Tank.
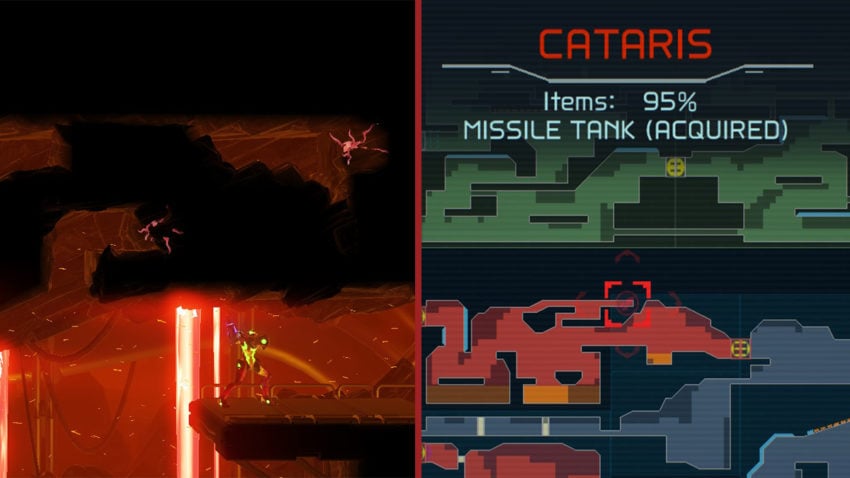
Missile Tank #14 [+2] | Requirements: Speed Booster, Gravity Suit
This Speed Booster puzzle might be in the lava, but it’s super easy once you have the Gravity Suit. Head to the northwest volcanic area, under the Orange Teleportal. Hop into the lava, then start running from the left side of the room. Shoot the blocks and slide under the rock as you go, and you’ll zip right through the Speed Booster Blocks into the Tank. It might be hard to see Samus charging through the lava, but you’ll get this one, no problem.
Missile Tank #15 [+2] | Requirements: Morph Ball, Bombs, Gravity Suit
Head to the passages above the Kraid boss chamber. There’s a low lava tunnel you can roll through safely with the Morph Ball and Gravity Suit. Drop a Bomb at the end to find the last Cataris Missile Tank hidden in the rock.
Power Bomb Tank #2 | Requirements: Morph Ball, Grapple Beam, Bombs, Gravity Suit
There’s a hidden tunnel in the lava in the Kraid boss room. Once you have the Gravity Suit, you can safely hop in and roll through. In the next chamber is a Morph Ball maze with Bomb and Pitfall Blocks. You can get through with simple trial and error or drop a Power Bomb to reveal all the blocks at once. Either way, you’ll find an upgrade at the top of the chamber on the other side of Grapple Beam Block.
Energy Part #2 | Requirements: Morph Ball, Grapple Beam, Speed Booster, Gravity Suit, Wave Beam, Power Bomb
There’s a multi-step Speed Booster puzzle in the volcanic area under the Purple Teleportal. But first, you’ll need to head east through the Grapple Beam Door to the tunnel above the hot zone. From there, you can aim down at the Wave Beam Door to unlock it; backtrack and use the new passage to enter the volcanic room below. Drop into the lava pool here and yank at the Grapple Beam Block at the bottom – you’ll see the Energy Part we’re after on the way down. Now head back to the Purple Teleportal and shoot out the Beam Blocks in the floor to reach a lower section filled with lava. Instead of sliding into the next room, stop and deploy a Power Bomb to blow away more of the rocks. Now we can finally sprint to the Energy Part. Start from near the step-like section of the room and sprint to the right. Once you break through the Speed Booster Blocks, store a Shinespark before you fall off the ledge and lose your momentum. Move to the end of the passage and launch straight up, through some more blocks that were sandwiching the Grapple Beam Block, to the cave ceiling above. From here, you can grab the ledge and roll over to the Energy Part. Yep, all that for a quarter of a tank.
Power Bomb Tank #3 | Requirements: Morph Ball, Speed Booster, Power Bomb
There’s a lone Power Bomb Block in the Morph Ball tunnels in the center-left of the EMMI Zone. Blow through to open the path to the Power Bomb Tank below, then head back out the top of the tunnel – this is now a Speed Booster puzzle. You want to start running in the chamber north of here, hit your Shinespark, and quickly slide to the right. Now quickly slide to the left to get back into the tunnels, drop down onto the Beam Block, and launch right to reach the Expansion.


Published: Oct 16, 2021 04:30 pm