The Jochi-ihiga Shrine, one of 152 featured in The Legend of Zelda: Tears of the Kingdom, offers a challenge that players must complete outside of the shrine rather than inside. Unlike traditional shrines, the Jochi-ihiga Shrine in TotK belongs to a rare category known as Rauru’s Blessing Shrines.
Instead of entering the shrine like normal and solving its puzzle, Totk players must instead seek and transport a special green crystal to a specific destination to activate and enter the shrine to claim its rewards. Here’s how to locate and enter the Jochi-ihiga Shrine in Tears of the Kingdom.
Related: Tears of the Kingdom – All Gemstone Locations & Fuse Bonuses
TotK: Jochi-ihiga Shrine location (Rauru’s Blessing) & Puzzle Solution
To solve the puzzle of Jochi-ihiga Shrine in The Legend of Zelda: Tears of the Kingdom, head to the Tarrey Town settlement, located in the Akkala Highlands. There is a land bridge you can cross to reach the town at coordinates 4198, 1617, 0141, or you can glide down to the town from Ulri Mountain Skyview Tower, unlocked at coordinates 3493, 2019, 0188 using your trusty paraglider.
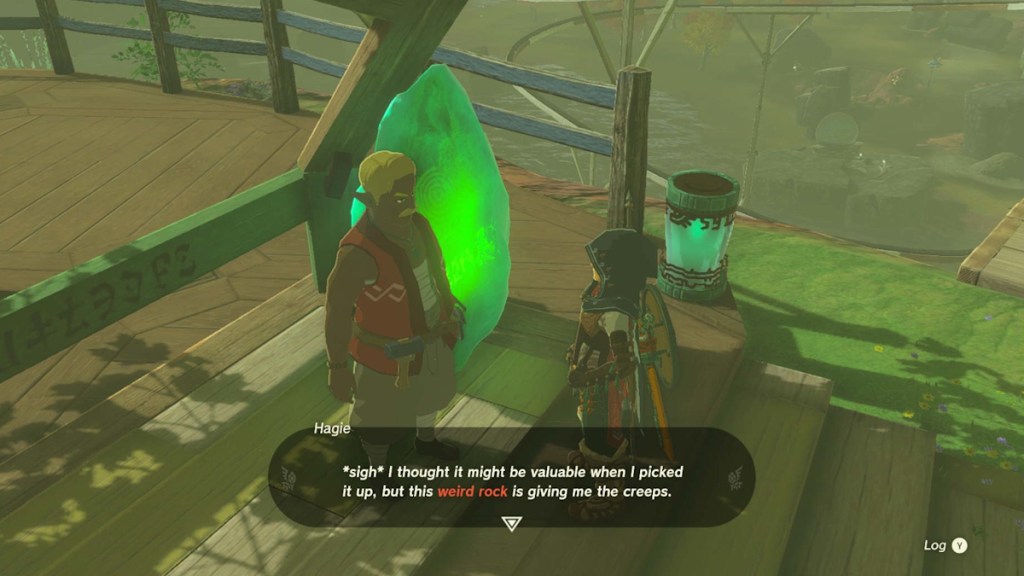
Once in Tarrey Town, you’ll need to speak with Hagie, who can be found near a railcar track (coordinates 3921, 1599, 0128), where he’ll try to sell you the large green crystal that rests behind him. He will haggle with Link about the price, which starts at 100 rupees, until his wife intervenes, allowing you to purchase the crystal for a reduced price of 50 rupees.
Related: Tears of the Kingdom – Best Ways to Farm Rupees in TotK
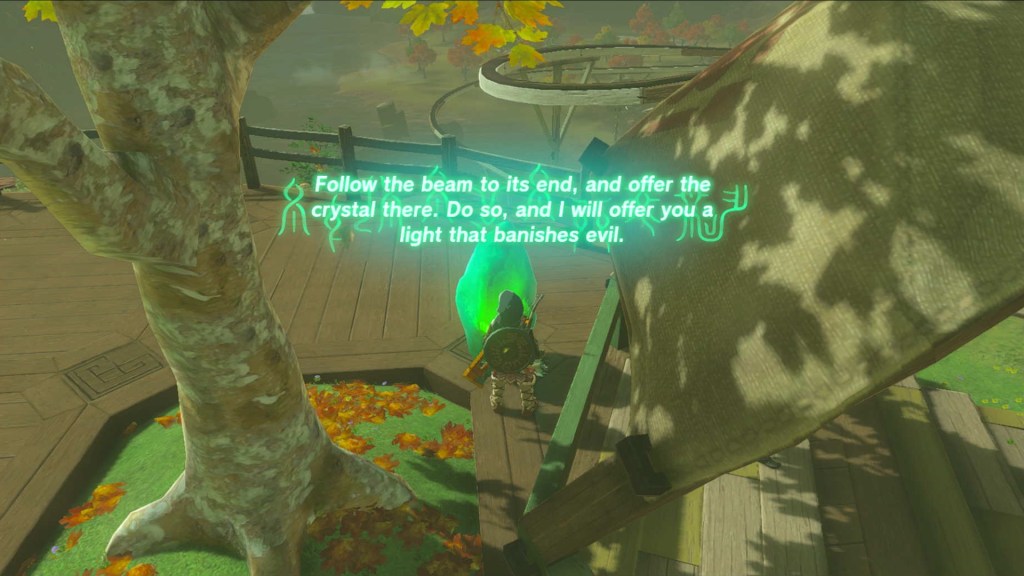
Now that you have obtained the crystal, your mission is to transport it safely to the location of the Jochi-ihiga Shrine in Tears of the Kingdom. When you pick up the crystal, a mesmerizing green beam will appear, connecting it to the precise spot where the shrine awaits its return. The beam will guide you to the shrine’s location, at coordinates 3809, 1218, 0090, just above the Akkala Falls.
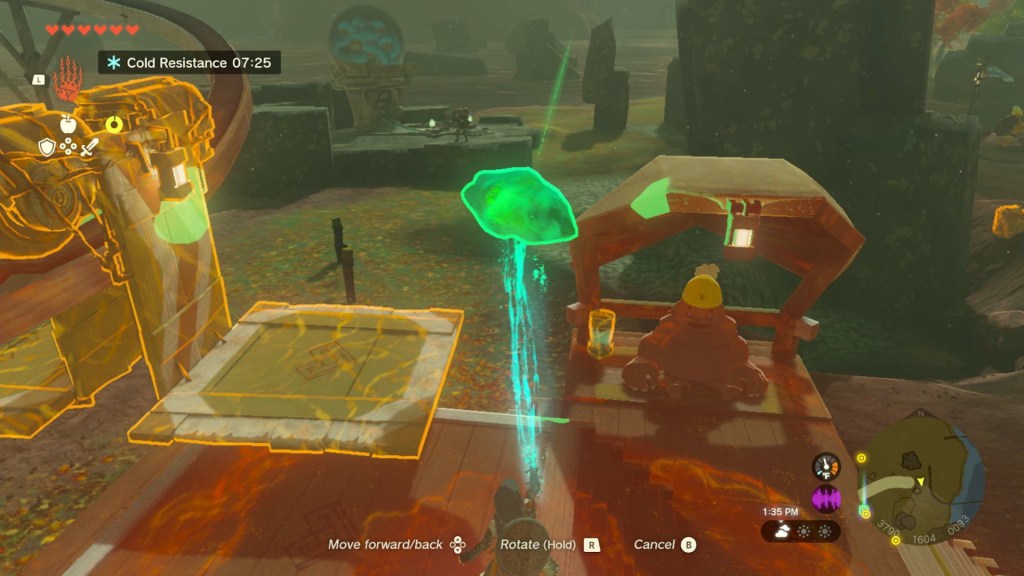
Speak with Hagie to call the railcar if it is not at the Tarrey Town station. Once it has arrived, you’ll want to use the Ultrahand ability to fuse the crystal to the railcar so you can easily transport it down to Hudson Construction Site and continue your journey. You will definitely want to fuse anything you plan on bringing with you, as it’s extremely likely that anything not fused will tumble off the precariously perched railcar. You may also want to grab the Zonai battery near Hagie if necessary to help fuel the railcar.
Once you reach Hudson Construction Site, simply detach the green crystal from the railcar. You’ll still need to transport it a long distance to the shrine and will want to pick up nearby Zonai Devices to help construct a vehicle that can travel across water. You can build an adequate, simple raft for this task using parts, including Zonai fans, that can be found on the ground at the dig site. Be sure also to grab a full Zonai battery to help it along its way if needed.
Related: Tears of the Kingdom – Best Easy Vehicle Blueprint Ideas
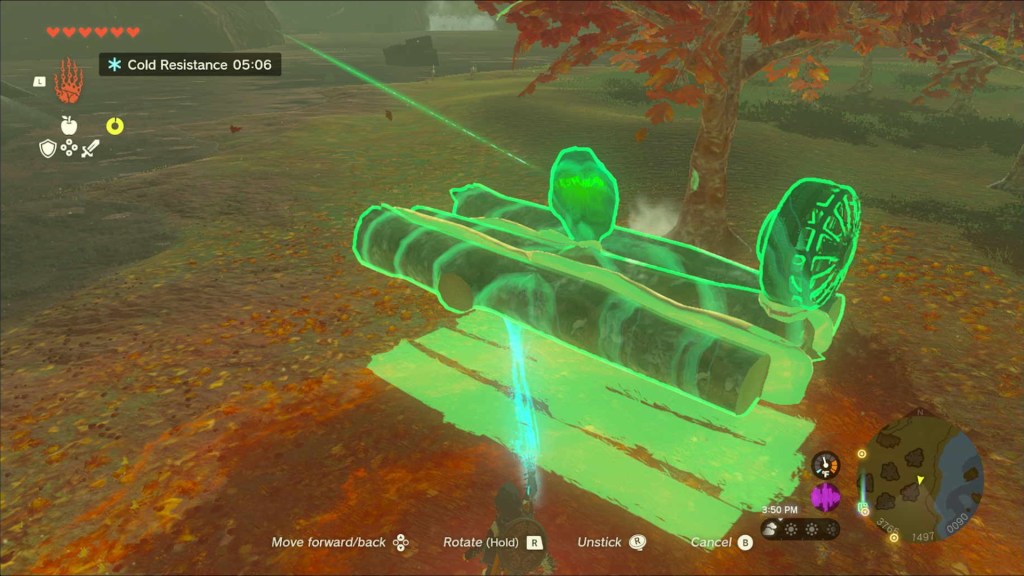
After you’ve assembled your craft, use Ultrahand to fuse the green crystal onto it so it will safely make the journey. Grab the vehicle and carry it to the water’s edge so that it is as close to directly across from the shrine’s location as possible. An optimal location for departure can be found at coordinates 3722, 1409, 0089, on the beach.
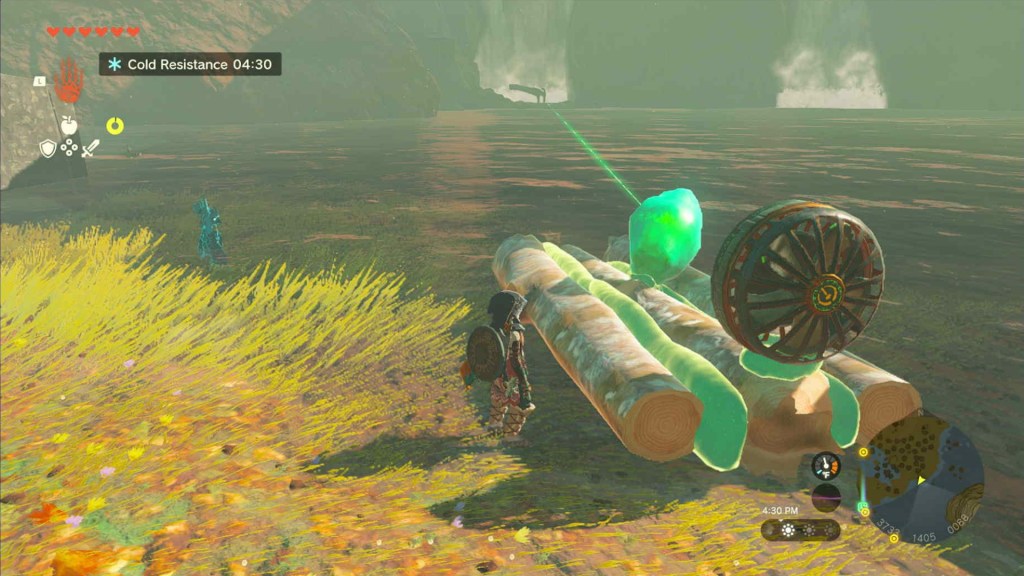
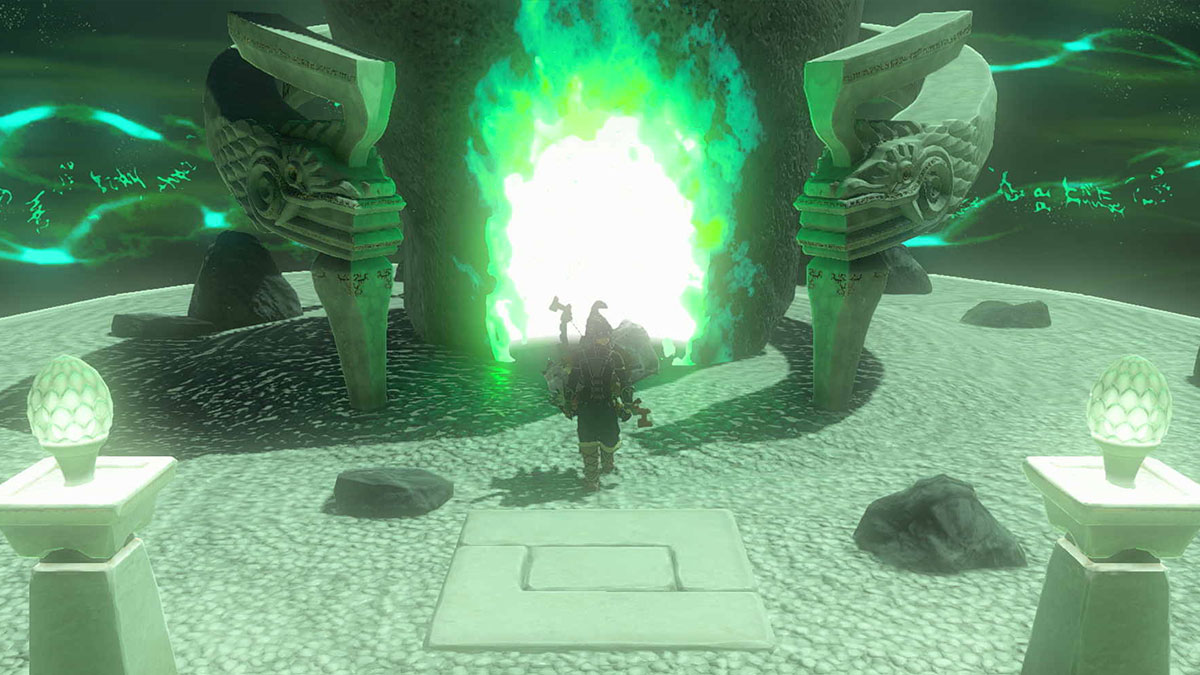
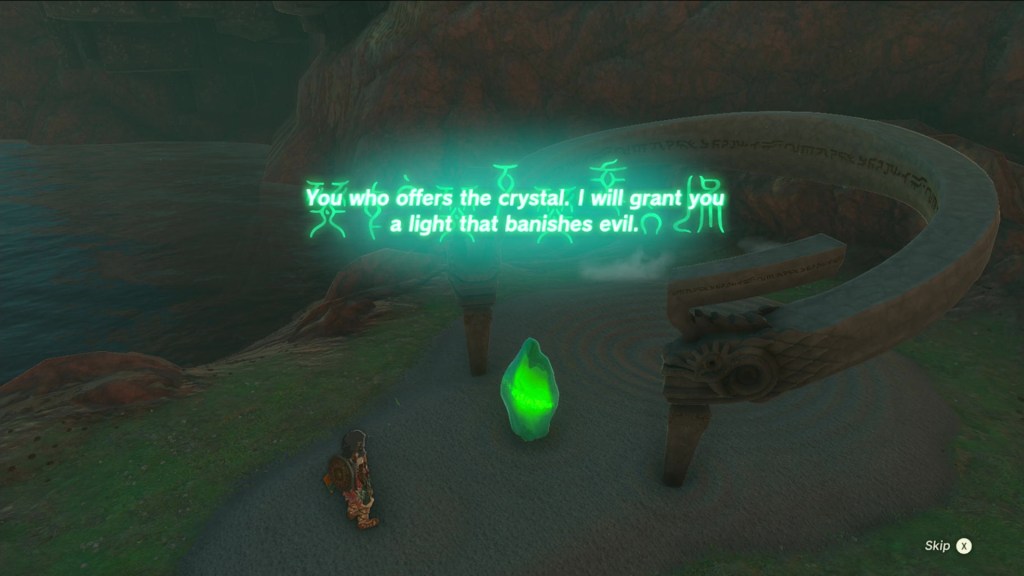
Once there, place your vehicle in the water and give it a whack to send it along its way, with both you and the crystal in tow. When you reach the shrine, stop the vehicle with another hit, then detach the crystal and bring it to the center of the shrine location. This will activate the Jochi-ihiga Shrine, and you’ll be able to enter and claim its rewards.
That is everything you’ll need to do to solve the Jochi-ihiga Shrine in The Legend of Zelda: Tears of the Kingdom to get your reward.
And that’s it! Check out our other Star Wars Jedi: Survivor guides below so you don’t miss any hidden secrets on your journey.
Jedi: Survivor Walkthrough | All Koboh Collectibles & Where to Find Them | All Abilities & How to Unlock Them | All Lightsaber Stances & How They Work | How Players Can Customize Lightsabers | How to Find T-1N8 | How to Help the Pit Droid with its Stuck Ship | All Chests & Rewards Players Can Find with T-1N8


Published: May 29, 2023 12:55 am